Crafting Calm: Finding Serenity in Stress Awareness Month

Featured

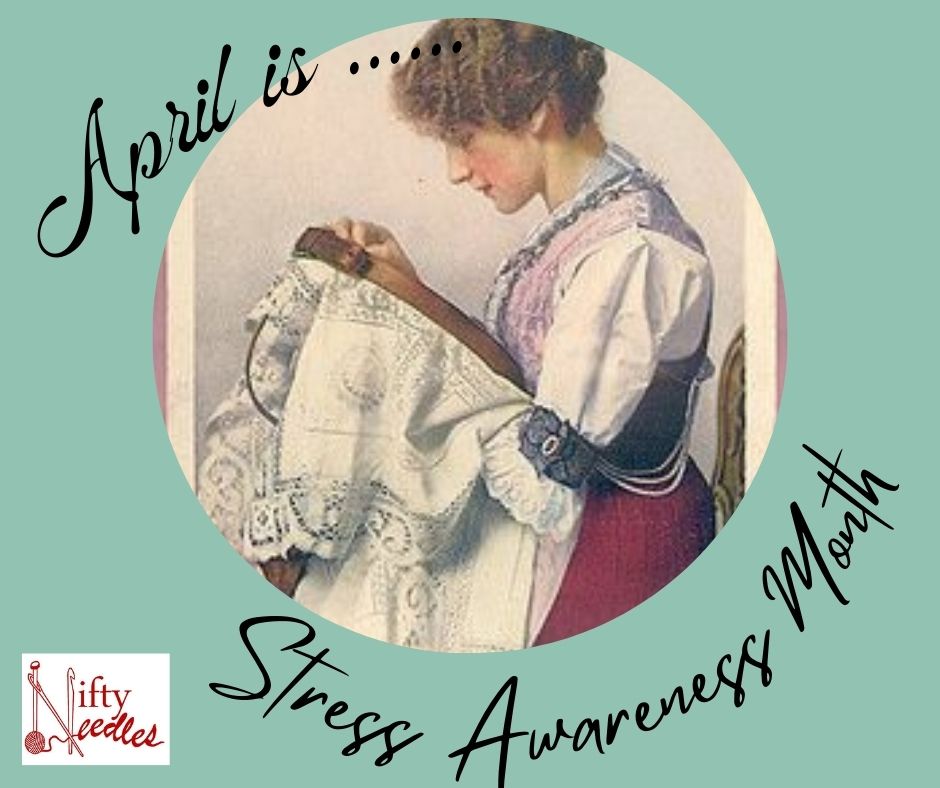
April marks Stress Awareness Month, a designated time to highlight the detrimental impact of stress on our lives. Managing stress is not just a luxury but a necessity for maintaining a balanced and healthy lifestyle. Understanding how to effectively manage stress can significantly enhance both our mental and physical well-being. It’s crucial to recognise the signs of stress and anxiety and know how to take proactive steps to build resilience and seek support when needed.

In our quest to reduce stress levels and promote well-being, exploring different strategies is paramount. One such approach gaining recognition is the therapeutic practice of crafting. Research suggests that engaging in creative activities can offer more than just a mere outlet for self-expression or a way to pass the time. Crafting has been found to reduce anxiety, boost mood, and foster happiness, thereby serving as a valuable tool in combating stress and even depression.

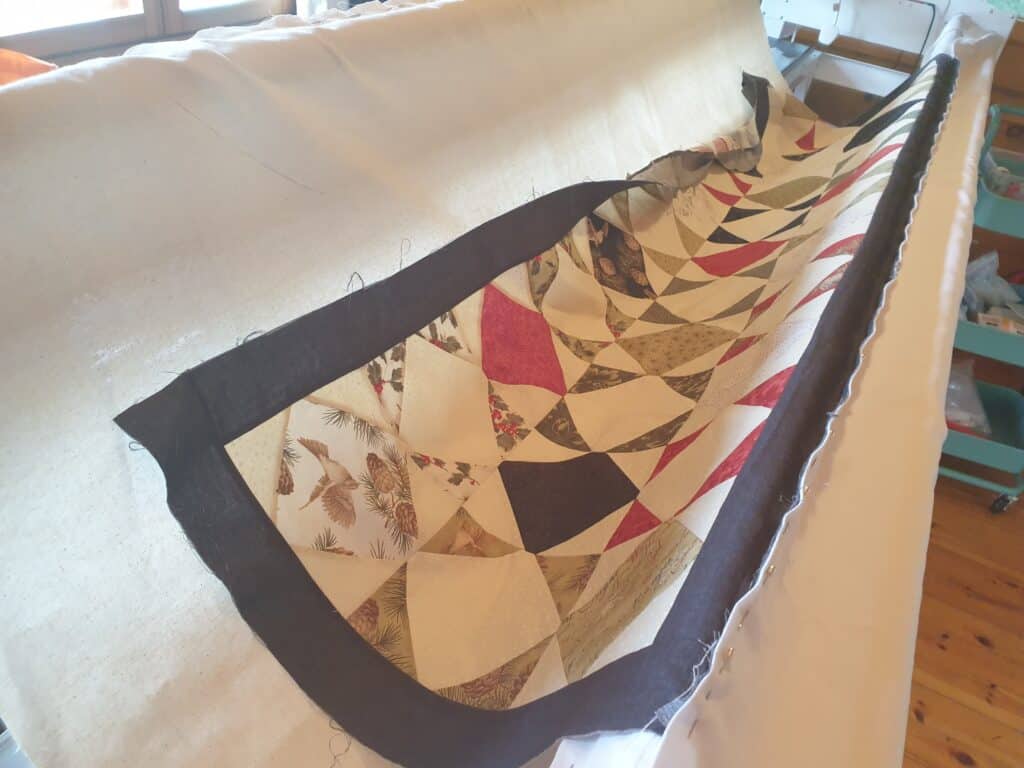
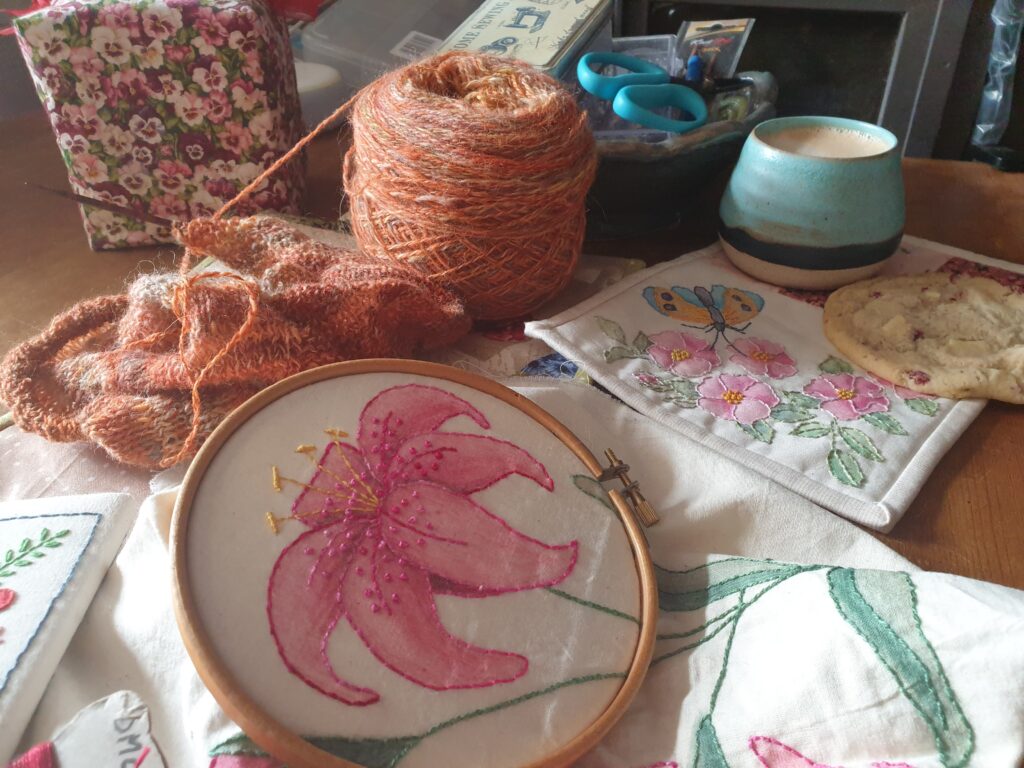
Crafting has always been a passion of mine – whether it’s knitting, sewing, spinning, or needlework, I’ve been immersed in creative projects since I was just five years old. Throughout the years, crafting has been a constant companion, offering solace during both the good times and the tough ones. It’s remarkable how this seemingly simple activity serves as an underrated coping mechanism and stress-relieving outlet for daily anxieties.

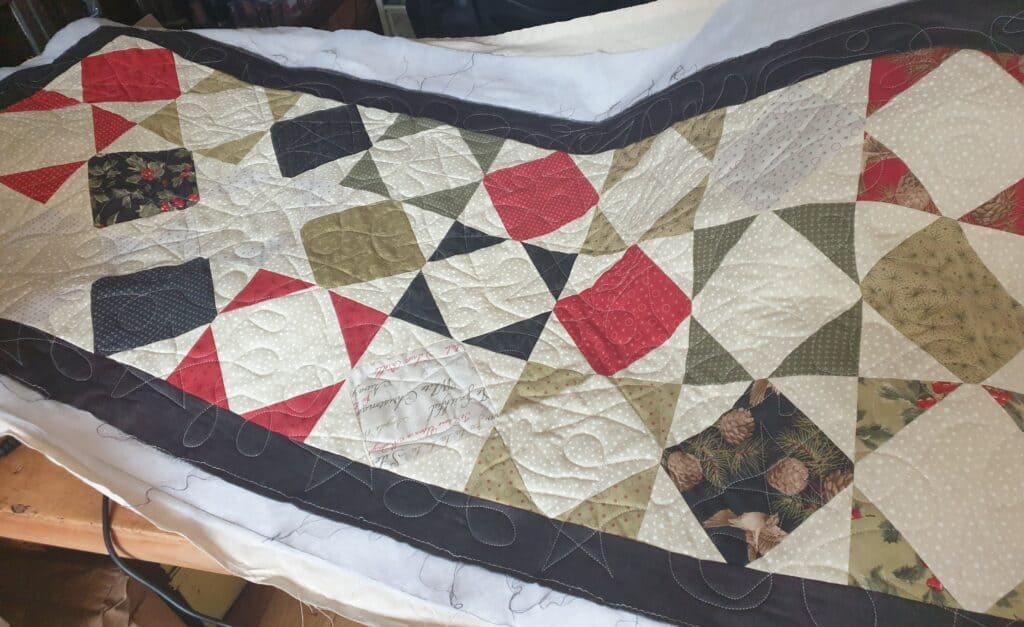
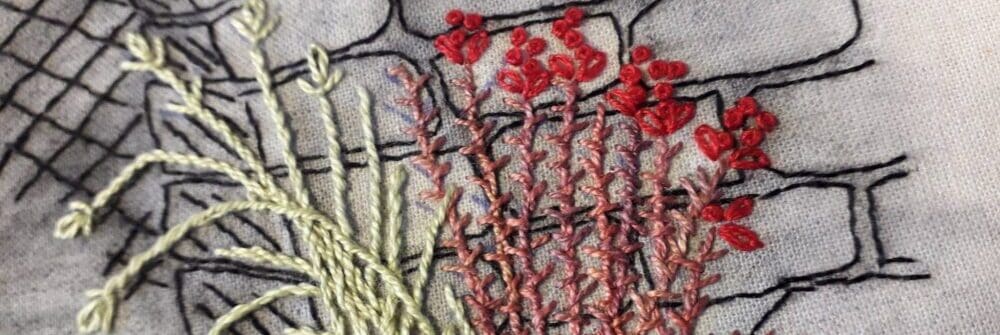
During periods of extreme stress, whether stemming from demanding work environments or challenging family situations, crafting became my sanctuary. I poured myself into various projects – sewing, knitting, crochet, needlework, and cross-stitching, finding solace in the rhythm of each stitch.

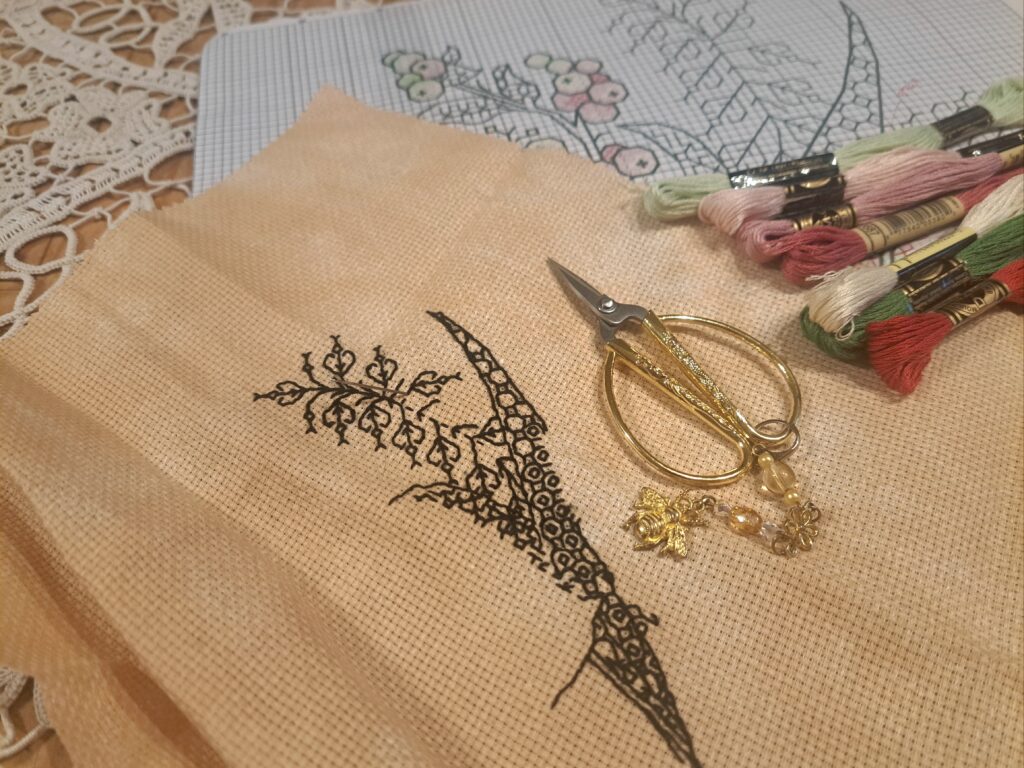
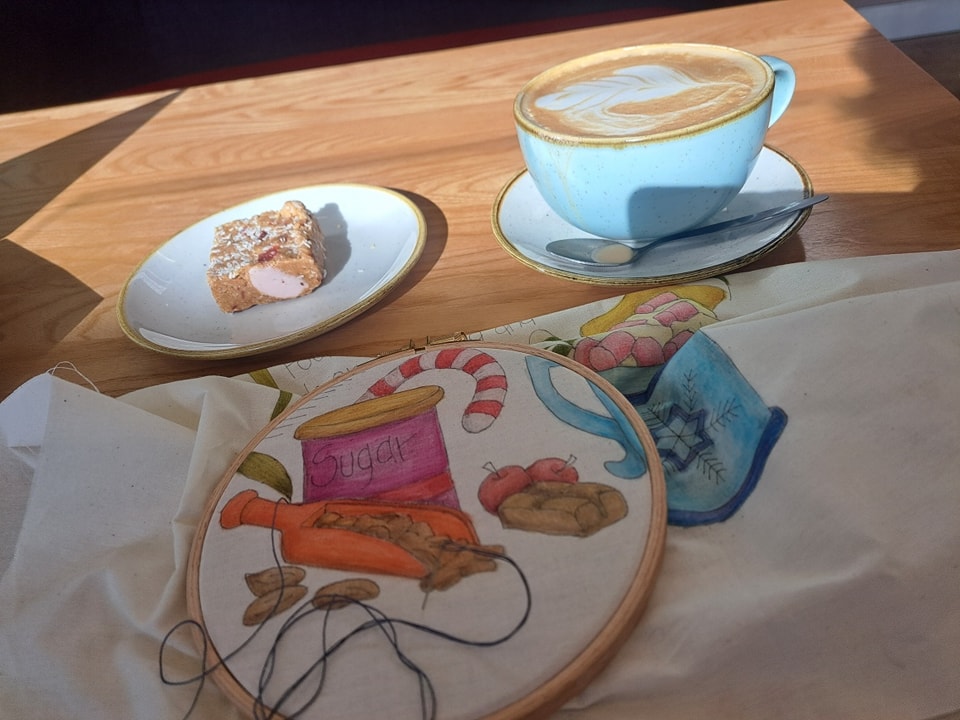
Cross-stitching, in particular, became my go-to during moments of heightened stress or anxiety. There’s something about the focused concentration required, whether sitting outdoors surrounded by nature’s symphony or comfy indoors with a good audiobook or soothing music, that soothes the mind. Counting the squares on the chart, translating the chart symbols into crosses on fabric – it’s a process that demands attention and redirects my thoughts. With each stitch, my mind clears, and I find myself entering a state of calm, completely absorbed in the meditative act of stitching.

Crafting is not just a pastime; it’s a therapeutic journey that allows individuals to momentarily escape the grasp of their conditions and immerse themselves in the positivity of creation. Engaging in a craft project demands complete focus, akin to the state achieved through meditation. This profound concentration serves as a balm for stress, as it redirects the mind away from worries and towards the task at hand.

The physiological benefits of crafting are equally remarkable. As one delves into their creative pursuit, the brain sends signals of tranquillity throughout the body, leading to a reduction in blood pressure and tension. This flow of relaxation fosters a profound sense of well-being, lifting moods and reducing stress levels. Moreover, the state of flow attained during crafting, where one becomes entirely absorbed in the activity, proves to be both rewarding and enjoyable. The challenge of completing a complex craft further enhances this experience, making it a potent antidote to the strains of daily life.

Indeed, after a taxing day, indulging in a hobby offers more than just a momentary reprieve; it becomes a vital tool for rejuvenation. This “me” time provides an outlet for releasing accumulated stress, offering solace in the act of creation. Additionally, the creative process itself serves as a channel for managing emotions, particularly when words fail to express the depth of one’s feelings. By tapping into our imaginative faculties, crafting enables us to navigate and transcend the tumultuous landscape of stress and anxiety.

Yet, stress poses a formidable barrier to creativity, disrupting the delicate balance needed for inspiration to flourish. When overwhelmed by stress, our mental capacity falters, stifling the very essence of creativity. The weight of pressure and anxiety encumbers the mind, impeding the free flow of ideas and inhibiting the freedom necessary for creative expression.

However, the solution to this conundrum lies in the very act of creation itself. By exercising our creative faculties, we not only combat stress but also rejuvenate our capacity for innovation. Positive actions serve to replenish the wellspring of creativity within us, offering a pathway to enhanced mental well-being. Therefore, in our quest to conquer stress, let us embrace the power of creativity and engage in activities that nurture our happiness and ignite our imagination.

In the hustle and bustle of daily life, finding time for creative pursuits may seem like a daunting task. However, striking a balance between work commitments and leisure activities is essential for maintaining a healthy work-life equilibrium. One strategy to achieve this balance is by effectively managing your time and integrating your hobby into your daily routine. By prioritising your creative endeavours and scheduling dedicated time for crafting, even amidst busy schedules, you can reap the benefits of reduced stress and enhanced well-being.

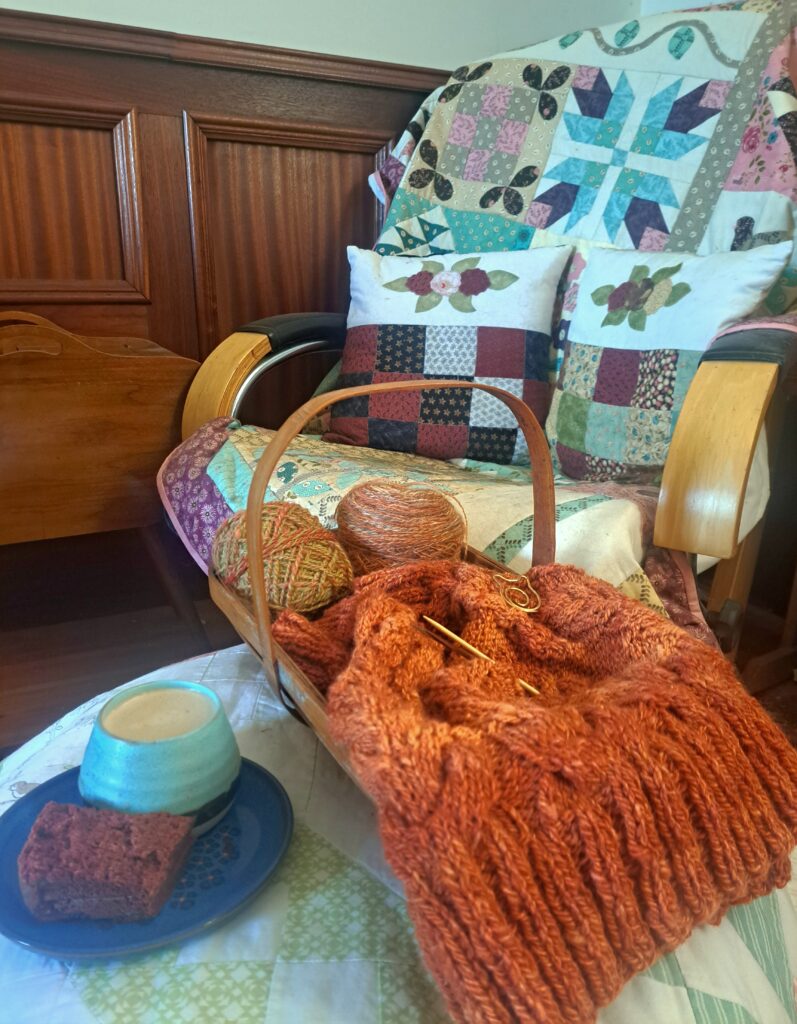
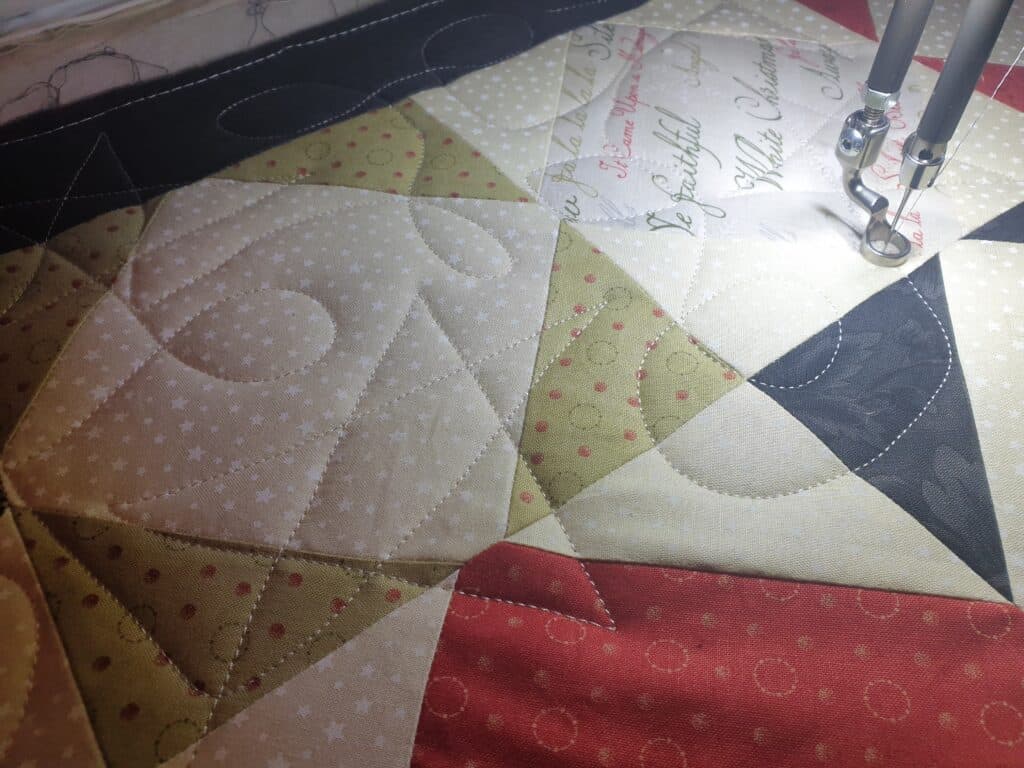
Consider the therapeutic nature of activities such as knitting, crochet, or sewing, where the repetitive motions induce a state of relaxation while fostering creativity. The gentle rhythm of hand-stitching or the rhythmic clicking of knitting needles serves as a soothing melody, guiding you into a tranquil state of mind. As you immerse yourself in the process, focusing intently on each stitch or loop, you’ll find your worries melting away, replaced by a sense of calm and contentment.

Moreover, the completion of a crafting project brings with it a profound sense of accomplishment, triggering the release of dopamine—the feel-good neurotransmitter—in your brain. This surge of positivity not only enhances your mood but also reinforces a happier outlook on life. Embracing the journey of each project, even amidst challenges, fosters a mindset of resilience and growth. By acknowledging the learning opportunities inherent in every endeavour, you cultivate a sense of achievement that transcends the final outcome, paving the way for improved mental health and emotional well-being.

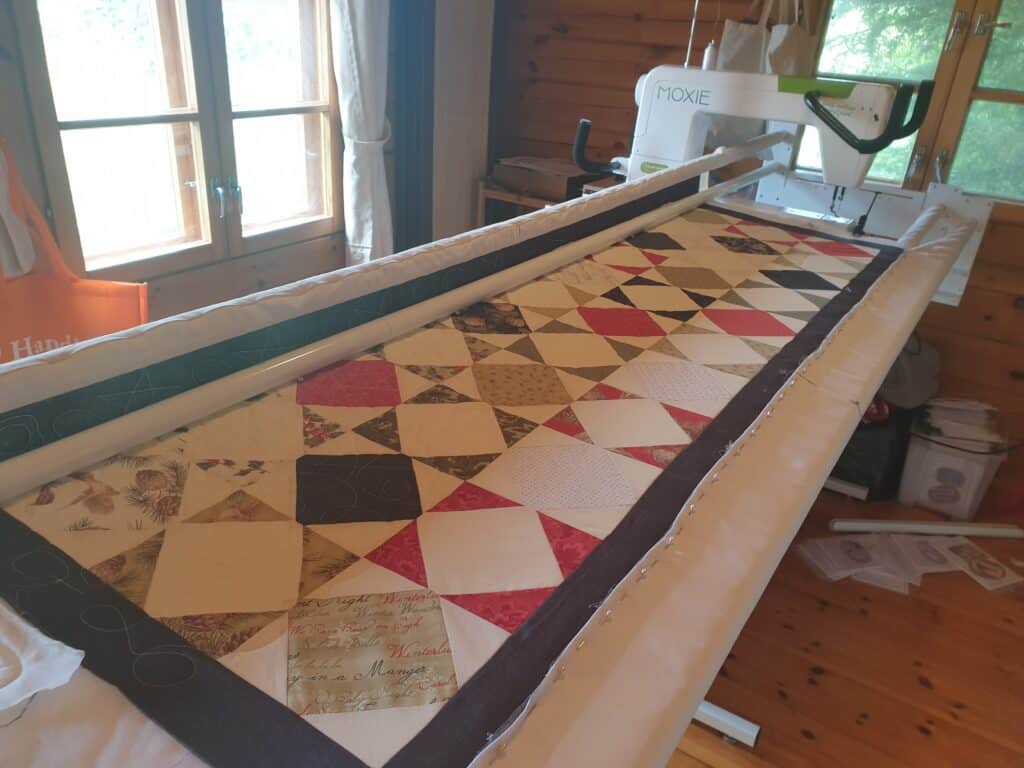
By carving out time for creativity in your daily routine and embracing the therapeutic benefits of crafting, you embark on a journey towards greater harmony and fulfilment. So, whether it’s a few moments of knitting before bed or a weekend dedicated to sewing, prioritise your creative passions and watch as they transform stress into serenity, one stitch at a time.

In conclusion, crafting serves as a powerful tool for combating stress and nurturing our mental well-being. Just as meditation brings calmness to the mind, engaging in creative activities like crafting can have a similarly soothing effect. The repetitive nature of crafting fosters a meditative quality, while the focus and attention required provide a healthy distraction from life’s stresses, allowing us to reside fully in the present moment. Through crafting, we find not only an outlet for self-expression but also a sanctuary where stress dissipates, replaced by feelings of accomplishment and uplifted spirits.

As April unfolds and Stress Awareness Month takes centre stage, let’s seize the opportunity to prioritise our mental well-being. It’s a time to explore new avenues for stress relief and self-care, and what better way to do so than by immersing ourselves in the world of crafting? Whether you’re a seasoned enthusiast or a newcomer to the craft scene, there’s something for everyone to discover. I invite you to browse through our collection of crafting kits, carefully curated to inspire creativity and promote relaxation. From hand-stitching to needlework and sewing, each kit offers a gateway to tranquillity and self-discovery.

As you embark on this journey of self-care and stress reduction, remember that you’re not alone. Together, let’s embrace the therapeutic power of crafting and carve out moments of peace and creativity amidst the chaos of daily life. Let April be more than just another month on the calendar; let it be a time of renewal, growth, and above all, a celebration of our commitment to nurturing our mental well-being.

Squaring up your Quilt top and Backing fabric

Featured

Are you ready for post two of our Quilting Finishing Techniques for both the longarm and domestic machine finishing?

So with the backing fabric the correct size and the quilt top finished, there is still abit more preparation needed before the quilt can be taken to be quilted on the longarm.

It is important to check if both the backing fabric and quilt top are ‘squared’ off (especially the TOP & BOTTOM EDGES), as it is necessary for the longarm quilting process. If the quilt is being quilted on the longarm, it is the top and bottom edges which will be attached to the rollers on the frame and need to be straight and parallel with each other. If these two ends are not straight, then the backing fabric will NOT lie flat and square on the frame.

Quilting does not correct issues if the backing and quilt top are NOT square. If the quilt is not square, has fullness through the centre, or has wavy borders you may end up with pleats quilted in to try and flatten your work. Both top and backing should be carefully pressed. If you can’t press it flat, the quilter can’t quilt it flat without a lot of extra work and maybe putting in some tucks or pleats.

So, with knowing why how backing fabric and quilt tops need to be square, the next question that comes up is, … How do I square up my backing fabric?

I can remember from my dressmaking days, my mother (who was a professional dressmaker) taught me that if you required a straight cut to your fabric, the best way was to snip a little pass the selvedge, and rip the fabric, all the way across to the other side. This ensured that you had ‘cut’ your fabric along the straight of the grain. This method can work most of the time. However, what happens if the grain is slightly off which can happen if the fabric has been sitting folded on a bolt for a while and the grain gets slightly distorted. It can take quite a bit of pulling the fabric piece at some weird and wonderful angles to encourage the fabric grain to come back in a straight line. Usually this method does bring back the correct lay of the fabric grain. So, if you want to use this method to square off your fabric, ENSURE the grain is straight by lining up your selvedges and check that the ‘ripped’ edges lay straight.

I have used another method for many years to find the straight grain of my quilting fabrics and even use this method to get my fabric to lie flat when I store the fabric on boards. I will go into this in more depth when doing my blog series on organisation.

So, to square the fabric you first need to press the fabric to get out any creases or tucks. If it is a long length of fabric (more than 2 metres) I usually skip this first step and do it after the next step which is where I bring the two selvedges together of the fabric length so I am technically folding the fabric in half lengthways. However, I am NOT going by the cut edges of the fabric length and using them as a guide. I ignore those edges and focus on bringing the two selvedges together with my fingers as though it is hanging from a clothesline. 

With looking at the fold line that is hanging down, I check to see how it is hanging. Is it wavy, gathered or curving? If it is, use your fingers to slightly adjust the selvedge edges to the left or right until the bottom edge fold hangs straight and flat. You do NOT want to see any puckers.

Once I have the fold line nicely matching the selvedges and the fabric fold is lying flat, I then give the length a good press. Once it is pressed and the fold line is lying smooth and flat, I then lay the fabric length on my cutting mat so I can straighten up the cut edges of the fabric. Carefully smooth the fabric, keeping the fold line flat and bump free. At this stage the fabric (folded in half) will still be too big to be cut on the cutting board.

So, you now need to bring the folded edge to the selvedge edge and you have created four layers of fabric. The fabric length is folded into quarters. Check that the fold line and the selvedge edge is still pucker free and lying flat as well as the middle section of the fabric length is smooth. Check the second fold of the fabric to make sure that all 4 layers are in the fold and that there are no hidden wrinkles or lumps.

The four folds should now mean that your fabric length can be cut comfortably within the cutting mat guidelines. If you are working with extra wide fabric, it is the same principle, but you will need to keep folding the fabric until it is small enough to fit comfortable on your cutting mat. Just be sure that you smooth out any wrinkles and the fold line is lying straight.

Carefully line up the folded edge of the fabric length with a horizontal inch line on your cutting mat, ensuring that the selvedges edge is still on your cutting mat and NOT extending pass the mat onto your table.

Smooth fold and selvedges

Place the ruler near the edge of fabric that is to be straightened, with the body of the ruler placed on the actual fabric. Ensure the ruler extends past the fabric width by a couple of inches at each edge. Line up the ruler by matching the lines on the cutting mat with your ruler to ensure you are cutting a straight line.

Using a rotary cutter, glide along the ruler, applying enough pressure to cut through all layers of the fabric. Make sure you have placed your hand correctly on the ruler to apply enough pressure to prevent the ruler from slipping as you cut.

To ‘square’ the other edge of the fabric length, you turn the fabric along and repeat the steps.

You now should have a perfectly ‘squared’ backing fabric that is ready to be loaded onto the long arm.

So how do we ensure our quilt top is squared and ready to be quilted?

It is not just the backing fabric that needs to be square. The quilt top also needs to lie flat and square to ensure it goes onto the quilting frame correctly and not cause issues with quilting lines.

Sometimes a border that is not cut or sewn on correctly can cause Wavy Border Syndrome (W.B.S). Proper preparation and techniques can prevent WBS.

There are several types of borders. The quilt may have a pieced border that is designed to be pieced, as with our quilt – Exploding Squares. The pieced border makes it easy to ensure the borders are lying flat due to the pieces being pre-cut to exact measurements and there are ‘guideline’ marks along the quilt edge where each section connects. Basically, all that is needed is to pin where each matching seam is to meet as shown in the photo. If everything is cut and sewn together correctly, then there should not be any need to square off your quilt.

Exploding Squares
Exploding Squares quilt

Other quilts may just have a ‘plain’ border as with our Bookcase Quilt Tutorial, 12 Days of Christmas Quilt, The Hen Party Quilt and 4-Patch Quilt – where the borders are from ONE fabric and may be in one section or have a seam to create the exact length needed to fit along the edge of the quilt.

Borders should (where possible) be cut parallel to the selvedge of the fabric as this has less stretch to the fabric and lessens the chances of the border being over stretched while sewing and causes it to pucker, or under stretched which will cause the border to be wavy. Both of these issues will cause the quilt/border to NOT lie flat.

It would be ideal to be able to cut the border in one piece, so it is the EXACT length needed to be sewn to the quilt edge, but sometimes this is not possible. If you need to have seams in the border length, ensure that the overall length of the border piece is the same measurement as the quilt edge it is being attached to. It is recommended to pin each end of the border piece to the ends of the quilt top that you are sewing. I also attach several pins along the side – ideally in the middle and a couple in each half section, this helps to ‘ease’ in your border piece to ensure it lies flat.

Another type of border is where you have pieced borders, using left over fabrics from the quilt centre design. The pieces can be all different lengths (but the same border width) to create a ‘scrappy’ border as in our BOM quilts – Autumn Beckons and Down by the Seaside quilts. These borders have several seams in the border to achieve the exact length of the required border and attached to the quilt edge. With having the quilt loaded onto the long arm frame and stretched, it can cause the border seams to come unstitched. A way to lessen this possibility, is to stitch the border seams with a smaller stitch length (I usually use a 2mm length) and to also ‘stay stitch’ the edge of the quilt top.

It is also important to have BOTH opposite border sections the same length. All four border pieces are prepared and sewn in the same manner. If you have prepared and attached your border sections correctly, then it is pretty much certain that your quilt top is square.

Checking how square your quilt top is the same method as for squaring your quilt back. Bring together BOTH side edges of the quilt top, ensuring the fold line of the quilt top lies flat and pucker free. If needed, you can then cut the top/bottom edges to ensure they are straight and square. The method is then repeated by bringing the top and bottom edges together to check on the side edges.

If you wish to keep a copy of this technique for future reference, you can download the PDF – How to square off your Backing fabric/Quilt top – here.

So with explaining How to ‘square’ off our backing fabric and quilt top, it now leads into the question of – ‘What fabric can be used to back a quilt?’

Come back next week to find out about –

Backing fabric options – Extra wide fabric / Sheeting / Pieced backs

And the following posts –

  • Binding          – How much binding / How to prepare binding / Attaching binding to quilt front / Finishing the binding
  • Quilt Labels – Why quilt labels? / What to put on a label / How to create a label / How to attach a label

Size of Backing Fabrics/wadding for the longarm

Featured

Are you ready for post one of our Quilting Finishing Techniques for both the longarm and domestic machine finishing?

Our first post is about the size of backing fabric and wadding that is needed if you are getting your quilt finished on a longarm.

Over the years, I have always quilted my quilts either by machine or by hand (when I had the time, which is usually never).

I seriously dread the layering of the three fabrics to create the ‘quilt sandwich’. I have to admit that larger quilt tops could hibernate in the ‘to be quilted’ box for a number of months …. or years! Not sure why, but I think it is more the dreaded thought that I could end up being short of either the wadding or backing fabric. I can honestly say that I ‘always’ ensure that my wadding and backing fabric is roughly 2-3” larger than the quilt top, around ALL 4 sides. However, I have had, on at least one occasion where I have miscalculated and have run short of either the wadding or the backing fabric and had to re-do the layering process. Tough lesson to have when it is a huge quilt.

Layering quilt on the table with only about a inch or so extra of the wadding and backing fabric – tight squeeze, but ok for quilting on domestic sewing machine

So, what if the quilt is being sent to be long armed quilted? Is the rule of 2-3” larger than the quilt top? I never thought it would be different and was surprised that it wasn’t the same. I am guessing that I wouldn’t be the only one who thought it would be the same principle if you were quilting it on your own machine. Reading that both the backing fabric and the wadding needed to be at least 8” larger than the quilt top (at least 4” larger on ALL four sides) really surprised me.

It got me doing some research to find out why. Strangely enough, I like to know the reasoning behind rules and techniques and why it is so. In finding the answers I thought it would be a great opportunity to explain the ‘why’ in a blog post so you can understand the reasoning why so much extra is needed on the long arm frame.

So, the 8” isn’t to allow for the longarm quilter to compensate for any layering errors she may have. The three layers are loaded onto the frame separately to ensure that each layer is wrinkle free and taut on the frame. The backing fabric and top have the centre top marked so that the centre point on both fabrics can be matched to the centre point on the take up rollers on the frame. This helps to ensure that the quilt top is placed centrally on the frame. The wadding is laid between the two with the wadding and backing fabric side edges matching. The quilt top lies on these two with 4-6” clearance all the way round.

clearance of wadding and backing fabric on a longarm frame ready for quilting

So why is size important?

The quilt back is loaded onto the quilting frame and two rollers – one at the top and the other at the bottom. This gives a flat surface, free of wrinkles with a tension that enables you to quilt.

quilt on the longarm frame

However, to be able to quilt well, you need good tension on both sides, not just at the top and bottom. The side tension is achieved with the side clamps that are attached to the frame. This now gives a 4-way tension on the quilt which prevents any puckers or tucks. This still doesn’t really explain why the extra fabric is needed on the backing fabric and wadding.

side clamp to ensure correct side tension

Well, if the quilt top was the same size as the wadding and backing fabric or if not much clearance has been allowed, then the clamp would be too close to the quilt top. This causes a big issue when the quilt is being quilted and the need to quilt (or baste) up to the side edges of the quilt top. The machine needs clearance to ensure the needle can go over the quilt edge. If the clamps are too close to the edge of the quilt top, the machine will bump against the clamp, causing the quilting stitches to be off.

side clearance of wadding and backing fabric – only about 1″ of wadding and 2″ for backing fabric. It meant that extra care needed to be taken to ensure the wadding and backing fabric cleared the top quilt and quilting had to be worked around the side clamp to prevent being knocked.

If rulers are being used for quilting, then it really is essential to have clearance as the ruler base extends on each side of the machine. If that base hits the side clamps, then it could mess up the ruler work.

Another important reason for having that extra clearance is that the tension needs to be checked with each new quilt loaded to ensure that both the top and bobbin thread are stitching correctly. This also needs to be done after each bobbin change. The tension test needs to be done using the backing fabric and wadding with a small piece of extra fabric (usually the backing fabric) as this is what is being quilted so will give the actual quilt stitching. If there is no extra allowance, then there is no room to test the tension.

suitable clearance from the quilt top to provide room for being able to do a tension test before commencing to quilt and enough clearance so the side clamps would not get in the way when quilting.

This would also apply if you were stitching free motion on your quilt with your domestic sewing machine.

So with explaining about the size of the backing fabric, it now leads into the question of – ‘what can I use for my backing fabric?’

Come back next week to find out about –

Backing fabric options – Extra wide fabric; Sheeting; Pieced backs

And the following posts –

  • “Squaring” off backing fabric and quilt tops
  • Binding          – How much binding; How to prepare binding; Attaching binding to quilt front; Finishing the binding
  • Quilt Labels – Why quilt labels?; What to put on a label; How to create a label; How to attach a label

Going Solo

Featured

So, today was the day that I decided that I was going solo on Moxie, my new toy.

I thought it was about time that I grabbed a quilt top that needed to be layered and quilted, and just see exactly how much I had remembered from the trial piece a week or so ago. Strange how subconsciously you seem to put things off, because you are scared that you have forgotten or just won’t be good enough. Well …. The thing with a long arm quilter …. Is …. That you just won’t improve your skills if you don’t get onto the machine and use it!!!

However, I was just slightly scared to jump right in with one of my large quilt tops …. I wasn’t that brave!! So armed with a (very large) table runner top, wadding and backing fabric and of course the essential cuppa, I headed up to the cabin. The sun was out and it was a nice morning. I opened the door of the cabin and let in the fresh air, turned on the lights and put on a CD to give me some great music to keep me company. Of course, I also had Holly and Nora come out to keep me company on the decking outside enjoying the sunshine …. You can’t be without animals.

Bracing myself to start loading onto the frame

So, after a few deep breaths and pulling up my ‘Big Girl panties’ I went to start loading the layers on to the frame. That certainly is a lesson in itself, but I am pleased to say that I had retained how to load on the layers and get them all centred and straight on the frame. Mind you, I do have to admit that it takes forever! Or maybe, I am just slow and nervous about getting it all on to the frame…. Maybe it had something to do with the fact that once the piece was loaded onto the frame, it meant that I would actually have to start up the machine and actually do some quilting.

Loading the backing fabric on
Loading the top

Once the layers were on the frame, it was now time to turn the machine on! That took me a few moments to brace myself up to that fact! But I did it, and was slightly amazed that it did turn on. I then had to mentally prepare myself to changing the thread colour on the machine and rethreading the whole thing! Thank heavens for the manual! It certainly is worthwhile to have the manual handy so you can check things when you are unsure – it is what I always told my students when they were learning to sew. Have your manual handy and read it! It definitely was a case of ‘DO what I say’. So after rethreading it, I was now ready to start basting the top to the wadding/backing. I even remembered to place the locking ring onto the machine wheels so it would stitch straight across, though, I think I didn’t place it on correctly, as the ring went flying off part way across and I stitched some rather wonky lines after that.

Preparing to baste the wadding to the backing fabric

I also found that it was not stitching correctly! It was that dreaded tension thing… the tension issue that I can never fully understand and hate! So out came the manual again and sitting down with a (now cold) cuppa to have a proper read of everything tension wise. AND, heedless to say – I forgot the most important issue in using a long arm – DO A tension check at every bobbin and thread change! Truly failed that lesson!! So did the bobbin test – YES – that needed slight adjustment …. Issue sorted. Then the top tension which was the issue, so I adjusted the top tension dial. And started to get sewing again. This time, the stitching was just right!

I was trying to decide what to stitch onto the runner. I wanted something just a bit more than wriggly lines, don’t get me wrong, wriggly lines are great when you find it hard to stitch in straight lines! But I wanted to add something else in it. I finally settled on doing some curls and stars with the wriggly lines and stitching a complete line of stitching across the length of the runner without breaking the stitching. That in itself is a mission. I had practised the stars on the practice piece as I thought they would be so easy as they were something that I would doodle on paper when bored (or for no reason at all). I could draw out those stars using a single pen line and not lifting off the paper in my sleep. But for some reason, when I practised on the first fabric, I could not seem to get those stars right! But I did a few practices on paper and found I could do them if I did not think about doing them.

So, those Big Girl panties were pulled higher and the music turned down so I could concentrate on the first pass of stitching. I started at the left hand side and wriggled, curled and managed stars all the way to the other end. I managed to do the first pass without too many errors – my stars even resembled stars (if we don’t look too closely). I was ready to come back, roll the runner up on the frame and start the second pass.

Managing to stitch stars, curls and wriggles

The start of the second pass wasn’t going to work! Moxie was being nice this morning to start with, she was being gentle with me. However, I spoke too soon!!! Moxie decided to play up and really give me a crash course in trouble shooting and how to get to know how to sort out all those minor issues! I have to be honest, it was hard for me to stay calm and not panic. I really wanted to walk away and cry. I then reminded myself that I had put on my ‘Big Gil panties’ and I needed to know how to deal and sort out minor issues. So it was like having my very own lesson and not knowing what I was meant to be learning.

The trusty manual, came into play again. But it really didn’t tell me why it was refusing to stitch. Thank goodness, for the internet and Facebook. I am part of a few long arm groups and specifically a Moxie group and I recalled someone saying that they had an issue with the machine not stitching even though everything was on. So, recalling the suggestions, I checked all plugs that connect to the machine as apparently they are sensitive and need to be pushed fully in. Found one was not in fully, so sorted that out. Got it stitching but it was now skipping stitches and not wanting to do curves, so again, it was reading the manual and they recommended changing the needle. My lesson also included How to change a needle! I got it working properly now and it was ready to start doing wriggles, curls and stars again.

This time, I put ABBA on, turned the volume up and I was ready to go. Good loud music that you can sing to is a great motivation to get struck in and just zone out. I completed the second pass without any issues. The test was if it would do the third without issue. And it did!

second pass complete

So going solo this morning was the best thing ever. I learnt all the troubleshooting issues and how to fix them …. Fingers crossed. The downside …. I finished quilting far too soon! I was really getting into it and thoroughly enjoying being creative with the machine and listening to ABBA up loud and the door open, letting in the sunshine and Holly lying outside the door on the decking. There really is nothing better than zoning out and being creative.

All over quilting, now binding …..

I am really looking forward to taking my next flight with Moxie and getting creative. Next time I will upgrade to a quilt! I look forward to sharing my journey with you and being allowed to get creative with your quilts …. If you trust me ……