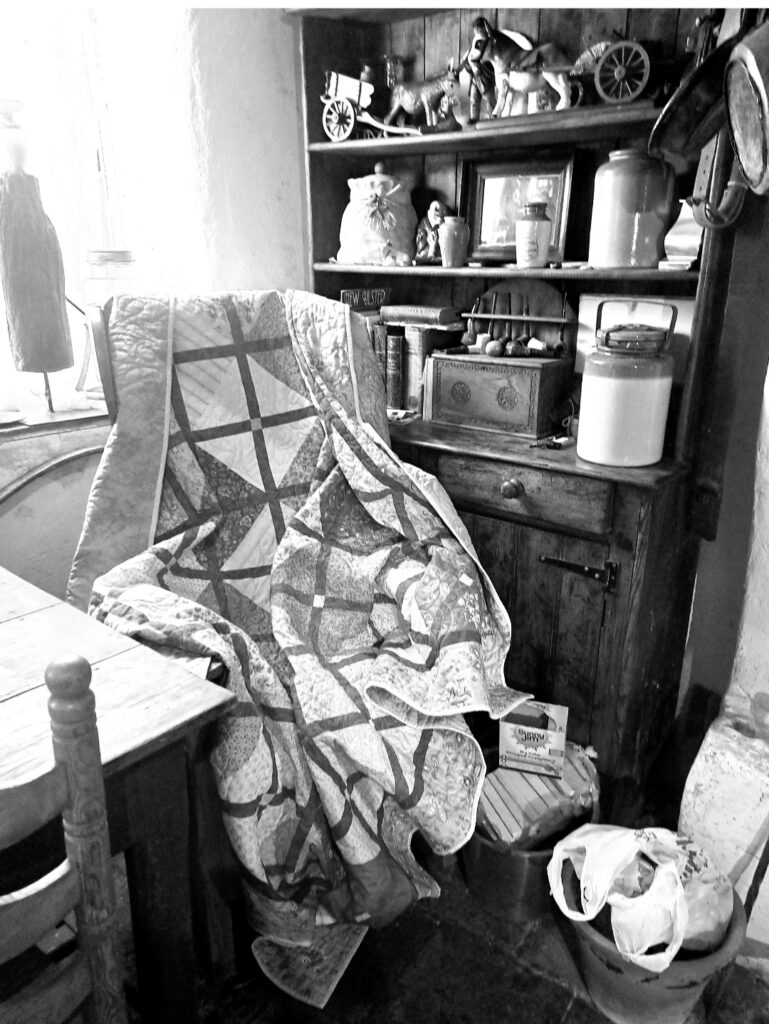
Years ago …. Well before COVID … that dreaded word … how the world has changed since then …. Isn’t it funny how we seem to relate to incidents or happenings to … BEFORE COVID …. Well …. In this incident, it was prior to Covid and the dreaded LOCKDOWN in early 2020.
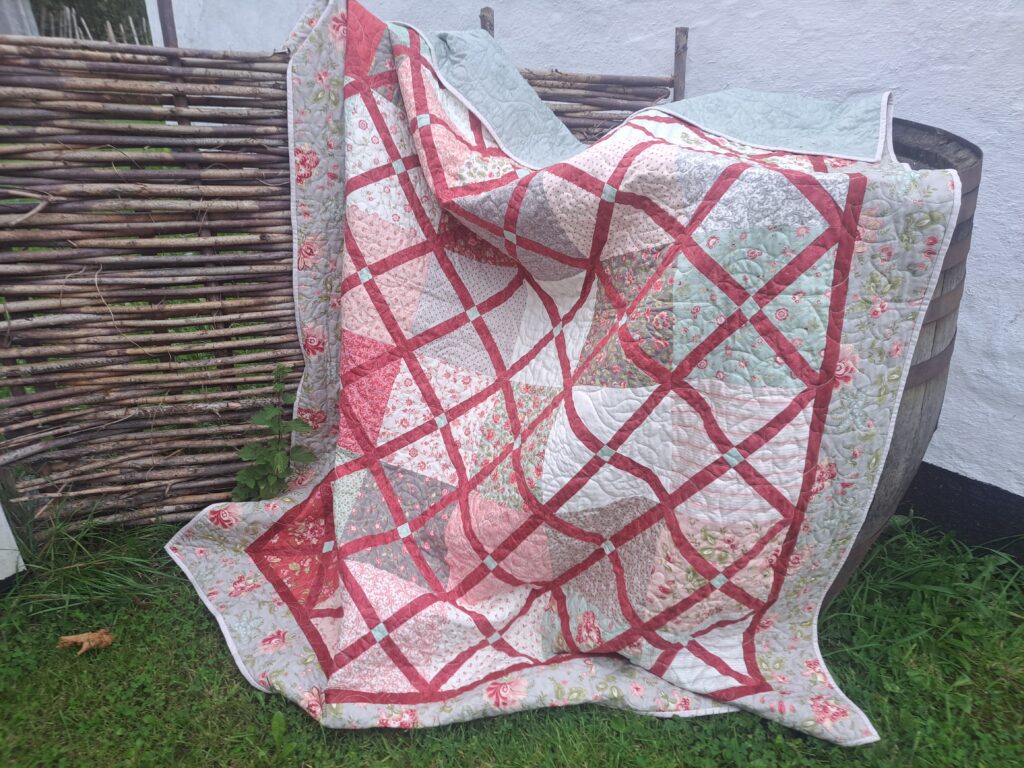
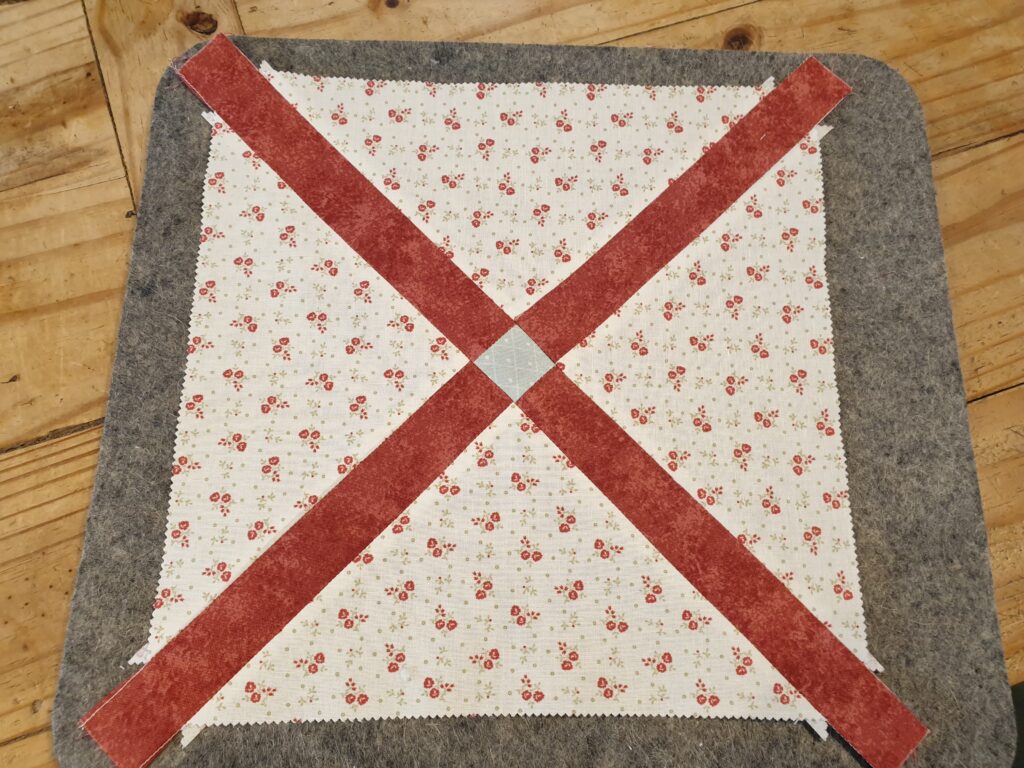
However, this quilt design started prior to then. In fact it was late 2019. I had a design for a quilt in my head and I started to work on it. I had the rough sketches and notes for the quilt using a Layer Cake and some fabric lengths. It was an easy quilt to put together. I had done up the notes for creating the blocks and sashing strips – all constructed using a simple construction technique. I had put the notes into a folder and set about making up my quilt sample. The quilt blocks came together well, and I was thrilled with the overall effect once the blocks were sewn together and created like a ‘trellis’ effect with the sashing strips meeting in the corners of each block.
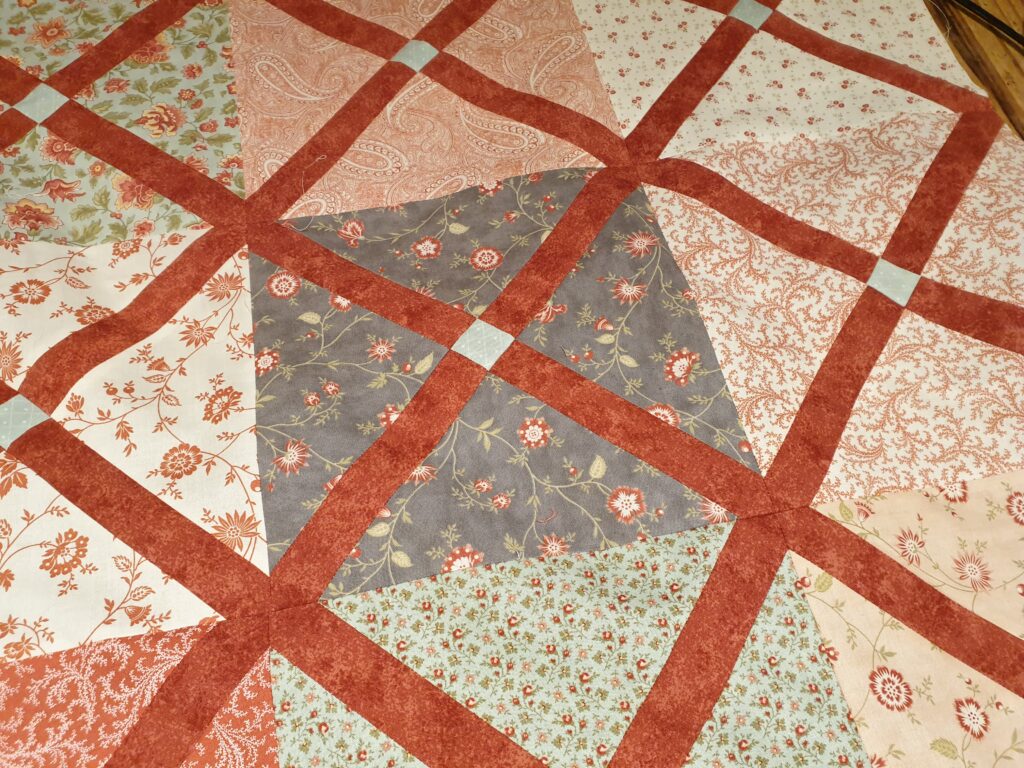
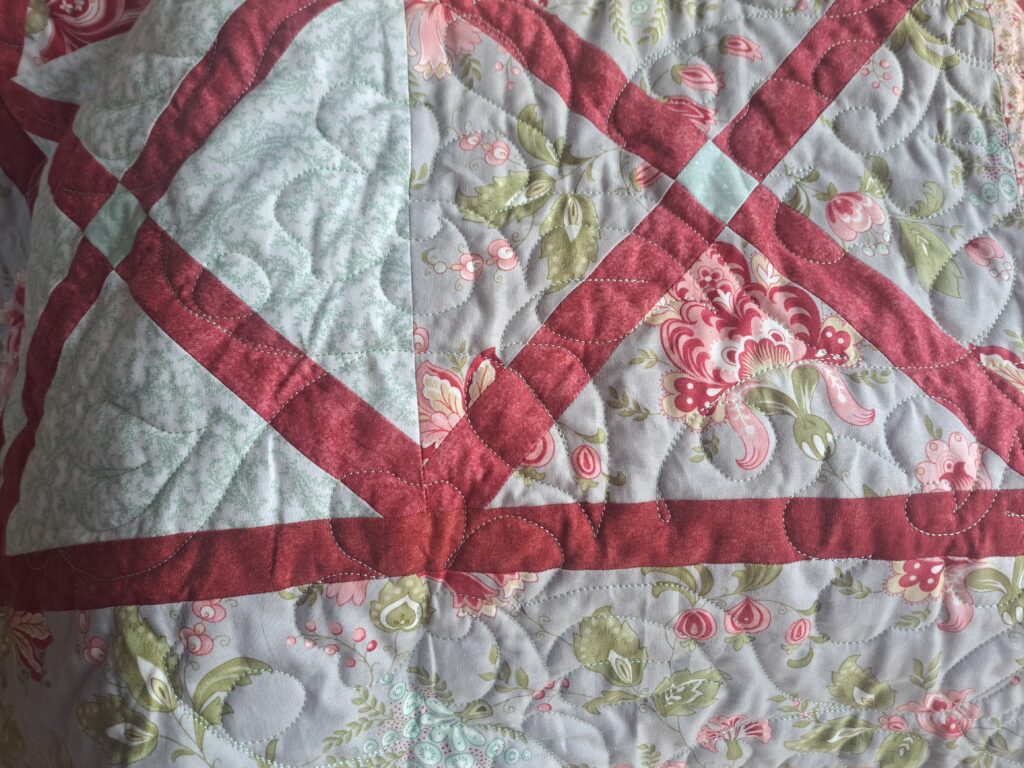
Then came to cutting and attaching the inner border…. That was when the FIRST MISHAP happened! I didn’t have enough of the red fabric to do the inner border. Remember, I was using my stash fabric …. But I didn’t worry too much as I knew it was a fabric line that was continuous due to it being a great staple in blender fabrics. I searched online for the fabric line and the needed colour – Red. Shouldn’t be too hard – Red is RED – right??? Actually … it’s not that simple. I should have known that not every Red is the same. I found 3 reds in the fabric range, I ordered them, and they arrived …. Only to find that …. NOT ONE of the reds were remotely the RED I needed. So I phoned up the fabric store and discussed my problem. I was told that it probably a RED that the fabric company had discontinued. Their suggestion was to post them over a snippet of the Red fabric, and they would try to match it up as best as they could…. And then LOCKDOWN happened, and I never heard back from them about a suitable Red fabric replacement! To add to it all, there were no other shops – everyone was in lockdown!
So my search for Red fabric was on hold. I put the quilt top away in a box. I still kept an eye out for any suitable red fabric and even rethought my quilt design. Fast forward many, many months (after purchasing any suitable red fabric that I saw online) and I came across someone on a Facebook De-stash group that was selling some red fabric. I purchased it and it arrived. Low and behold, the red fabric was NOT a direct match to the red fabric already in the quilt … BUT it was SO close that it was hard to tell there was a difference. I was now able to finish the quilt top by adding on the inner and outer borders.
Once the quilt top was complete, I thought that I should now start on finished typing up the final draft. Usually I do this BEFORE I sew up my design samples. So, since I couldn’t find a paper copy of the draft pattern, I knew it would be on the computer. To my dismay, there was NO draft pattern on the computer!! Who knew what had happened! I couldn’t even find any of my hand written notes. I guess after a few years of trying to find suitable fabric and a couple of lockdowns, I had forgotten the ‘safe’ place I had put it! (we ALL have that safe place …. right????)
So, this was now the SECOND mishap for this quilt! Are you starting to see a pattern arising here? I got back onto the computer and started to type up another first draft of the quilt, complete with NEW diagrams and instructions. I guess the positive outcome of this is that I now had better skills in doing up diagrams for the pattern instructions. Far more clearer than my first pattern. There is always a reason as to why things happen…. This second pattern version was far better than the first one. I was even able to do a mock layout on EQ software to see how the quilt would look once it was complete and to use the diagrams that I had created in EQ, in the pattern.

So, now that the second version of the pattern was in its final draft, I was able to send it off to the testers to test out the pattern. You have to agree that the quilt from one of the testers was simply stunning. Since she was local, we were able to load it onto the longarm as quilt it and I was fortunate enough to be able to take some lovely photos which really showcased it.
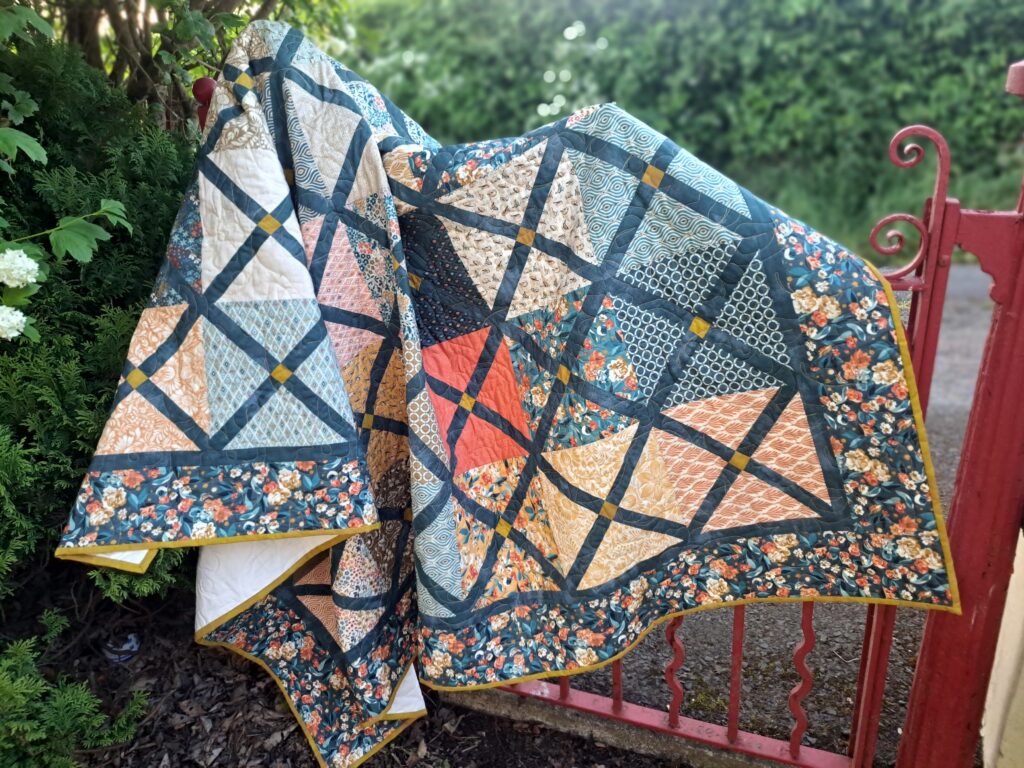
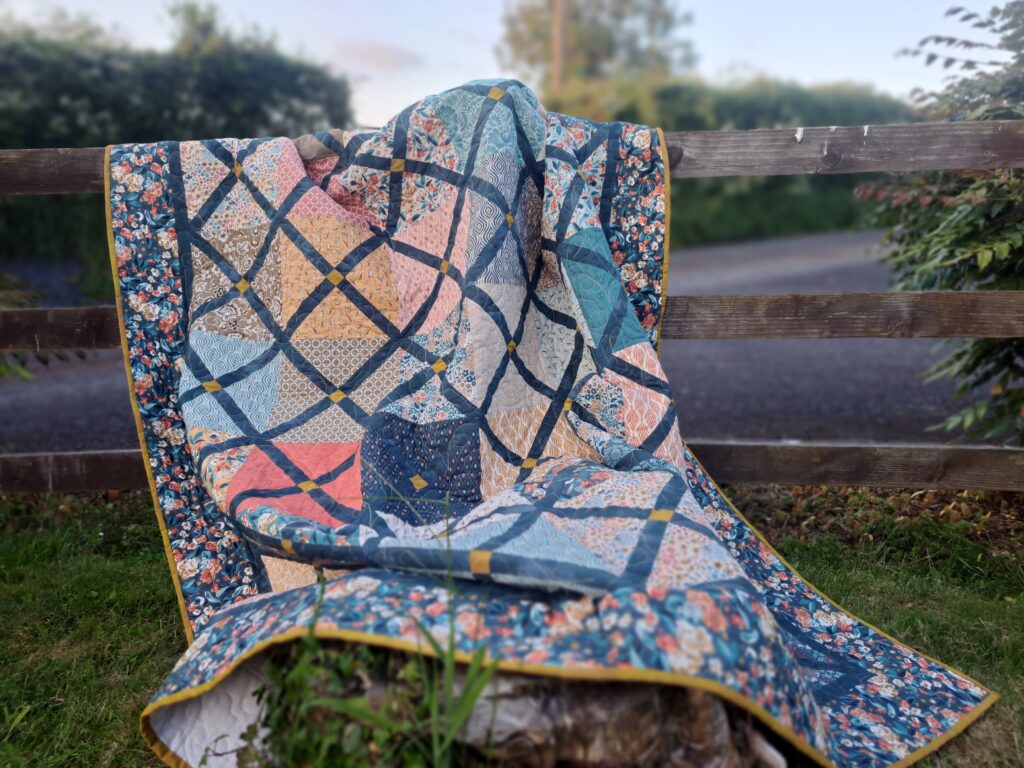
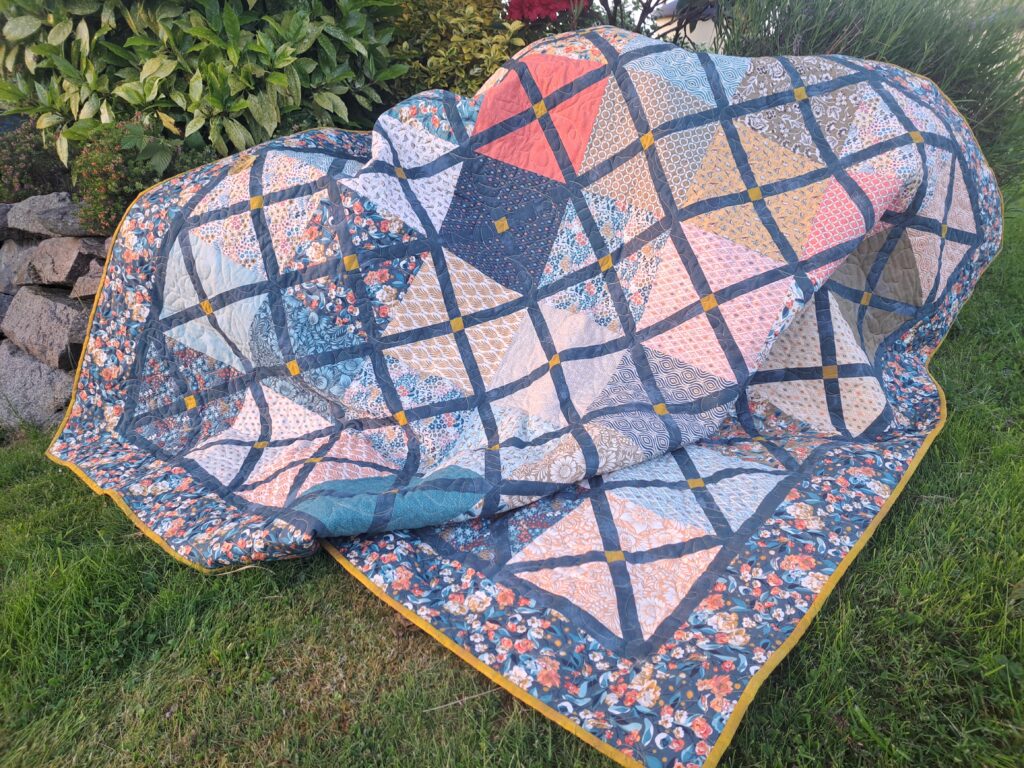
At this stage, my actual quilt sample was still lying in a box waiting on being quilted. But I was never able to get to that stage as my longarm was always busy with other quilts and it seemed to get pushed back all the time. I promised that I would finally get to it this summer (2023). It shouldn’t surprise me that it took over 3 years to get it to this stage … but it was great when it finally made it onto the longarm.
I guess you all know the saga of that incident – the THIRD mishap!! Even before it made it on the longarm, I mucked up the extra wide backing fabric!!! I don’t think there is many that have a seam in their extra wide backing fabric …. I meant the reason you purchase extra wide backing fabric … is so you don’t need to have seams! Well, trust me … this quilt decided that it needed to have a seam running in the middle of the quilt back! Not a disaster but hey … defeated purchasing extra wide fabric. So now that, THAT problem was solved, it was all about loading it onto the longarm frame.
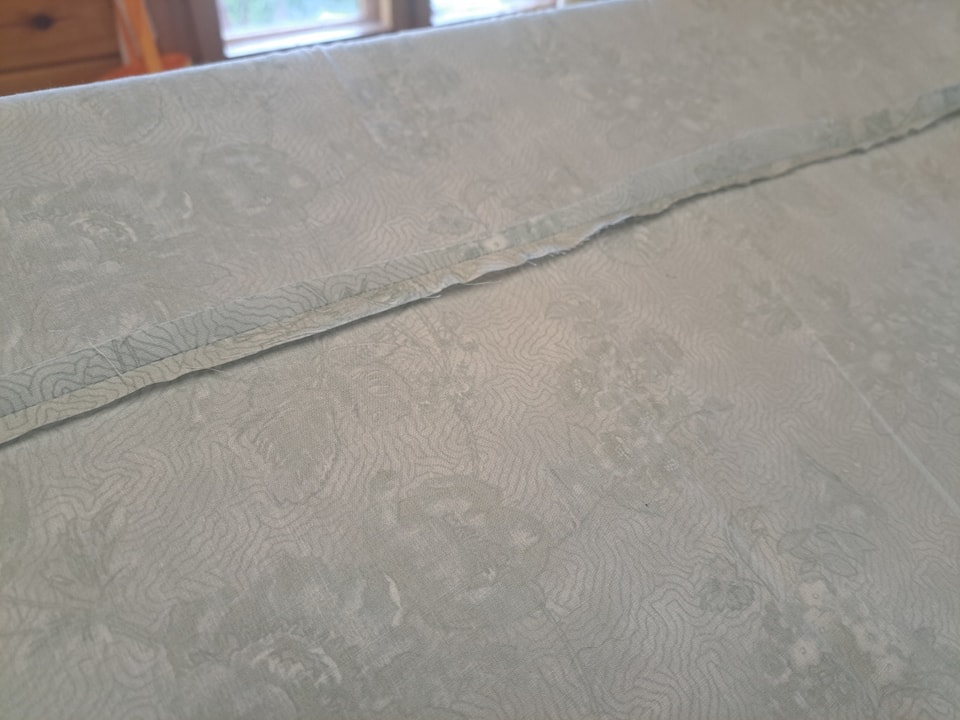

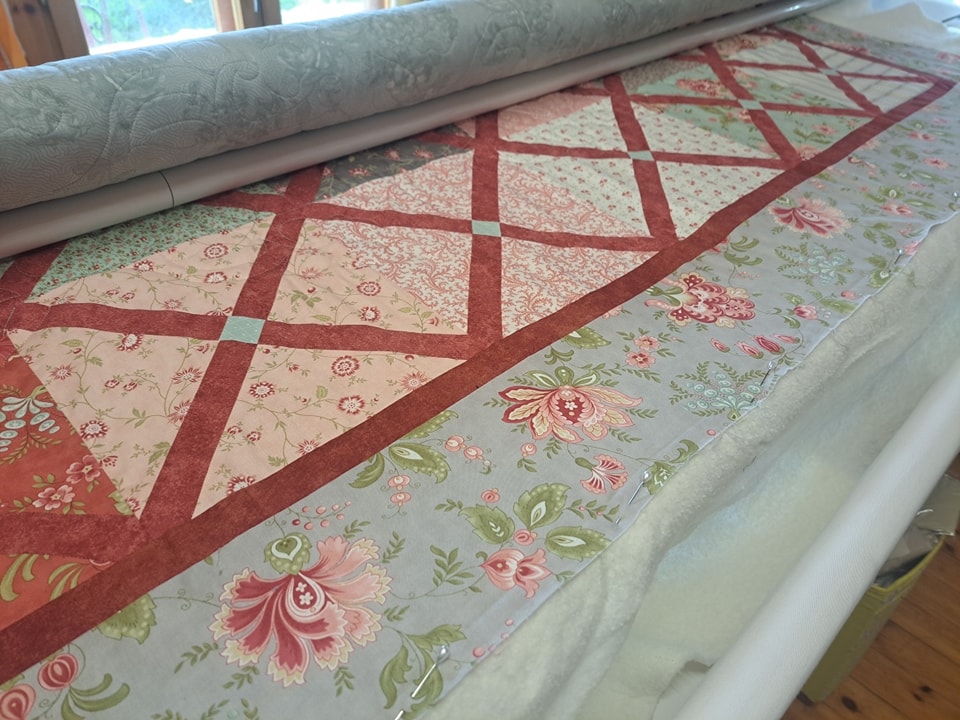
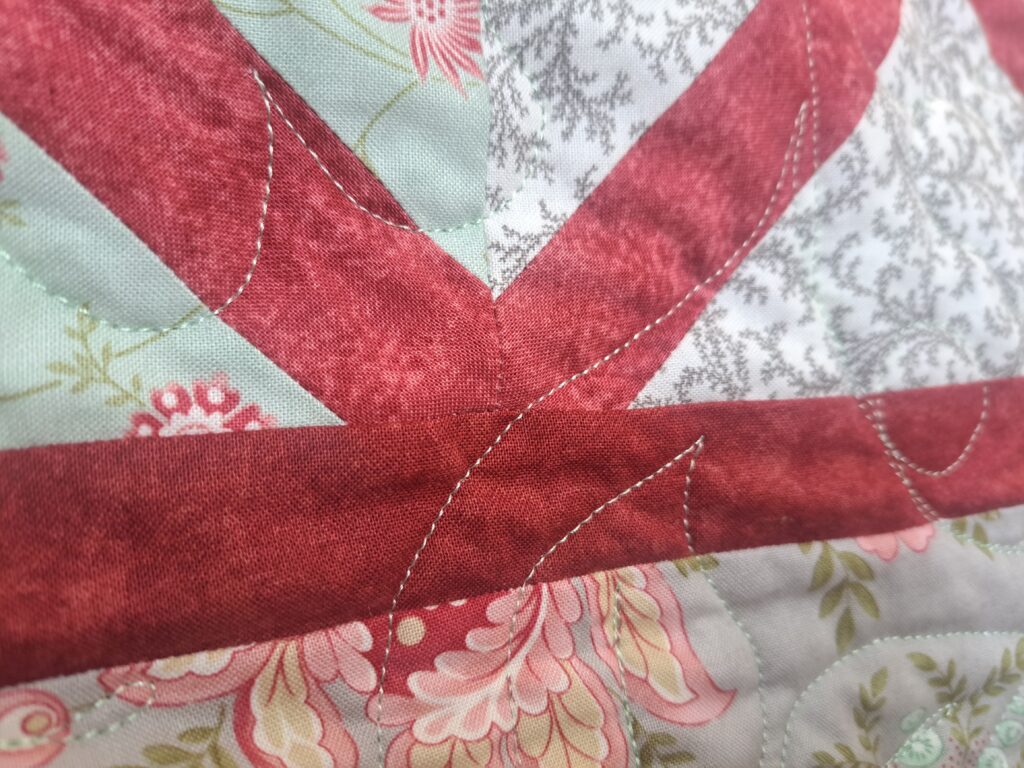
Once on the frame, the quilting design and stitching went great. NO problems at all!! Until it was near the end of the quilt – I only had two more quilting passes to go and the quilt was all finished!! You guessed it – FOURTH mishap!! The backing fabric was far too short for the quilt top!! I think this was about when I had my meltdown!!! It certainly had turned into the CURSED quilt!
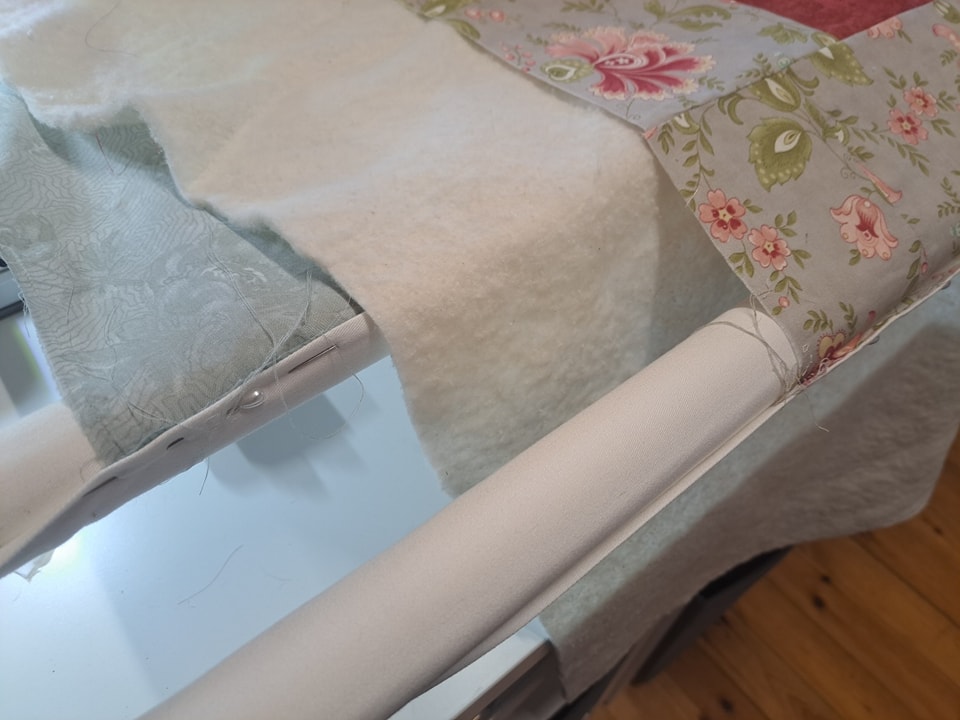
I can honestly say … a few ‘choice’ words were said … a few tears were shared …. And then I remembered, that once, when I first got the longarm, I had watched as many HandiQuilter videos as possible, and I vaguely remembered about one which explained and SHOWED how to attach EXTRA backing fabric WITHOUT removing the quilt from the frame!!!
I suddenly realised that it was not the end of the world and there is ALWAYS a reason (& lesson to be learnt) for mishaps. I searched the video and watched it, several times over. Turned up the music, took a few deep breathes and taught myself … HOW to attach extra backing onto the longarm frame! I can NOW quite proudly say that I tackled something that seemed impossible at the start …. Mastered it … and can NOW do it again … IF EVER this happens again. Let’s hope it doesn’t (or at least for a very long time) but it is always good to know that all things can be fixed (within reason). Nothing is truly LOST!!
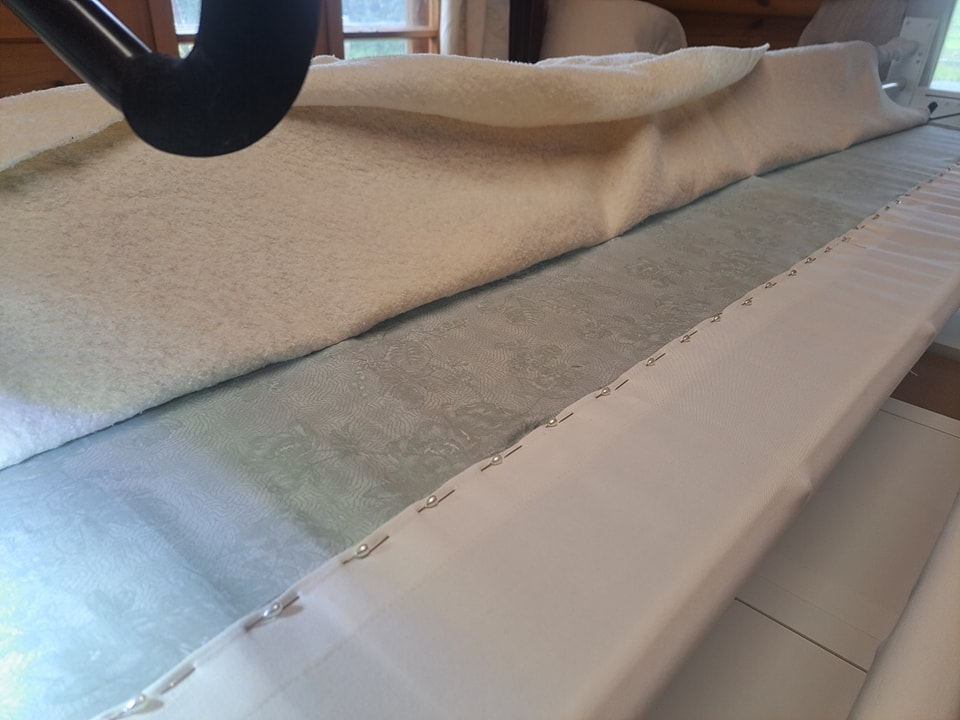
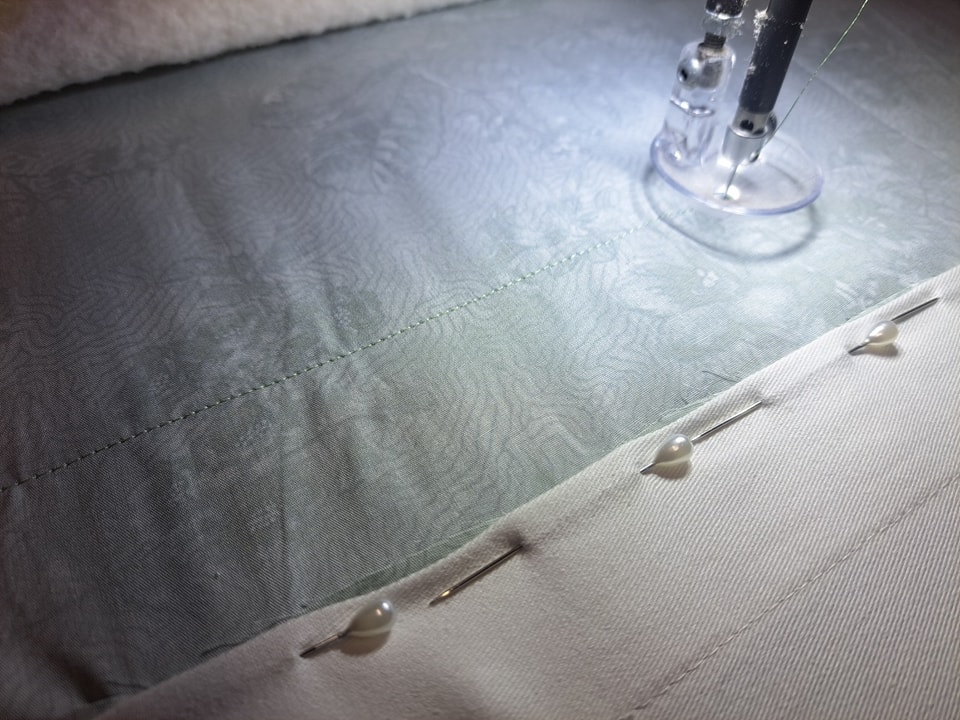
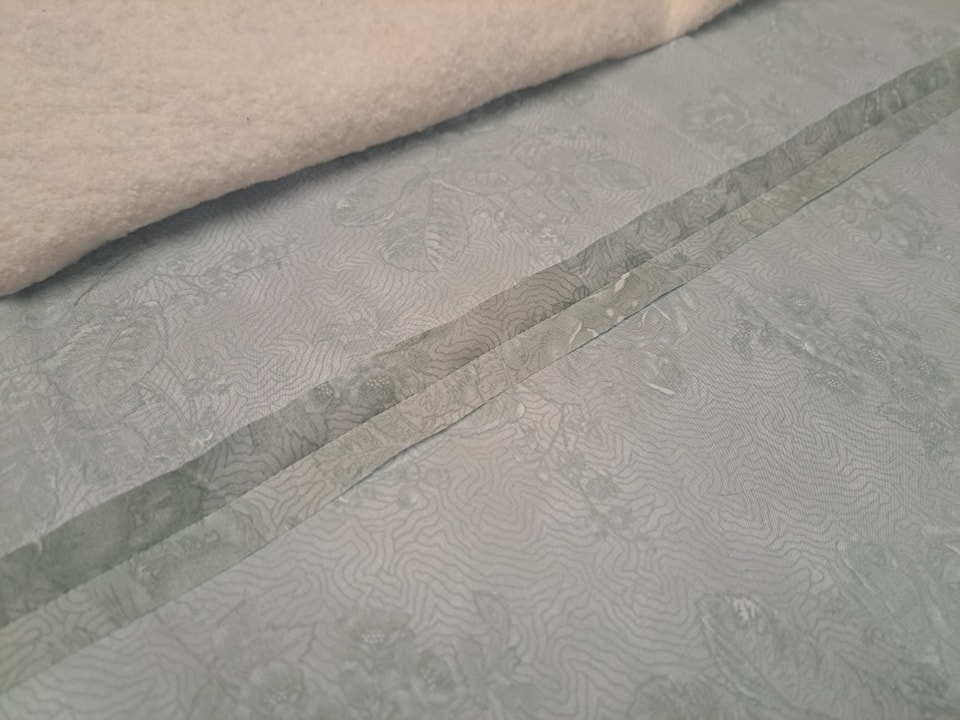
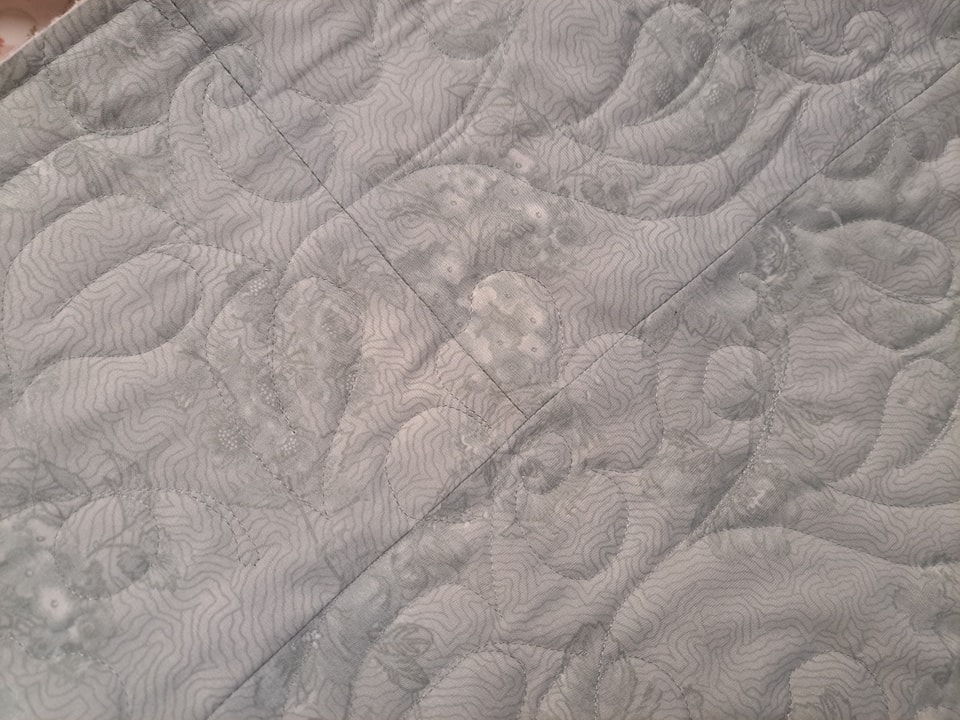
So with the backing fabric fixed (OK, instead of one seam, there is now THREE seams) … I was able to complete the quilting of the quilt and take it off the longarm. I could then attach the binding and hand stitch it. Finally, my quilt could be finished … even if was started 4 years ago!! But hey, the FIFTH mishap was about to happen …. The binding fabric that I had put away safe was NOT where it should have been! I searched my room for over an hour … I found LOTS of fabric I had forgotten about … But NOT the binding fabric.
I can tell you, that at this stage I was beyond caring …. I needed the quilt finished …. So I grabbed some suitable fabric that blended in and did a binding and got it handstitched.
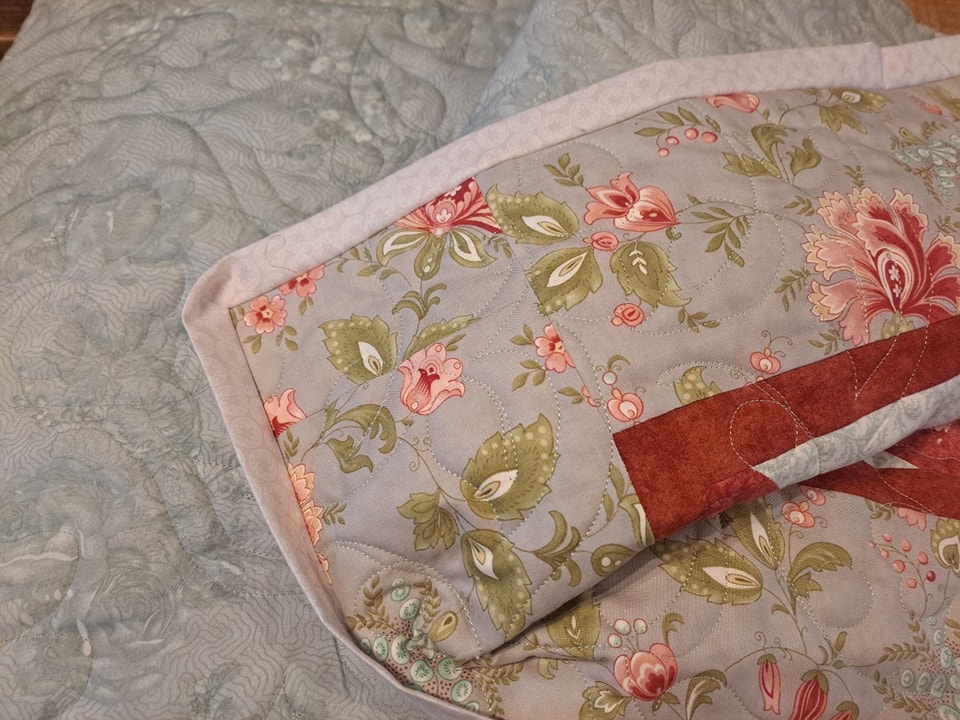
The saga of the CURSED quilt! So, is the pattern in any way CURSED ??? DEFINITELY NOT!!!
The actual quilt design, may look complicated…. BUT it is actually a simple design. It is just the journey I had in getting the quilt finished. I really enjoyed constructing the blocks and by following the simple instructions and techniques I have included in the pattern; you will also find that it is a relatively simple quilt design.
Though one word of advice – ENSURE that your Layer Cake fabrics are EXACTLY 10” square to begin with. If they aren’t, then you will struggle to get the essential finished block construction. You may think that ALL Layer Cakes are 10” square …. I mean that is what a Layer Cake is …. 10” fabric squares. This is what one of my testers found out. And in doing so, we all learnt that NOT everything is what it says it should be on the box! Measure beforehand. What is the saying – Measure twice, Cut once!!
This was such a learning curve, that I had to include this in the pattern.
So please, do not be put off by my cursed story of the quilt. I truly loved making the quilt and found it such a relatively easy make (& quick) especially if you follow through step by step in the cutting and preparation of the blocks. I am keen to make this quilt again …. And see if I can cancel out all the ‘cursed’ incidents.
The pattern is now available on my website …
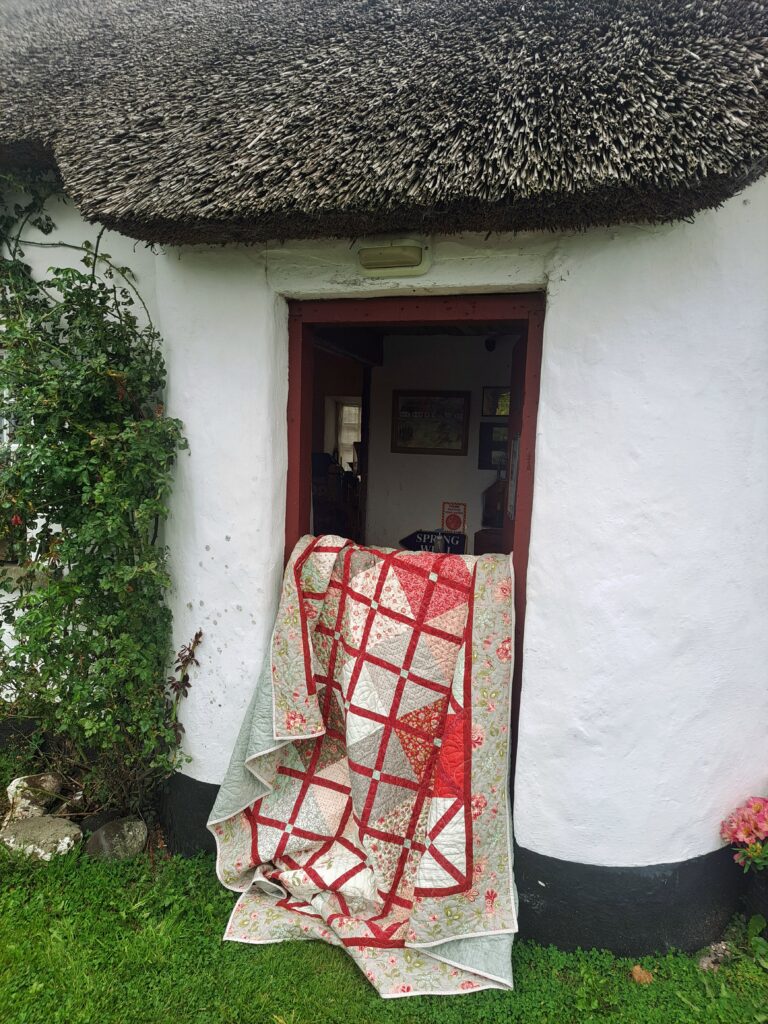
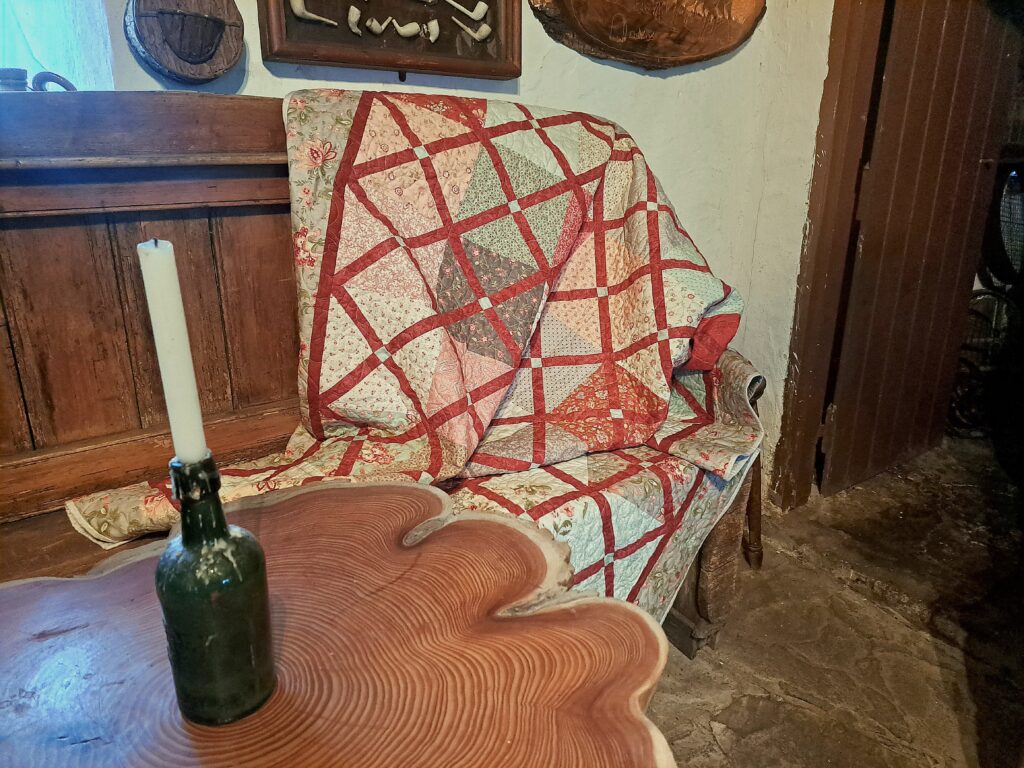
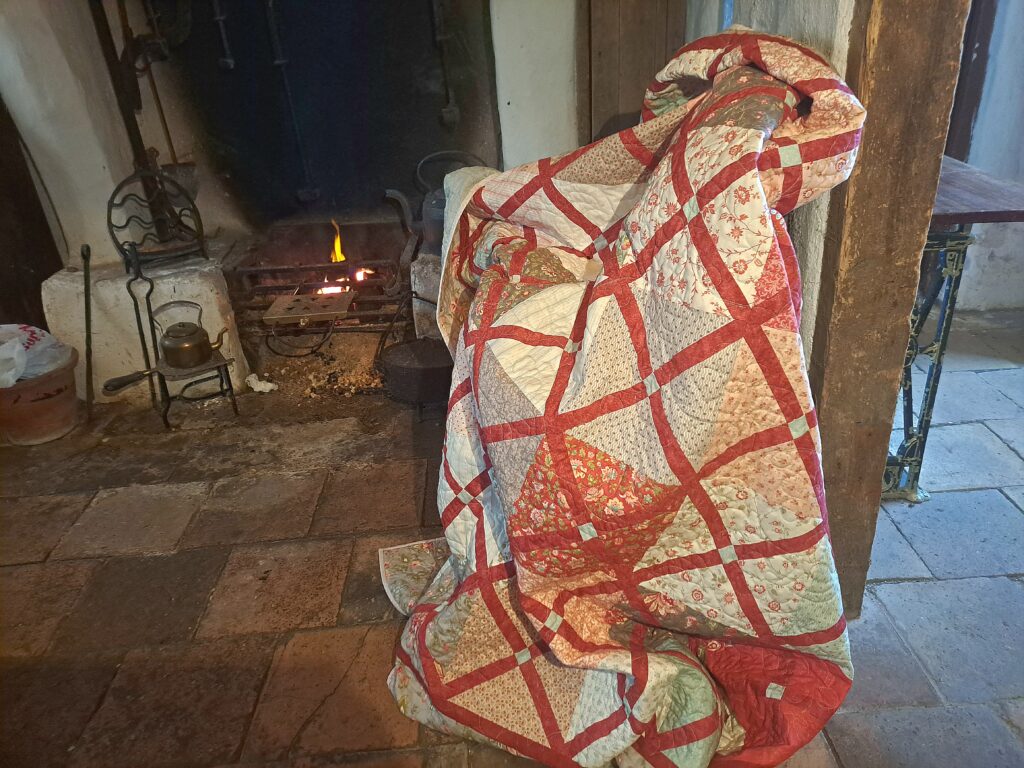
p.s. I couldnt resist taking the opportunity and doing a photo shoot of my quilt at the charming historic 300+ yr old Dan Winter’s cottage just outside Portadown, Northern Ireland…..
