Are you ready for post two of our Quilting Finishing Techniques for both the longarm and domestic machine finishing?
So with the backing fabric the correct size and the quilt top finished, there is still abit more preparation needed before the quilt can be taken to be quilted on the longarm.
It is important to check if both the backing fabric and quilt top are ‘squared’ off (especially the TOP & BOTTOM EDGES), as it is necessary for the longarm quilting process. If the quilt is being quilted on the longarm, it is the top and bottom edges which will be attached to the rollers on the frame and need to be straight and parallel with each other. If these two ends are not straight, then the backing fabric will NOT lie flat and square on the frame.
Quilting does not correct issues if the backing and quilt top are NOT square. If the quilt is not square, has fullness through the centre, or has wavy borders you may end up with pleats quilted in to try and flatten your work. Both top and backing should be carefully pressed. If you can’t press it flat, the quilter can’t quilt it flat without a lot of extra work and maybe putting in some tucks or pleats.
So, with knowing why how backing fabric and quilt tops need to be square, the next question that comes up is, … How do I square up my backing fabric?
I can remember from my dressmaking days, my mother (who was a professional dressmaker) taught me that if you required a straight cut to your fabric, the best way was to snip a little pass the selvedge, and rip the fabric, all the way across to the other side. This ensured that you had ‘cut’ your fabric along the straight of the grain. This method can work most of the time. However, what happens if the grain is slightly off which can happen if the fabric has been sitting folded on a bolt for a while and the grain gets slightly distorted. It can take quite a bit of pulling the fabric piece at some weird and wonderful angles to encourage the fabric grain to come back in a straight line. Usually this method does bring back the correct lay of the fabric grain. So, if you want to use this method to square off your fabric, ENSURE the grain is straight by lining up your selvedges and check that the ‘ripped’ edges lay straight.
I have used another method for many years to find the straight grain of my quilting fabrics and even use this method to get my fabric to lie flat when I store the fabric on boards. I will go into this in more depth when doing my blog series on organisation.
So, to square the fabric you first need to press the fabric to get out any creases or tucks. If it is a long length of fabric (more than 2 metres) I usually skip this first step and do it after the next step which is where I bring the two selvedges together of the fabric length so I am technically folding the fabric in half lengthways. However, I am NOT going by the cut edges of the fabric length and using them as a guide. I ignore those edges and focus on bringing the two selvedges together with my fingers as though it is hanging from a clothesline.
With looking at the fold line that is hanging down, I check to see how it is hanging. Is it wavy, gathered or curving? If it is, use your fingers to slightly adjust the selvedge edges to the left or right until the bottom edge fold hangs straight and flat. You do NOT want to see any puckers.
matching up selvedges
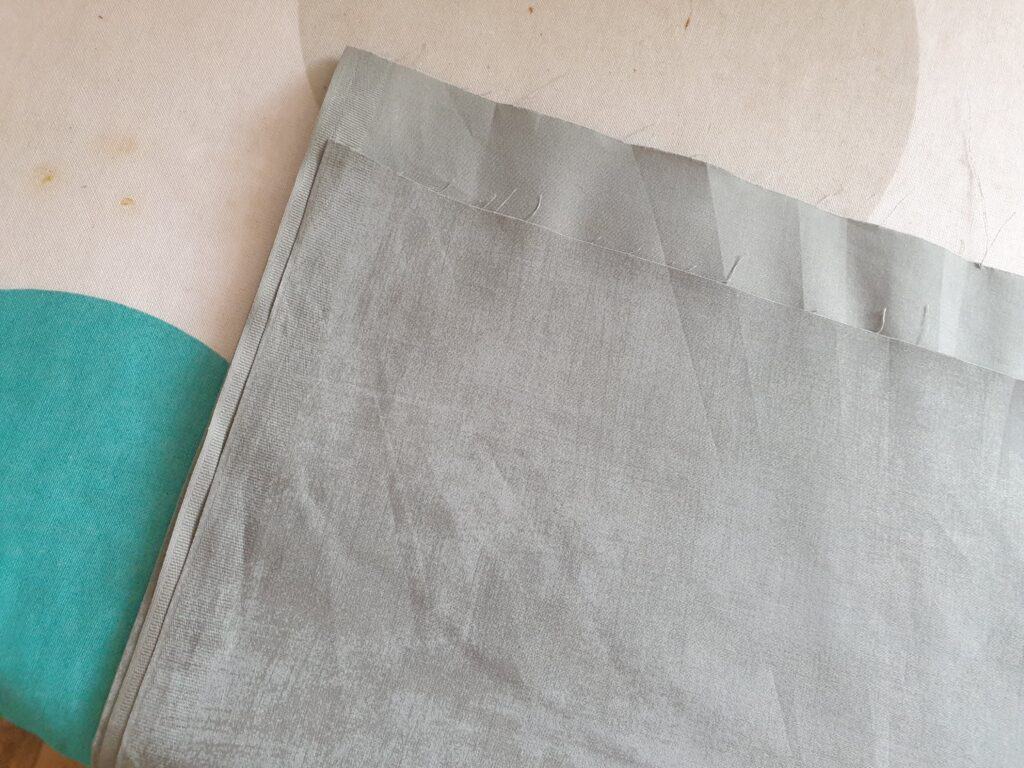
Once I have the fold line nicely matching the selvedges and the fabric fold is lying flat, I then give the length a good press. Once it is pressed and the fold line is lying smooth and flat, I then lay the fabric length on my cutting mat so I can straighten up the cut edges of the fabric. Carefully smooth the fabric, keeping the fold line flat and bump free. At this stage the fabric (folded in half) will still be too big to be cut on the cutting board.
So, you now need to bring the folded edge to the selvedge edge and you have created four layers of fabric. The fabric length is folded into quarters. Check that the fold line and the selvedge edge is still pucker free and lying flat as well as the middle section of the fabric length is smooth. Check the second fold of the fabric to make sure that all 4 layers are in the fold and that there are no hidden wrinkles or lumps.
The four folds should now mean that your fabric length can be cut comfortably within the cutting mat guidelines. If you are working with extra wide fabric, it is the same principle, but you will need to keep folding the fabric until it is small enough to fit comfortable on your cutting mat. Just be sure that you smooth out any wrinkles and the fold line is lying straight.
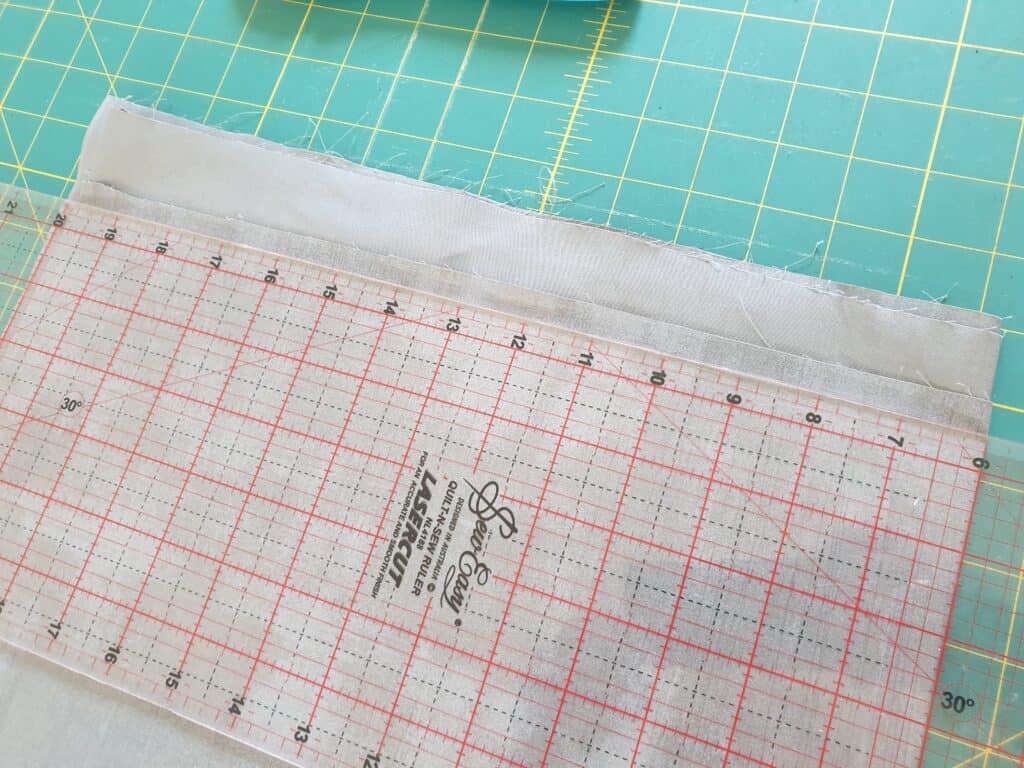
Carefully line up the folded edge of the fabric length with a horizontal inch line on your cutting mat, ensuring that the selvedges edge is still on your cutting mat and NOT extending pass the mat onto your table.
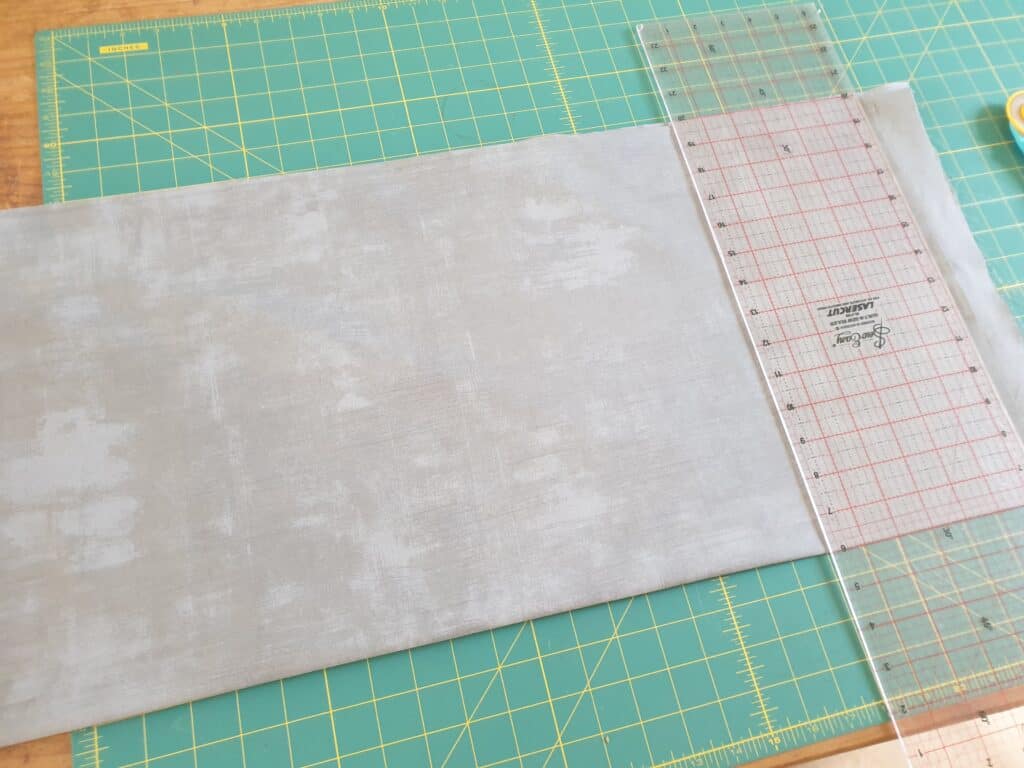
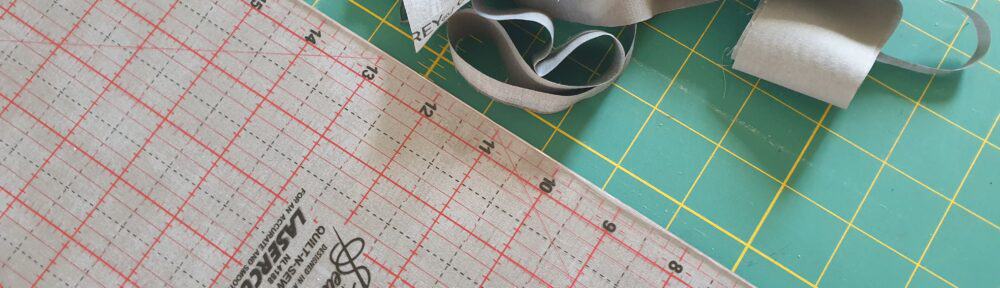
Place the ruler near the edge of fabric that is to be straightened, with the body of the ruler placed on the actual fabric. Ensure the ruler extends past the fabric width by a couple of inches at each edge. Line up the ruler by matching the lines on the cutting mat with your ruler to ensure you are cutting a straight line.
squaring up cut edges
Using a rotary cutter, glide along the ruler, applying enough pressure to cut through all layers of the fabric. Make sure you have placed your hand correctly on the ruler to apply enough pressure to prevent the ruler from slipping as you cut.
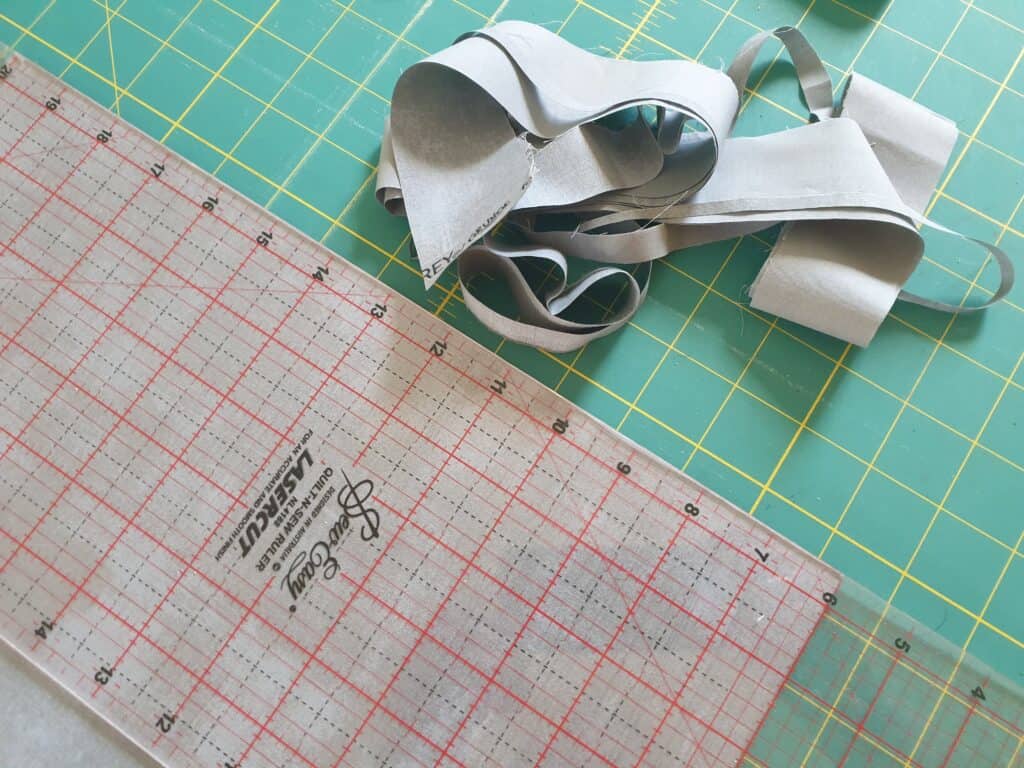
fabric squared and trimmed
To ‘square’ the other edge of the fabric length, you turn the fabric along and repeat the steps.
You now should have a perfectly ‘squared’ backing fabric that is ready to be loaded onto the long arm.
So how do we ensure our quilt top is squared and ready to be quilted?
It is not just the backing fabric that needs to be square. The quilt top also needs to lie flat and square to ensure it goes onto the quilting frame correctly and not cause issues with quilting lines.
Sometimes a border that is not cut or sewn on correctly can cause Wavy Border Syndrome (W.B.S). Proper preparation and techniques can prevent WBS.
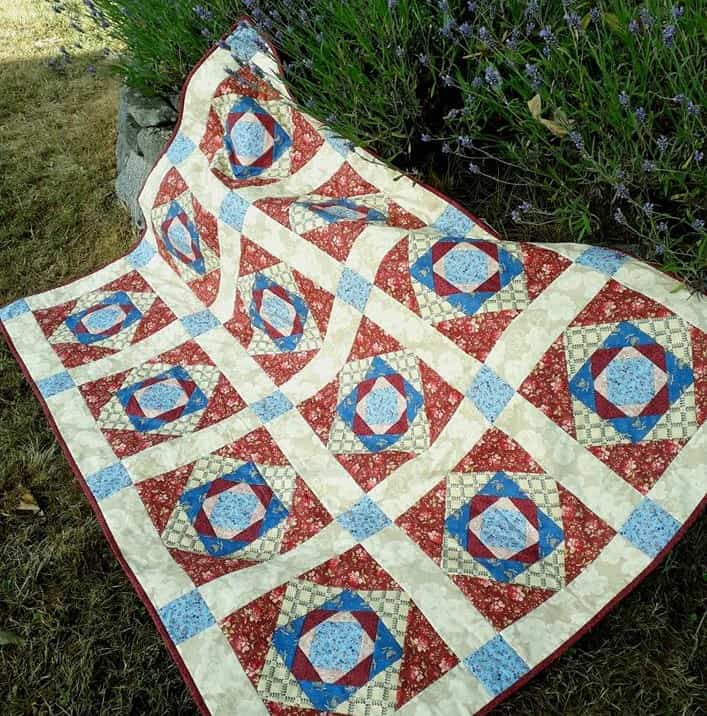
There are several types of borders. The quilt may have a pieced border that is designed to be pieced, as with our quilt – Exploding Squares. The pieced border makes it easy to ensure the borders are lying flat due to the pieces being pre-cut to exact measurements and there are ‘guideline’ marks along the quilt edge where each section connects. Basically, all that is needed is to pin where each matching seam is to meet as shown in the photo. If everything is cut and sewn together correctly, then there should not be any need to square off your quilt.
Other quilts may just have a ‘plain’ border as with our Bookcase Quilt Tutorial, 12 Days of Christmas Quilt, The Hen Party Quilt and 4-Patch Quilt – where the borders are from ONE fabric and may be in one section or have a seam to create the exact length needed to fit along the edge of the quilt.
Borders should (where possible) be cut parallel to the selvedge of the fabric as this has less stretch to the fabric and lessens the chances of the border being over stretched while sewing and causes it to pucker, or under stretched which will cause the border to be wavy. Both of these issues will cause the quilt/border to NOT lie flat.
It would be ideal to be able to cut the border in one piece, so it is the EXACT length needed to be sewn to the quilt edge, but sometimes this is not possible. If you need to have seams in the border length, ensure that the overall length of the border piece is the same measurement as the quilt edge it is being attached to. It is recommended to pin each end of the border piece to the ends of the quilt top that you are sewing. I also attach several pins along the side – ideally in the middle and a couple in each half section, this helps to ‘ease’ in your border piece to ensure it lies flat.


Another type of border is where you have pieced borders, using left over fabrics from the quilt centre design. The pieces can be all different lengths (but the same border width) to create a ‘scrappy’ border as in our BOM quilts – Autumn Beckons and Down by the Seaside quilts. These borders have several seams in the border to achieve the exact length of the required border and attached to the quilt edge. With having the quilt loaded onto the long arm frame and stretched, it can cause the border seams to come unstitched. A way to lessen this possibility, is to stitch the border seams with a smaller stitch length (I usually use a 2mm length) and to also ‘stay stitch’ the edge of the quilt top.


It is also important to have BOTH opposite border sections the same length. All four border pieces are prepared and sewn in the same manner. If you have prepared and attached your border sections correctly, then it is pretty much certain that your quilt top is square.
Checking how square your quilt top is the same method as for squaring your quilt back. Bring together BOTH side edges of the quilt top, ensuring the fold line of the quilt top lies flat and pucker free. If needed, you can then cut the top/bottom edges to ensure they are straight and square. The method is then repeated by bringing the top and bottom edges together to check on the side edges.
If you wish to keep a copy of this technique for future reference, you can download the PDF – How to square off your Backing fabric/Quilt top – here.
So with explaining How to ‘square’ off our backing fabric and quilt top, it now leads into the question of – ‘What fabric can be used to back a quilt?’
Come back next week to find out about –
Backing fabric options – Extra wide fabric / Sheeting / Pieced backs
And the following posts –
- Binding – How much binding / How to prepare binding / Attaching binding to quilt front / Finishing the binding
- Quilt Labels – Why quilt labels? / What to put on a label / How to create a label / How to attach a label