Following on from my previous blog in regard to Alyssa and I hunting out my jewellery craft bits and bobs …. And starting to make stitch and progress markers …. I thought it was a great way to introduce this exciting new product line ….

I have used stitch markers for many, many, years with my knitting. When I first started knitting, I never used them, or had even known about them. That all changed when I was introduced to knitting my garments from the Top Down (a great technique and I would strongly recommend you learning it if you haven’t already done so – in fact I even have a ‘Learn to’ kit in the shop) …. And stitch markers are essential with doing this technique as they marked where you needed to do the increases for the sleeves, front and back. I then used them when knitting shawls to remind me to increase at the shawl spine and even to divide the lace pattern repeats.
I must admit that I really never used them much for crochet. But in saying that, I found that the hook like markers came in quite handy to keep track of where the very last stitch was when crocheting in rows. I used this hack when teaching the learn to crochet course and this provided an invaluable tip/trigger for remembering EXACTLY where the VERY last stitch was meant to go. The perfect learners trick. I also found these hooks invaluable for keeping track of important places in the crochet piece.
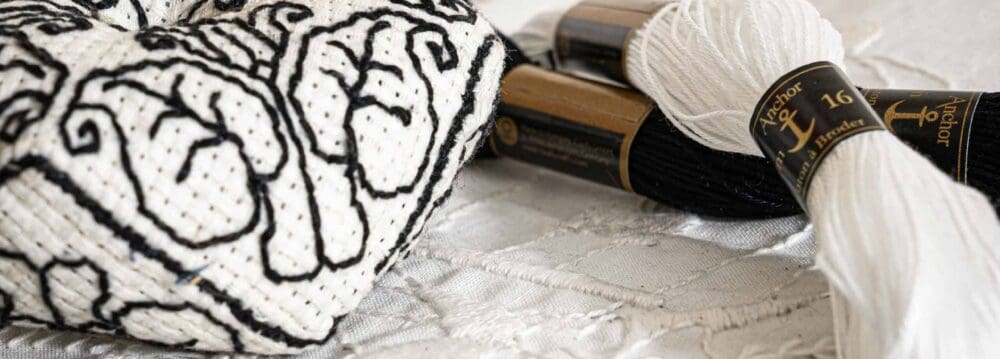
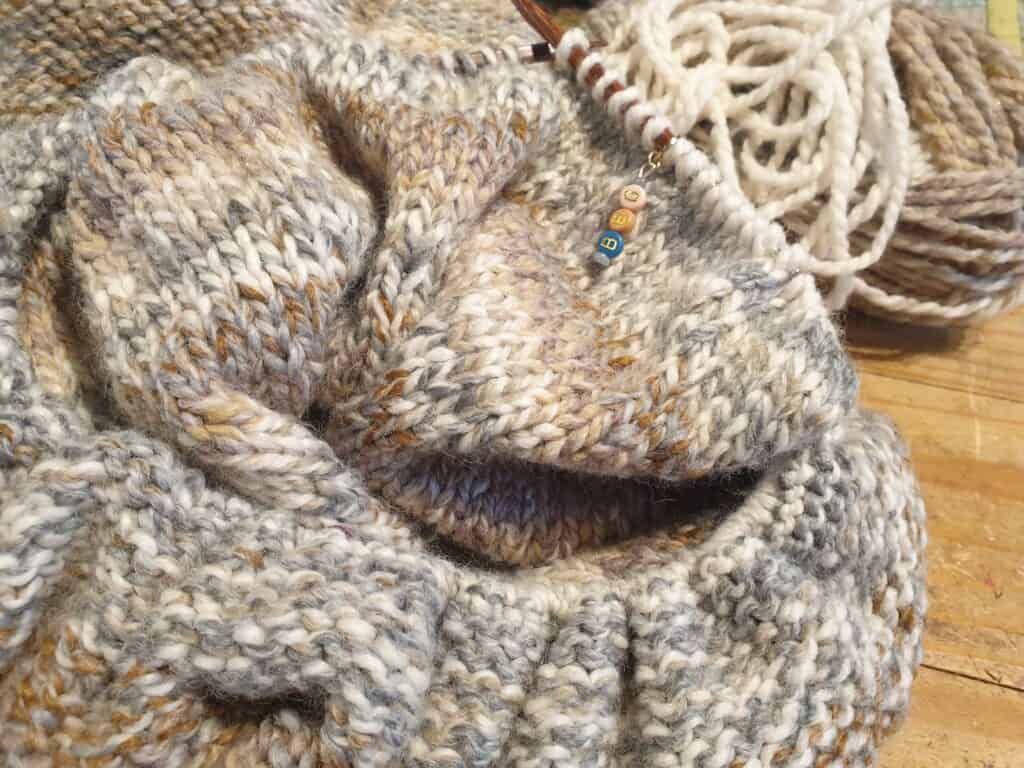
As mentioned in my previous blog, I love to use pretty, practical tools with my crafting. Yet I only used plain plastic markers even though I loved the decorative ones. I had a couple of decorative markers, but I hated using them. One lot used open jump rings so there was a split in the ring for opening and closing and no matter how careful I was, the ring always managed to snag my yarn which wasn’t great when using delicate and luxurious yarn …. So those rings were cast aside. I also had the wire loop style, which was a close loop with no opening, but the loop ‘moved’ …. In other words the bead at the base of the loop was not secured so would move up and tighten the loop.
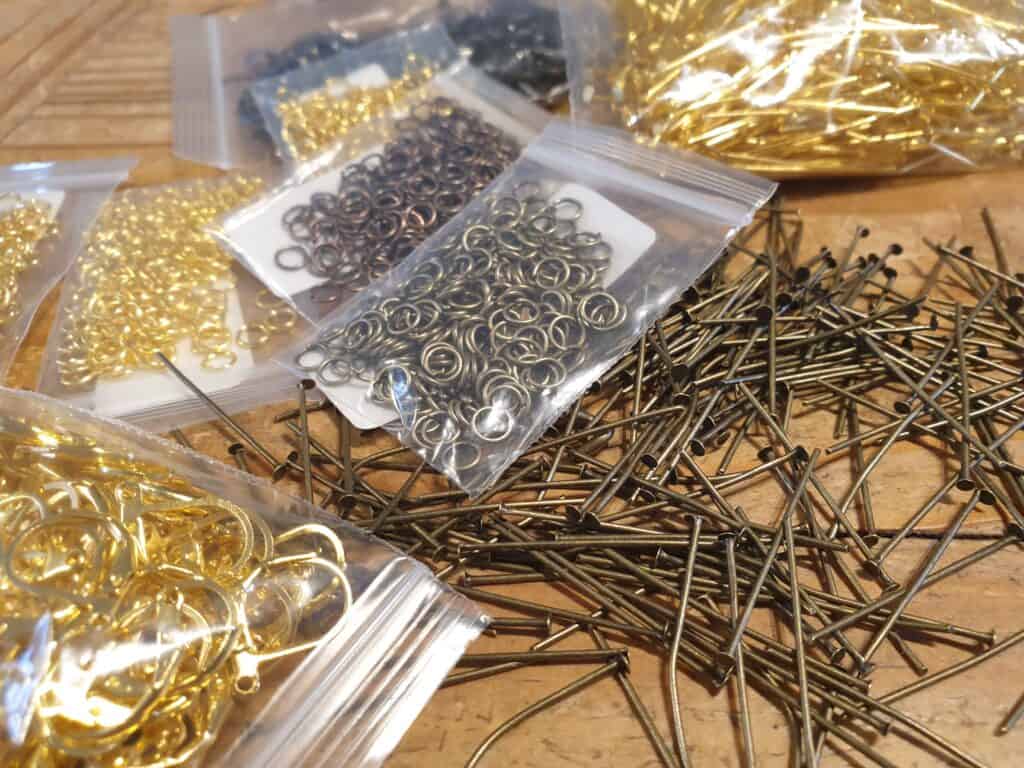
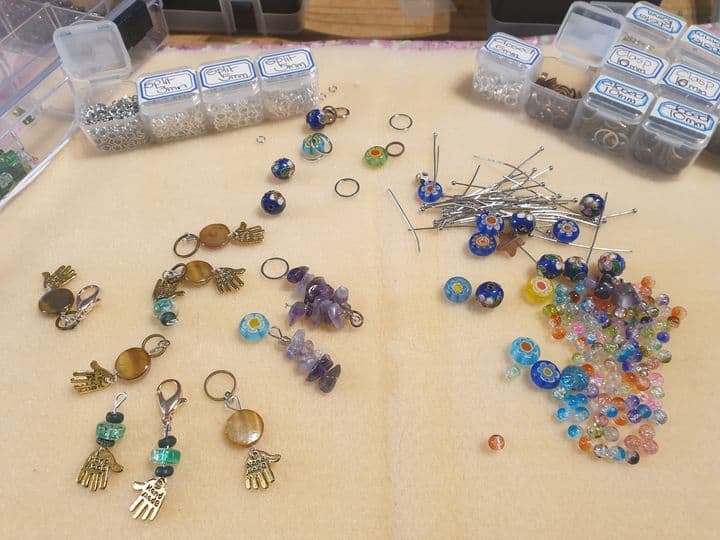
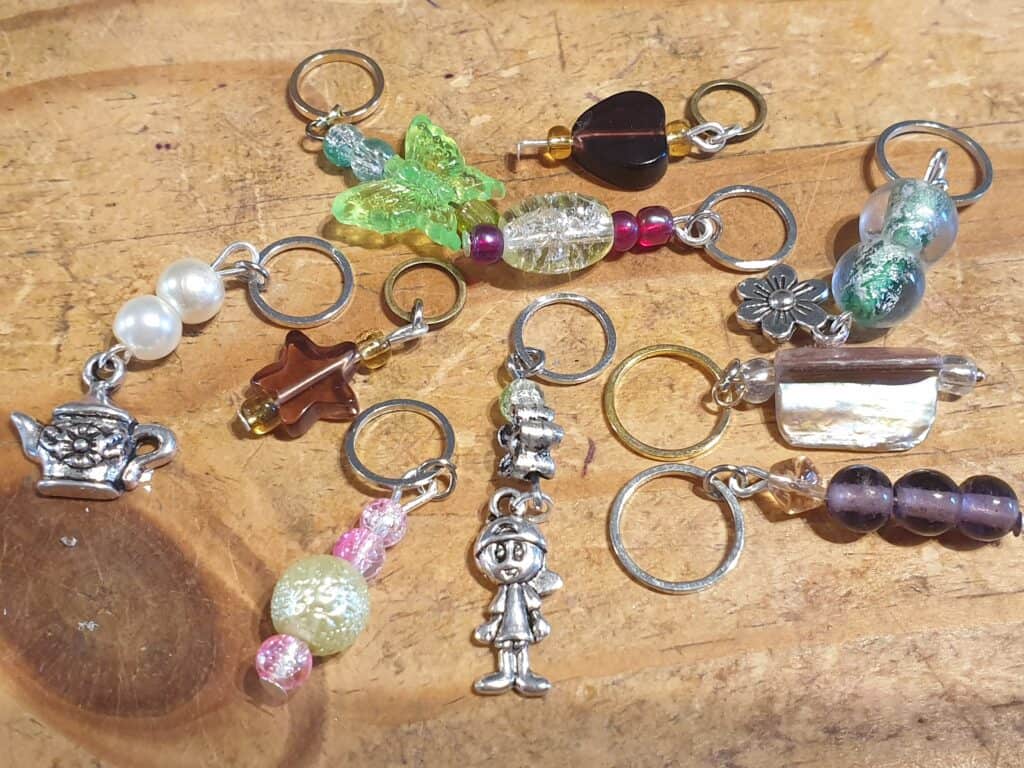
In seeing all of the jewellery treasures, it really inspired me into wanting to make some markers. I did some research and online finger shopping to source the ideal findings needed to make the perfect markers, that I would be happy to use. That was a success (or disaster on how you look at it) – a success for my creative mind and a disaster for my bank account! But the orders were placed, and I started making up my first lot of decorative and practical markers.
So, while getting excited about making these unique wee tools and sharing the photos on Facebook, I soon learnt that not everyone (even knitters and crocheters) know what these wee markers are, or what they are used for. So of course I had to write a blog and go into detail on how to really make the most of these useful wee tools.
As mentioned earlier, I only had the plastic stitch markers for my knitting that came in two sizes and two colours. It really did not give me much scope for making full use of these tools. They were fine when I needed four rings to mark where the increases go in top down knitting. However, when knitting in the round, I had to place a marker to signify the start of the round. This can be difficult when you only have the one colour, or maybe a slightly larger ring…. And being me (short memory span) I would usually forget what colour/size ring I had used for the start of a round.
So, what is the difference between all the markers and just how many types are there?
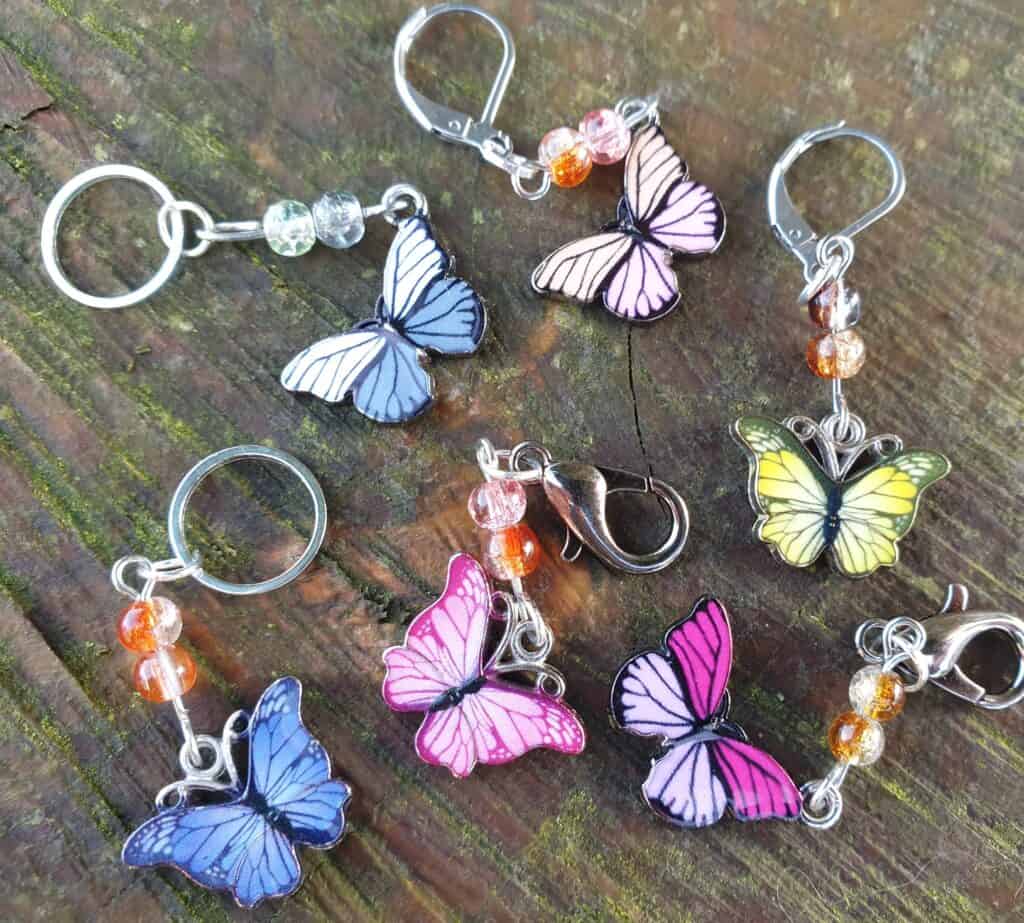
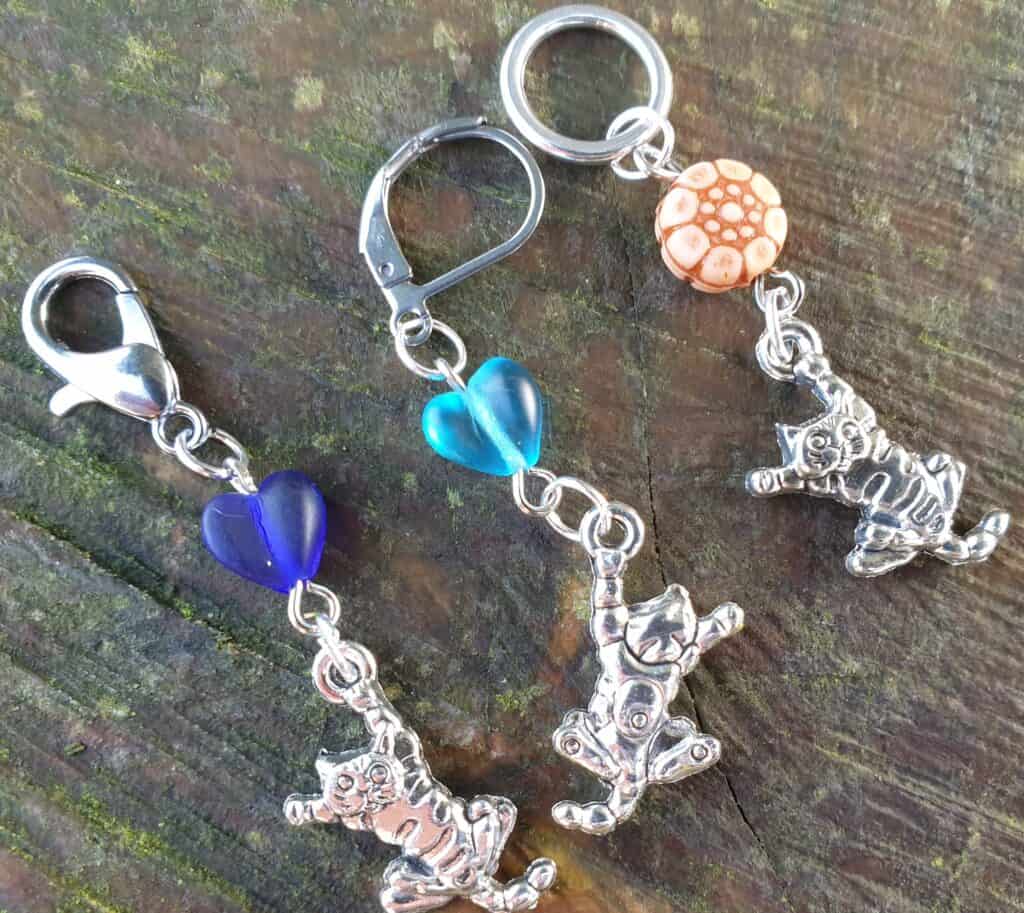
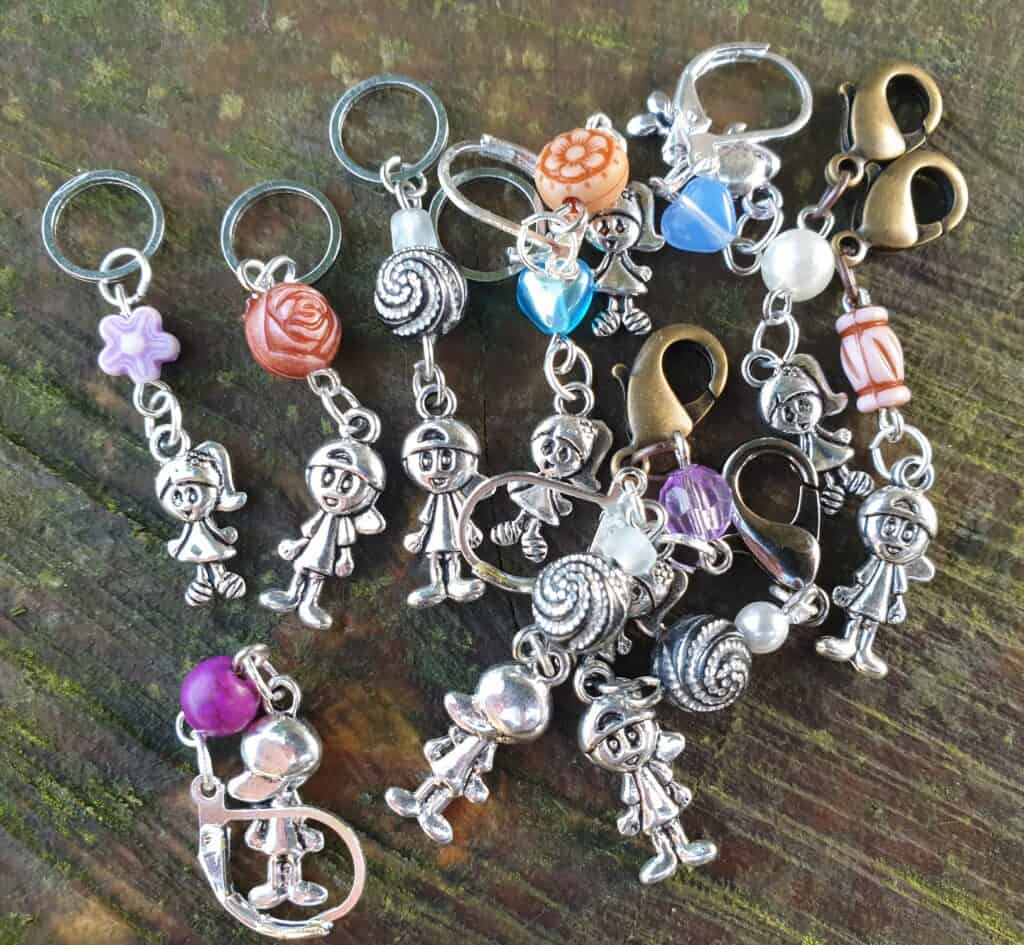
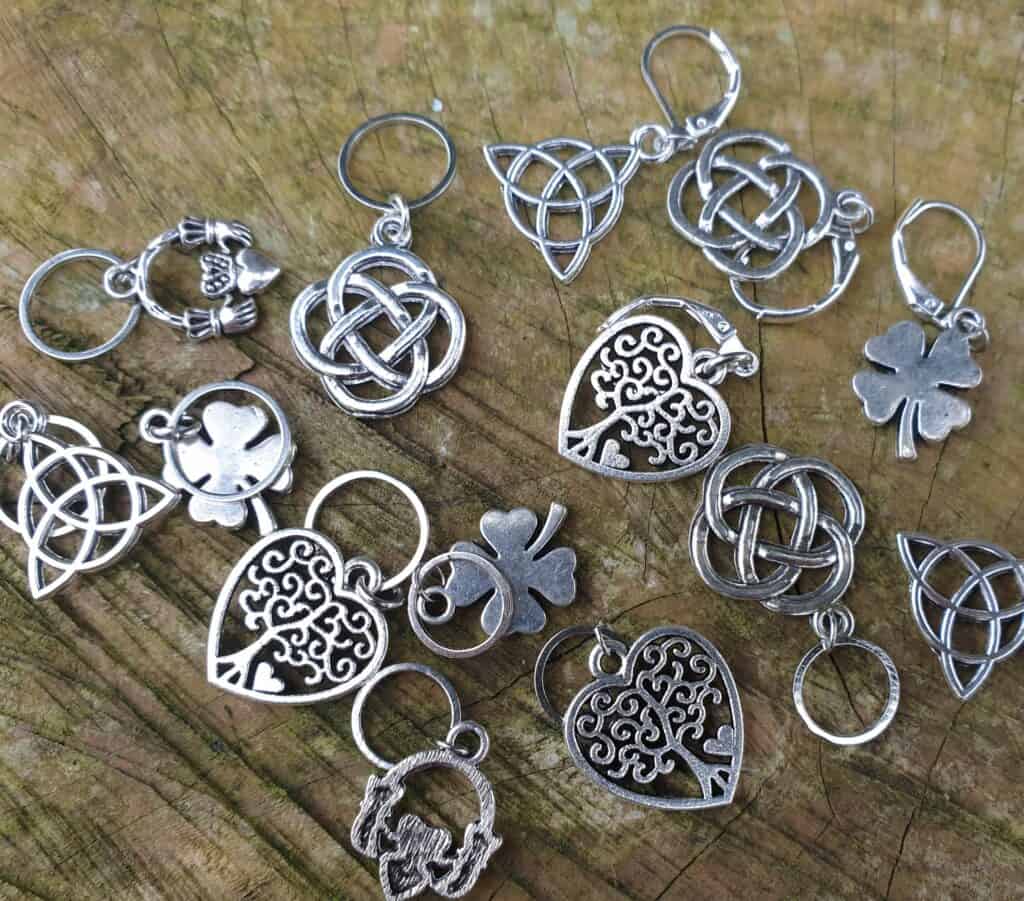
Stitch (or progress) markers come with a number of different clasps ….
CLOSED MARKERS
As the name implies, these cannot be opened and are commonly known as Ring (Stitch) markers. These can be either with a split jump ring, wire loop or a closed jump ring. I am not keen on the first two types, which I explained about above and these in effect put me off the decorative markers. I make my stitch markers with a closed jump ring which is basically a solid metal ring made in the same way as the plastic rings. The rings usually come in a variety of sizes to fit a range of needle sizes, which makes sense as it would be awkward to use a very large ring on tiny knitting needles. It would also be the same if you only had tiny rings that couldn’t be used on larger needles.
The closed rings can only be used for knitting but have so many uses. Once you start to use markers in your knitting, you will not know how you managed without them.
These markers sit on your needle between the stitches to mark pattern changes, where the round begins and ends, pattern repeats and so forth. When you come to the marker, you just slip it from one needle to the other, or remove it, if it is no longer required.
One thing to remember, ring markers can only be used for knitting. They can’t be used in crocheting as the rings are closed and there is no needle for the marker to sit on between stitches as crochet only has one stitch.
OPEN RING MARKERS
These come in a variety of clasps –
Split ring marker which uses the split jump rings which you need to open like a paper clip. I am not keen on these as they can be difficult to open and closed with your fingers and the ends can snag your yarn.
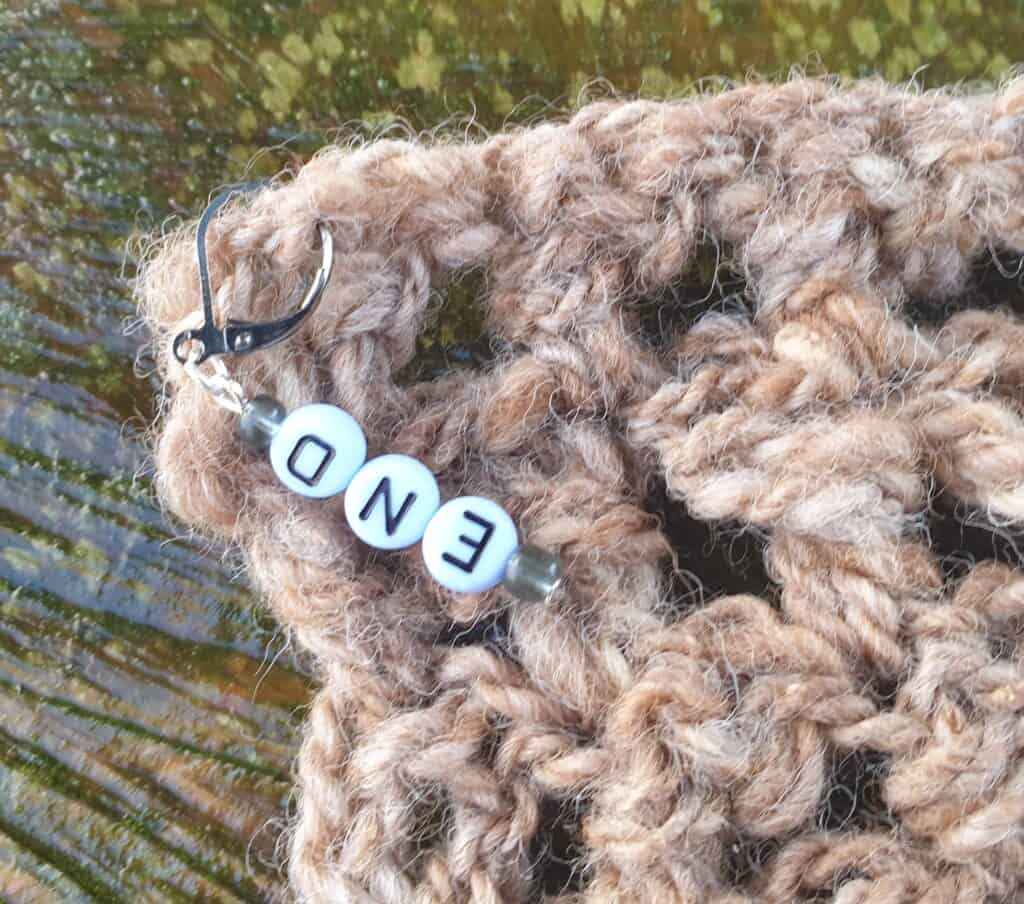
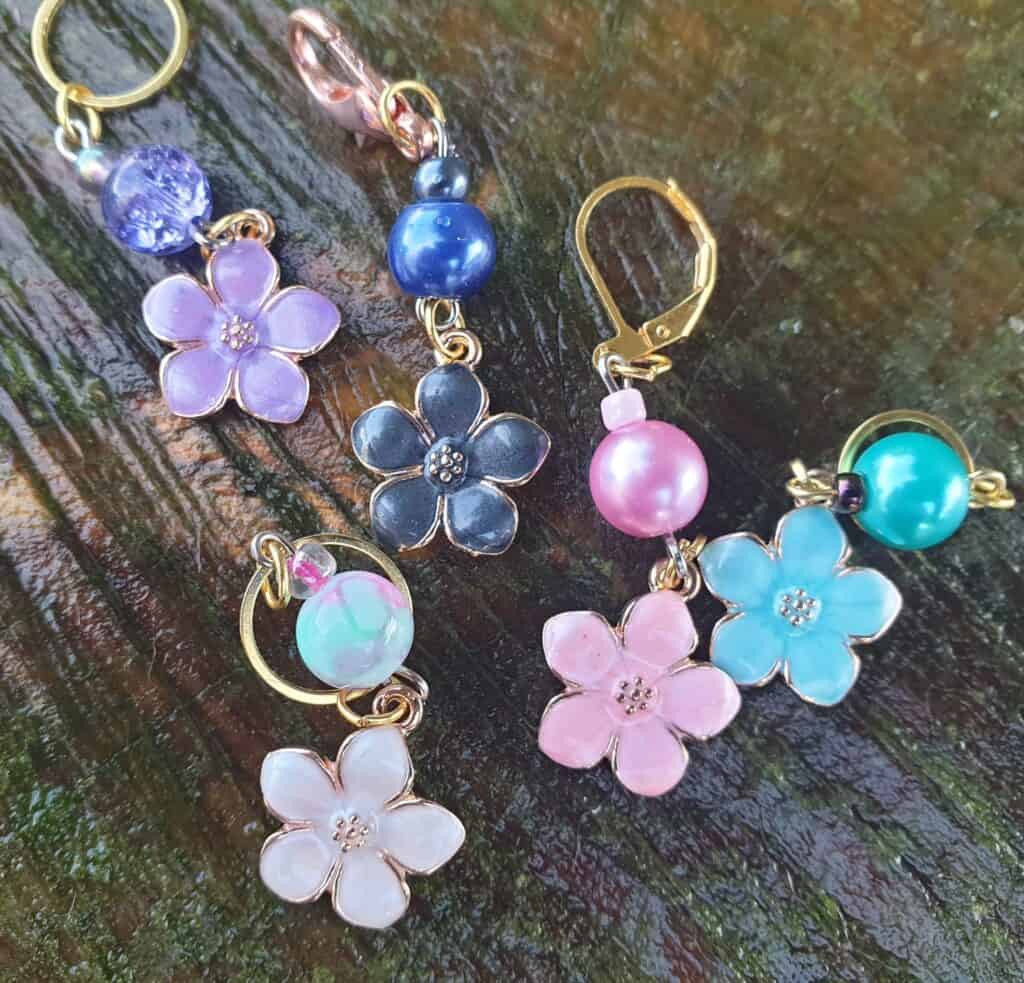
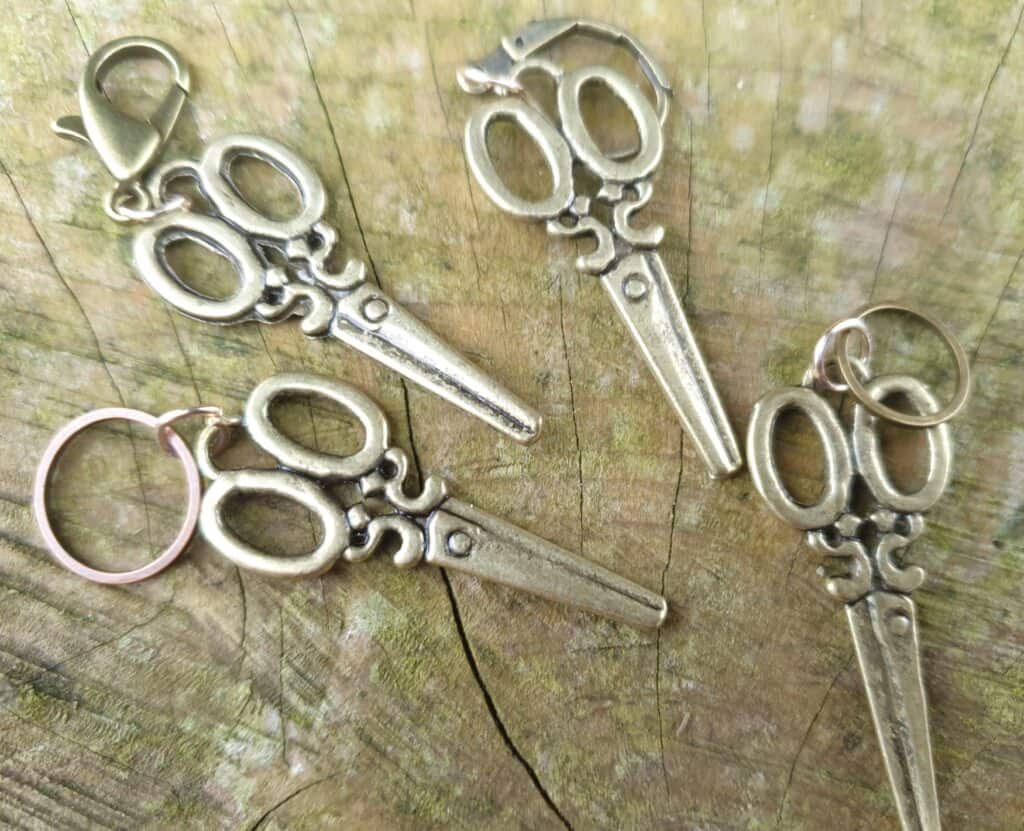
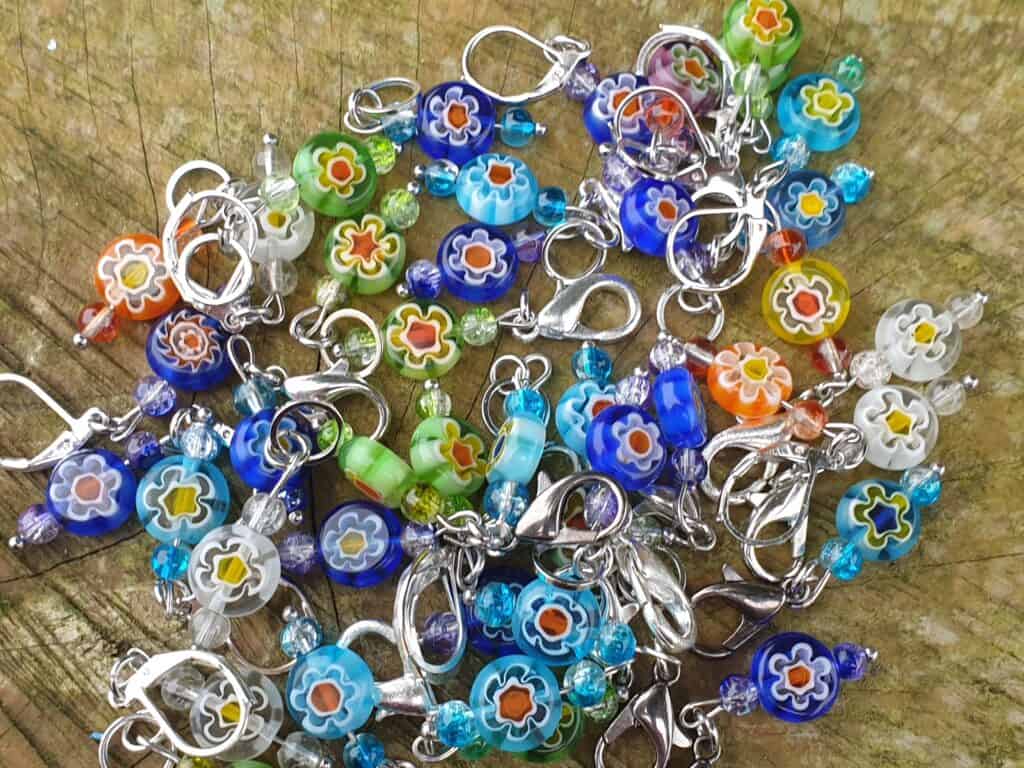
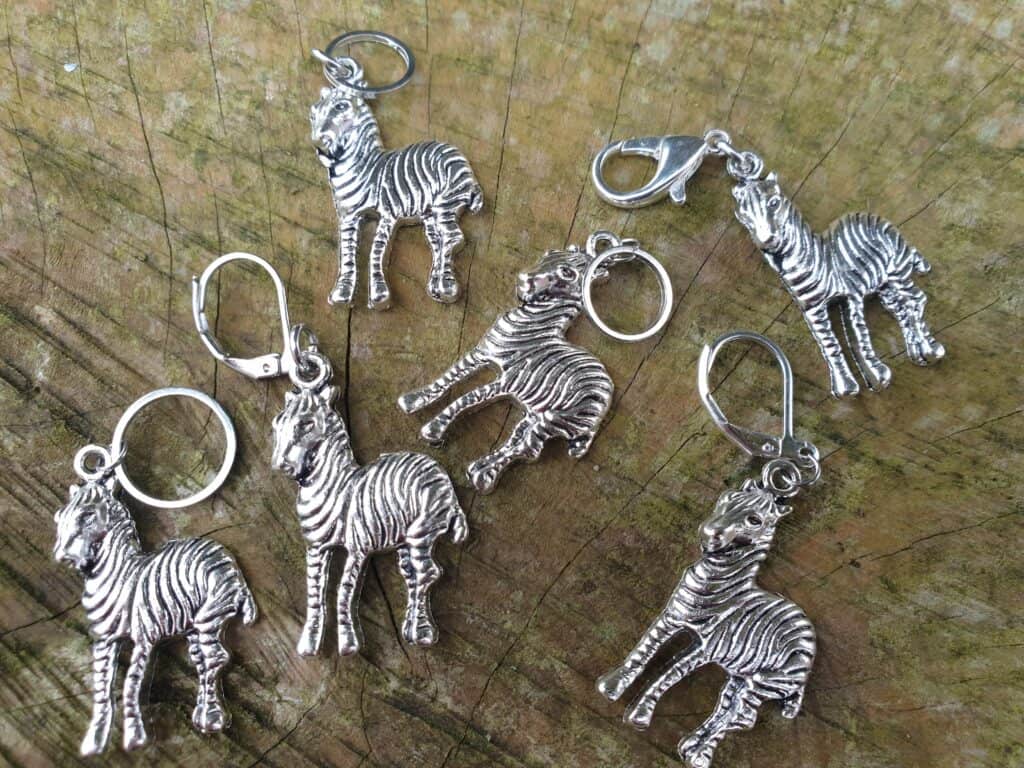
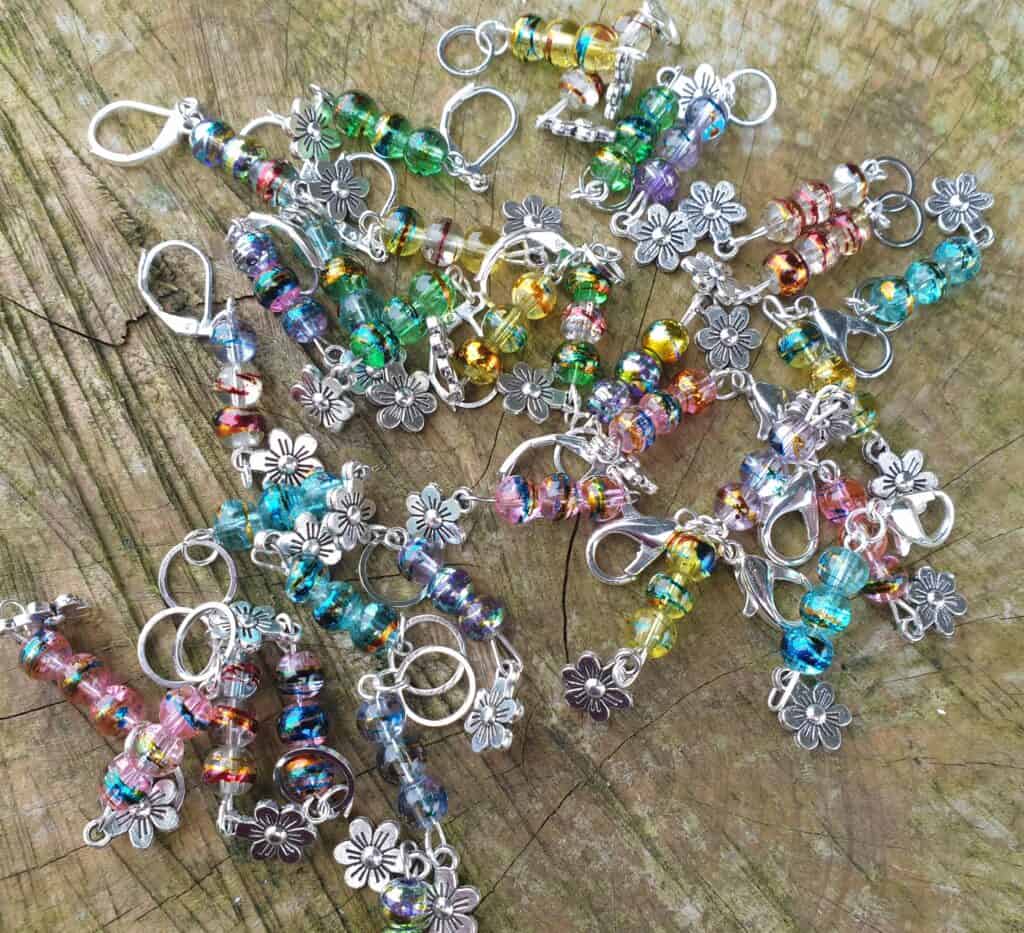
Locking ones, using a Lobster or Leverback clasp like the ones that are common on necklaces/bracelets or earrings.
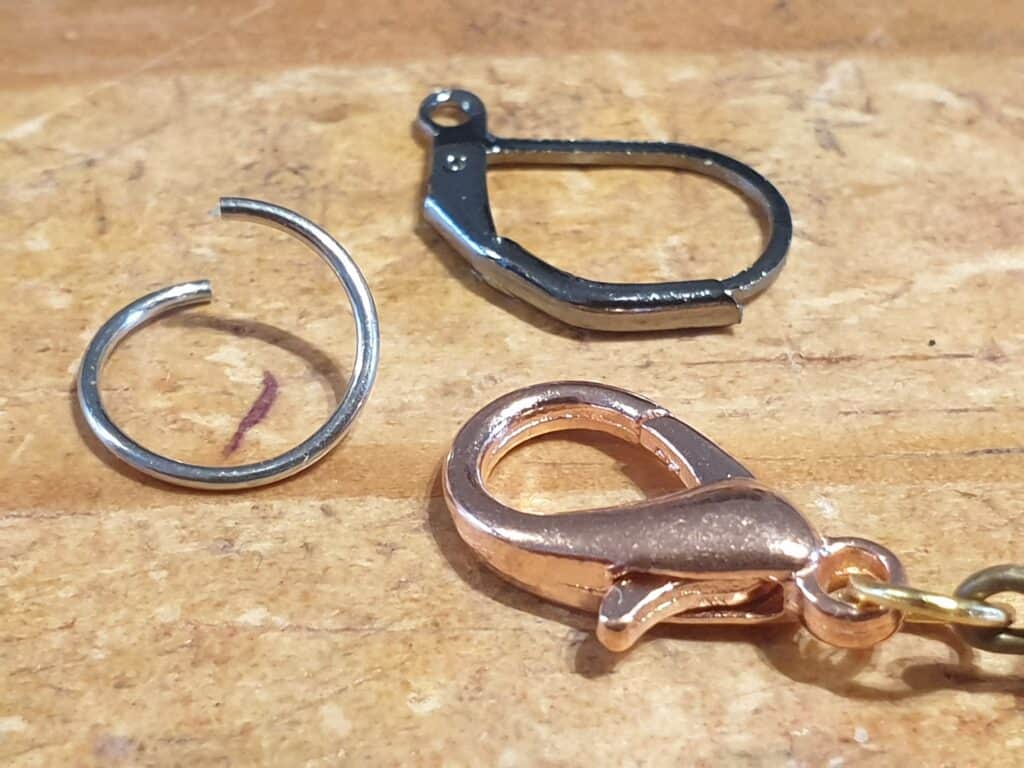
Less common is the open marker which uses a hook clasp which does not close. They can be useful when it is not essential to have a locking marker but still need to be easily removed.
These markers are commonly used for crochet as the marker is basically attached to any stitch and easily removed when no longer required. They are great to use to indicate where the last stitch is needed to be worked when crocheting in rows, especially since it can be so easy to miss that last stitch to be worked into the turning chain of the previous row.
The open markers can also be used in knitting in the same way as the closed ones and placed on your needles. However, I have found that using these markers may be abit more harder, especially if the clasp is a lobster or an open hook. The lobster clasps are not exactly round so would not slide from needle to needle as well as the closed rings. The Leverback clasp would be more ideal but still not as smooth as the ring. The only perk would be if you accidently knitted the marker into your project, you could open the marker and remove it which you could not do with a closed ring. In being able to open up, the other downfall could be that they could open up and fall off your needle which would cause you to misplace where the marker should be in your project.
They are perfect for counting rows and tracking your progress. If you are working a pattern that repeats often, these markers can be placed on every few rows and you can count as you go. If you are needing to do a lot of rows, then a marker can be placed every 10 rows so you can keep track of rows in groups of tens. It is a lot easier than counting 100 individual rows. These are the type of markers that are placed in your work and not on your needle, so they need to be removable and the clasps easy to use.
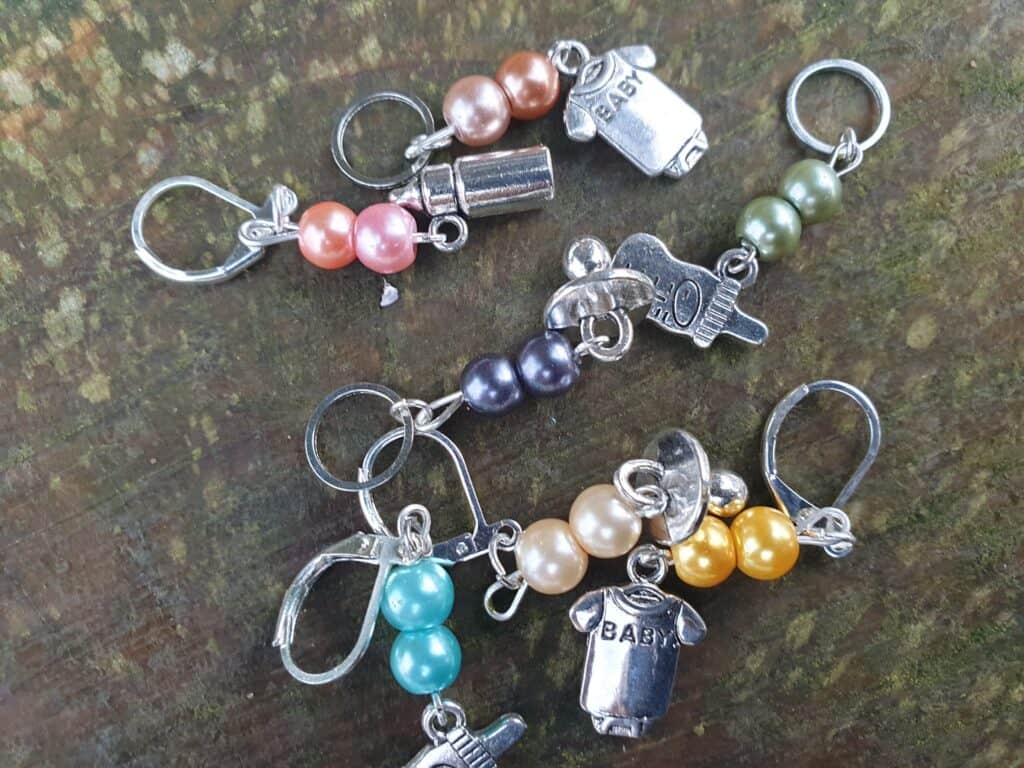
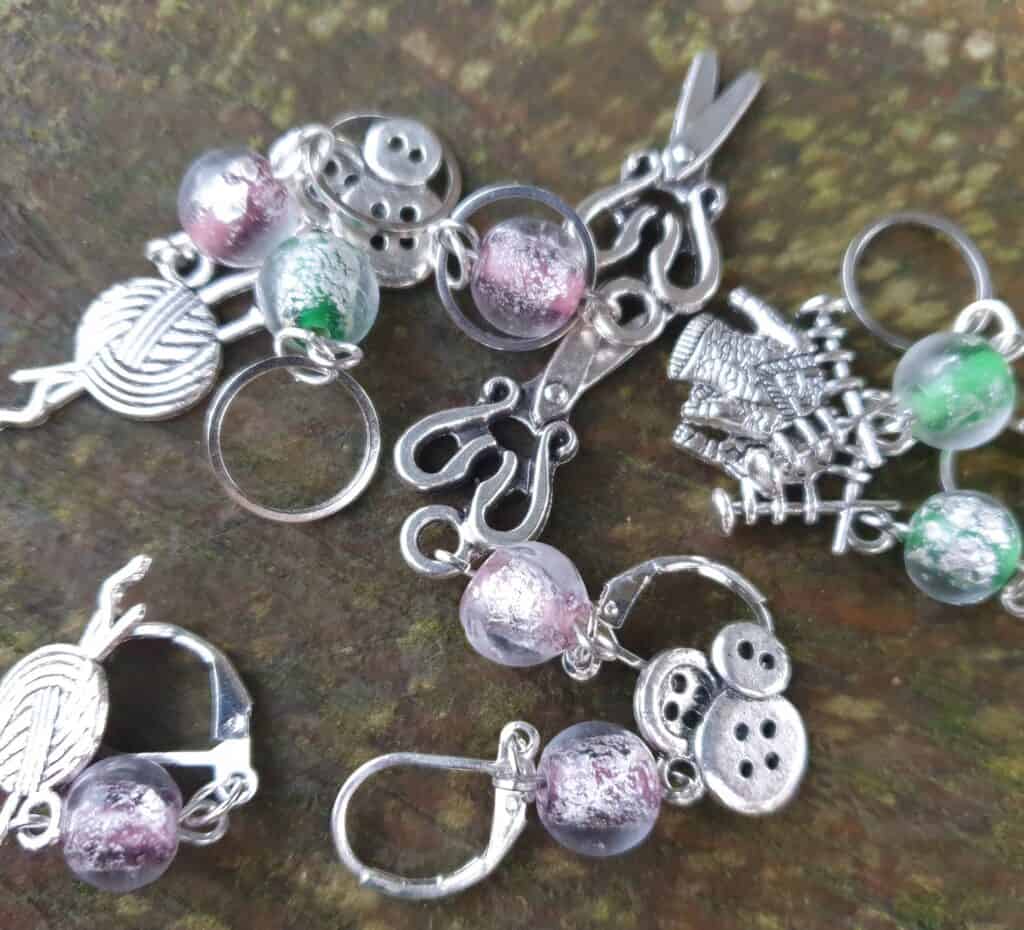
So, in making up the markers I started to think in what I would like to have and use and really liked the idea of having specific markers for certain tasks. I have made up open markers (using the different clasps) for stating the wrong or right side of the project, the start or end of a row/round, row counters in either 1-10 or in 10’s. I have even made up markers designed for holding those dropped stitches (Oops and darn) so you can’t forget why those markers have been placed into your project.
counting rows (in 10’s) 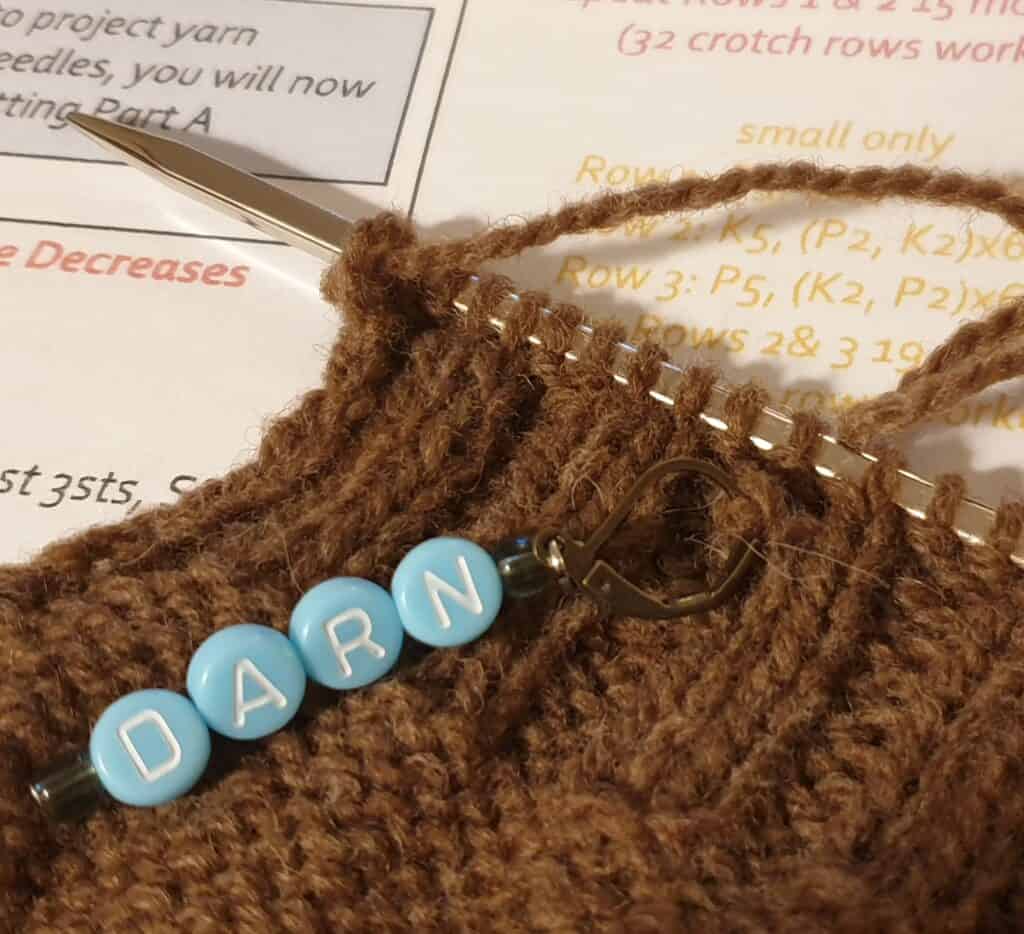
holding a dropped stitch 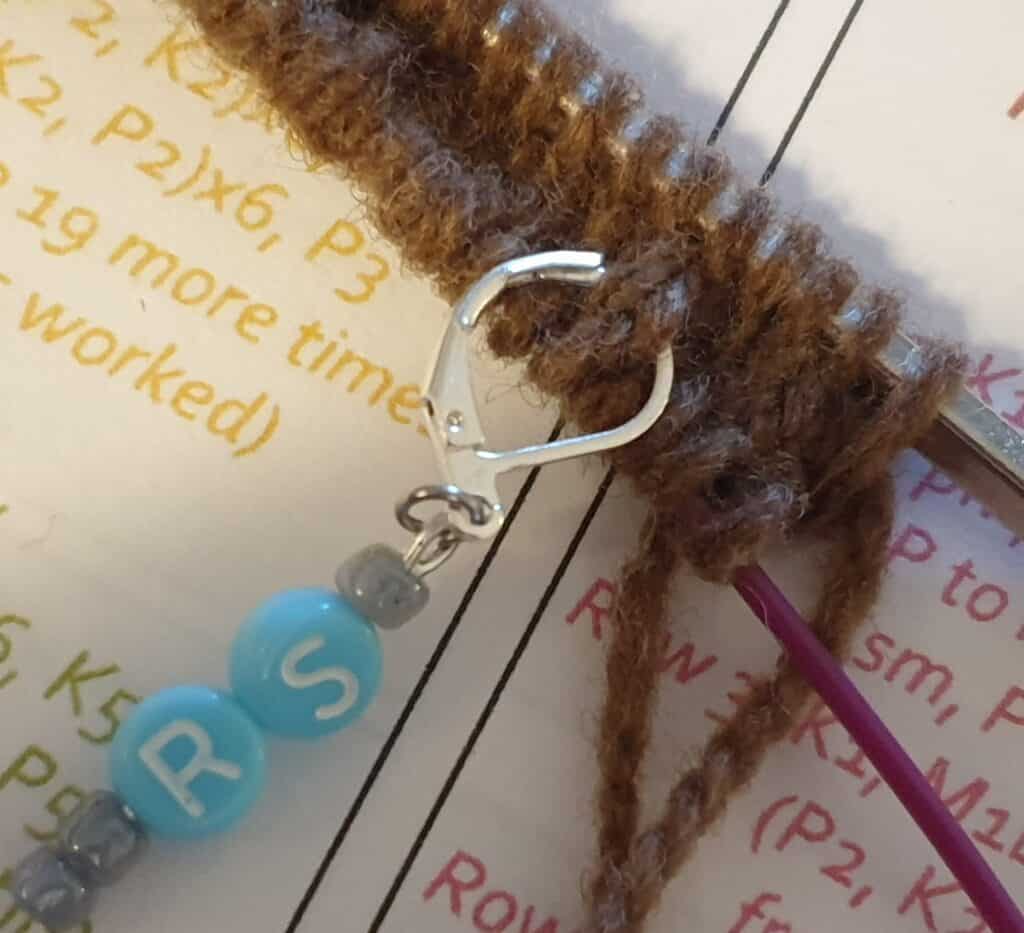
Marking the right side of your knitting
One last item to talk about is all about the counting. How many of us have a pattern that tells us to knit so many rows …? Are you like me …? Try (without too much success) to keep tally in my head of the rows worked before the next pattern instruction? Especially if there is no paper and pen at hand and you are too lazy to get up and find it …. Yes, I still do keep tally on paper with a stroke if I have quite a few pattern rows to complete and still lost myself if I stop part way through as I need to head to bed. I have to admit that I would also keep going long past bedtime so I can ‘finish’ at a good stopping point in the pattern. I have also manually kept count of the rows in my head and still lost count. These row counters are great to use when you start your knitting or crocheting and at the end of your session you will be able to see just how much (or how little) you have accomplished.
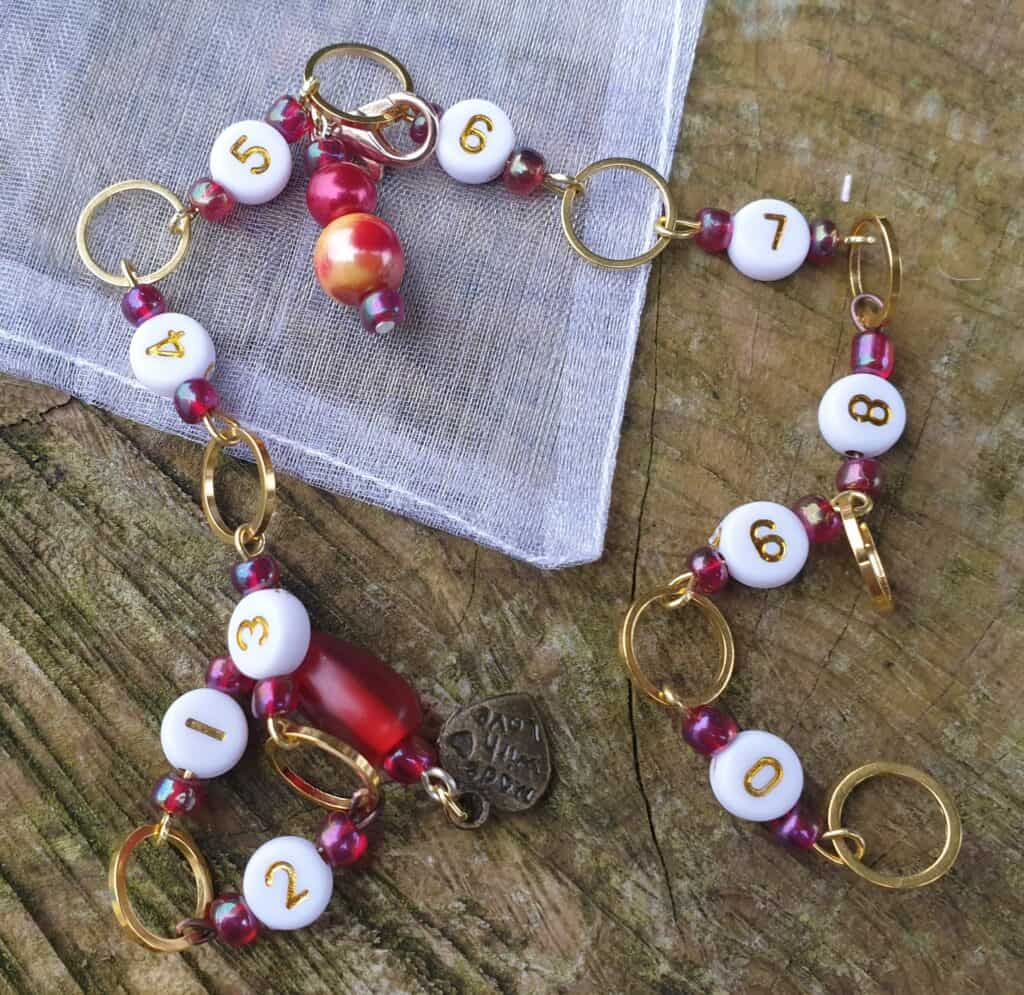
In doing my research I came across this ingenious chain and wondered how I had ever done without it (as well as not known about it). It is a row counting chain that keeps track of your knitting rows from 1-99!!! As well as being practical (& ingenious) it is also so very pretty. At last a beautiful tool for keeping count, so much nicer than paper and pen. I know I have used the barrel row counting tool that you placed on the knitting needle, but I found those oh so boring and I always forgot to click forward at the end of a row …. Now all I need is to find patterns that require a lot of row counting …. Oh my, I am starting to sound like the Count from Sesame Street!!!
I can hear you ask, So, how do you use this tool exactly? …
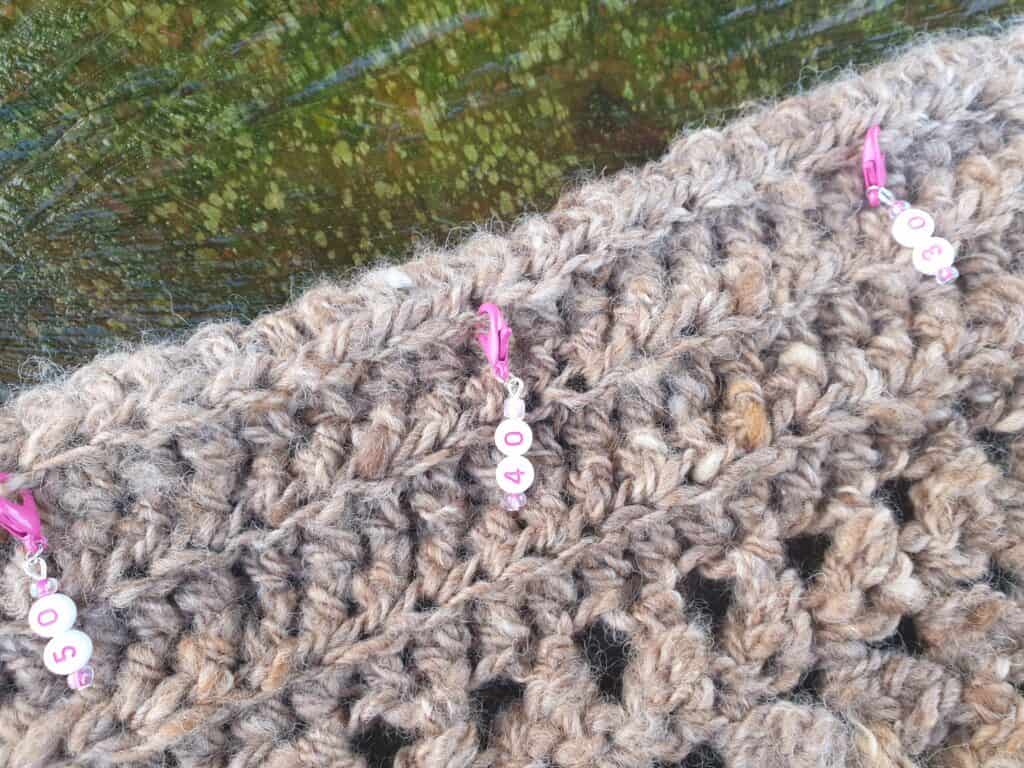
The chain is numbered 1 – 0 using beads and closed rings between each numbered bead. There is also a removable marker with a lobster clasp…
Basically, once you have completed (part way through to keep it secure) your first row, place the ring (between 1-2) onto your knitting needles. Change up to the next ring on your chain when you come back to the chain while knitting the next row. Continue like this, working your way through all rings on the chain, until you reach the zero ring and you have completed 10 rows. Place the lobster clasp onto the ring between 1 and 2 to represent the number 10. After completing the 10th row, restart at the first ring again and work your way down the chain again. Every 10 rows you move the lobster clasp to the next number ring.
For example, if you have completed 37 rows the lobster clasp should be on the ring between 3 and 4 and the knitting needle is in the ring between 7 and 8. This chain is ingenious, and you will never forget how many rows you have completed if you need to set the project aside halfway through completing a set number of rows.
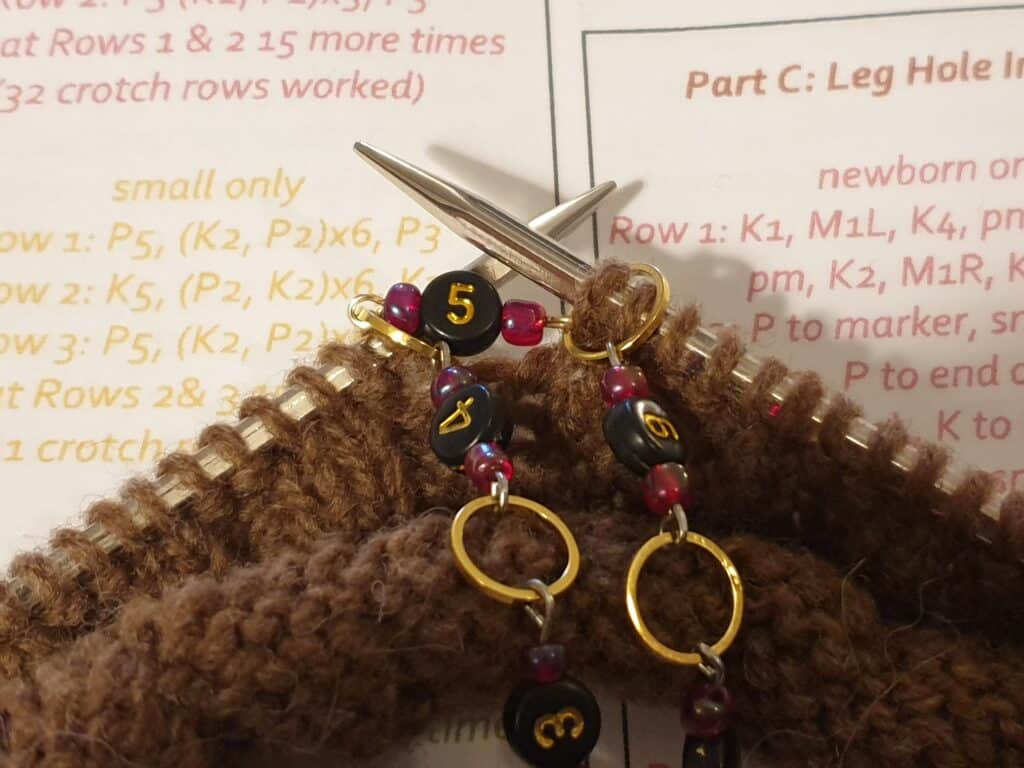
I used the chain last night to do some knitting. I needed to knit 54 rows of rib (as well as keeping tabs on which was the right side). I was looking forward to using the counting chain and wondered how it would go … would it be awkward while knitting? …. I had knitted this item before and I manually kept count in my head, which was a total nightmare and not very practical, especially if you needed to take a break part way through… so on came the chain …. Part way through my first round I placed the needle into the ring between 1 and 2 and continued knitting. On the return row, I came up to the marker and literally slipped my right needle into the ring between 2 and 3 and slipped off the ring from my left hand needle. As simple as that! No hassle, I just had to remember to keep my chain to the front of my work and NOT knit the chain into my stitches! I kept on going, not needing to manually remember or write down how many rows I had knitted – it was always there on the chain for me to see. Once I came to the end of the chain – 0 -, I placed my lobster clasp marker into the ring between 1 and 2, to represent 10’s and on the next row, I moved my right hand needle into the first ring of the chain and continued working through the chain to 0 again.
slipping new ring to the needle 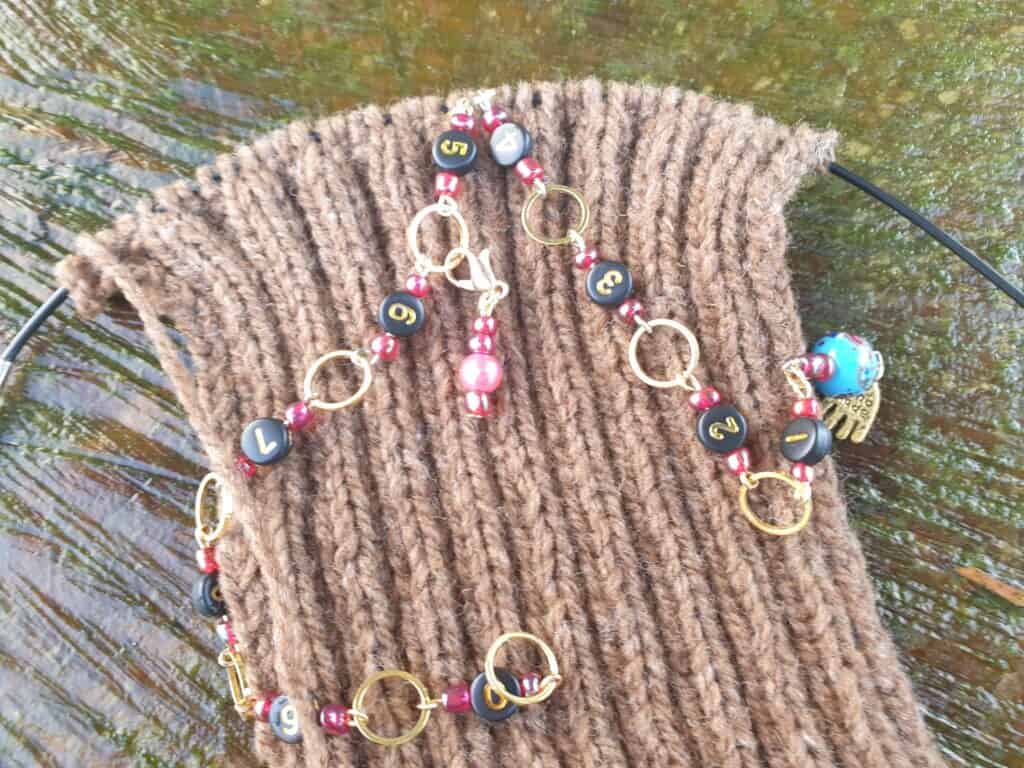
completed rows knitted and shown on chain – 56 rows
This counting chain is so easy to use, and it wasn’t long before I had worked my 56 rows and the chain is still firmly in place on my needles telling me exactly how many rows I have worked. I just need to remove the chain when I come to it when knitting my next row. This pretty, practical tool has firmly earned its place as an ESSENTIAL tool in my knitting kit. I just know I will be wanting a counting chain in the different sizes to accommodate the various needle sizes that I use.
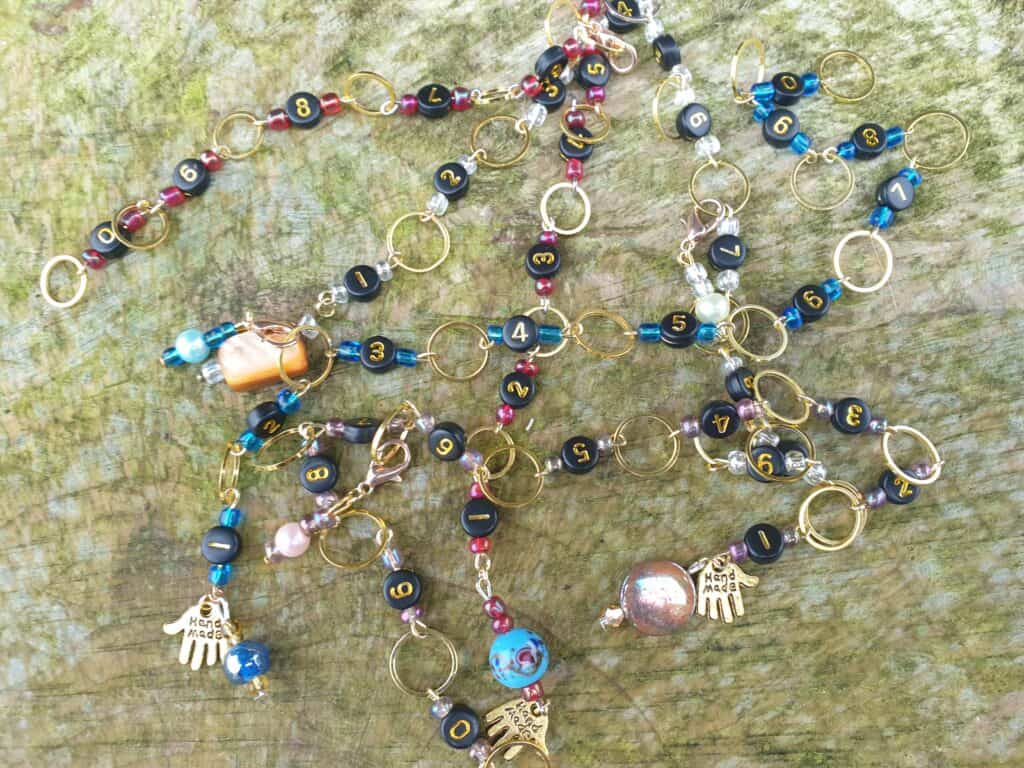
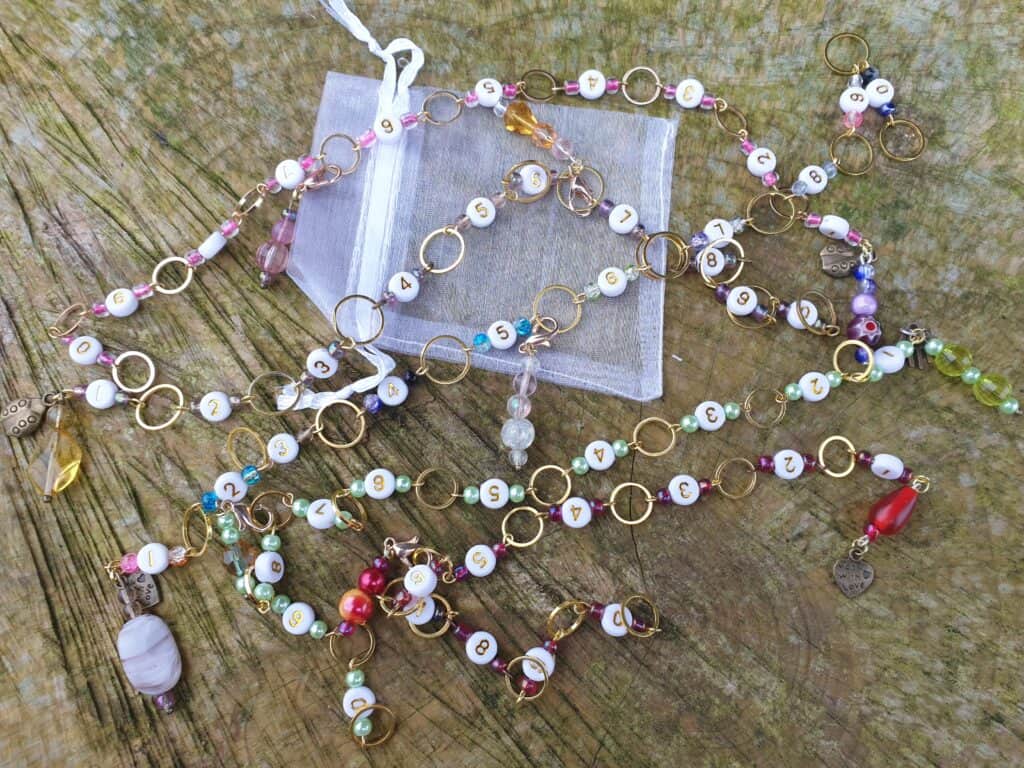
The chains are all made so each one is unique and definitely one of a kind as I use different beads and markers on each and every counting chain. The only common theme is the colours of the number beads and the small seed beads that I use with the number beads. However, the colourway of the seed beads is limited, in that I only use the same colour on about 4-5 chain sets and the colours are often limited. The end charms and the lobster clasp marker and unique and different for EACH chain. I wanted these chains to be unique and feel like treasure, so NOT ONE chain is the same. The counting chain comes in an organza pouch for safe keeping, along with a printed card on how to use them and the size of knitting needles they will fit up to. These would make ideal gifts for a knitter or yourself.
The row counting chain is only for knitting and cannot be used in crocheting. However, the other row counters with the opening clasps are great for crocheting and work just as well.
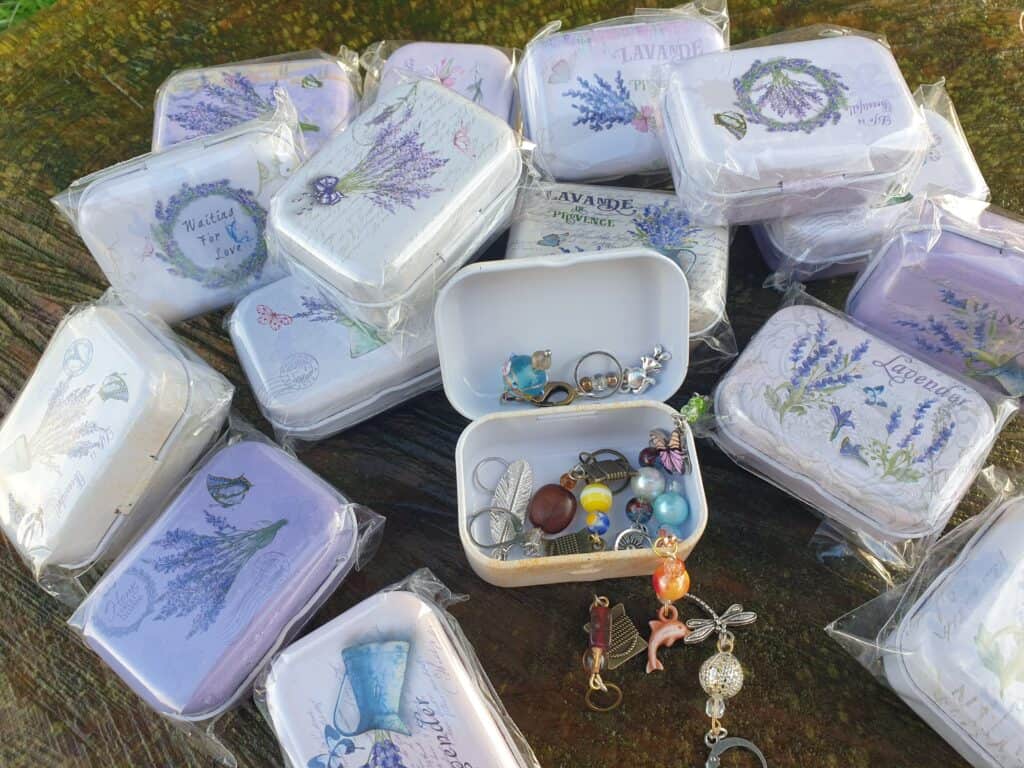
Don’t be afraid to use the stitch markers and use them often. Keep them in reach and keep them safe in a lovely tin. I can even help with that …. I have some lovely vintage tins that have arrived this morning that will be just so perfect for keeping your cute markers in. These tins are available on the website.
I will be regularly updating the sections with new marker designs, and I have quite a few ideas for some more counting tools. So do keep a regular look on the website for newly added markers. I am wanting to have a large selection of handmade markers that are not only practical, but also unique in being limited editions. So when you purchase any markers, you know that they are NOT mass produced and will only be a limited line. This applies mainly to the markers that use the beads and charms, as I purchase in small orders. I feel that in this way, the markers are that extra bit special. You know that you are purchasing a ‘one-off’ marker that cannot be mass produced.
One can never have enough markers and there is no need to just use the one for multi tasks and forget exactly what its task was for. Have a collection of markers that have their own individual tasks and are clear about what you need to remember. Adorn your knitting and crochet with handmade unique markers.