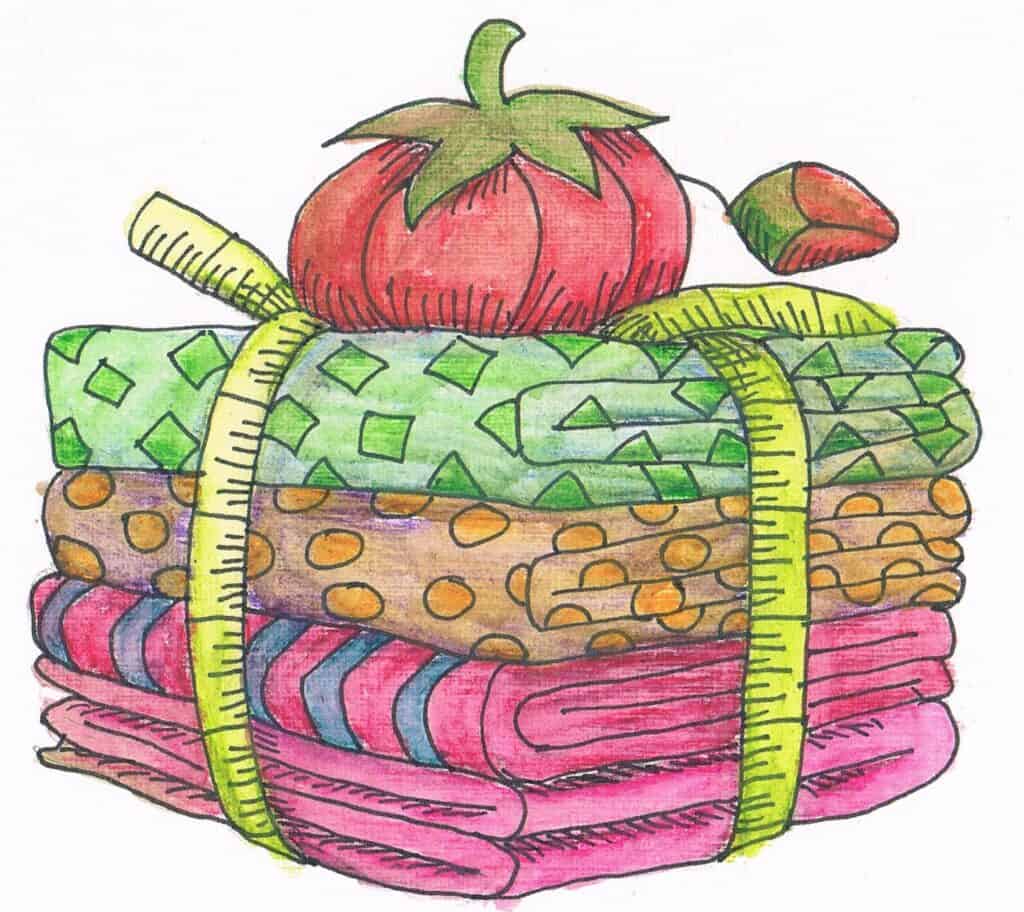
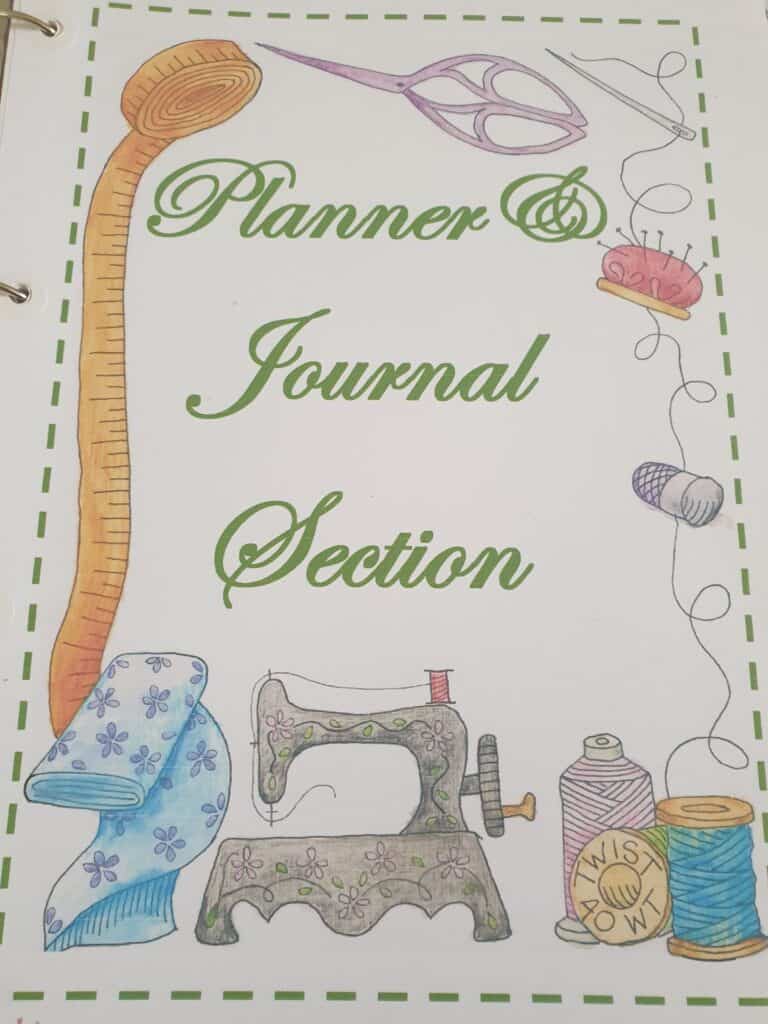
As a crafter, I have so many projects on the go, waiting to be started or completed. In the previous 2 blog posts I have discussed about my notions and materials that are stored everywhere and this post is about keeping ourselves organised with planners and journals.
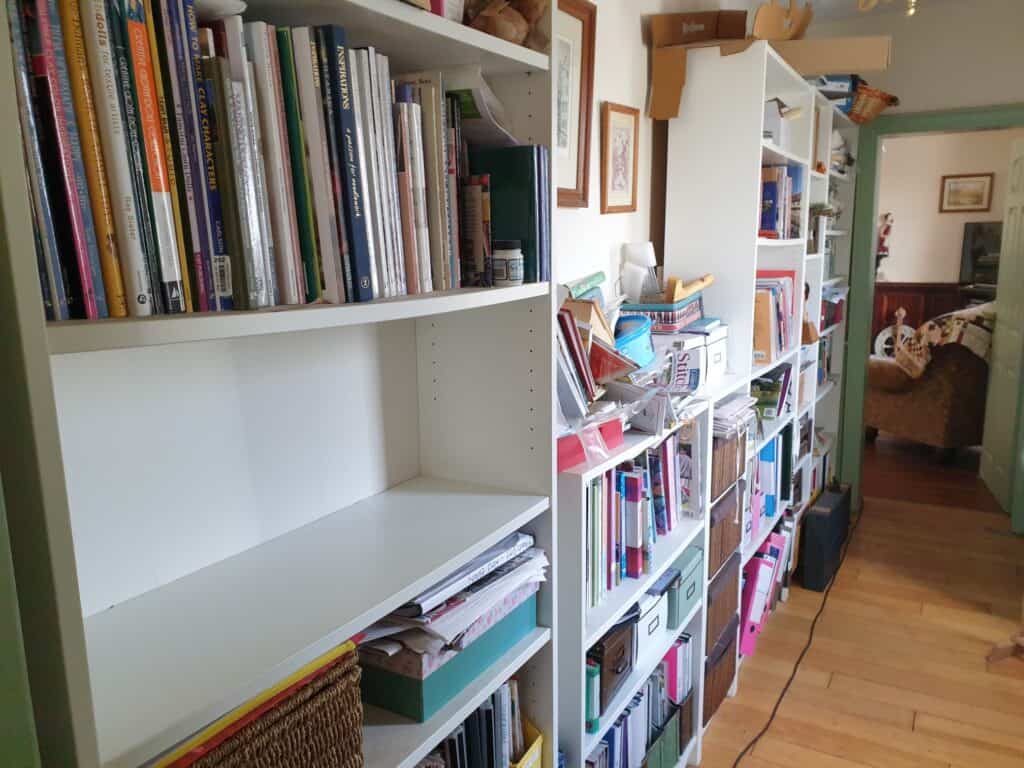
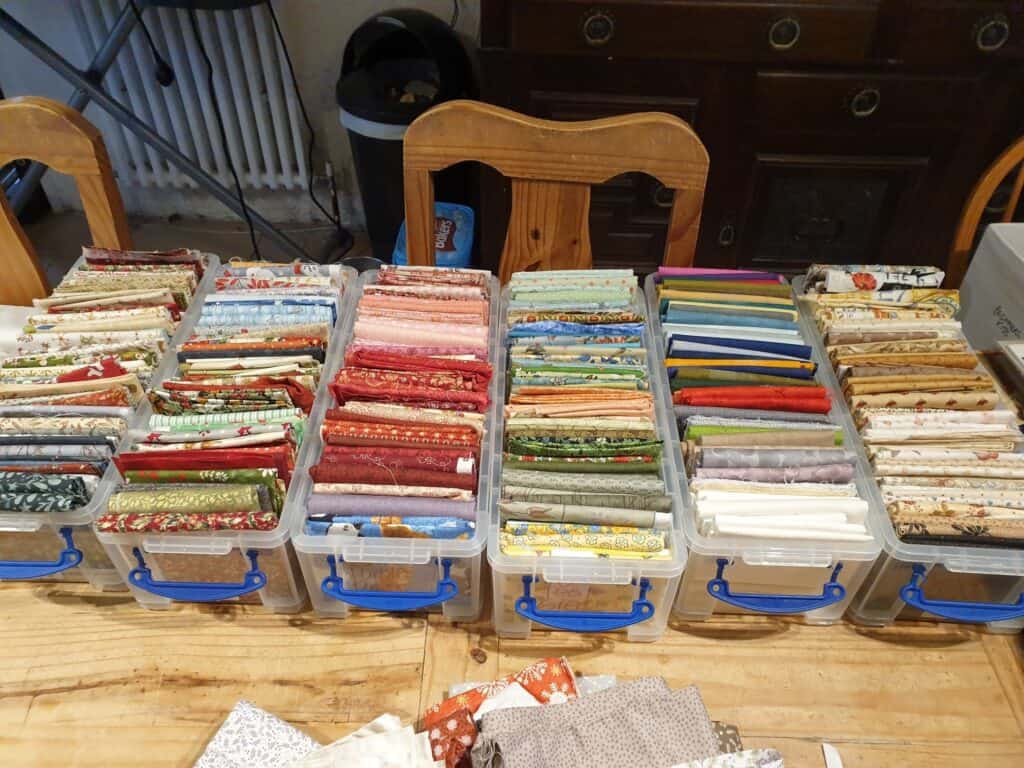
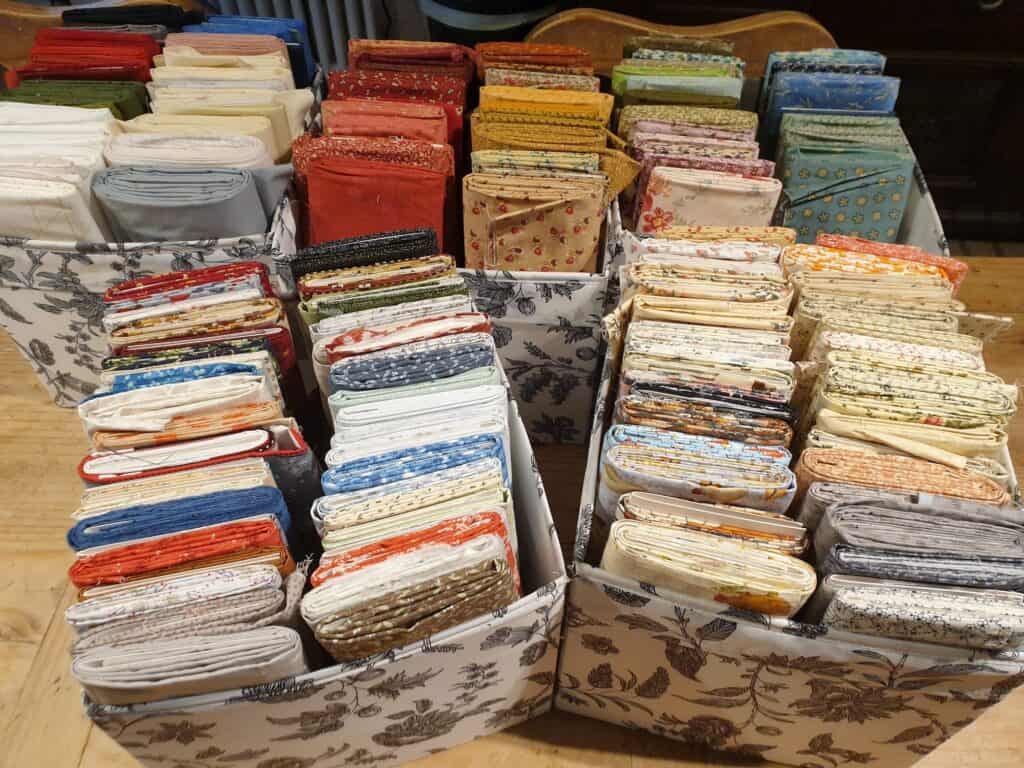
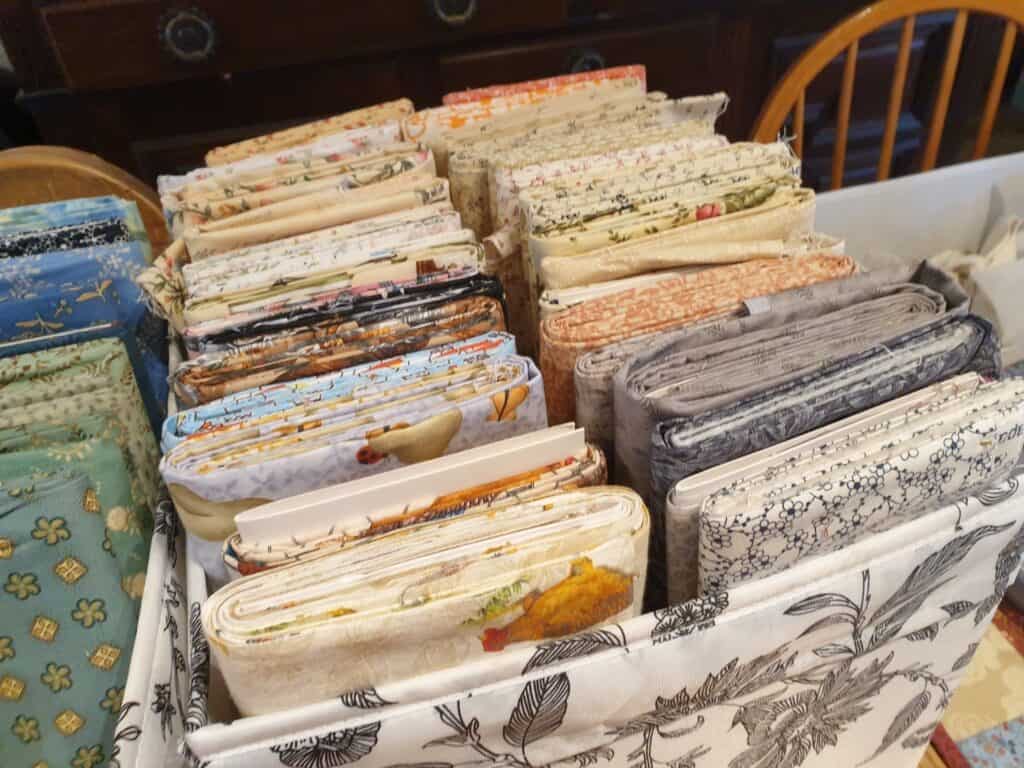
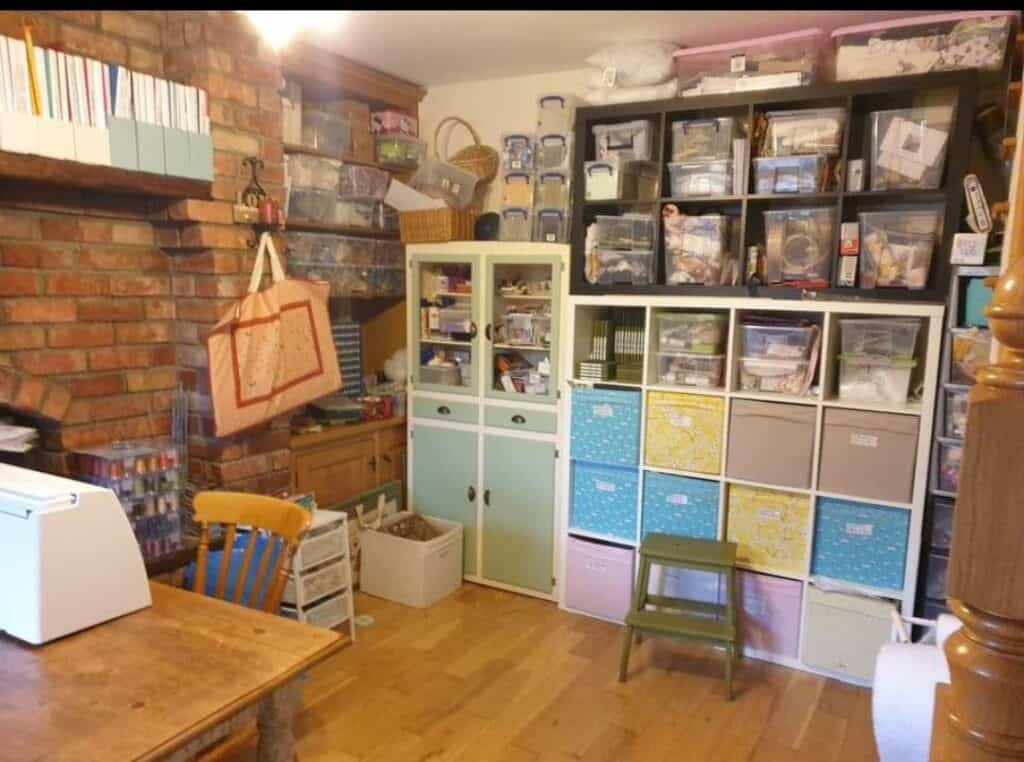
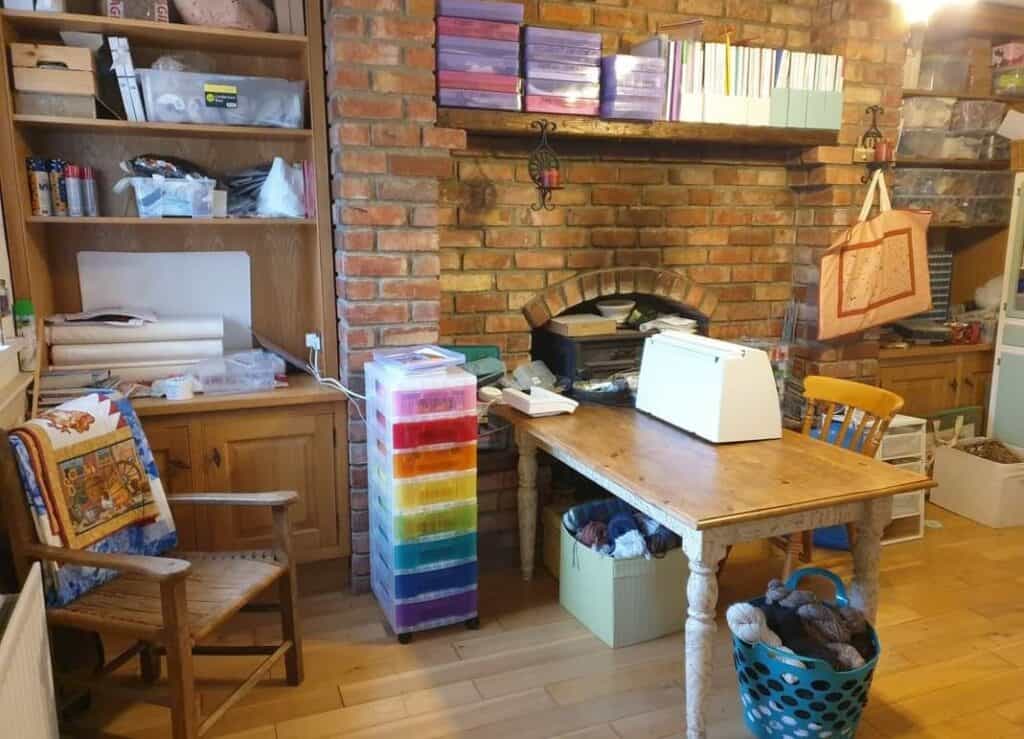
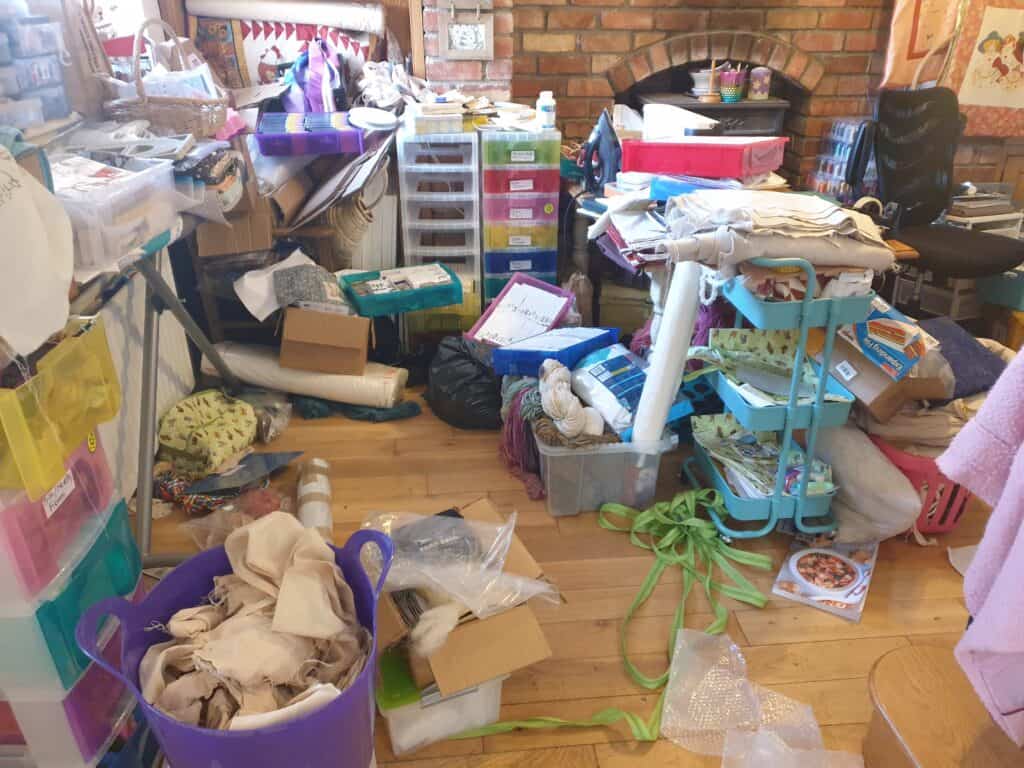
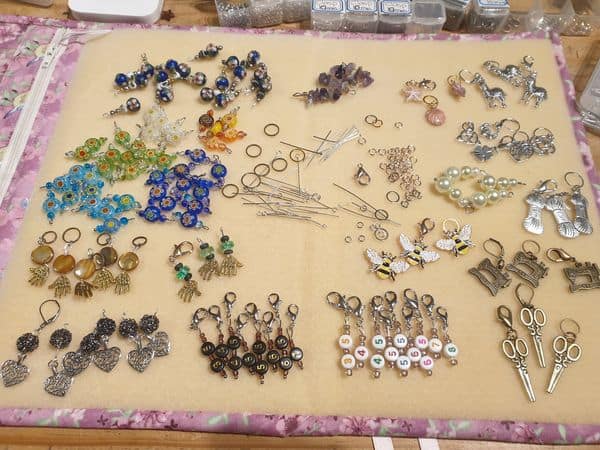
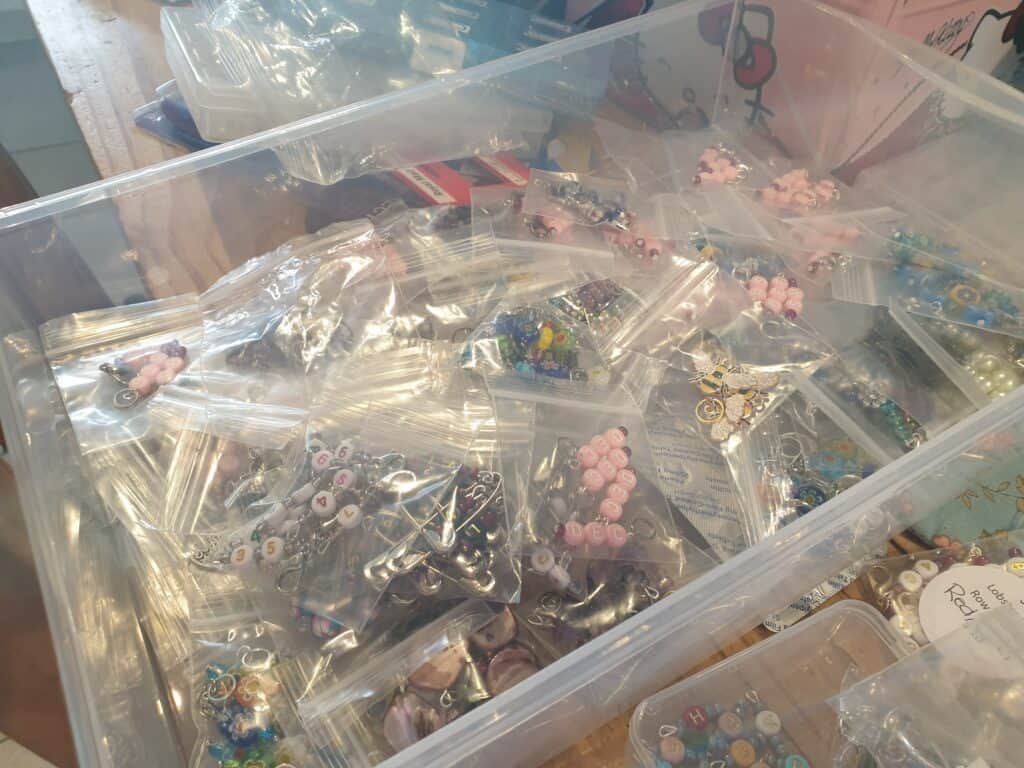
I do try to be organised and keep everything together, especially materials and notions for a particular craft all in one space. However, there are times where it is difficult to keep everything together in one place even though I now have a designated craft area. I seem to get overwhelmed with the amount of craft materials and notions I have collected/accumulated over the years and over the years have aften wished that I had an inventory of everything I have so that I can just go and look at the necessary inventory and know exactly where it is kept.
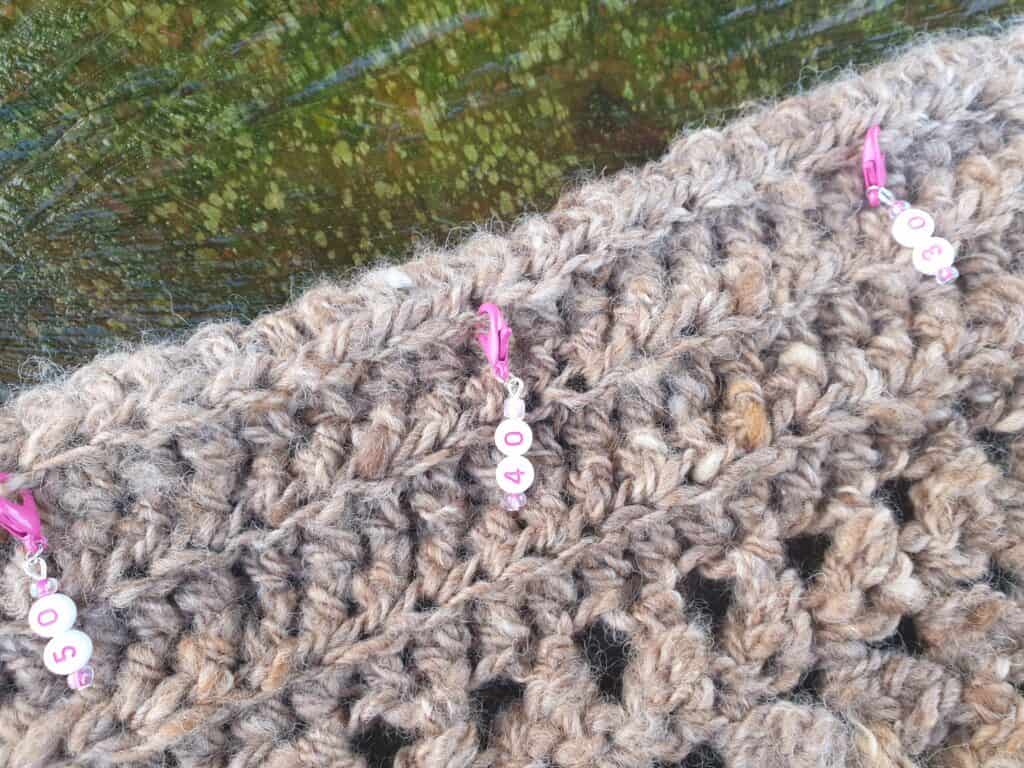
I am also a crafter that tends to have more than one project on at one time. I seem to get bored if I am on the one project all the time and depending on the way I feel at the time, I need to focus on a particular project – be it quilting/sewing, needlework, knitting, crocheting, or spinning.
I love being organised (but don’t manage to sometimes) and thrive on lists. I have found that there are times when I get overwhelmed by my sewing/quilting projects, the unknown growing mountain of unfinished projects and just what I need to get done. I have regretted making a quilt, gifting it, and not having a record of what it was, any adjustments, nor photos of it.
I have often wished I had a book for each craft that would keep me focused on the projects I have on the go, the projects that I want to start, either as gifts or for myself, any adjustments I have done for the project so I could refer back to it, especially if I started the project so long ago.
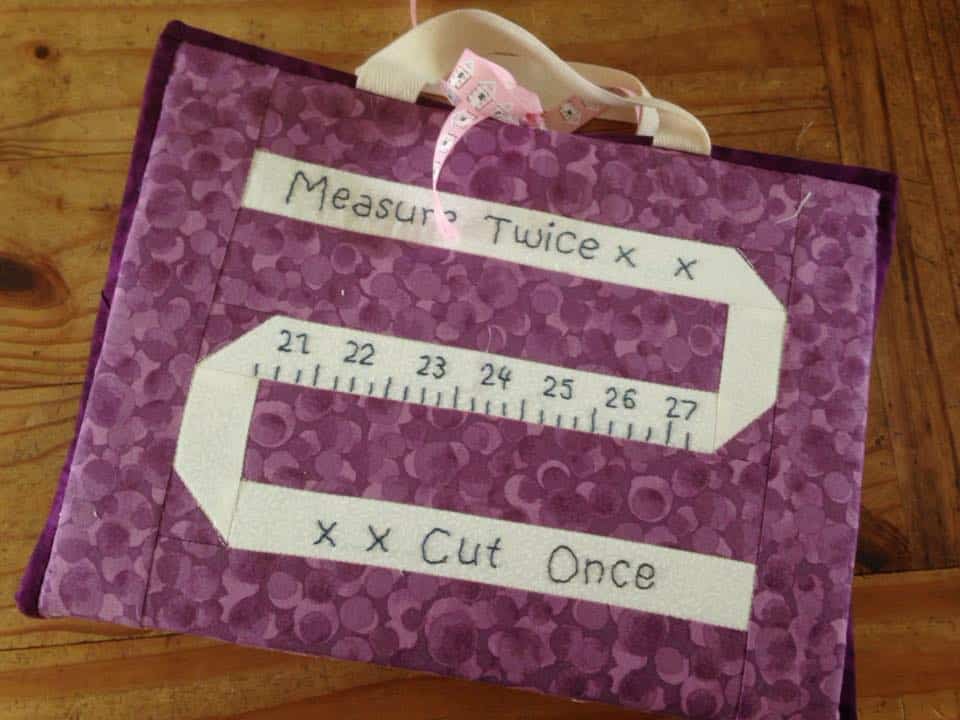
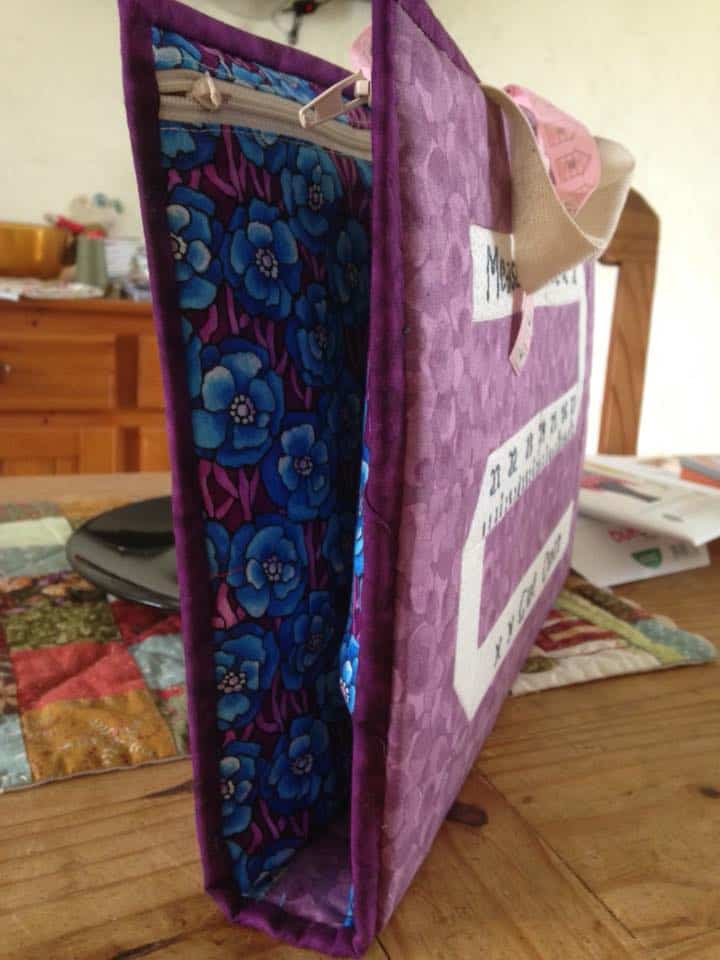
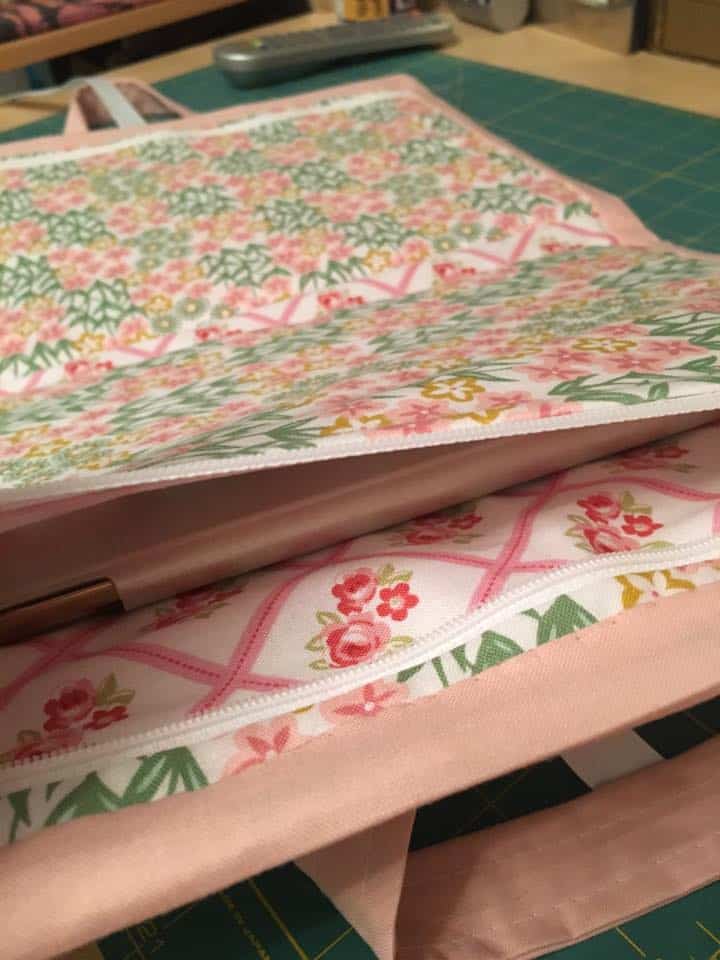
I have looked at Quilter’s journals/planners over the years thinking how great these were but there was always something that held me back – the fact that most of them were in book form, which meant that you couldn’t add to it once pages had been filled in. You would also be left with pages in the book that weren’t useful or relevant to you so it would be a waste. I thought on just printing out templates and placing them into a folder, but that just didn’t seem special enough. I was wanting something unique, special, and personalised – something that fitted exactly what I had in mind.
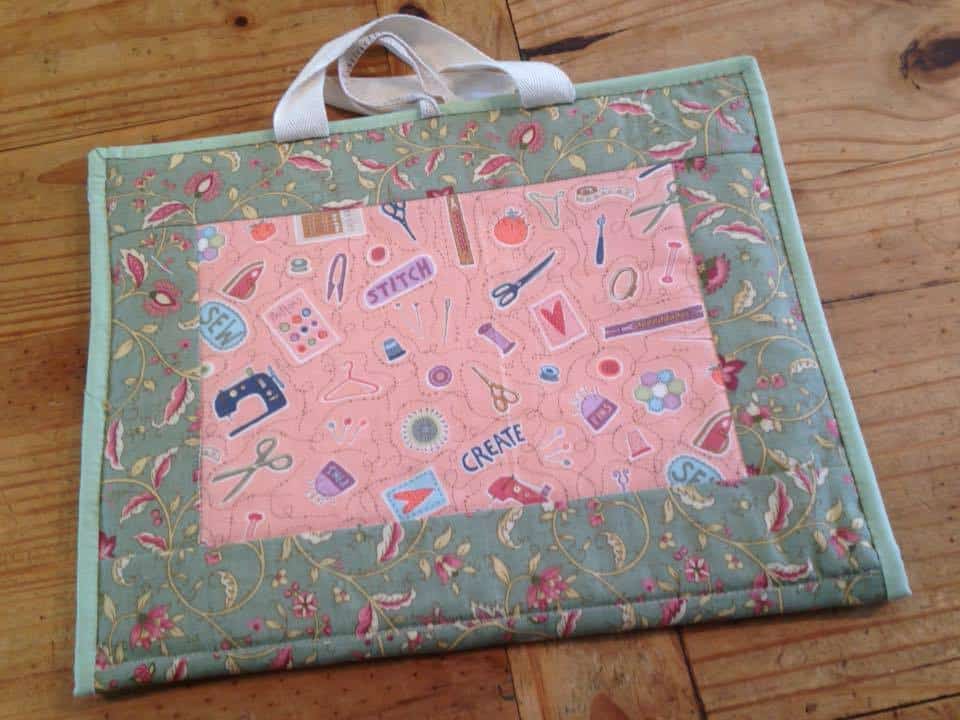
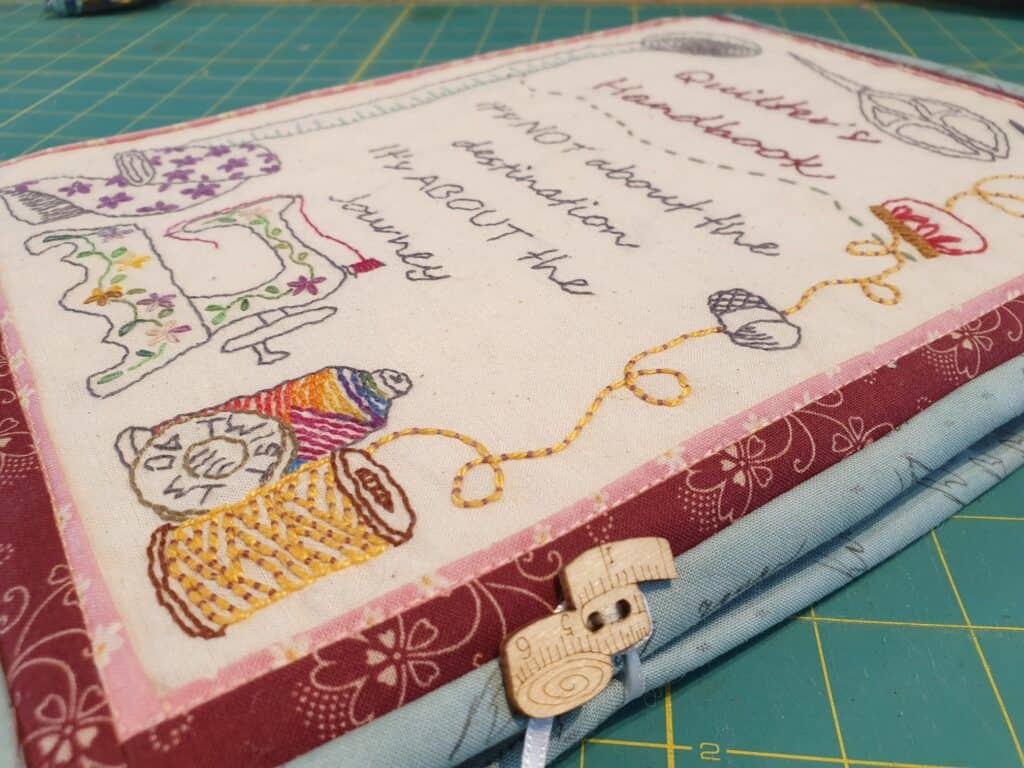
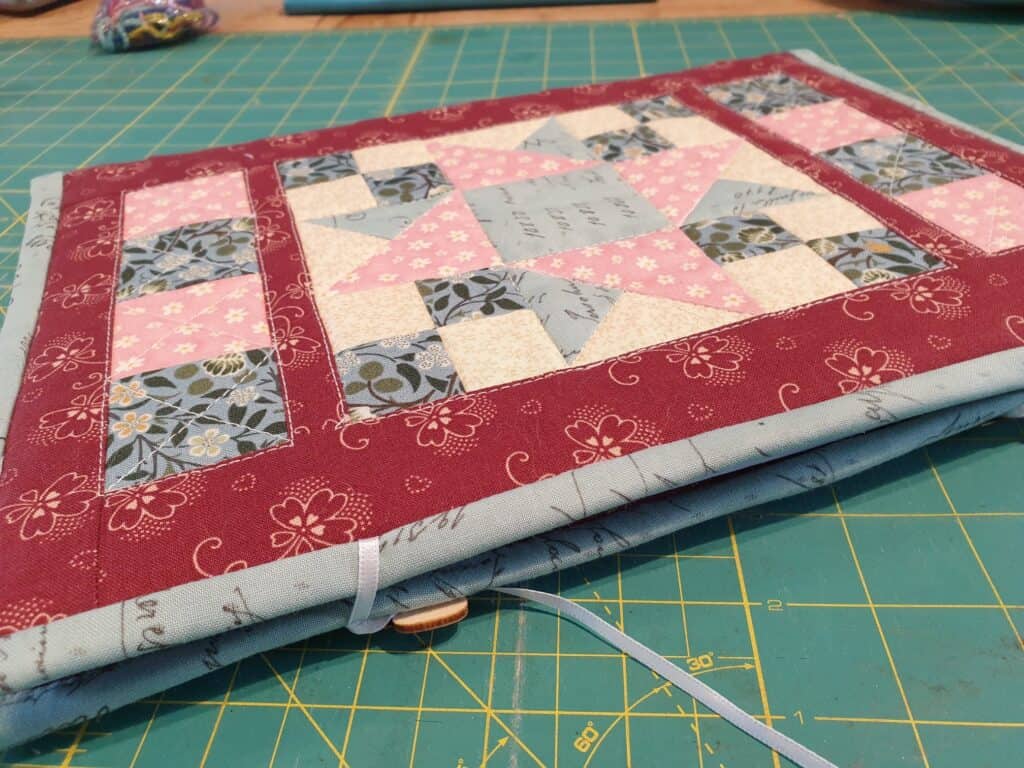
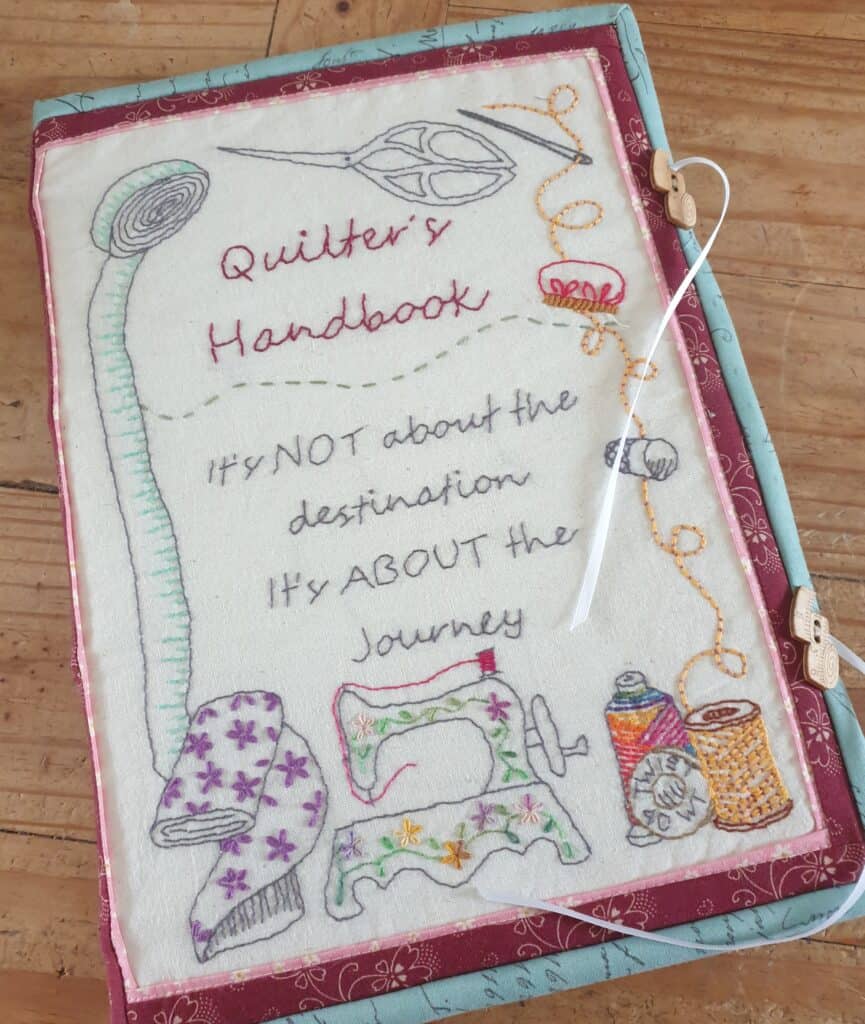
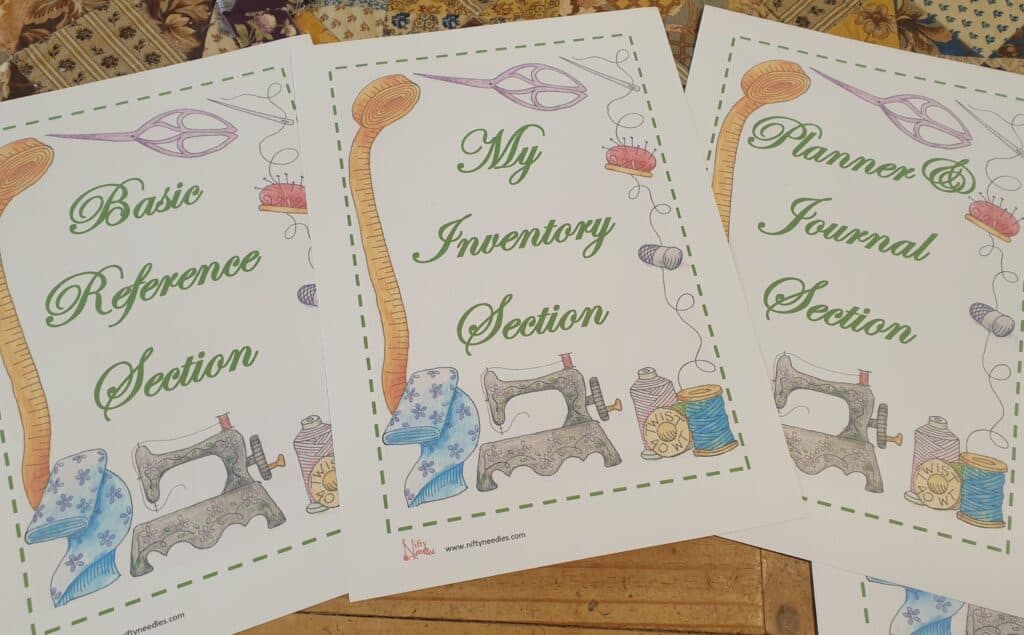
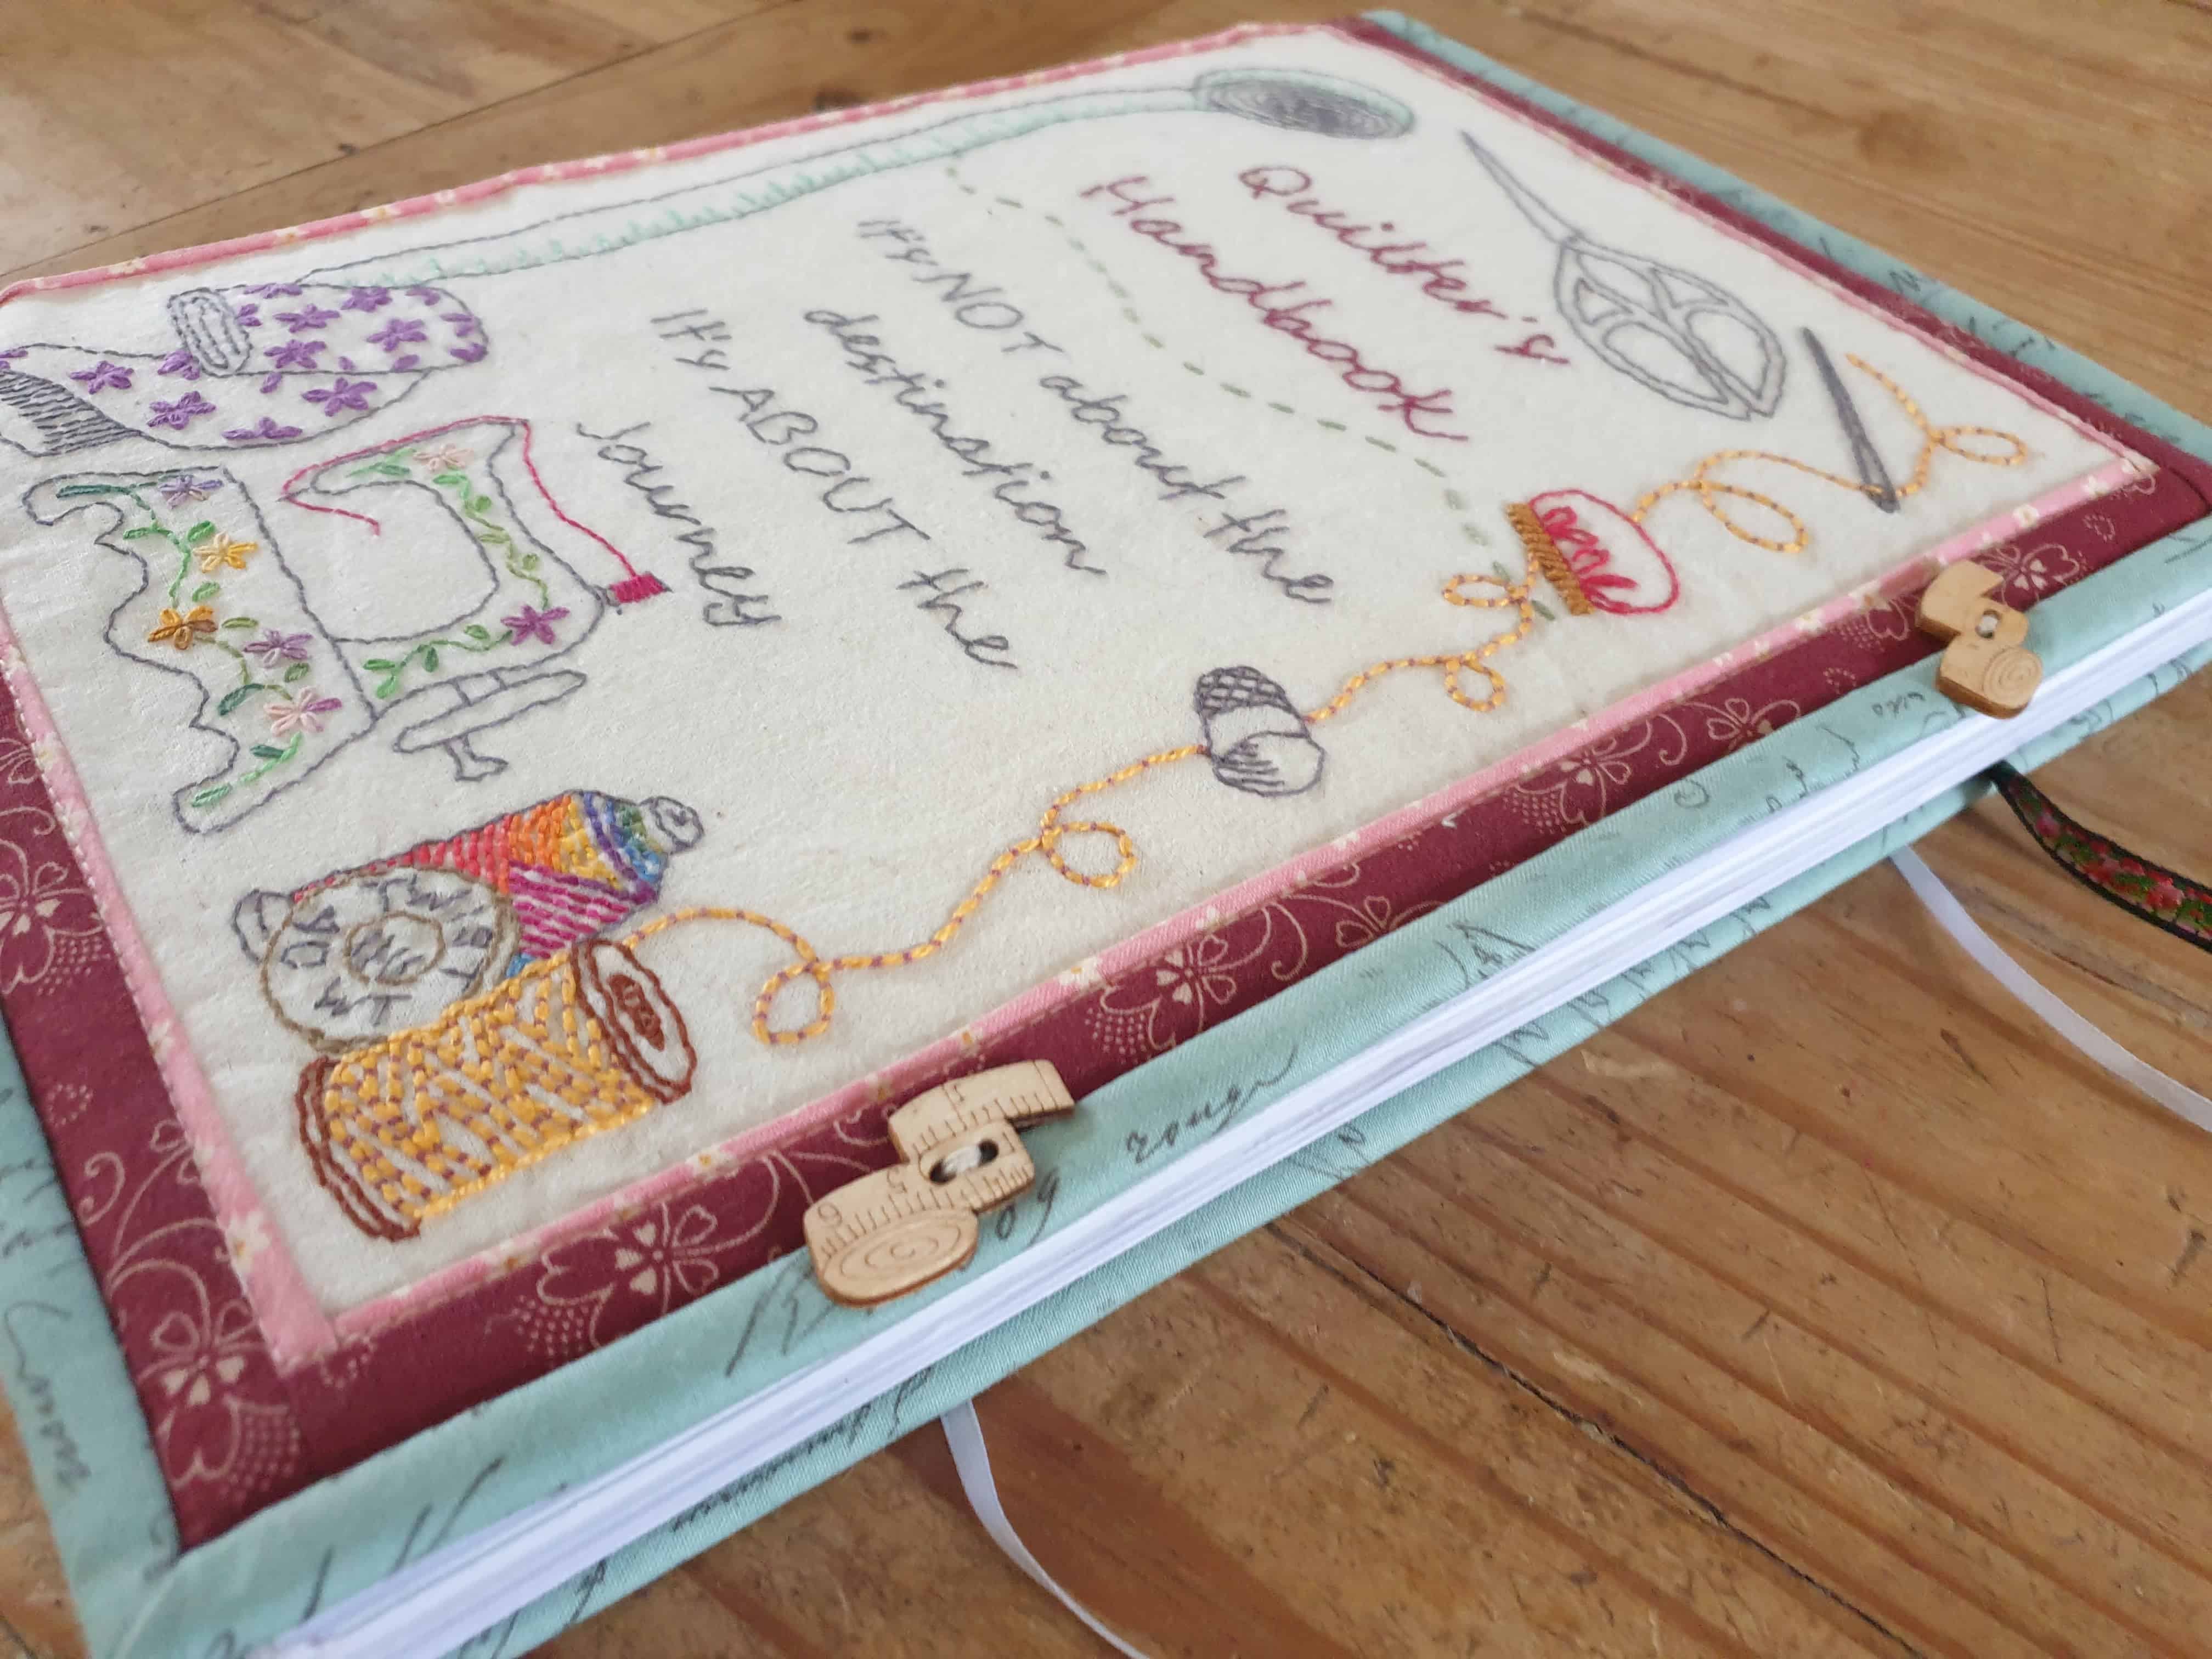
This is the result of months, upon months of thinking, planning, researching, drawing, typing, designing, and coming up with a truly personalised crafter’s handbook.
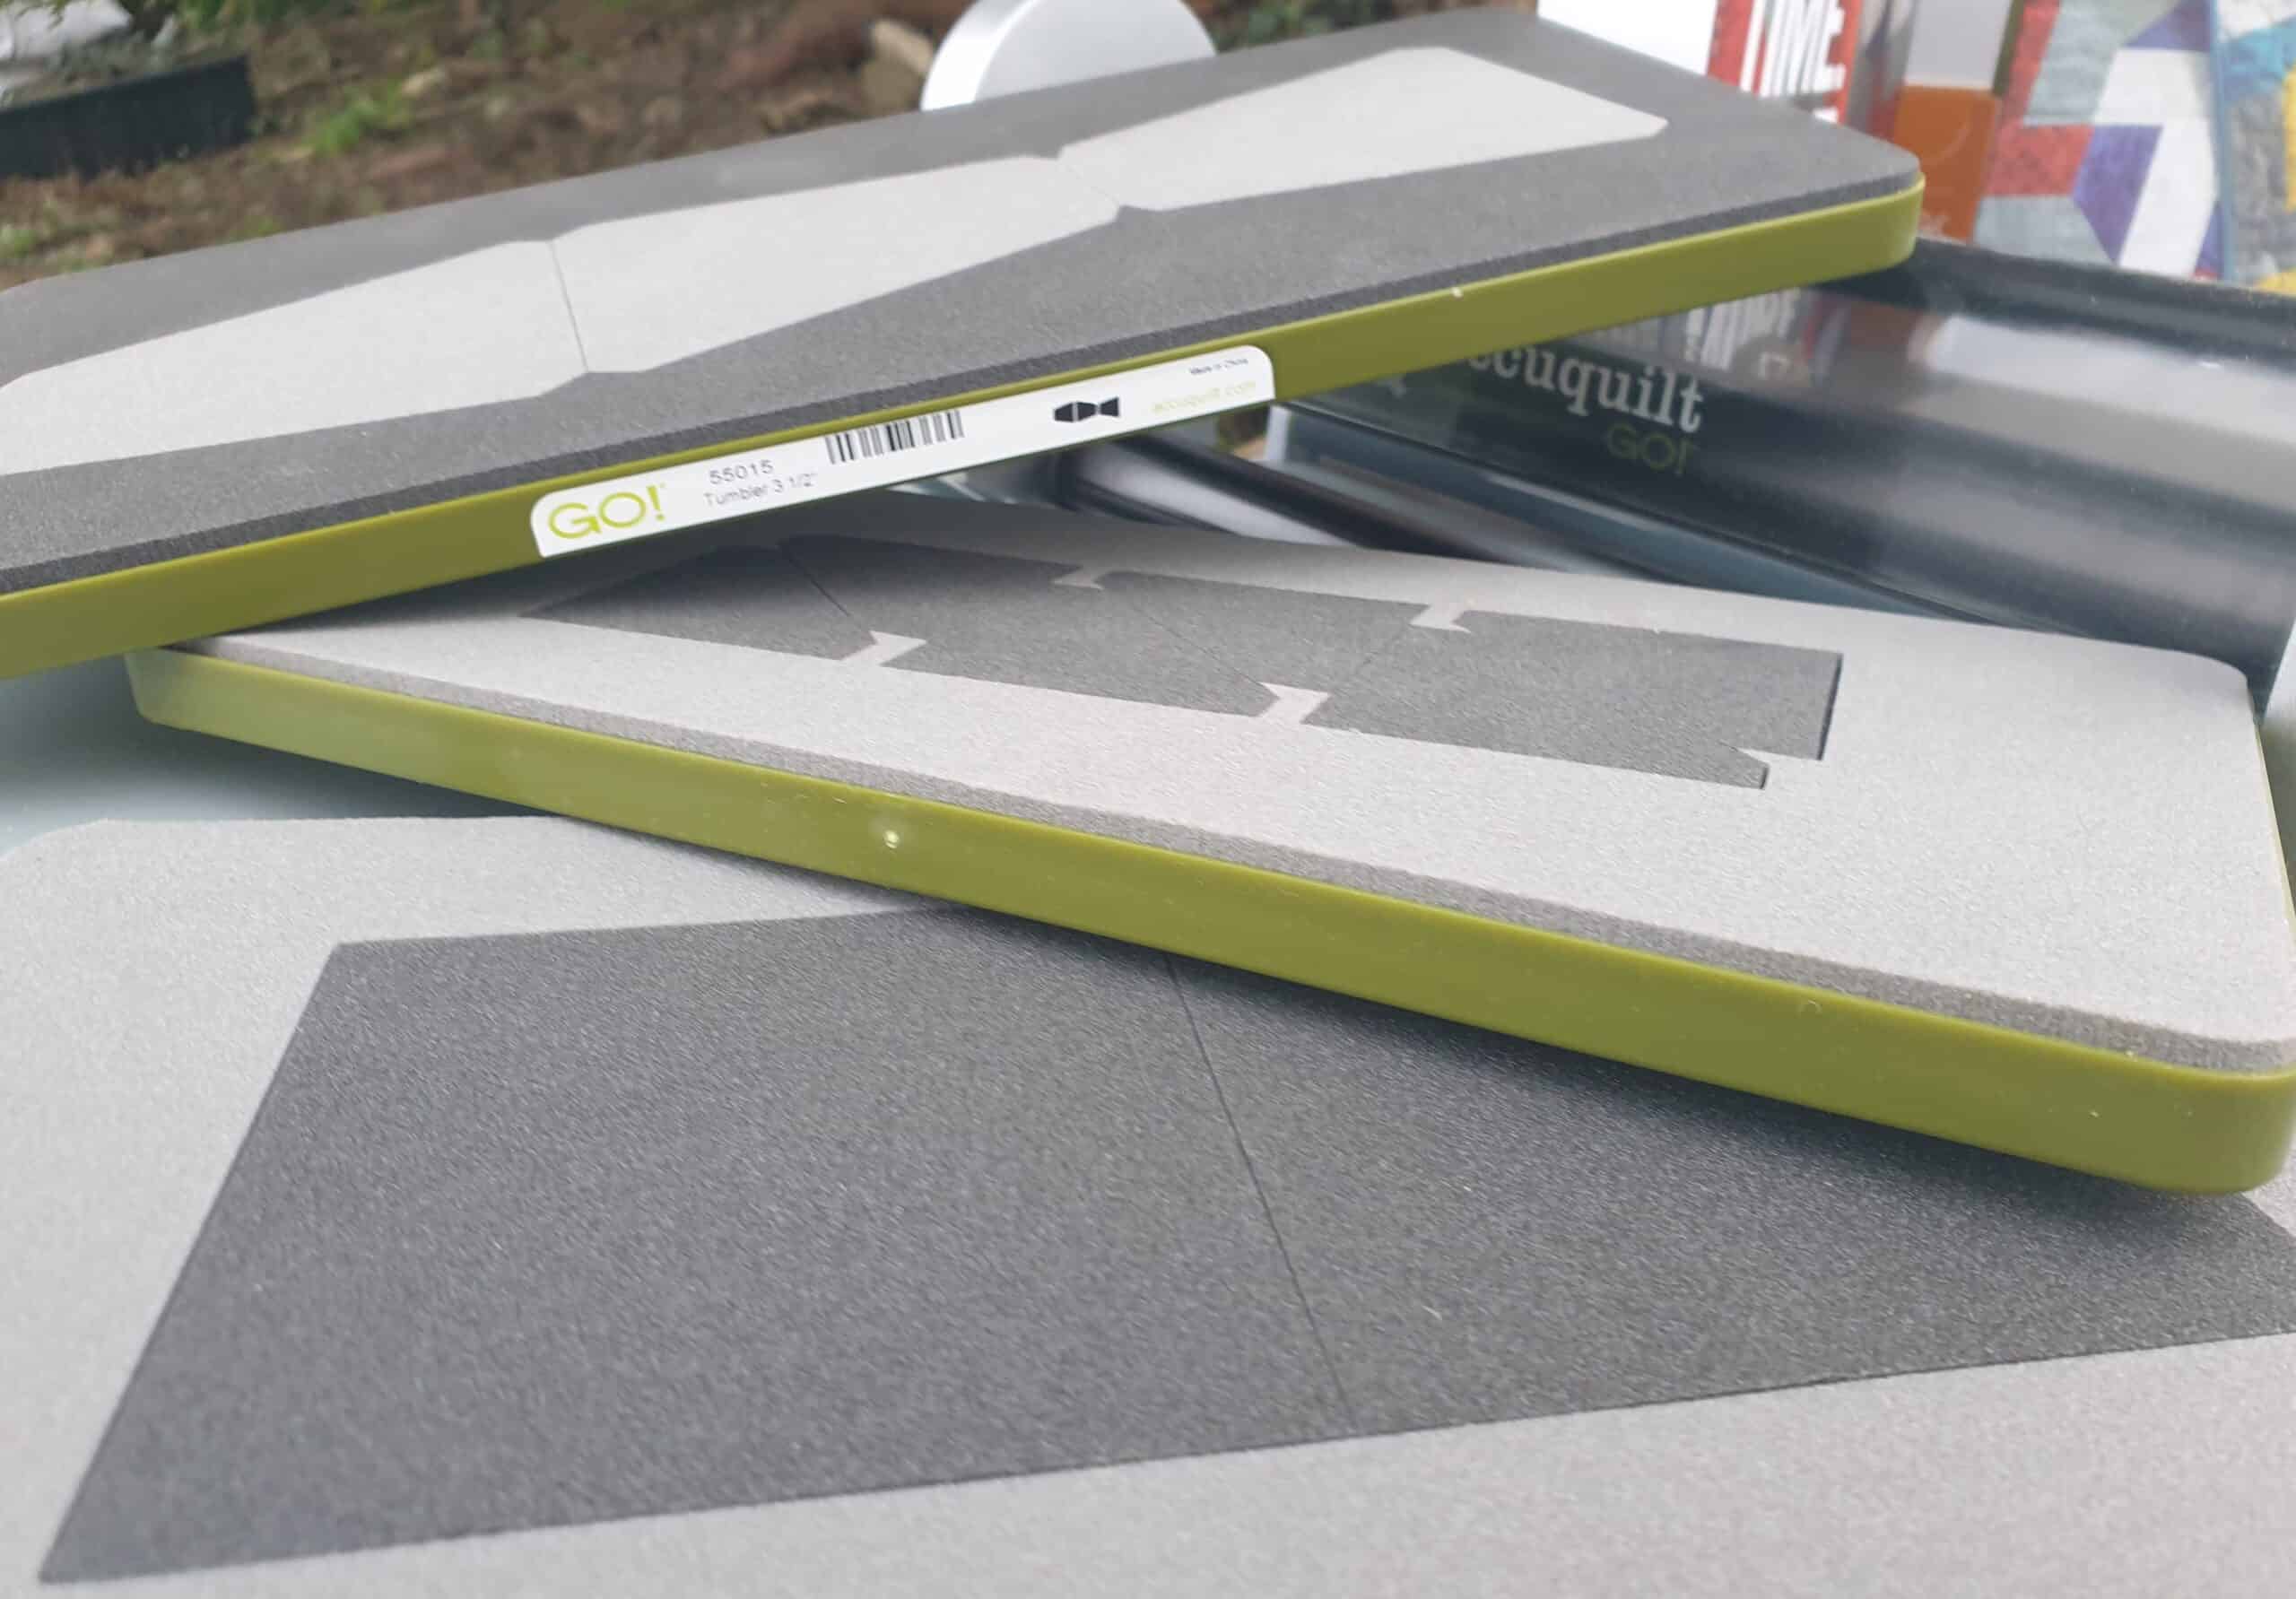
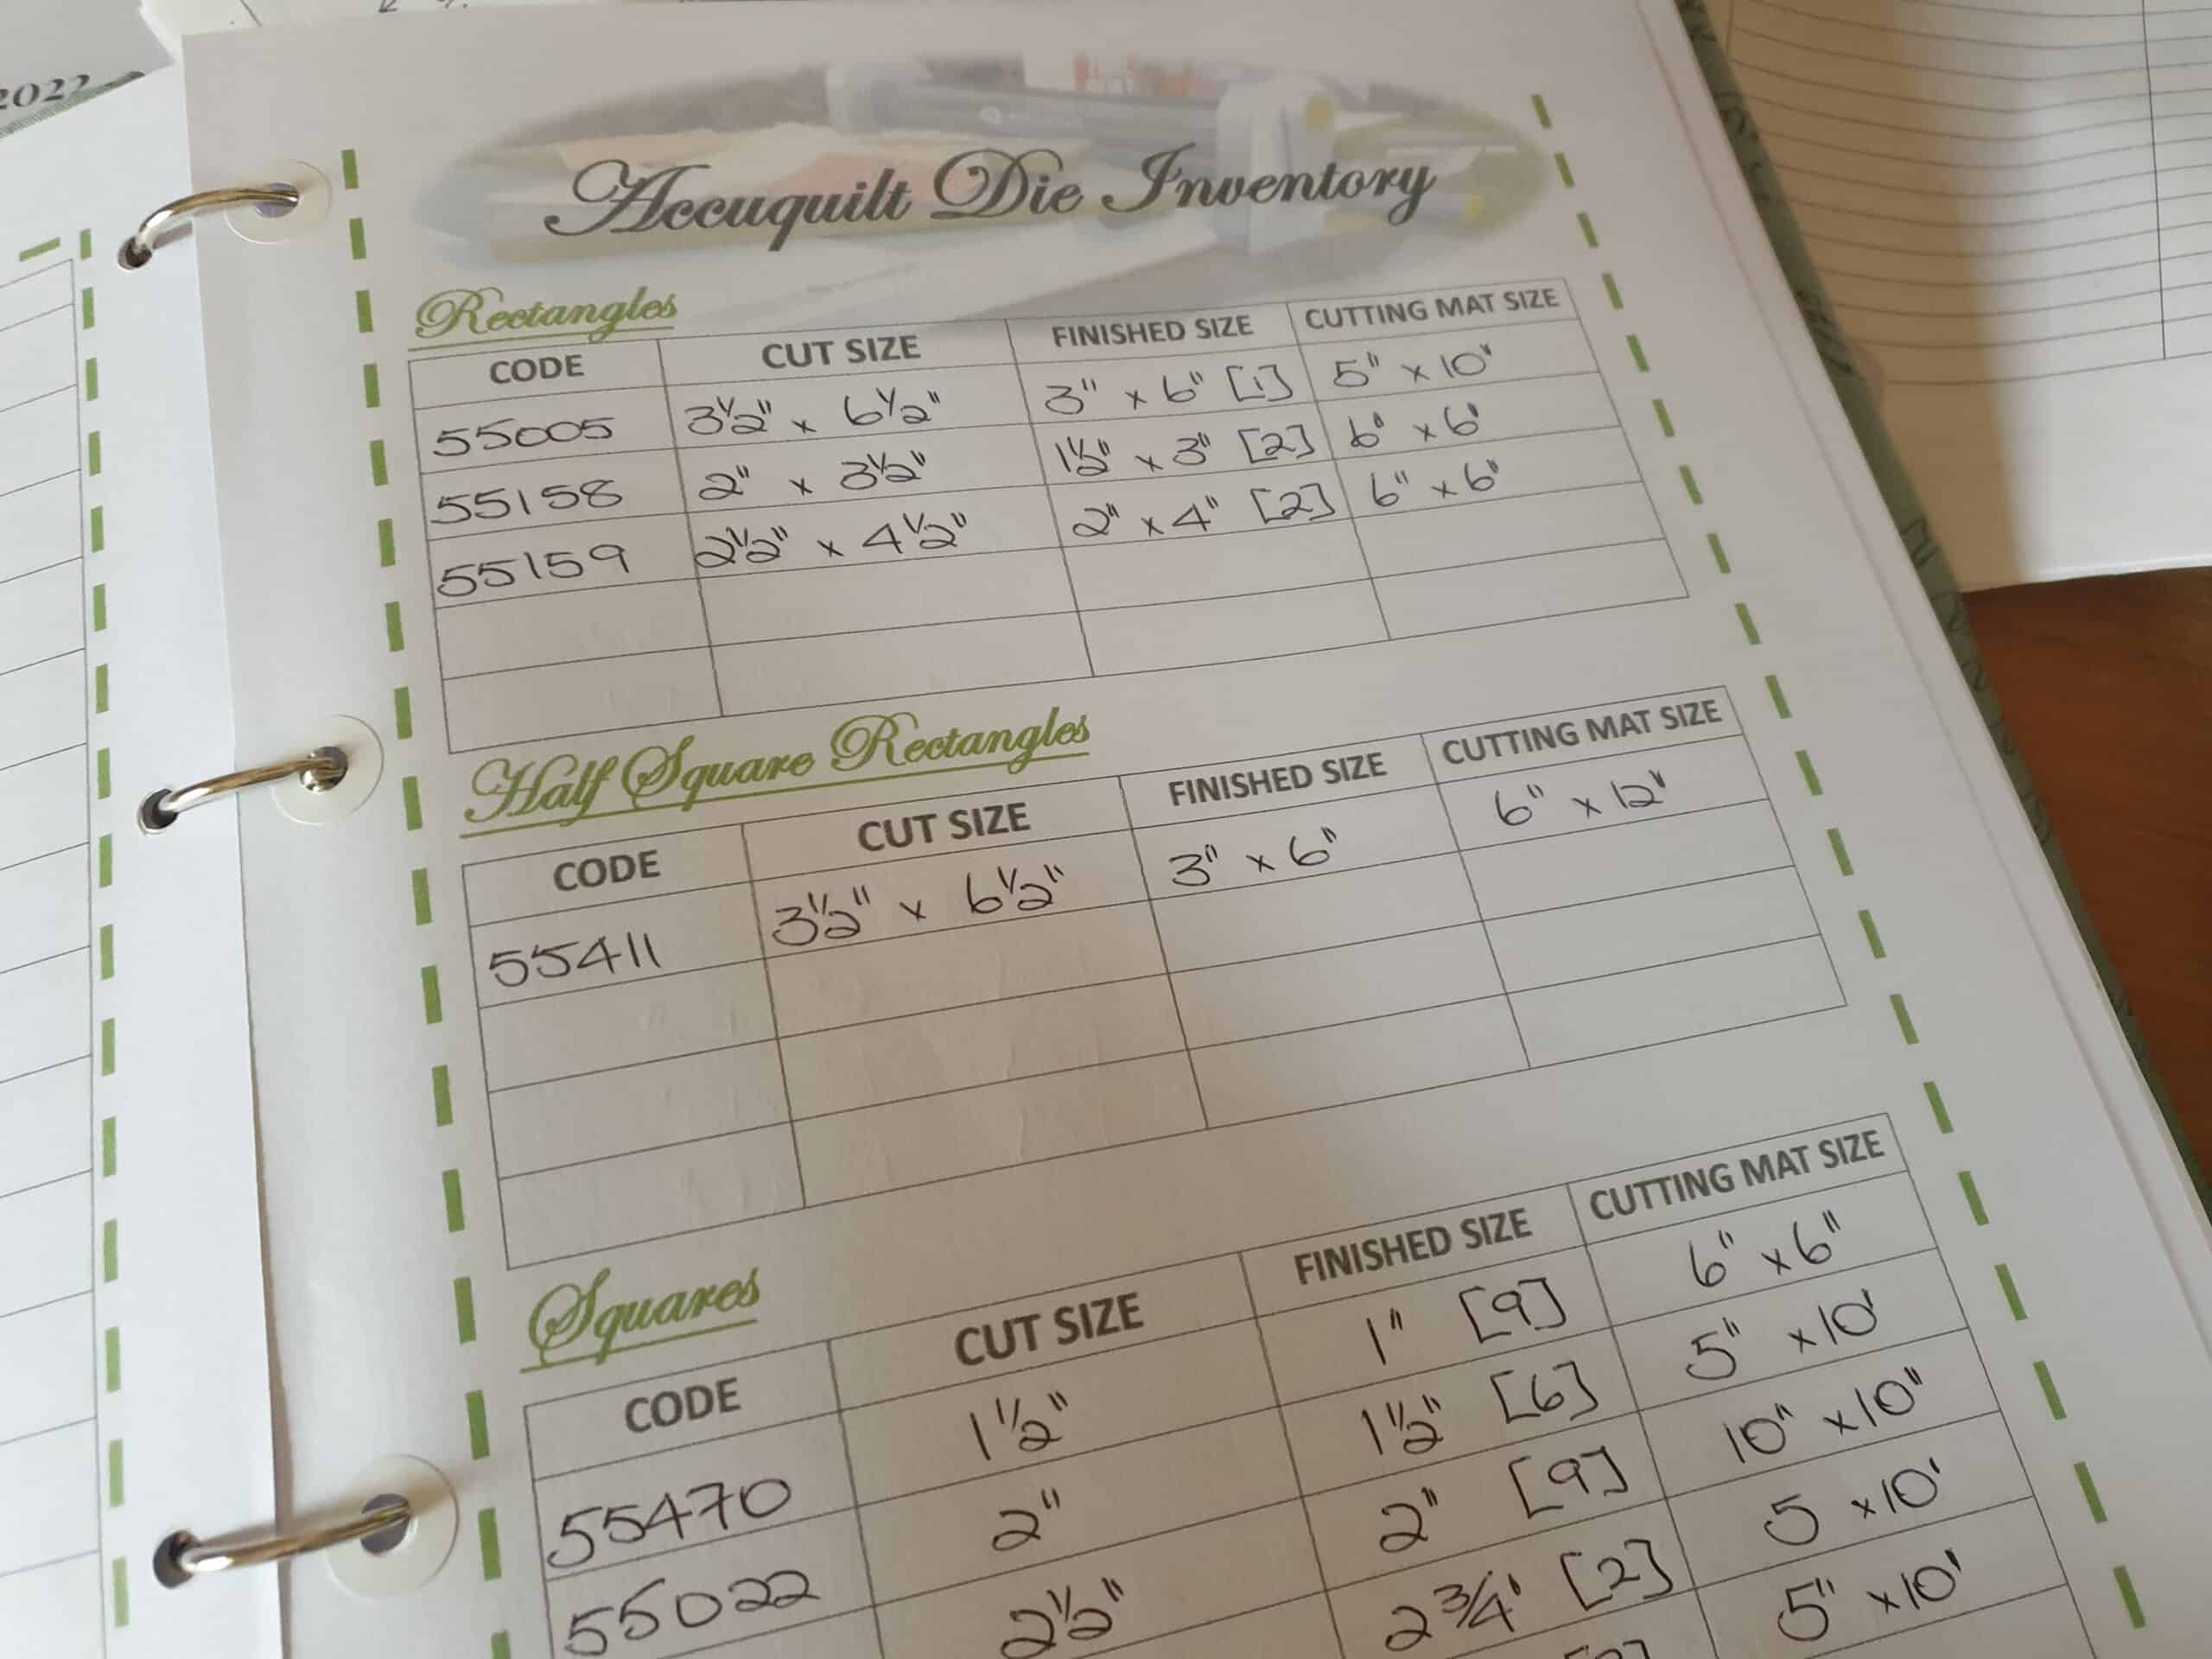
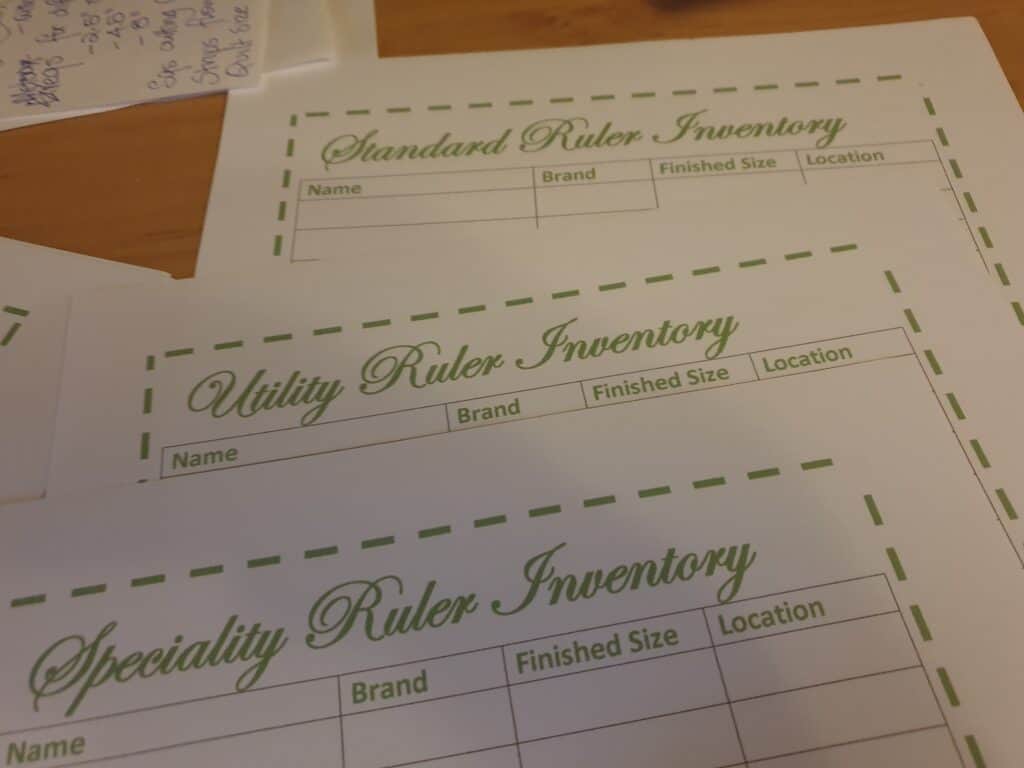
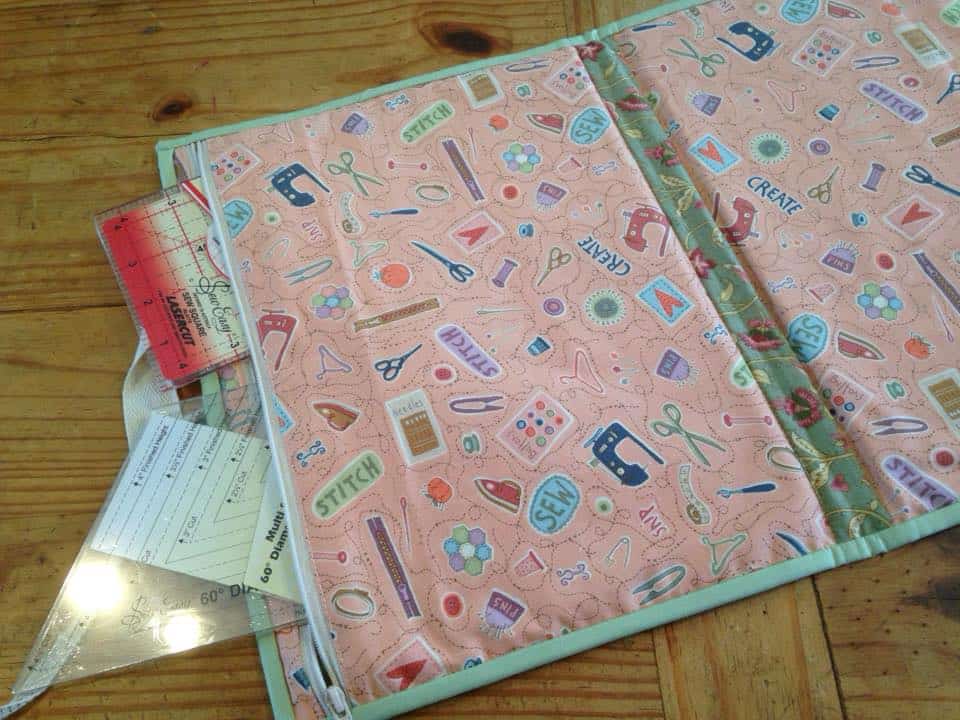
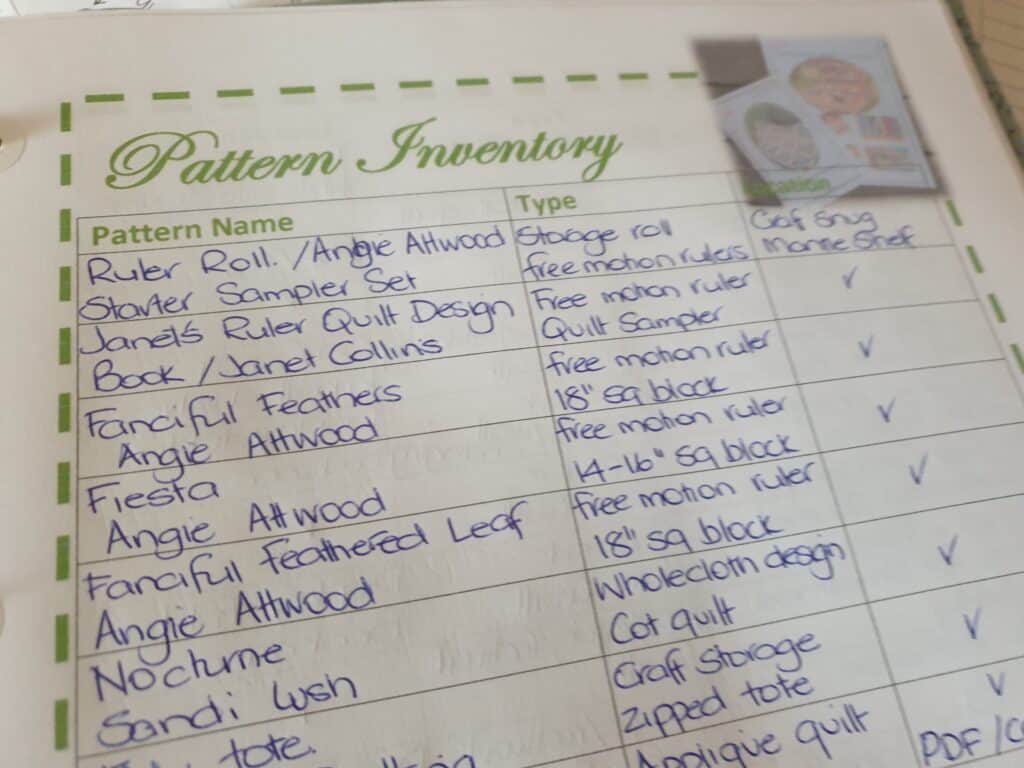
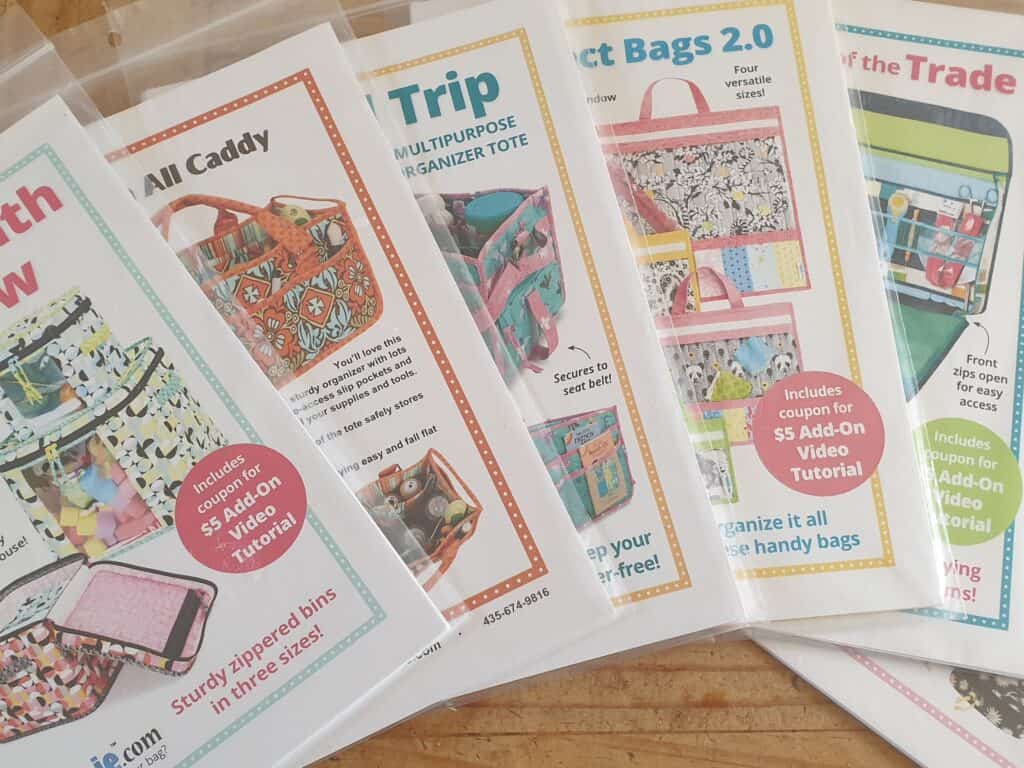
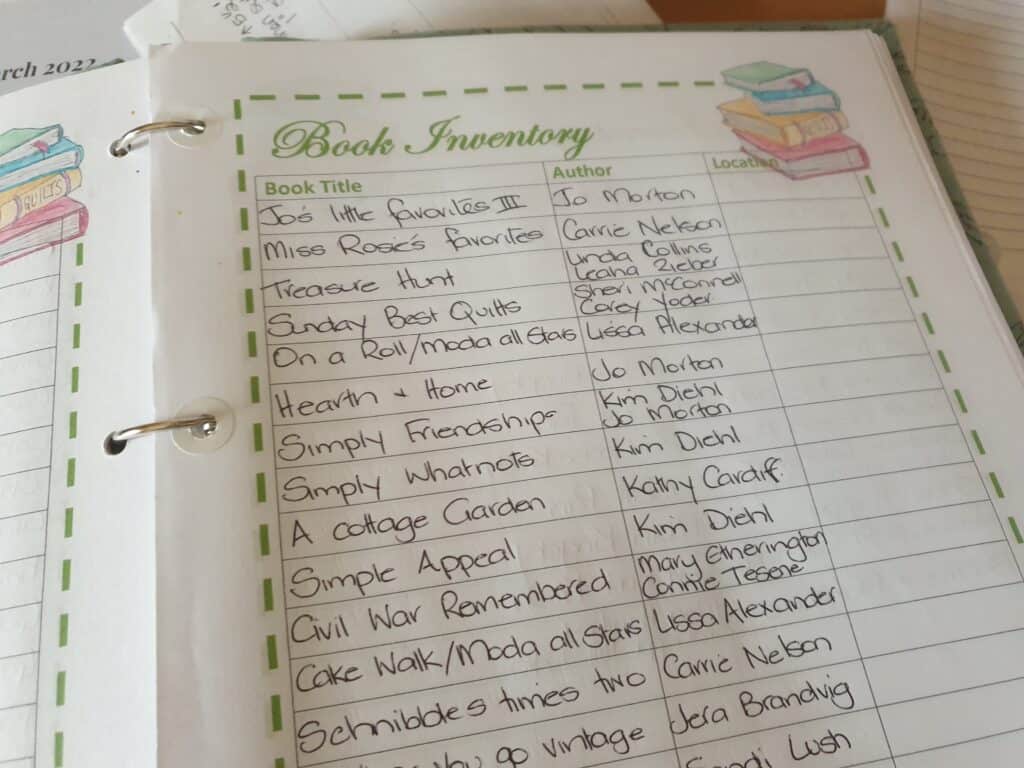
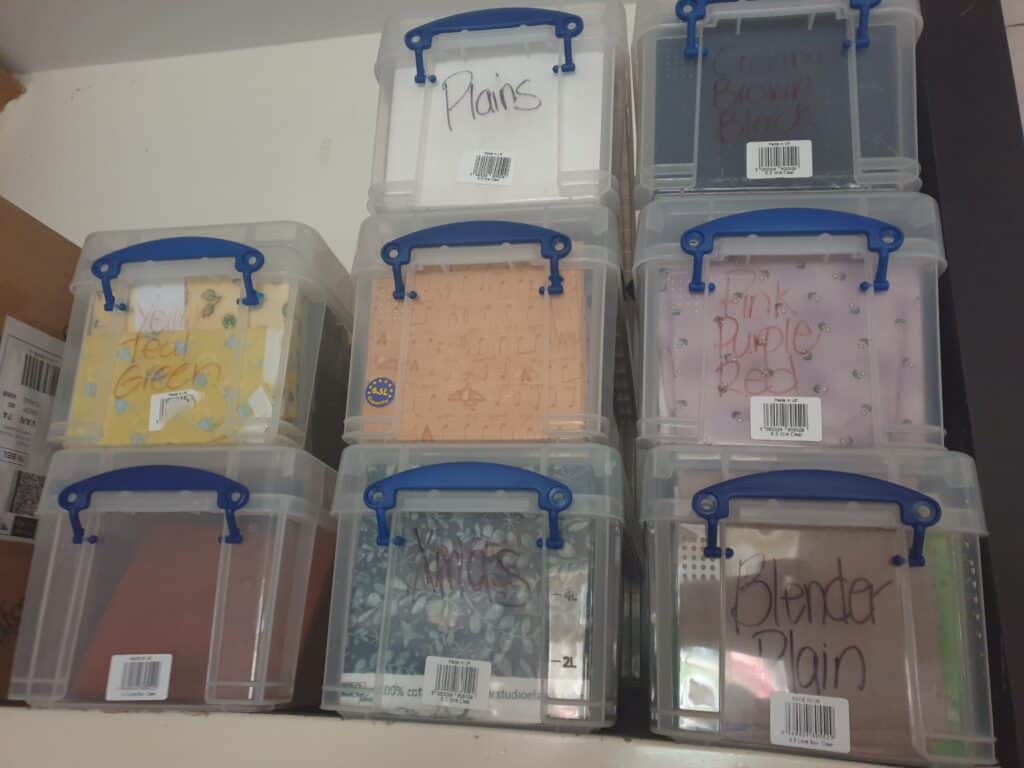
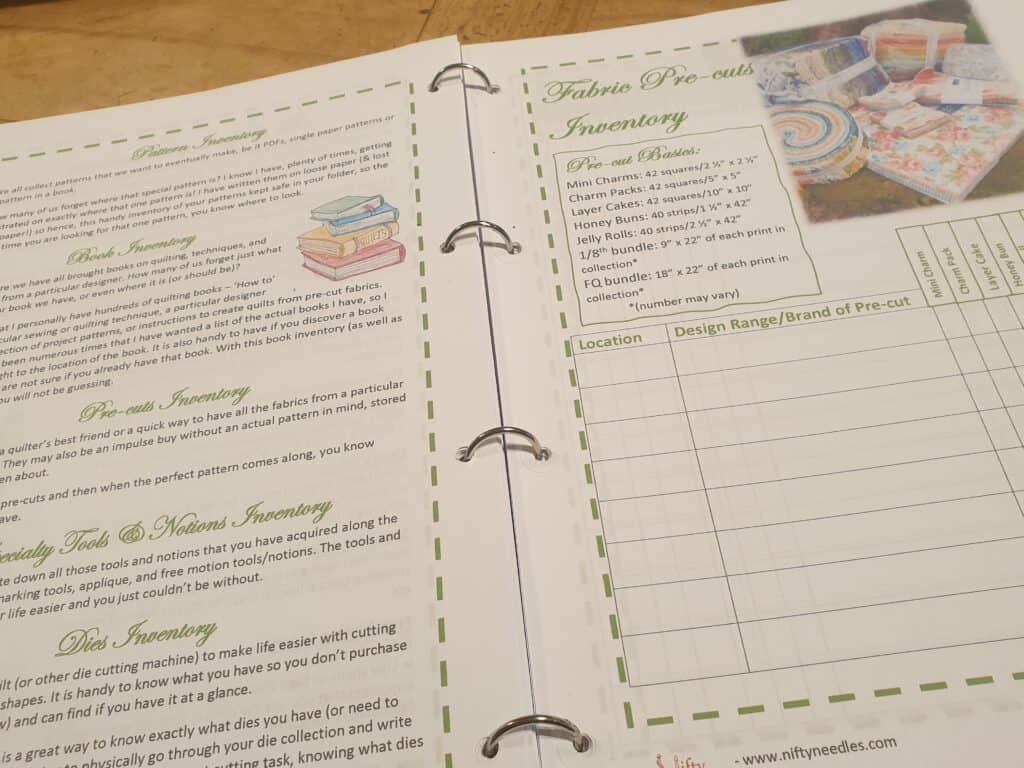
We have discussed all about inventories – pre-cut fabric, tools and notions, patterns and books in the previous posts and ways in which to get ourselves organised and know exactly what we have and more importantly, where it is kept.
Having those inventory lists kept in the Handbook folder made it so easy to look up an item and know where it is kept.
I have always wanted to keep a planner, but never found one that suited my needs/wants. I wanted a planner that I could add pages to as needed and rather than a prebound book where I couldn’t add the pages needed or leave out the ones I didn’t need or use. Basically, I was looking for a customised book that would be used and not left part empty due to unusable pages/templates. I have come up with these templates/pages which best suit my needs/wants, and hopefully yours. We may feel hesitate to use a journal/planner due to not knowing exactly how to make the best of it. A journal is not there to make us feel guilty or accountable of the unfinished projects, but to help keep us focused and motivated to get things done and to extent of our skills, to keep track of what projects we need to make, the projects we have made and gifted, the numerous BOM projects we signed up for. It also has the added benefit of keeping track of the pattern and materials used, writing notes/tips in case you want to make it again.
So just what is in the journal/planner section? And how do we make the most of what is in there?
Firstly there is the ‘Goals’ planner …
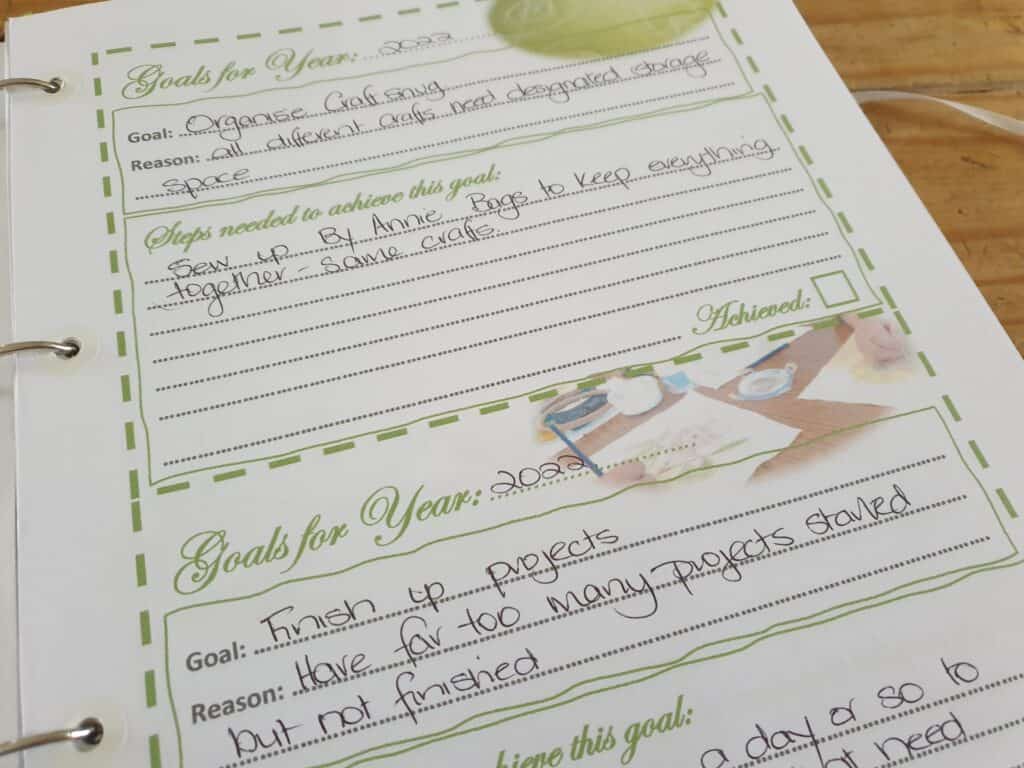
It is always good to start fresh each year and set ourselves some goals for the coming year. Maybe there are techniques we want to learn, maybe setting aside time to dedicate to finishing those unfinished projects thrown in the back of the cupboard, or maybe it is nothing quilting/sewing related.
This is where we can write down those goals, the reason why and the steps needed to achieve the goal. Breaking a goal down into smaller steps can make that dream/goal seem more achievable and not as daunting. It is also brilliant when we can tick the goal as achieved.
Just because we have written them down, doesn’t mean they have to be achieved. There is no rule to say we can’t change our mind. Life, needs, and situations change, which means that our goals change along the way. It is also brilliant to have a written record of our goals so we can look back at the end of the year and see what we have achieved over the year.
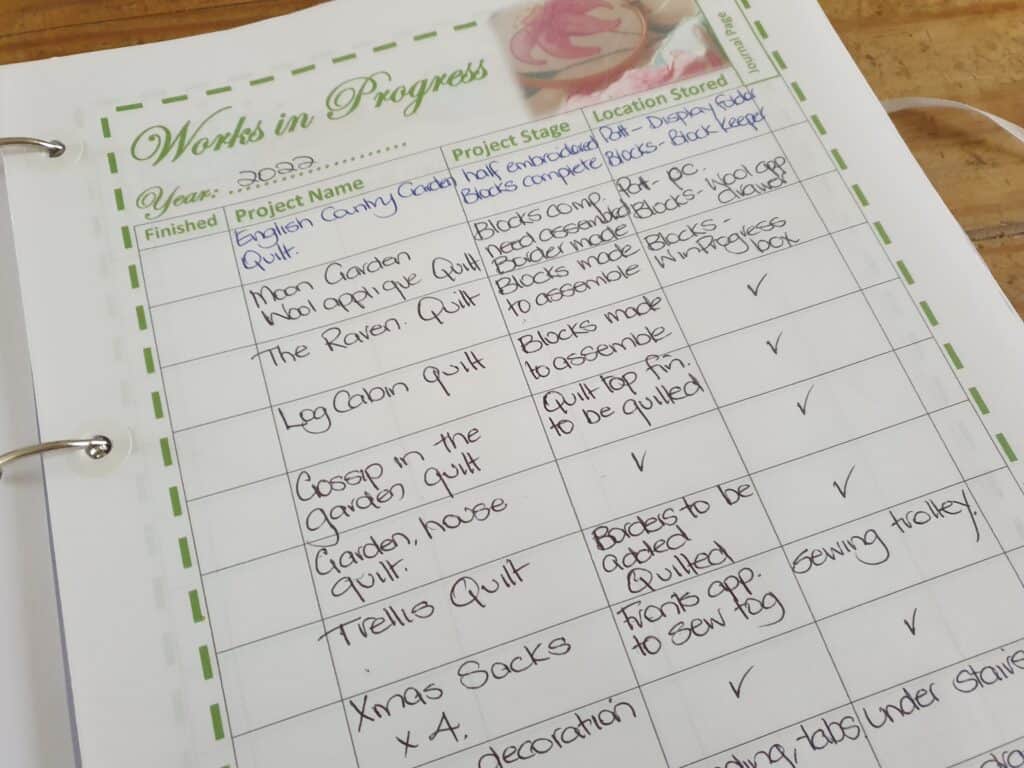
Writing down a list of the projects we have started and never completed, helps us to truly realise just how many we have on the go and needs finished. This could be one of your goals for the year – finish a certain amount of the WIP’s on your list. I have also found that my unfinished projects are all stored away in different boxes, drawers, and areas – all waiting patiently to be resumed.
This list helps you to know exactly what you have started (and need to finish). I felt it was best to keep this list simple, with just the stage the project was left at and MOST importantly, where it is stored. Once you get back to the project, start a Project page for it so you can keep track of your progress, keep more detailed notes and tick off each complete stage of the project until it is complete.
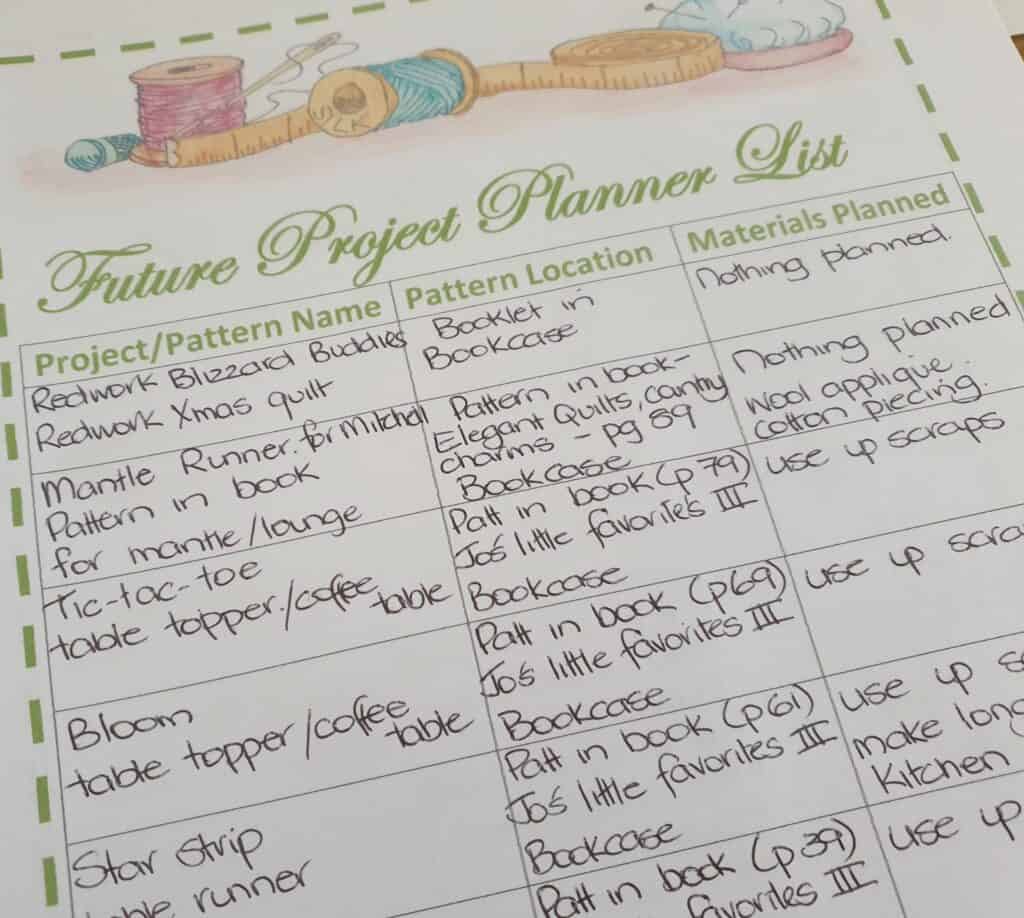
I also designed a planner for Future Projects. This planner is just as important as your Works in Progress List. We may have already started (& not finished) so many projects, but we will ALWAYS have a list of the projects we want to start at some stage.
I have all these projects that I want to do (at some future stage), and even an idea of the fabric to use from my stash, but it is all in my head and I tend to forget about them over time. I come across the fabric that I may have set aside, or ear marked for the project, but have forgotten where the pattern is that I wanted to use for it.
So this planner is for those projects, the ones we want to do at some stage in the future, and now it is all written down with all the essential notes like where the pattern is stored, or in what book it was published and whether or not I have the fabric for it in my stash or I need to purchase extra for it.
When I sat down and did an inventory of my quilting books, I also spent time flicking through each book and rediscovered projects that I had mentally told myself that I wanted to make up when I first got the book. It was silly of me to think that my brain would retain all that information and remember the project and where the pattern was. Actually there was one such project – a mantle cover – that I had found in a book/magazine that I had purchased, I mentally stashed that info away and I forgot which book the pattern was in! I searched through my books without success many times over! Would you believe that while doing the inventory, I actually found that pattern and was now able to add the project to my Future Projects planner, along with the pattern name, book title and the page it was on. Now I have it recorded safely in my journal for when I get round to making it up.
I have to admit it was a fun way to spend a day, going through all my books while doing the inventory. It was a great excuse to be able to revisit all my wonderful quilting books. I do have to admit that my pages grew quite without shame or hesitation. I now have quite a lengthy list of future projects planned. But I am not worried, there is no expiry date for starting or completing these projects. I do, however, now have a list written with all the projects I would like to do and know I will not lose that piece of paper with the details or forget the info stored in my head, as it is safe in my handbook. There is also space if I want to list down any fabric I may want to use for the project.
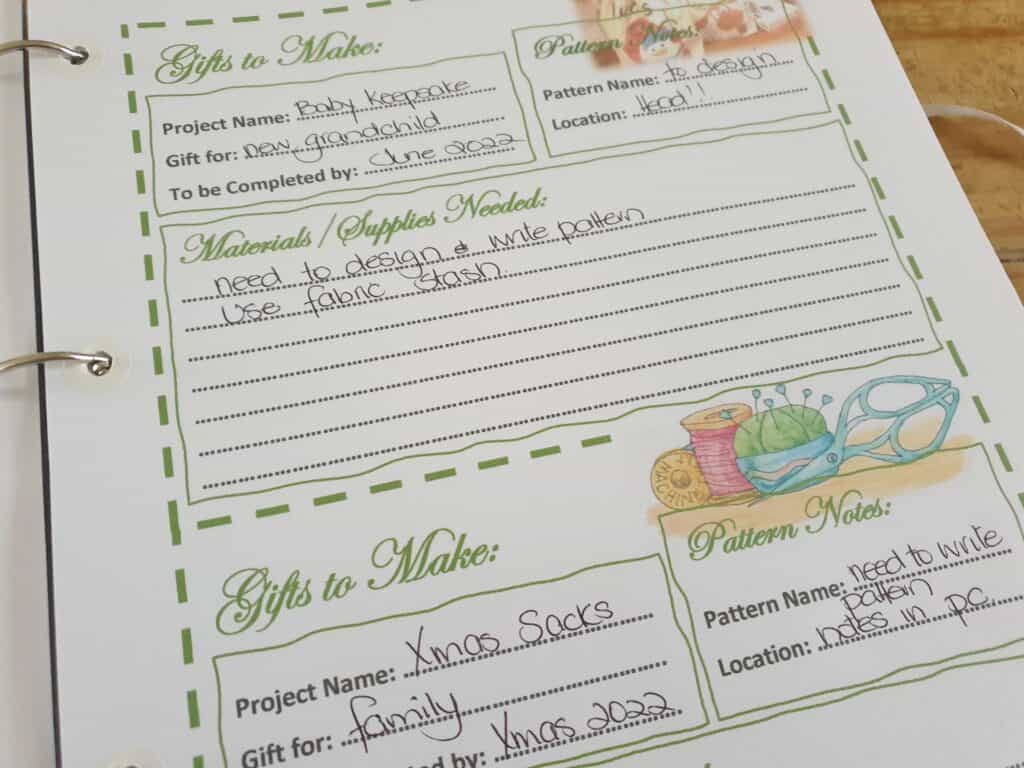
Something that fits in well with future projects is gifts that we may want or need to make.
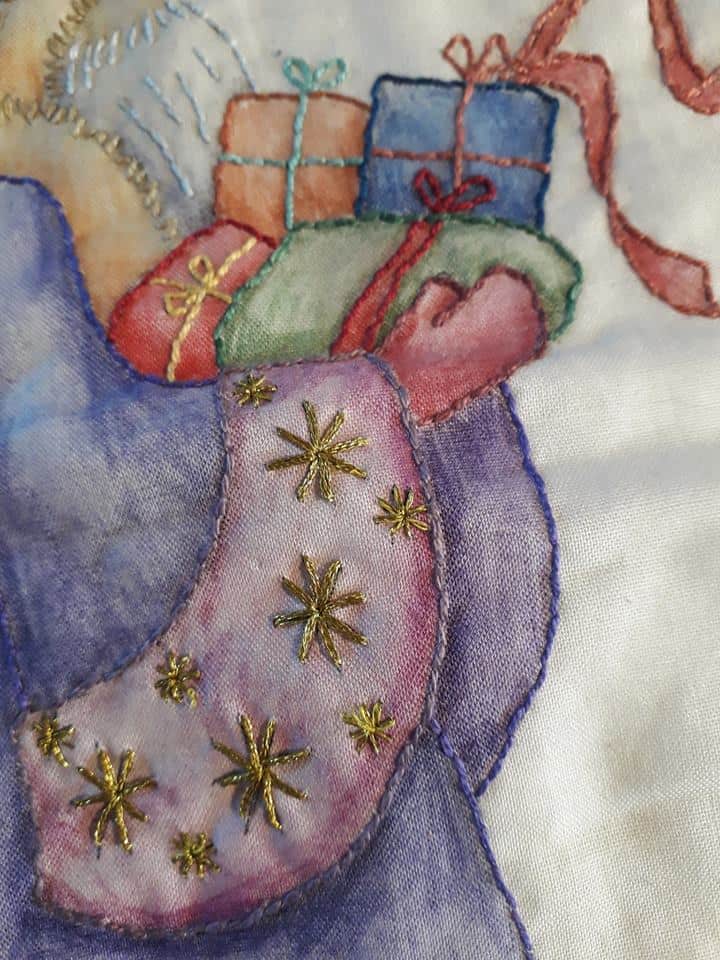
Every year I say that I am going to make gifts for family and friends at Christmas. I have several that I planned to make for a special occasion, but they are still unmade as they tend to get forgotten about. Definitely one task for my goal list.
This list is to help us stay focused on making gifts, giving a deadline so we can make time to get them made and gifted. It also gives a great record of what we made, who it was for and when it was finished and gifted.
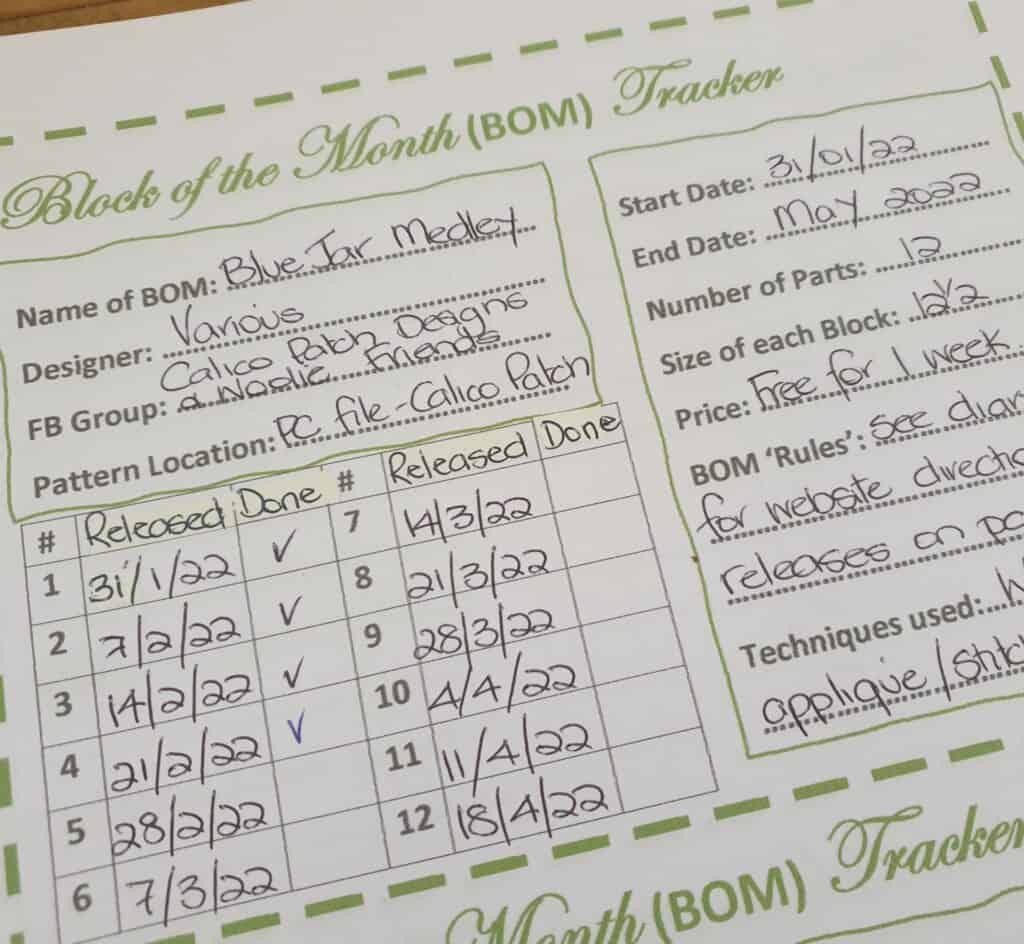
I am sure we have all subscribed to Block of the Month projects at some stage and even lost track of what we are subscribed to or when they are due out. If you are on Facebook, there are numerous designers from around the world that are running BOM projects through a designated Facebook Group and share each monthly pattern for free for a limited time. How many times have we joined up, started the project only to realise that we have missed the deadline to download the free monthly pattern and we are faced for with the choice of missing that monthly pattern or having to pay for it. Paying for a great pattern is no issue, but it can be when the designer is overseas and the only way to purchase the missing pattern is via a printed pattern and the postage is high or the designer doesn’t post internationally. I have been caught on several occasions and I always vow that I will keep better track of release dates and the BOMs, usually on a scrap of paper by my computer or in my diary.
This tracker solves all these issues. Here you can note down the name of the BOM, the designer and what Facebook group it is connected to (if relevant) along with where you have stored the pattern, either as a PDF in a designated folder in documents on your computer or as a printed pattern in one of your storage folders.
There is also room to note the start/end dates of the BOM, number of individual parts, price and any BOM rules that you need to remember, like the release date each month and if the pattern is a free download for a limited time.
Once you have started the BOM project, you can then start an individual project template so you can keep more detailed notes. I know that this BOM tracker will be invaluable as I subscribe to numerous Facebook BOM groups that run several free mystery projects each year. Now I can keep a written record of them and know that I have kept up to date with release dates and saved the pattern to my computer until I can get round to making the BOM.
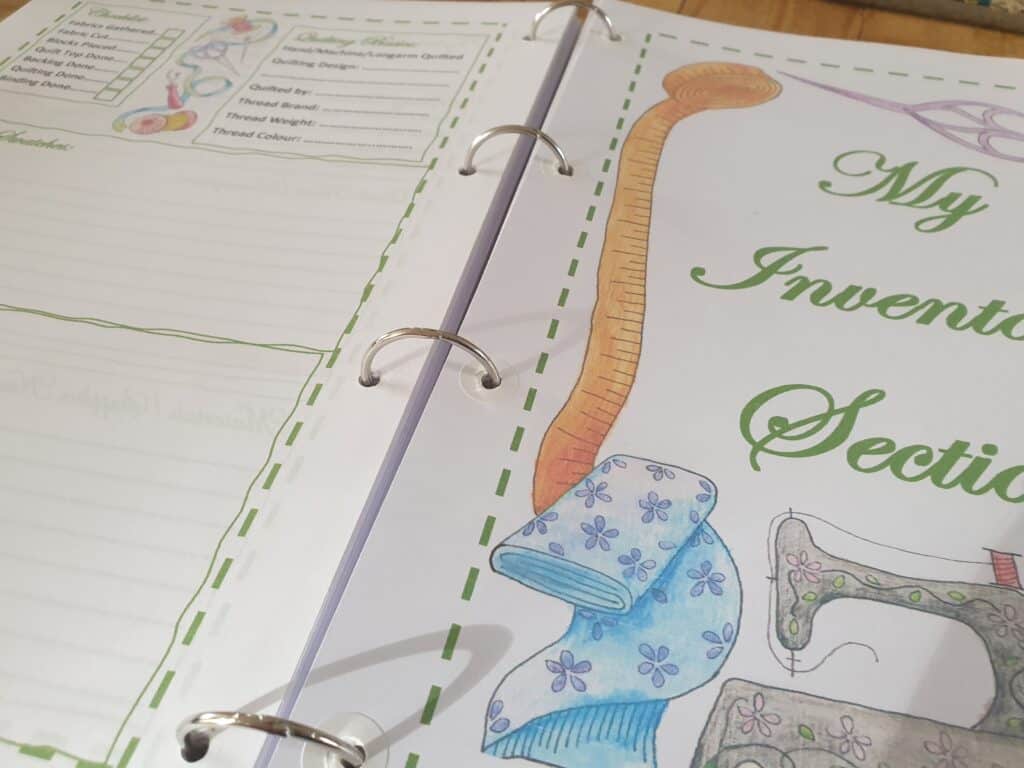
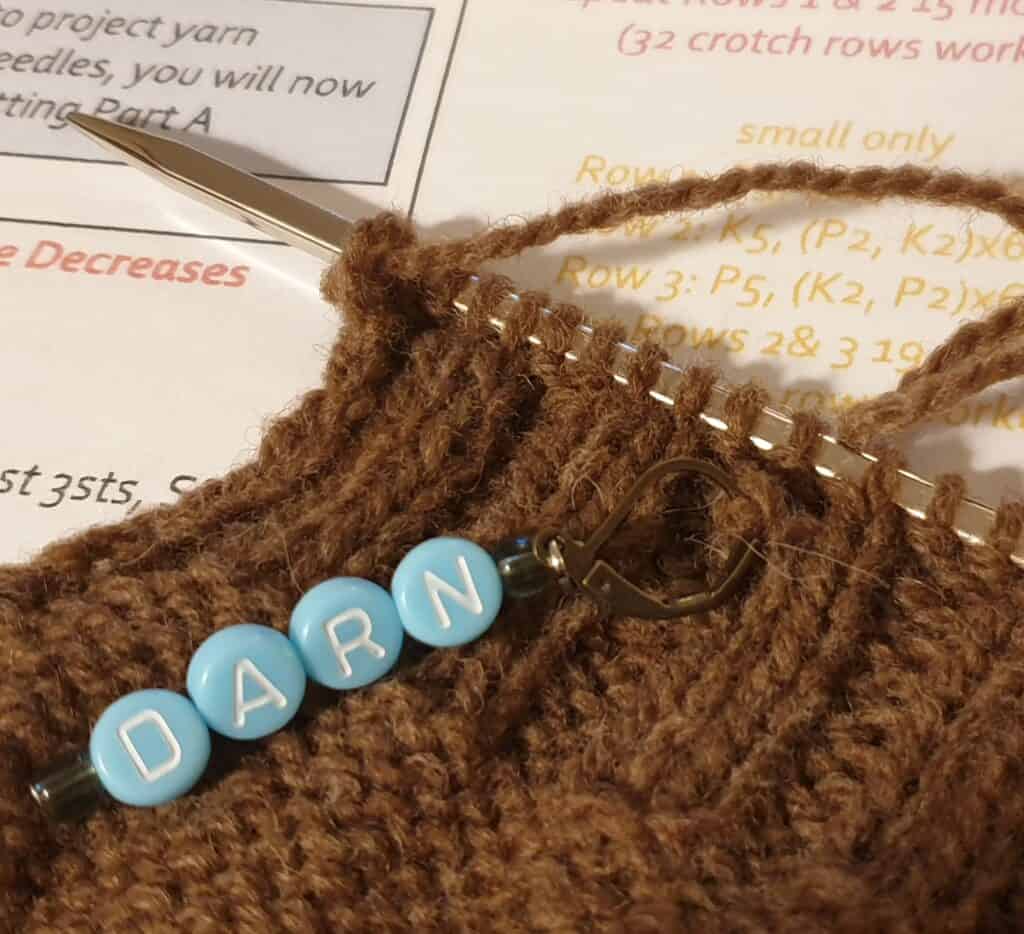
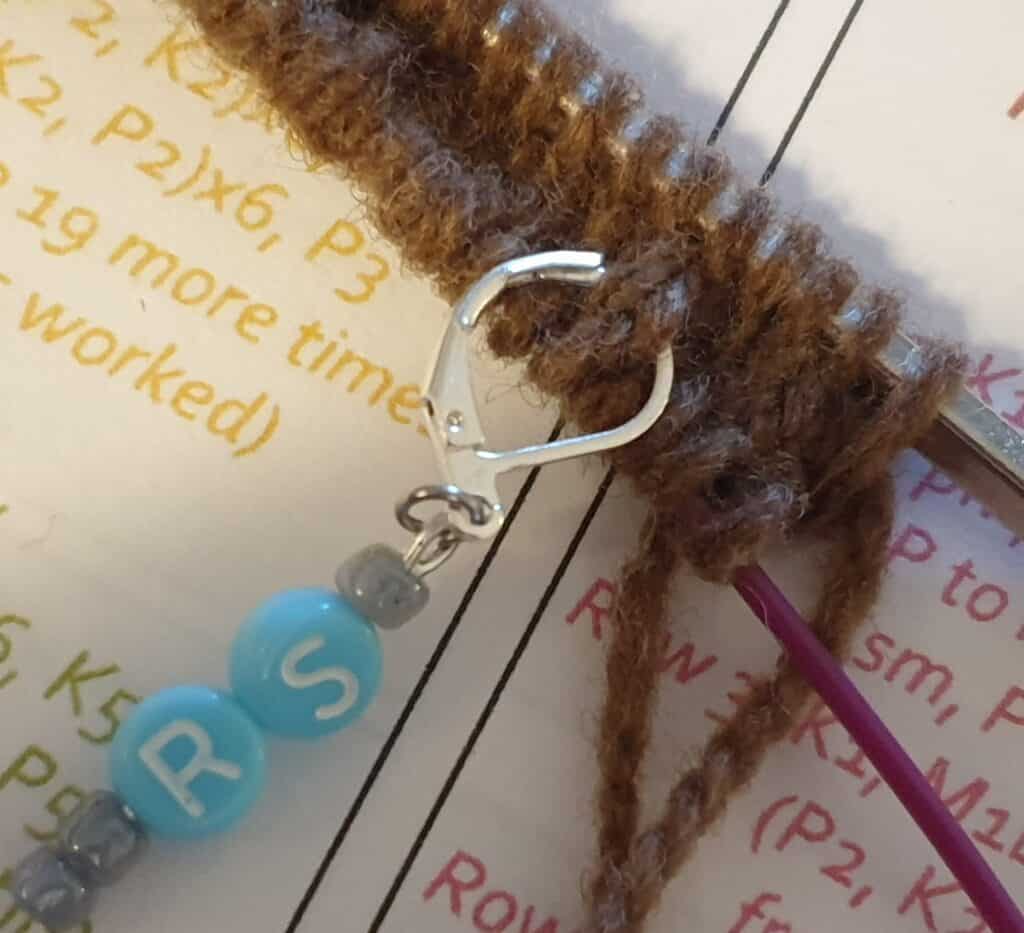
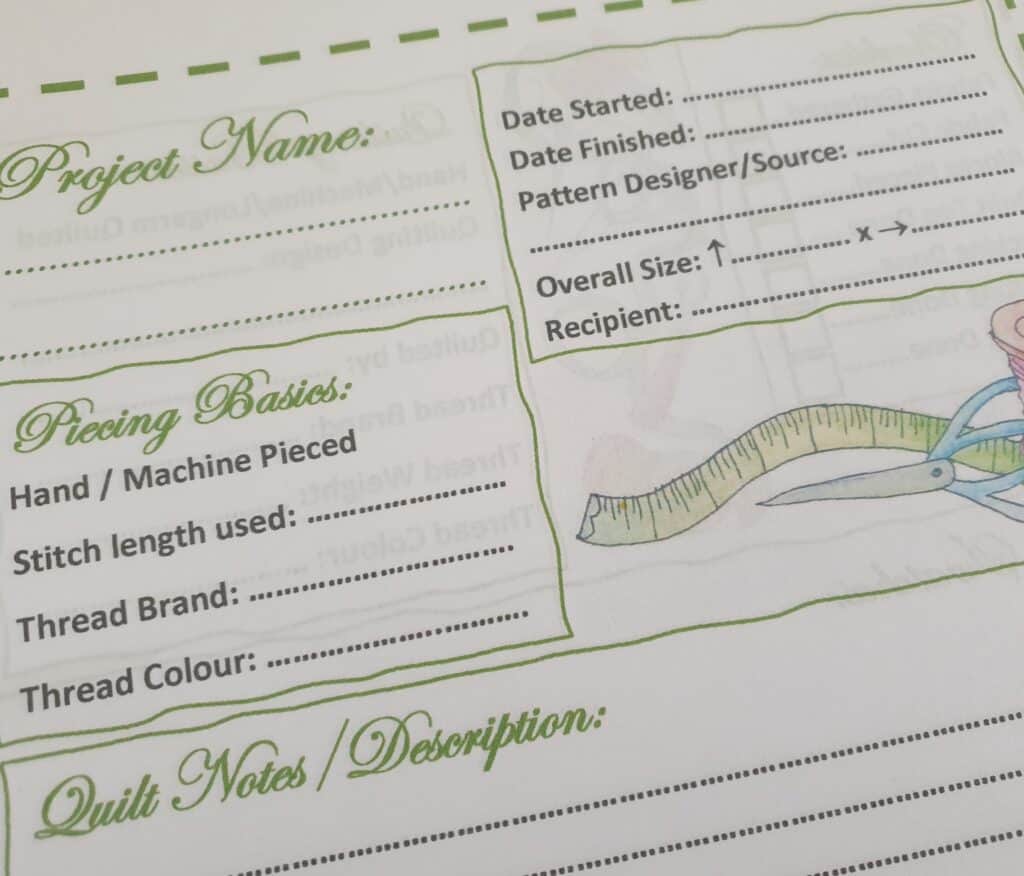
Keeping a journal for your current projects is brilliant. This is where you record everything you need about the project you are creating. The one place where you can keep a note of the more technical details of your project, like the fabrics and notions used, pattern name, piecing basics, notes of any adjustments or modifications you may have made. There is space for you to include fabric swatches (if you want) or written notes on the fabrics used along with photos of the finished project is also a checklist provided so you can tick off each step/process in the project which helps to break it down and gives you a visual note of how much you have done or what still needs to be done.
There is also a checklist provided so you can tick off each step/process in the project which helps to break it down and gives you a visual note of how much you have done or what still needs to be done.
With this tracker, you have everything you need to complete your project all in one spot, so you know exactly where to go if you have had a break in the project and just need a reminder of what needs to be done or the technical requirements like the thread colour, stitch length and so forth.
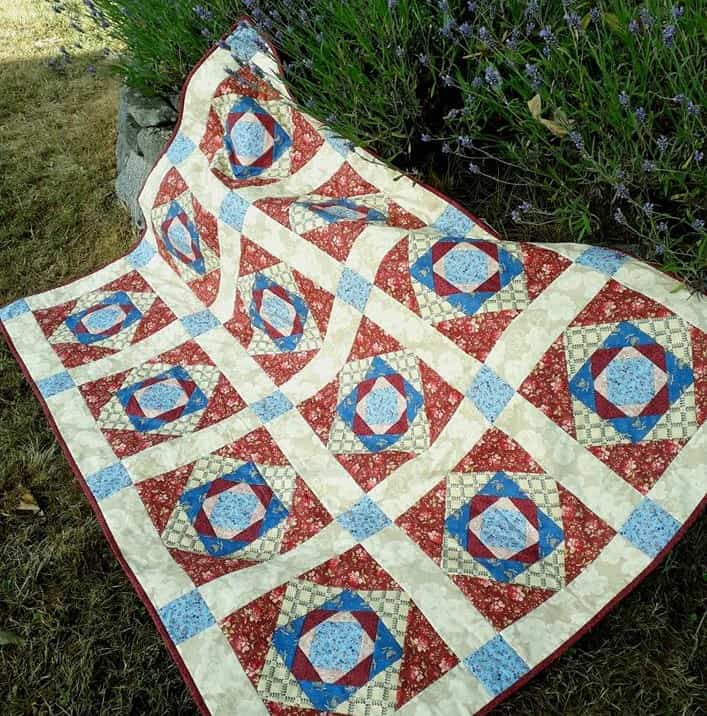
The best thing, you have a detailed written and visual record of something you have made and gifted to someone. If you every want to remake the project, you have all the information you need to complete another.
What I love about this, is that it is also a future keepsake of projects you have done. In years to come, you may go through your journal, and you will have a reminder of the projects you have made over the years. What memories and a true keepsake to pass down to future generations.
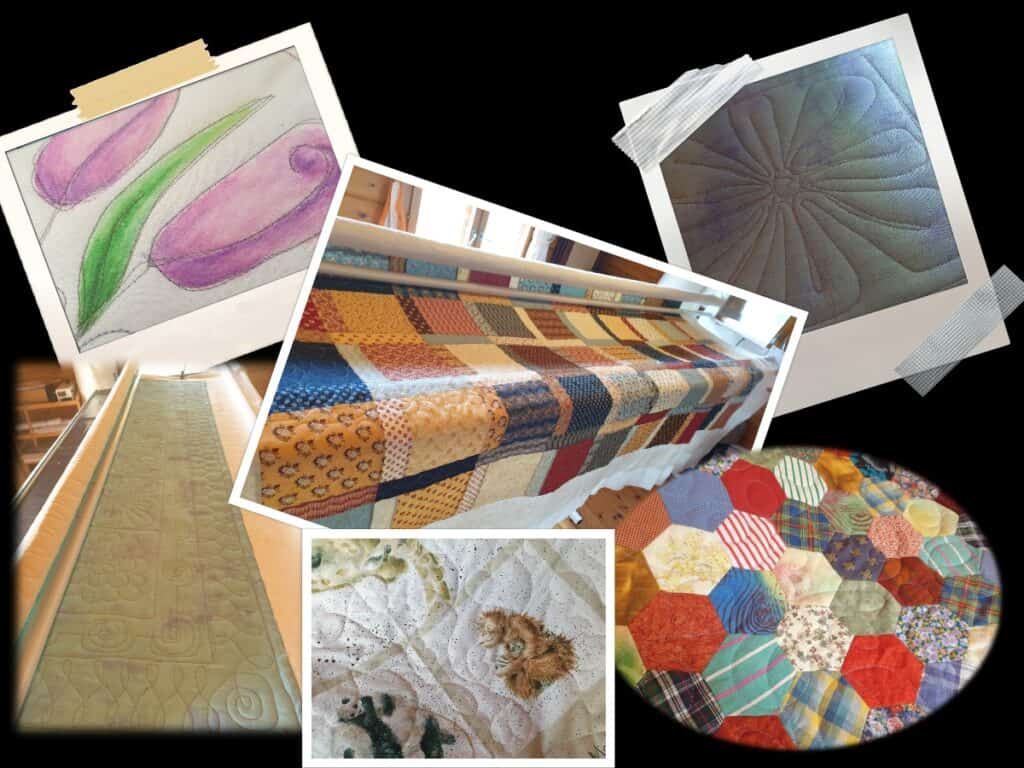
I know that I have made quilts in the past and never kept a journal on any details, nor took photos. These quilts have since gone, maybe gifted to others, or just misplaced. They are quilts that can not be shared with others, they only exist in my memories and over time those memories will no longer exist like the quilts themselves. I truly wish that I had the journal then, especially when I was first on my journey in creating quilts. What memories and stories would I have been able to share with my daughters’ if I had records of those first quilts? The ones that I had started when I was young, where I gathered the fabrics from, the mistakes (redesigning) I had created with those quilts, the skills and knowledge I had gained with those quilts but more importantly, the memories and stories I could recall with making each and every one of those quilts.
The journal and planner will help you in so many ways – like planning your future projects, helping you keep track on the projects that are in progress and need to be finished (the ones that needed to go on holiday for a while), any gifts you need to make for someone.
Come back next time when I will discuss and look at the Basic Reference section. The section that we all can do with referring back to, no matter how long we have been sewing or quilting for ….
However, why not go to the website and check out the Quilter’s Handbook and maybe start to build your very own personalised Handbook to help you with all your quilting and sewing needs ….