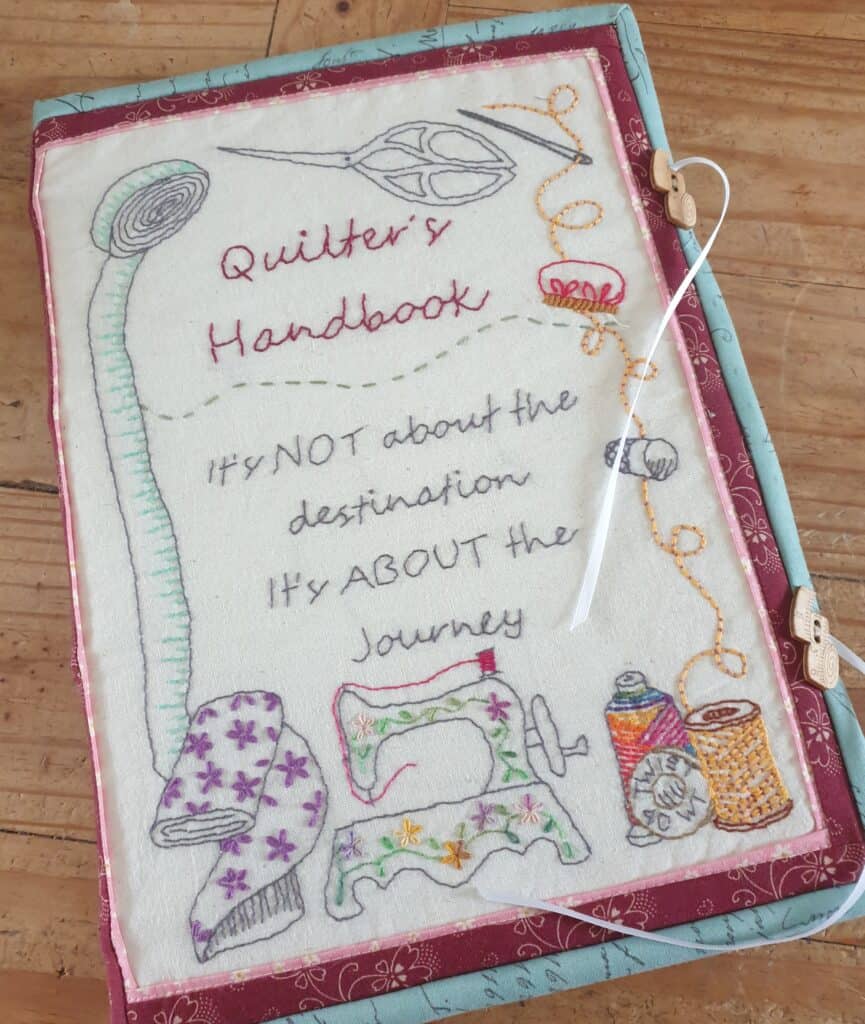
Crafting Calm: Finding Serenity in Stress Awareness Month

Featured

April marks Stress Awareness Month, a designated time to highlight the detrimental impact of stress on our lives. Managing stress is not just a luxury but a necessity for maintaining a balanced and healthy lifestyle. Understanding how to effectively manage stress can significantly enhance both our mental and physical well-being. It’s crucial to recognise the signs of stress and anxiety and know how to take proactive steps to build resilience and seek support when needed.
In our quest to reduce stress levels and promote well-being, exploring different strategies is paramount. One such approach gaining recognition is the therapeutic practice of crafting. Research suggests that engaging in creative activities can offer more than just a mere outlet for self-expression or a way to pass the time. Crafting has been found to reduce anxiety, boost mood, and foster happiness, thereby serving as a valuable tool in combating stress and even depression.

Crafting has always been a passion of mine – whether it’s knitting, sewing, spinning, or needlework, I’ve been immersed in creative projects since I was just five years old. Throughout the years, crafting has been a constant companion, offering solace during both the good times and the tough ones. It’s remarkable how this seemingly simple activity serves as an underrated coping mechanism and stress-relieving outlet for daily anxieties.

During periods of extreme stress, whether stemming from demanding work environments or challenging family situations, crafting became my sanctuary. I poured myself into various projects – sewing, knitting, crochet, needlework, and cross-stitching, finding solace in the rhythm of each stitch.

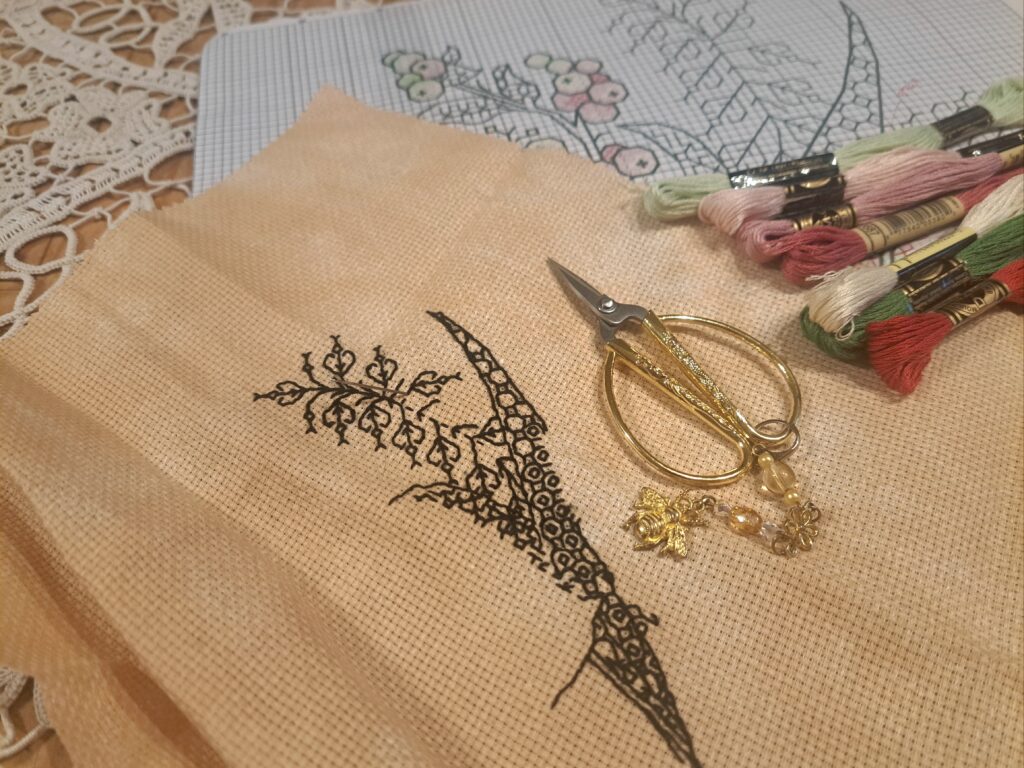
Cross-stitching, in particular, became my go-to during moments of heightened stress or anxiety. There’s something about the focused concentration required, whether sitting outdoors surrounded by nature’s symphony or comfy indoors with a good audiobook or soothing music, that soothes the mind. Counting the squares on the chart, translating the chart symbols into crosses on fabric – it’s a process that demands attention and redirects my thoughts. With each stitch, my mind clears, and I find myself entering a state of calm, completely absorbed in the meditative act of stitching.
Crafting is not just a pastime; it’s a therapeutic journey that allows individuals to momentarily escape the grasp of their conditions and immerse themselves in the positivity of creation. Engaging in a craft project demands complete focus, akin to the state achieved through meditation. This profound concentration serves as a balm for stress, as it redirects the mind away from worries and towards the task at hand.

The physiological benefits of crafting are equally remarkable. As one delves into their creative pursuit, the brain sends signals of tranquillity throughout the body, leading to a reduction in blood pressure and tension. This flow of relaxation fosters a profound sense of well-being, lifting moods and reducing stress levels. Moreover, the state of flow attained during crafting, where one becomes entirely absorbed in the activity, proves to be both rewarding and enjoyable. The challenge of completing a complex craft further enhances this experience, making it a potent antidote to the strains of daily life.

Indeed, after a taxing day, indulging in a hobby offers more than just a momentary reprieve; it becomes a vital tool for rejuvenation. This “me” time provides an outlet for releasing accumulated stress, offering solace in the act of creation. Additionally, the creative process itself serves as a channel for managing emotions, particularly when words fail to express the depth of one’s feelings. By tapping into our imaginative faculties, crafting enables us to navigate and transcend the tumultuous landscape of stress and anxiety.
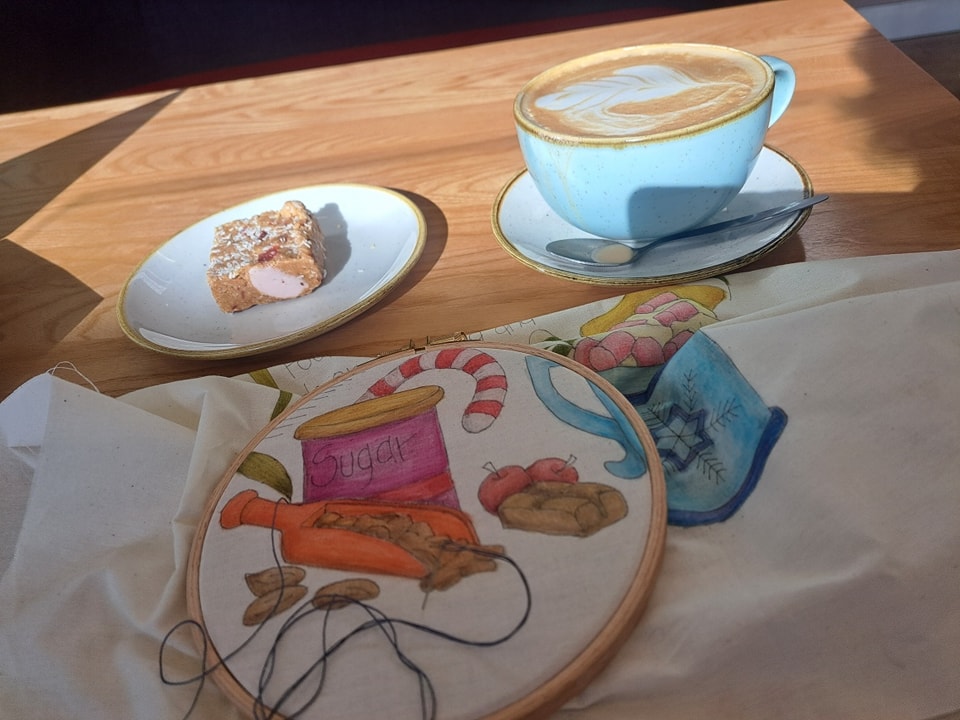
Yet, stress poses a formidable barrier to creativity, disrupting the delicate balance needed for inspiration to flourish. When overwhelmed by stress, our mental capacity falters, stifling the very essence of creativity. The weight of pressure and anxiety encumbers the mind, impeding the free flow of ideas and inhibiting the freedom necessary for creative expression.

However, the solution to this conundrum lies in the very act of creation itself. By exercising our creative faculties, we not only combat stress but also rejuvenate our capacity for innovation. Positive actions serve to replenish the wellspring of creativity within us, offering a pathway to enhanced mental well-being. Therefore, in our quest to conquer stress, let us embrace the power of creativity and engage in activities that nurture our happiness and ignite our imagination.

In the hustle and bustle of daily life, finding time for creative pursuits may seem like a daunting task. However, striking a balance between work commitments and leisure activities is essential for maintaining a healthy work-life equilibrium. One strategy to achieve this balance is by effectively managing your time and integrating your hobby into your daily routine. By prioritising your creative endeavours and scheduling dedicated time for crafting, even amidst busy schedules, you can reap the benefits of reduced stress and enhanced well-being.
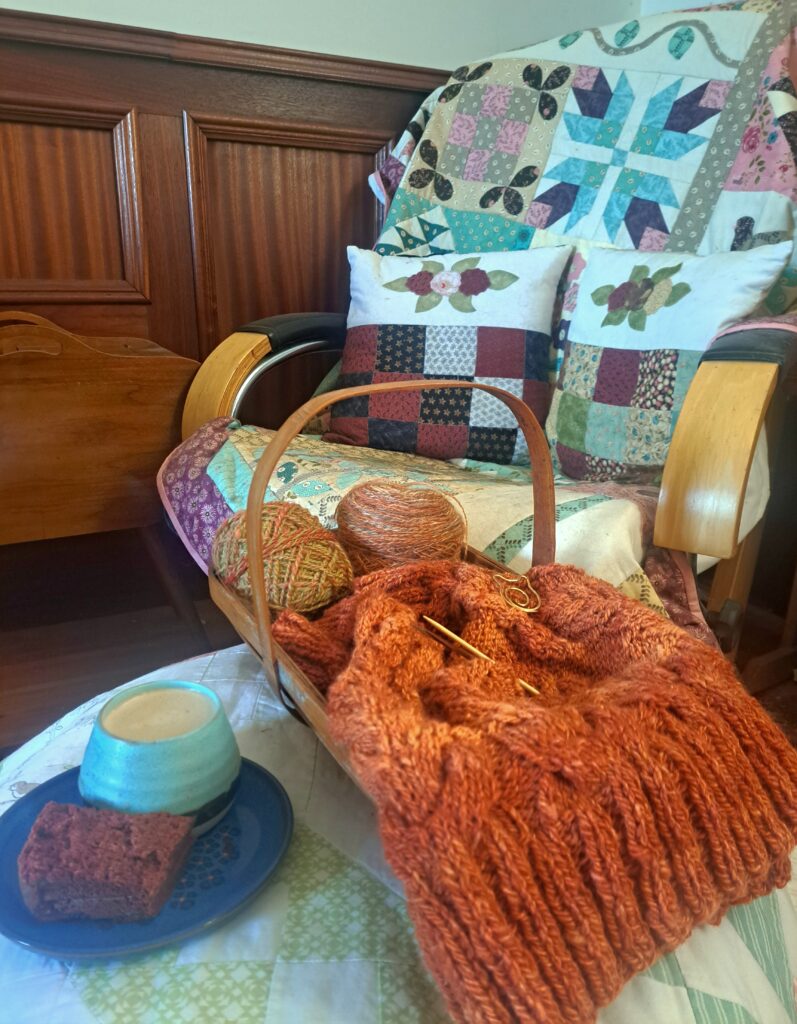
Consider the therapeutic nature of activities such as knitting, crochet, or sewing, where the repetitive motions induce a state of relaxation while fostering creativity. The gentle rhythm of hand-stitching or the rhythmic clicking of knitting needles serves as a soothing melody, guiding you into a tranquil state of mind. As you immerse yourself in the process, focusing intently on each stitch or loop, you’ll find your worries melting away, replaced by a sense of calm and contentment.

Moreover, the completion of a crafting project brings with it a profound sense of accomplishment, triggering the release of dopamine—the feel-good neurotransmitter—in your brain. This surge of positivity not only enhances your mood but also reinforces a happier outlook on life. Embracing the journey of each project, even amidst challenges, fosters a mindset of resilience and growth. By acknowledging the learning opportunities inherent in every endeavour, you cultivate a sense of achievement that transcends the final outcome, paving the way for improved mental health and emotional well-being.

By carving out time for creativity in your daily routine and embracing the therapeutic benefits of crafting, you embark on a journey towards greater harmony and fulfilment. So, whether it’s a few moments of knitting before bed or a weekend dedicated to sewing, prioritise your creative passions and watch as they transform stress into serenity, one stitch at a time.
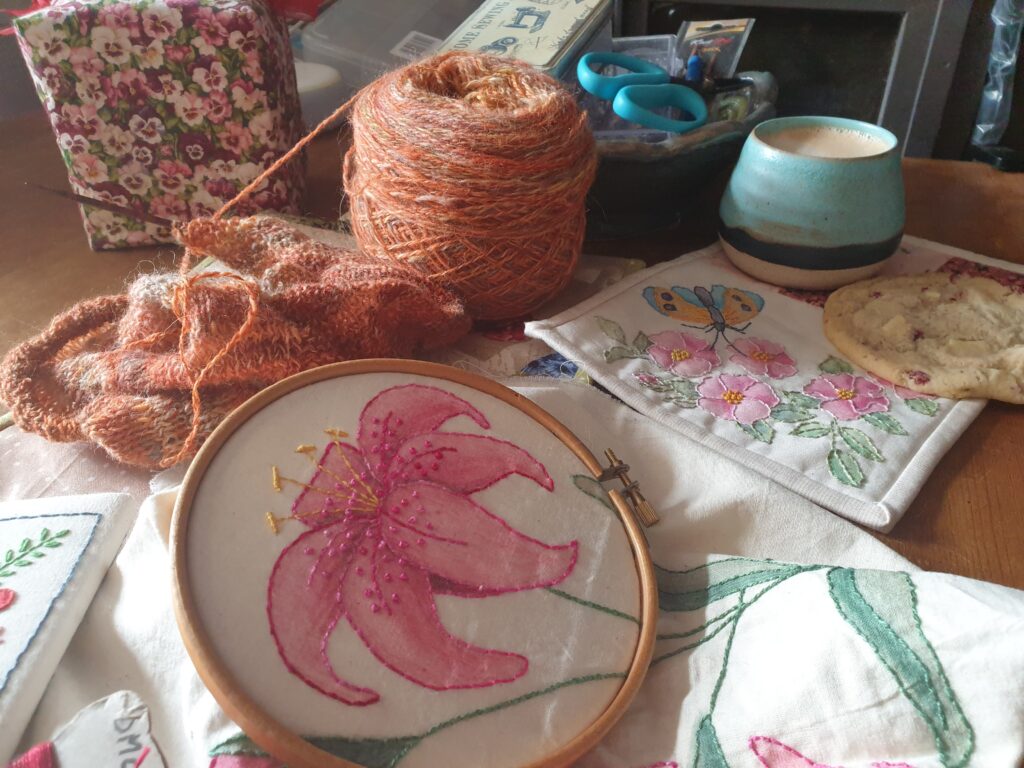
In conclusion, crafting serves as a powerful tool for combating stress and nurturing our mental well-being. Just as meditation brings calmness to the mind, engaging in creative activities like crafting can have a similarly soothing effect. The repetitive nature of crafting fosters a meditative quality, while the focus and attention required provide a healthy distraction from life’s stresses, allowing us to reside fully in the present moment. Through crafting, we find not only an outlet for self-expression but also a sanctuary where stress dissipates, replaced by feelings of accomplishment and uplifted spirits.

As April unfolds and Stress Awareness Month takes centre stage, let’s seize the opportunity to prioritise our mental well-being. It’s a time to explore new avenues for stress relief and self-care, and what better way to do so than by immersing ourselves in the world of crafting? Whether you’re a seasoned enthusiast or a newcomer to the craft scene, there’s something for everyone to discover. I invite you to browse through our collection of crafting kits, carefully curated to inspire creativity and promote relaxation. From hand-stitching to needlework and sewing, each kit offers a gateway to tranquillity and self-discovery.

As you embark on this journey of self-care and stress reduction, remember that you’re not alone. Together, let’s embrace the therapeutic power of crafting and carve out moments of peace and creativity amidst the chaos of daily life. Let April be more than just another month on the calendar; let it be a time of renewal, growth, and above all, a celebration of our commitment to nurturing our mental well-being.
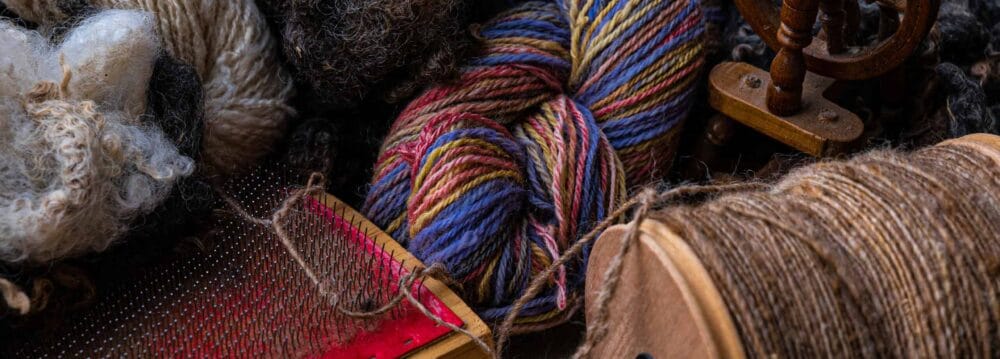
“Deck the Halls with Our Christmas Patterns: Create Festive Magic!”

Featured

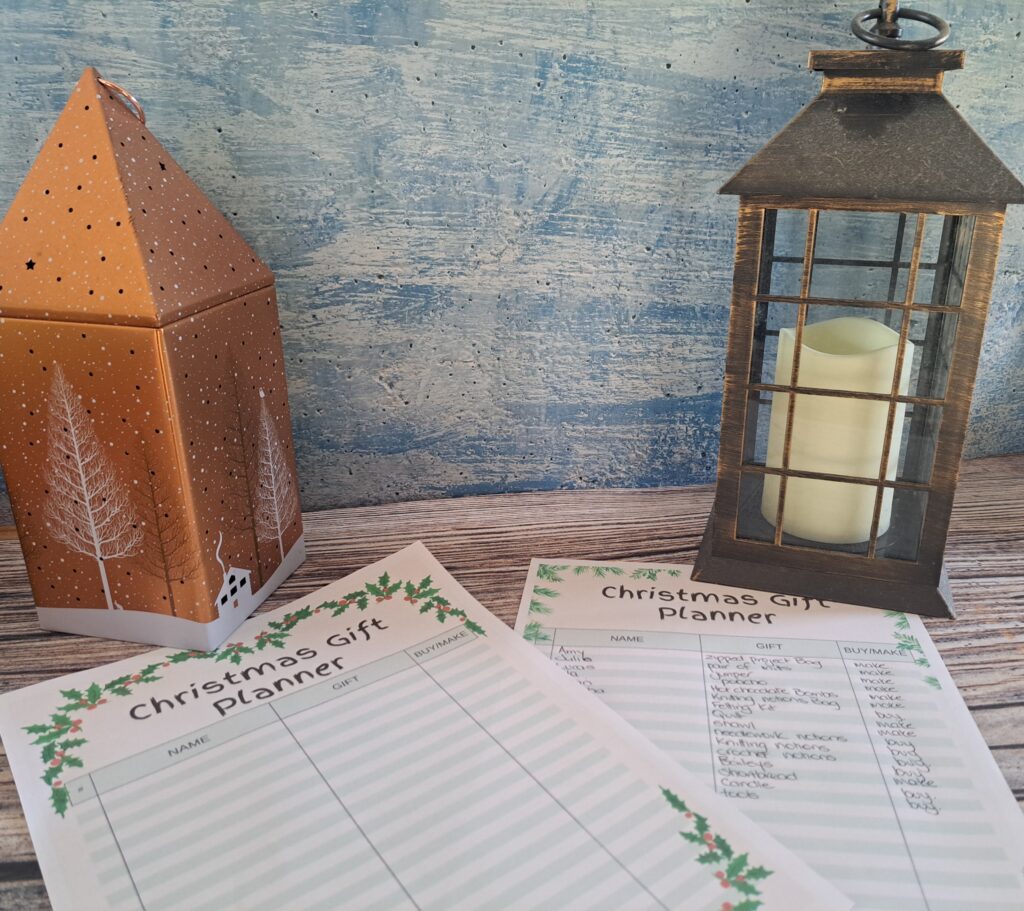
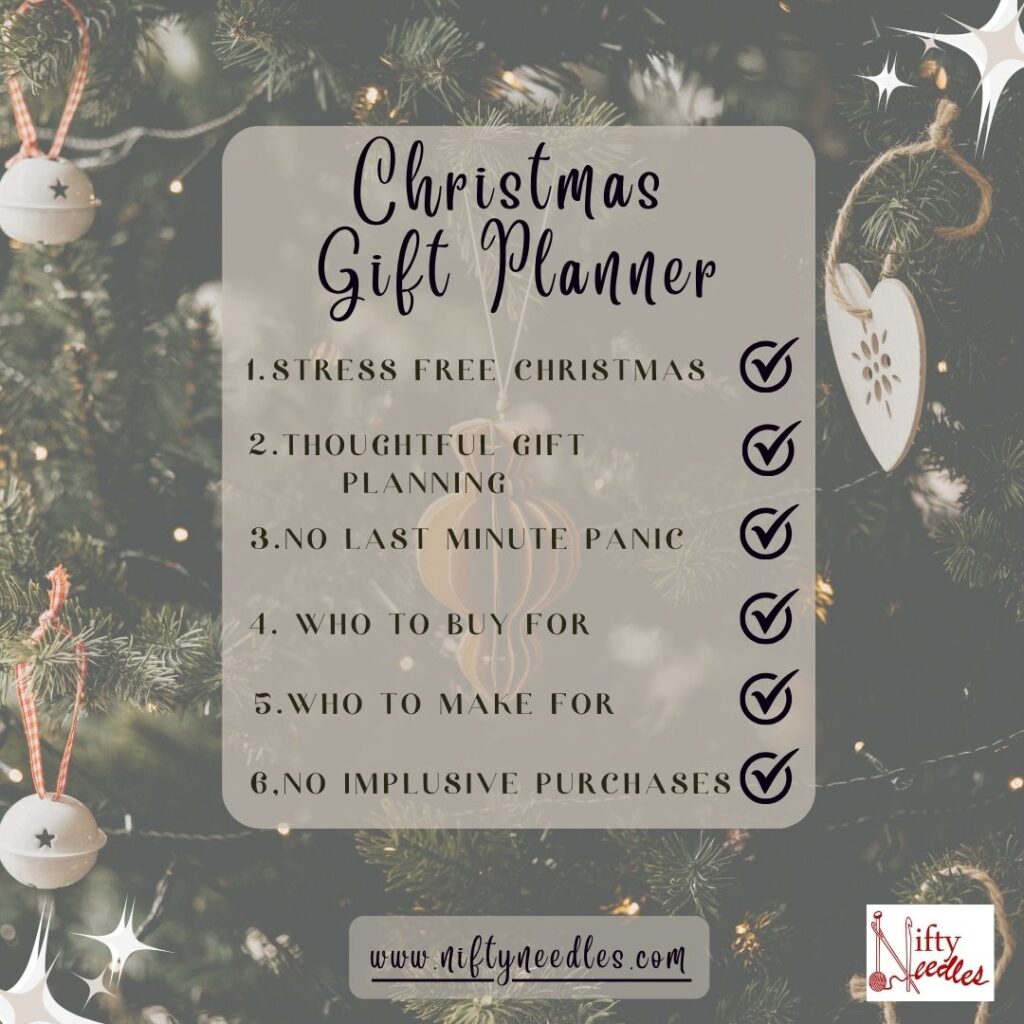
As the holiday season approaches, our journey into the heartwarming world of crafting continues. We’ve discussed the significance of a Christmas Gift Planner (did you download our free one?), the joy of supporting local businesses, and the art of gifting with purpose. Now, we’re diving into a treasure trove of creativity with Nifty Needle’s Christmas patterns. From festive table runners to cozy mug rugs, charming wall hangings to eco-friendly Santa sacks, we have it all. But before we unravel the magic of these patterns, we want to hear from you. How is your holiday planning coming along with the Christmas Gift Planner? Have you already downloaded it from our website? Share your thoughts and experiences with us, and if you haven’t grabbed your planner yet, don’t forget to get it for free today. Let’s continue crafting the most memorable and organized Christmas together. 🎄✨

The holiday season is almost upon us, and what better way to embrace the festive spirit than by decorating your home with charming, handmade creations? At Nifty Needles, we’re excited to bring you a collection of Christmas patterns that will add a touch of magic and creativity to your home this holiday season. From table runners to Santa sacks, we’ve got something special for everyone.

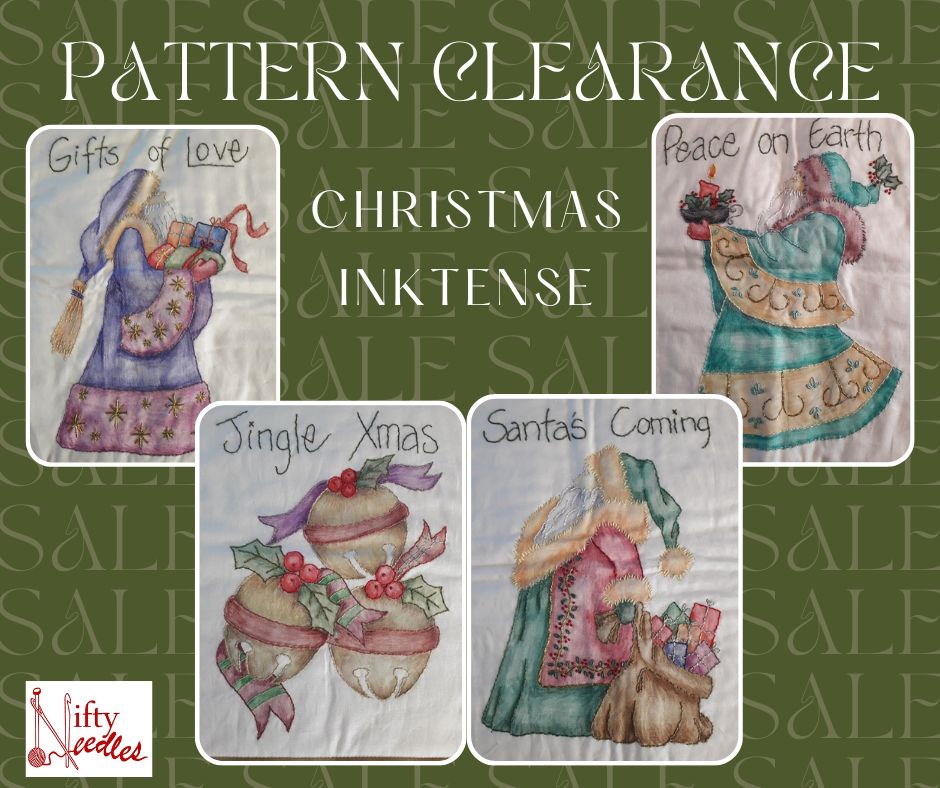
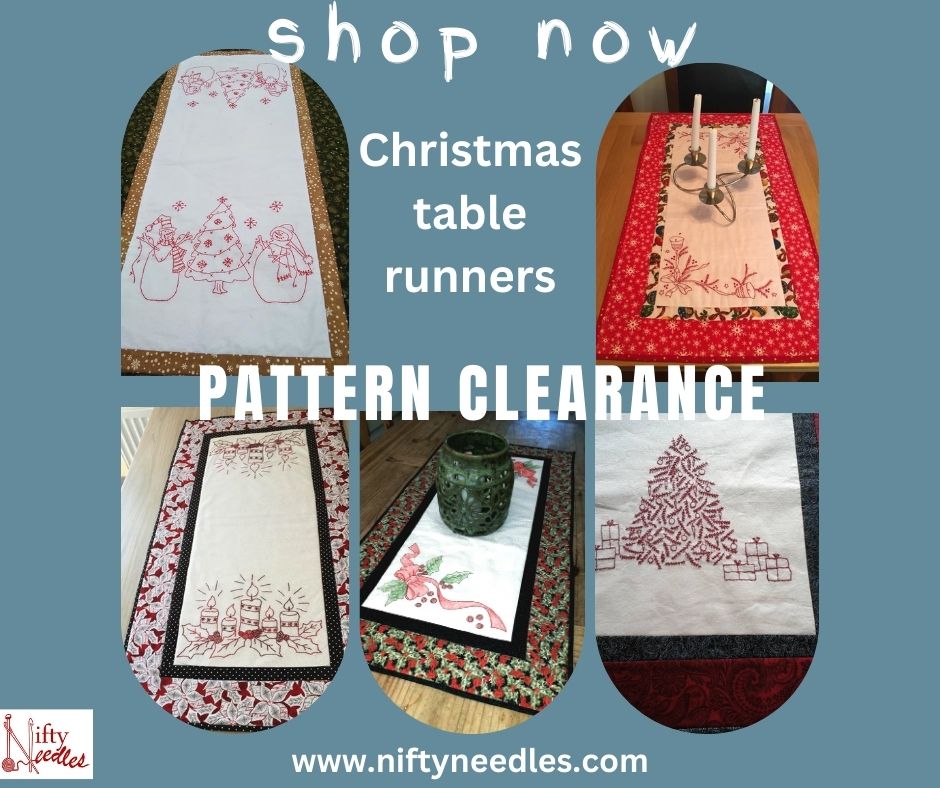
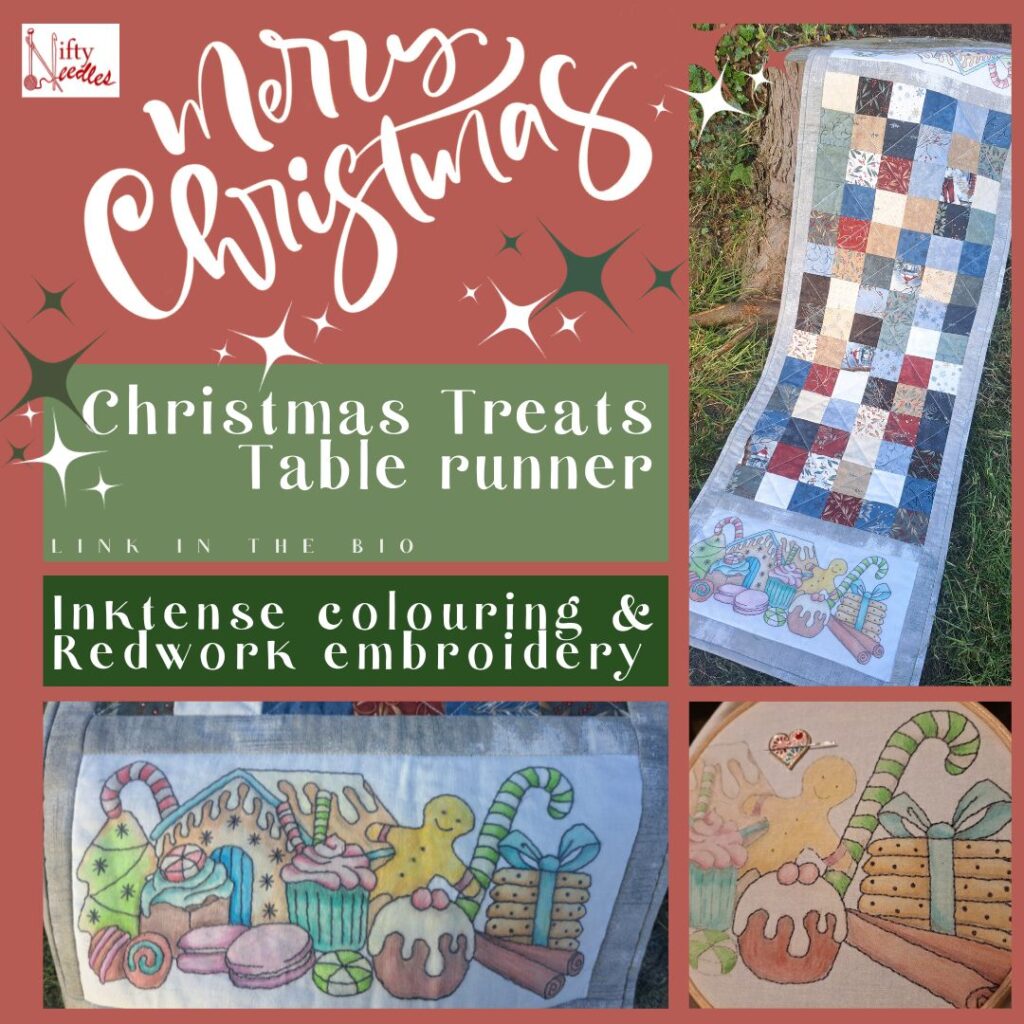
1. Christmas Table Runner & Wall Hanging Patterns: A Dash of Redwork & Inktense fun

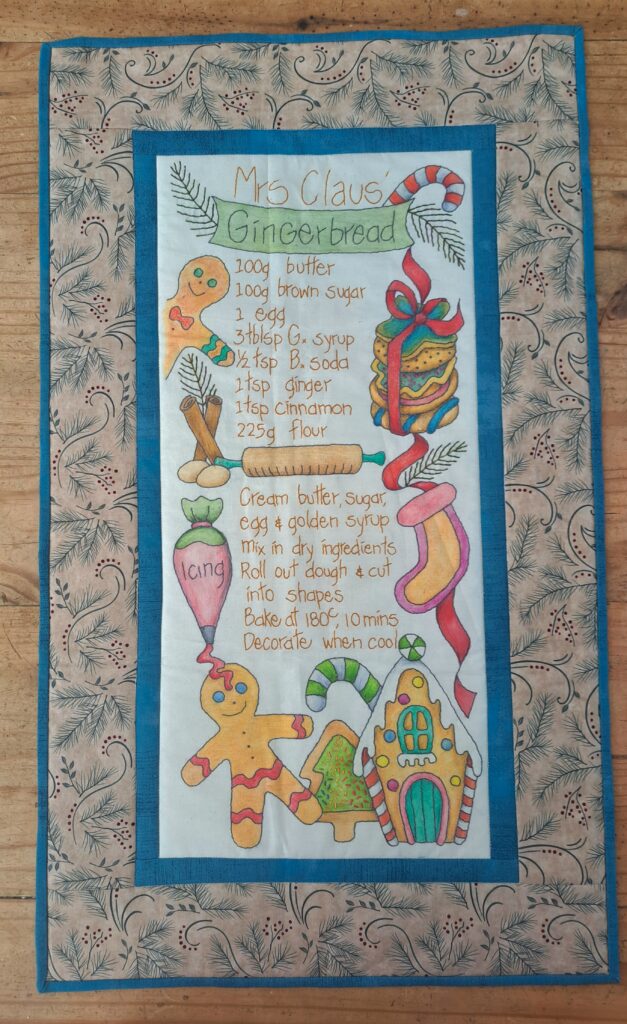
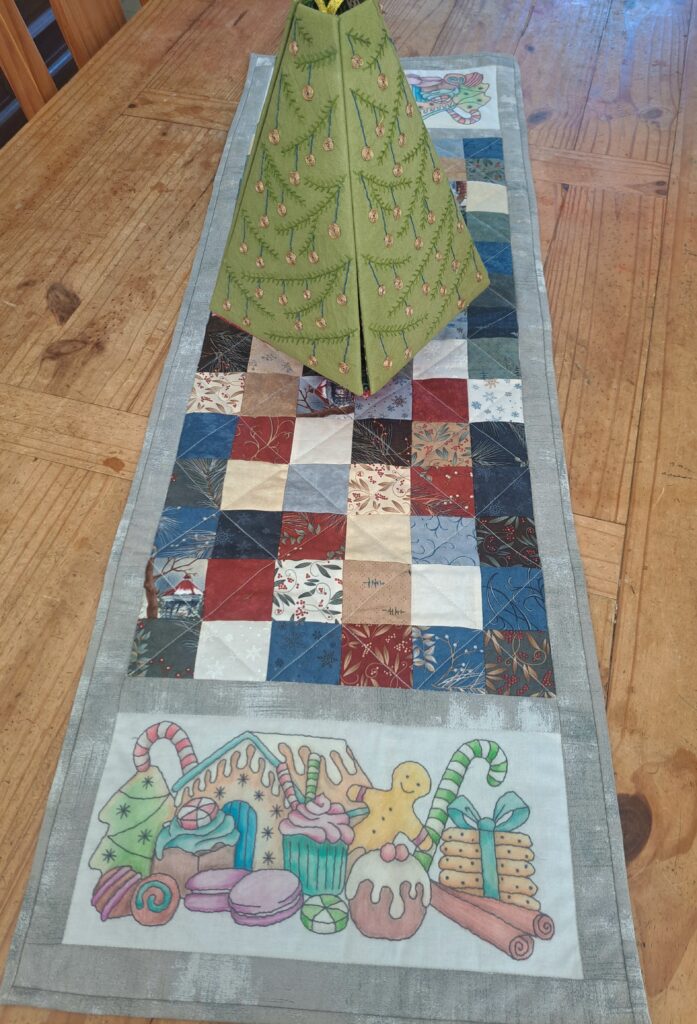
Our Christmas Table Runner and Wall Hanging patterns are a blend of tradition and modern fun, that feature delightful redwork designs, combined with Inktense colouring techniques, offering a unique way to decorate your home. Whether you’re an experienced crafter or just starting, these patterns come with clear, step-by-step instructions and full-colour diagrams. You’ll have a blast creating a festive atmosphere in your home.

Plus, some of these patterns are on clearance, making it the perfect time to grab your favourites and craft new Christmas decorations.

2. Christmas Mug Rug Patterns: Perfect for Beginners and Quick to Craft

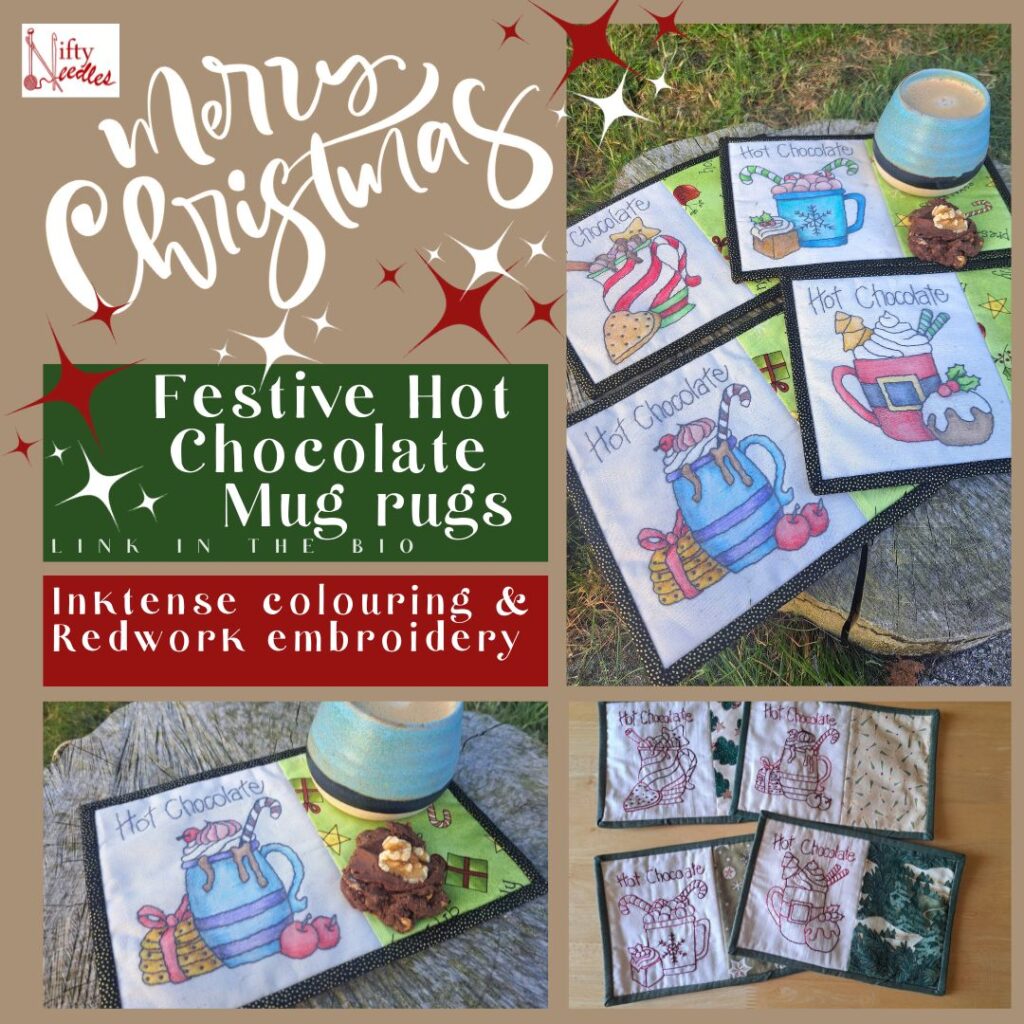
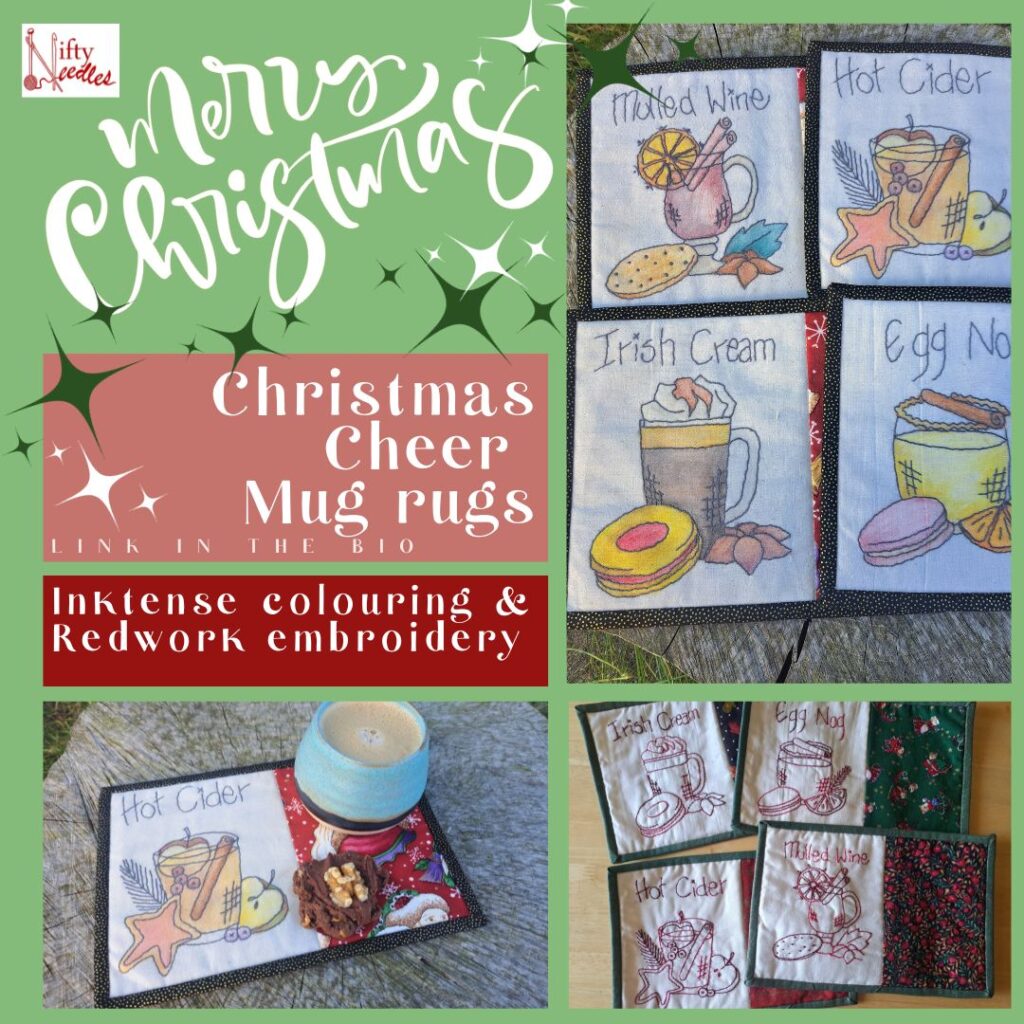
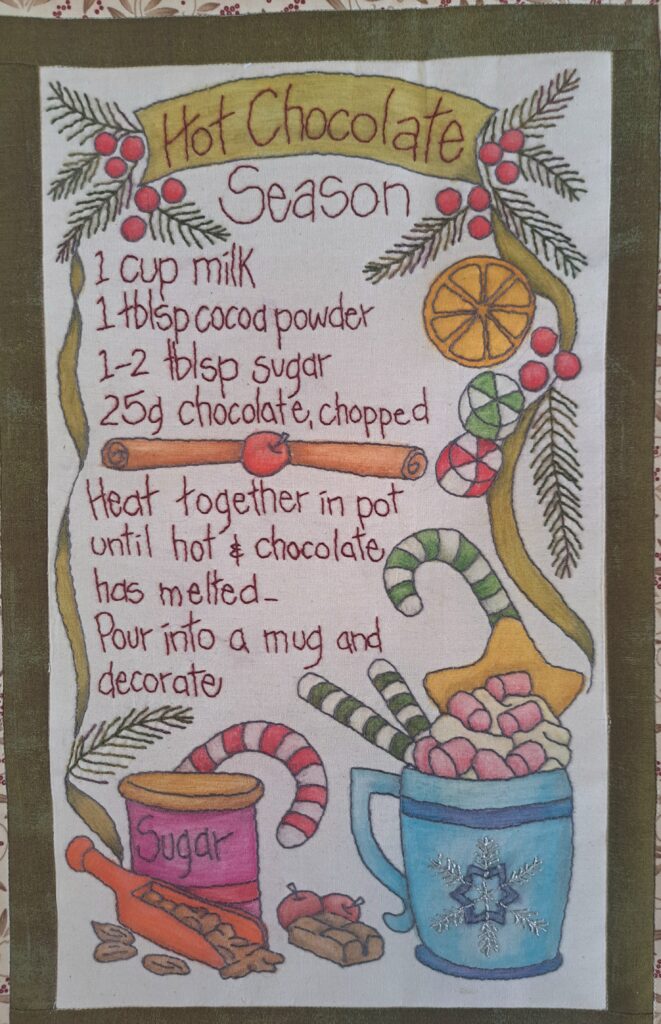
For those looking for a quick and easy project, our Christmas mug rug patterns are the perfect choice. Featuring Inktense colouring and redwork embroidery, these patterns are great for beginners. They’re not just practical; they’re also beautiful!

The construction is simple, and you’ll have lovely mug rugs ready in no time. Better yet, they make wonderful Christmas gifts when crafted in advance. These patterns are not just crafting; they’re an expression of the season’s warmth. Craft them for your loved ones, and you’ll be giving a piece of your heart.

3. Santa Sacks: A Gift for the Earth and Your Loved Ones

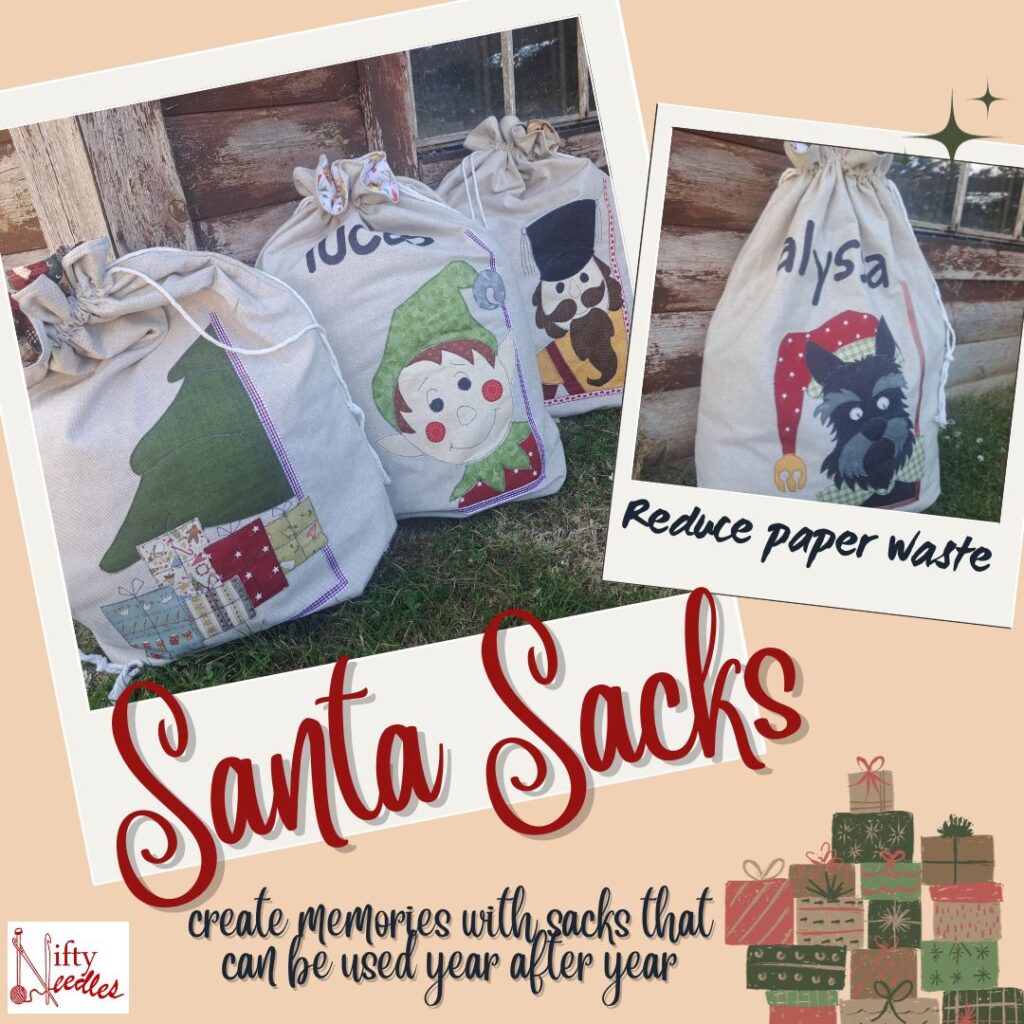
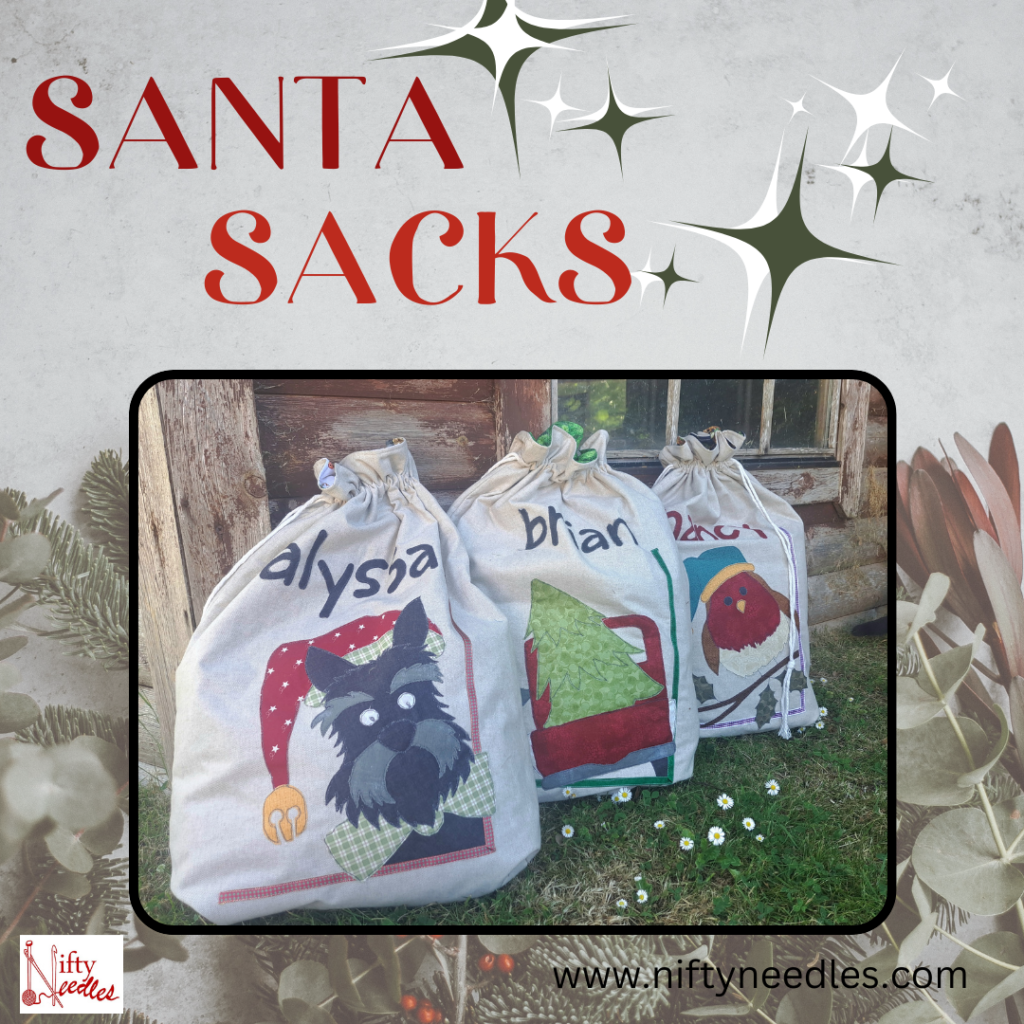
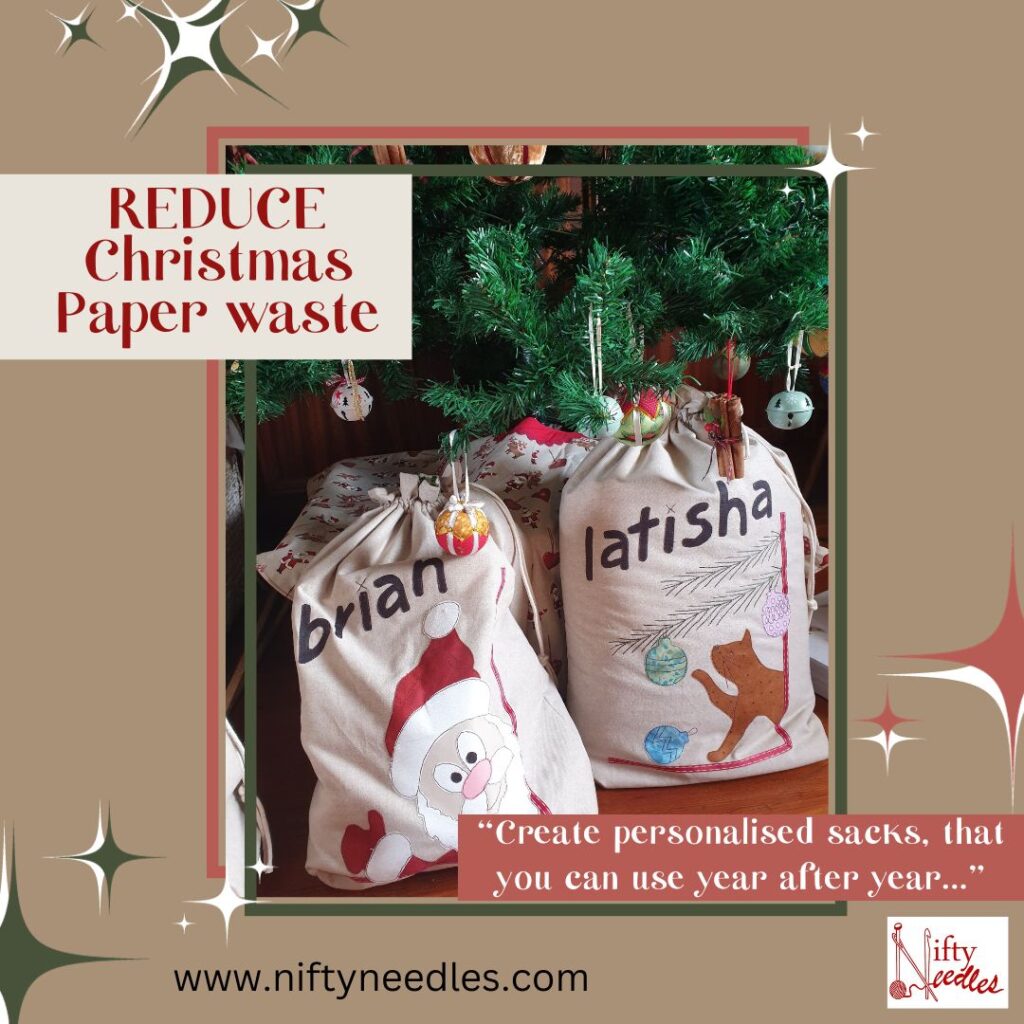
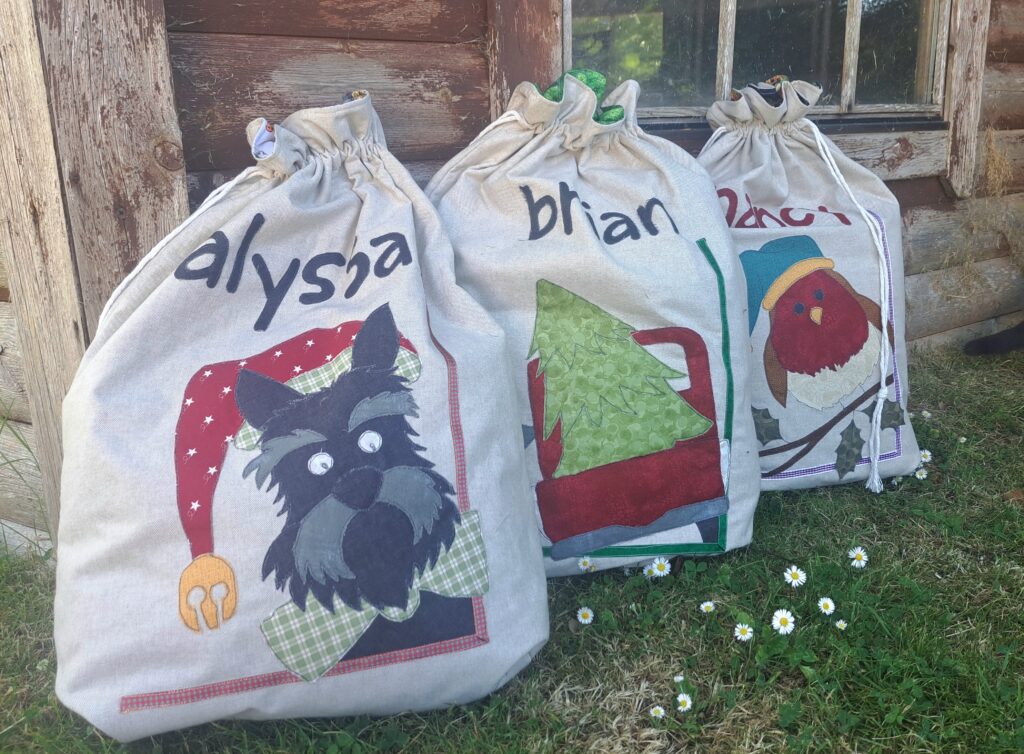
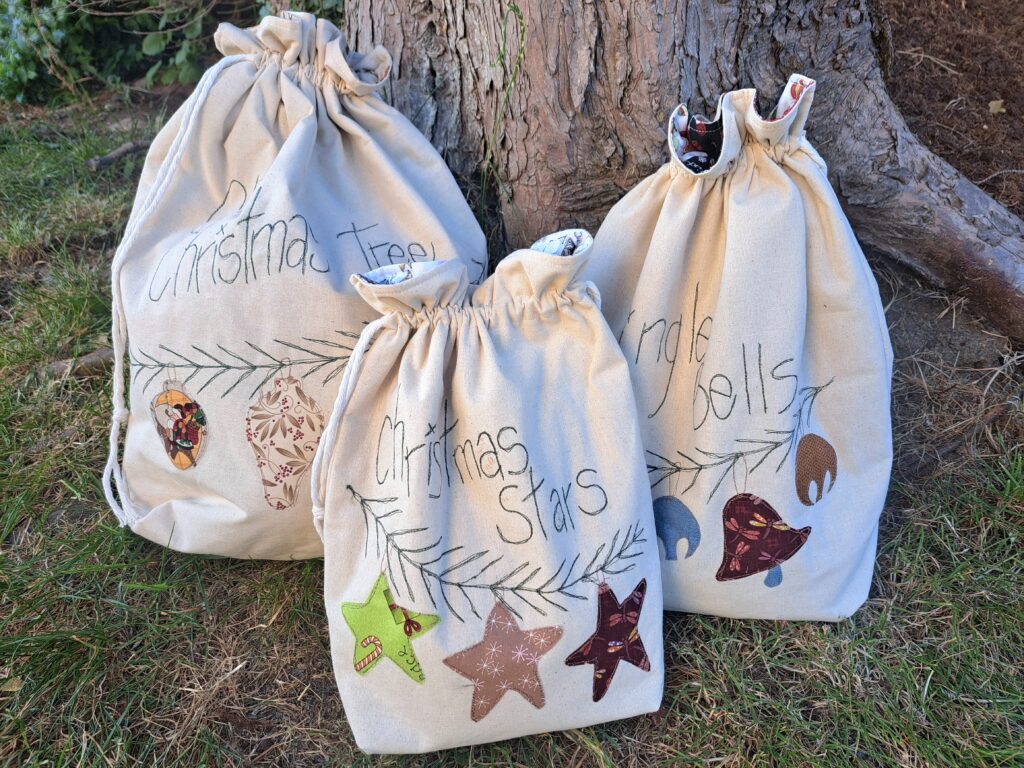
Tired of the mountains of discarded wrapping paper after Christmas morning? Our Santa sacks are here to save the day. These beautifully designed sacks are meant to hold the presents for the named recipient, eliminating the need for wrapping paper. It’s a small change that can make a big impact on reducing paper waste and saving our precious trees.

Start a cherished family tradition where each member has their own named sack sitting under the Christmas tree, keeping their presents safe until the big day. With 13 unique designs to choose from, everyone can have a different sack, adding a personalized touch to the holiday season.

Create Magic with Nifty Needles Patterns

This holiday season, let’s make it extra special by infusing a touch of handmade warmth and creativity into your celebrations. Explore our Christmas pattern collection and let your inner crafter shine. Craft your own festive magic and create meaningful gifts that will be cherished for years to come. You can find all these patterns on our website, and it’s the perfect time to start creating for a memorable Christmas.

🎁 Visit our website to browse and purchase our festive patterns

Thank you for joining us on this journey through the enchanting world of Nifty Needle’s Christmas patterns. Crafting is about more than just creating beautiful things; it’s about crafting memories and traditions that last a lifetime. As you explore these patterns, we encourage you to consider making some of them as Christmas gifts for your loved ones. The magic of a handmade gift is that it’s not just for this Christmas but for many more to come, carrying the warmth and love of the season with it.

In our next blog, we’ll be diving into the world of unique and practical Christmas gifts for knitters and crocheters. Whether you’re an avid crafter yourself or you’re searching for the perfect gift for a crafty friend, you won’t want to miss it. Stay tuned for more crafting inspiration, and until then, keep creating the magic of the holidays, one stitch at a time. 🎄✨

#ChristmasCrafts #FestivePatterns #HandmadeHoliday #CraftingJoy #ChristmasDecor #EcoFriendlyGifts #CraftingCommunity #DIYChristmas #SupportSmallBusinesses #ShopLocal

Unwrap a Stress-Free Christmas with Our Gift Planner and Support Small Businesses

Featured

The most magical time of the year is fast approaching, and with it comes the joyful but sometimes overwhelming task of finding the perfect gifts for our loved ones. It’s the time when we gather with loved ones, exchange heartfelt gifts, and create memories to cherish for a lifetime. Let’s face it; the holiday season can turn even the most organised among us into a whirlwind of last-minute shopping and impulse buys. The ever-growing list of gifts to buy, the unique presents to create, and the desire for a beautifully organised holiday season.

If you’ve ever wondered how to make the most of this magical time while keeping the chaos at bay, we have the answer: the Christmas Gift Planner. Do you already use one? Or is this your first time hearing about it? We want to know! Join us as we explore the world of holiday planning, the benefits of using a Christmas Gift Planner, and the joy of crafting unique gifts from the heart. Share your thoughts and experiences with us as we delve into this enchanting journey.

Introducing our Christmas Gift Planner – your key to a more organised, thoughtful, and budget-friendly holiday season.

In these series of blogs leading up to Christmas, we’ll not only introduce you to the planner but also hope to delve into the experiences of those who already use one and those who are yet to discover the benefits. We encourage you to share your thoughts with us, making this blog a space for a lively exchange of ideas. Let’s unwrap the magic of planning together and make this holiday season unforgettable.

We’ll explore the invaluable benefits of having a gift planner, which will not only make your holiday season more organised but also show you how it can help you support small businesses while ensuring that your gifts are unique, personal, and practical.

The Christmas Gift Planner: A Path to a Calmer Christmas

The Christmas Gift Planner is designed with one goal in mind: to make your holiday season as stress-free as possible. It helps you answer all the important questions: Who are you buying (or making) gifts for? This planning phase ensures that your gifts are thoughtful, personal, and within your financial means. With a clear plan in place, you can say goodbye to impulsive purchases that often lead to gifts that miss the mark.

One of the most significant benefits of the Christmas Gift Planner is that it empowers you to make well-informed decisions about your gifts. You can carefully choose who to buy for and decide whether you want to purchase a gift or put your crafting skills to good use. The planner encourages thoughtful decisions and minimizes the likelihood of impulse purchases that you might later regret.

Does the idea of last-minute gift shopping send shivers down your spine? Our Christmas Gift Planner is your lifesaver. With a clear, up-to-date list of your gifts, you’ll never forget to buy or make something special for someone. No more rushing to the store on Christmas Eve for a last-minute, expensive, and not-so-thoughtful gift.

Supporting Small Businesses: The Heart of Your Community

As we all know, the holiday season isn’t just about gifts; it’s a time of sharing, giving, and coming together. What better way to embody the true spirit of the season than by supporting the small businesses that form the heart and soul of your community? In this challenging financial climate, small businesses need our support more than ever.

The holiday season is the perfect time to show your love and support for small, local businesses. In these challenging financial times, they need your help more than ever. By choosing unique and handmade products from local boutiques, artisans, and craft stores, you’re not only making your gifts unique and personal but also contributing to the growth of your community.

Small, local businesses are the backbone of our neighbourhoods. They’re run by your friends, family, and neighbours, not faceless corporations. By choosing to shop at local boutiques, artisans, and craft stores, you’re not only making your gifts unique and personal but also contributing to the growth of your community.

In these challenging financial times, your support means the world to these businesses. They’re not just providing you with goods and services; they’re putting their passion and creativity on display, creating something truly exceptional for you. So, as you embark on your holiday shopping journey, remember the significance of supporting local businesses. This year, let’s make our gift-giving experience more than just a transaction – let’s make it a celebration of our community, our local economy, and the wonderful people who make our town special.

As we continue this journey through the magic of thoughtful gifting and supporting small businesses this holiday season, we invite you to consider making your celebrations extra special. Explore our Christmas-themed patterns and handmade crafting notions that will add a personal touch to your gifts and decorations.

Imagine having a clear plan in place, knowing who to shop from and what to create for your loved ones. Imagine crafting unique, one-of-a-kind gifts that carry the warmth of your community, and imagine being equipped with tools that are both practical and artistic.

Here, at Nifty Needles, we hope to make those decisions just a little bit easier by showcasing some of our patterns, kits and notions to give you some ideas for Christmas gifts and filling out your Christmas Gift planner.

And if you’re ready to take your holiday planning to the next level, download our free Christmas Gift Planner. It’s our gift to you, a token of our appreciation for your support of small businesses and the creative spirit of crafting. Download it as a PDF from our website, and let’s make this Christmas the most memorable one yet.
This holiday season, let’s craft joy, spread love, and make every stitch and gift count. Together, we can make this Christmas the most wonderful time of the year.

🎁 [Download your Free Christmas Gift Planner

In the coming weeks, we’ll be showcasing a range of products that are perfect for Christmas gifts. Whether you’re into sewing, knitting, crocheting, or needlework, we have something special for everyone on your list. From crafting kits and patterns to handmade crafting notions, our products are a testament to the love and care that goes into every handmade creation.

Stay tuned as we delve into our extensive range of crafting products, providing you with unique, personal, and practical gift ideas for the crafters in your life. This Christmas, let’s make the season about more than just exchanging presents – let’s make it about supporting small businesses, sharing creativity, and spreading joy.

#SmallBusinessLove #SpreadLove #ChristmasPlanner #ShopLocal #CraftingJoy #UniqueGifts #HandmadeHolidays

Elevate Your Cable Knitting with Nifty Needles Cable Spiral

Featured

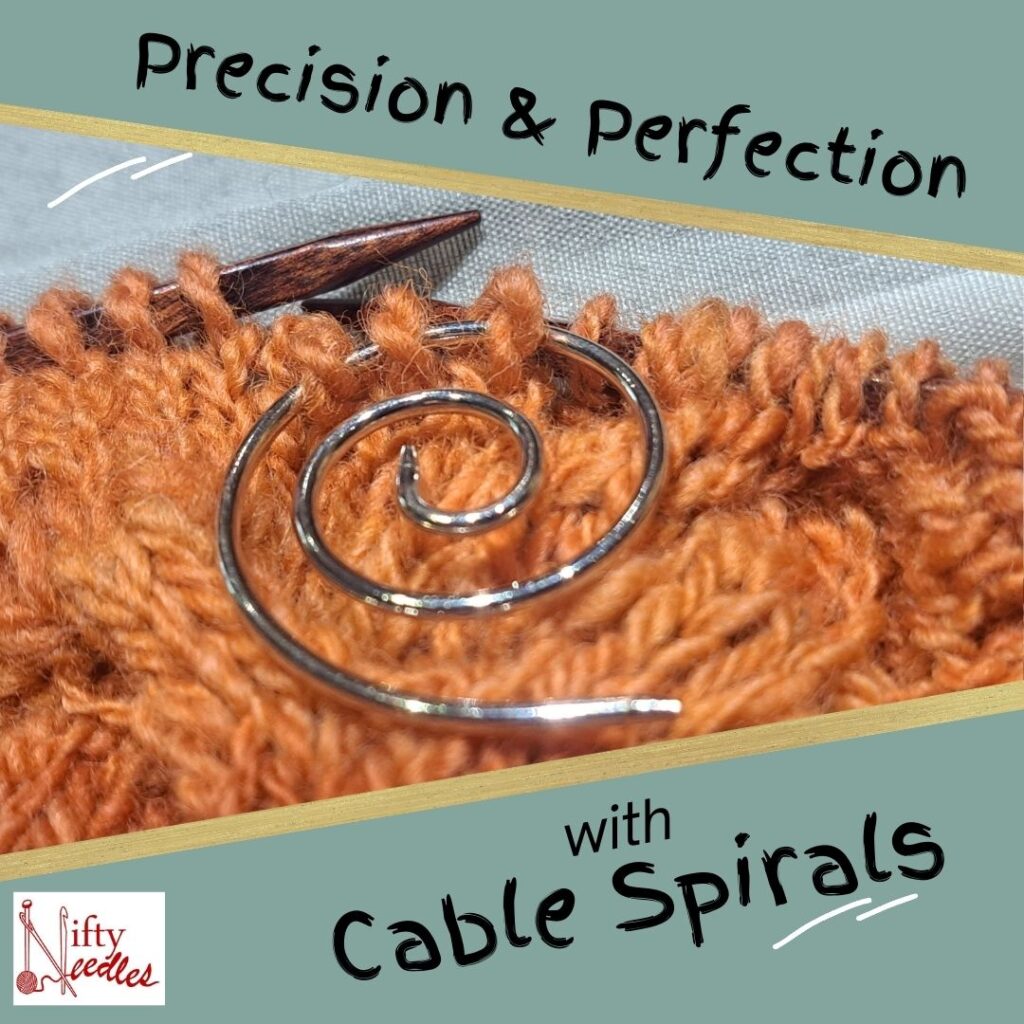
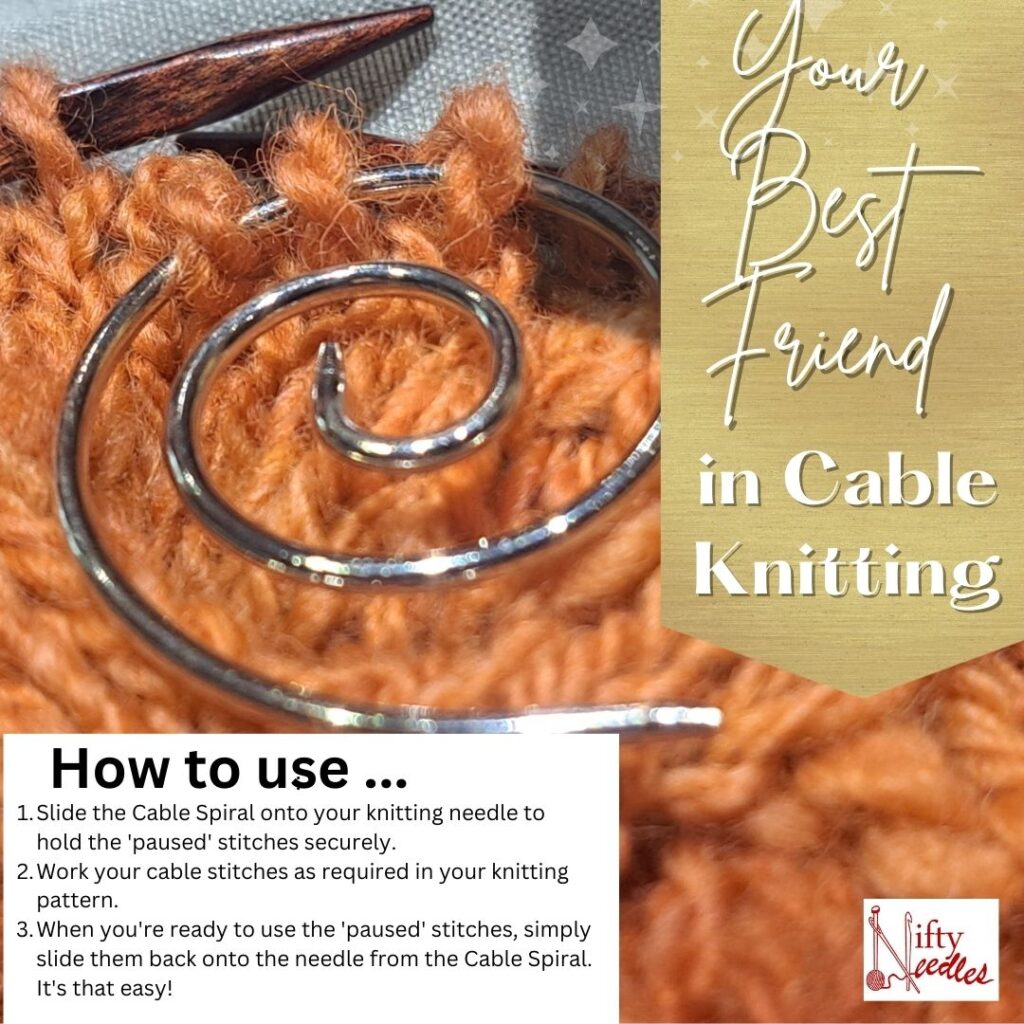
Cable knitting, with its intricate designs and beautiful textures, can be both rewarding and challenging. Those who have embarked on cable knitting adventures know that keeping those ‘paused’ stitches secure while working on the cables is a crucial, yet often tricky, task. Traditional cable needles can sometimes get in the way, and ‘paused’ stitches may easily slip off, leading to frustration. But there’s a solution that brings both functionality and style to cable knitting – the Nifty Needles Cable Spiral.
Advantages of Nifty Needles Cable Spiral:

  1. Hassle-Free Cable Knitting: Cables can be a knitter’s nightmare. With the Cable Spiral, you can say goodbye to frustration. It securely holds your ‘paused’ stitches, making cable knitting smooth and frustration-free.
  2. Compact and Lightweight Design: The Cable Spiral’s compact and lightweight design makes it the perfect travel companion. Knit on the go with ease, whether you’re on a vacation or just want to craft in different corners of your home.
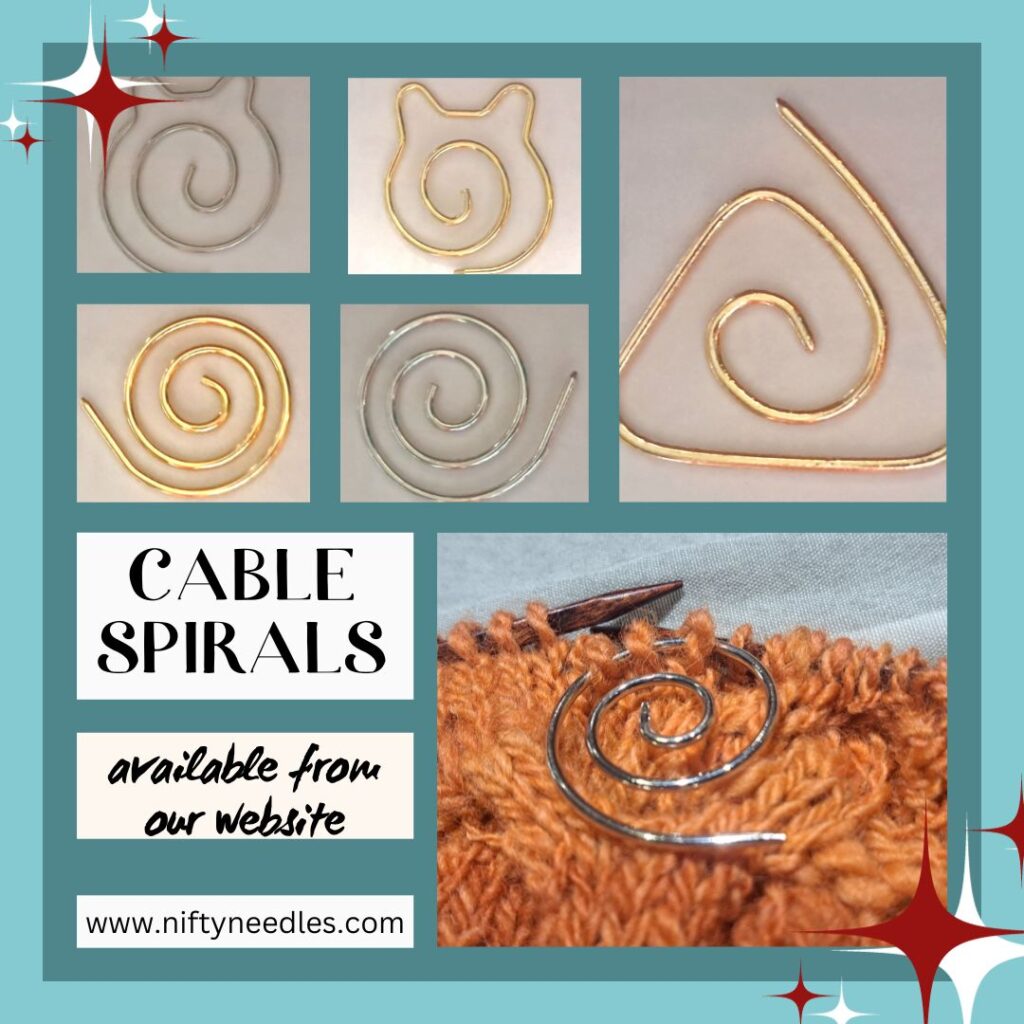
  3. Dual Functionality: The Cable Spiral isn’t limited to cables. It’s a versatile notion that also doubles as a shawl pin, adding elegance to your knitwear. It’s a decorative piece that’s as functional as it is stylish.
  4. Securely Holds ‘Paused’ Stitches: One of the most significant advantages of the Cable Spiral is its ability to hold ‘paused’ stitches securely until you need them. No more dropped stitches or unravelled cable patterns.
  5. Unique Decorative Design: The Cable Spiral isn’t just a utilitarian tool; it’s a work of art. Its unique decorative design adds a touch of novelty to your knitting projects, making them stand out.

How to Use Nifty Needles Cable Spiral:

Using the Cable Spiral is a breeze:

  1. Slide the Cable Spiral onto your knitting needle to hold the ‘paused’ stitches securely.
  2. Work your cable stitches as required in your knitting pattern.
  3. When you’re ready to use the ‘paused’ stitches, simply slide them back onto the needle from the Cable Spiral. It’s that easy!

What Sets Nifty Needles Cable Spiral Apart:

What makes the Cable Spiral stand out from traditional cable needles is its combination of elegance and practicality. It’s not just a tool; it’s an accessory that enhances your knitting experience. The Cable Spiral’s unique decorative design and shawl pin functionality set it apart from alternative cable needles in the market. It’s a must-have notion for any knitter who appreciates craftsmanship and style.

Ready to Elevate Your Cable Knitting?

Are you ready to make your cable knitting experience more elegant and frustration-free? Nifty Needles Cable Spiral is here to help you achieve that. With its unique design, hassle-free cable knitting, and dual functionality, it’s a versatile and stylish addition to your knitting toolkit.

Don’t miss out on the advantages of the Cable Spiral. Elevate your cable knitting experience and add a touch of elegance to your creations. Shop now on our website and discover the difference for yourself.

Shop Now

The ‘Cursed’ Quilt

Featured

Years ago …. Well before COVID … that dreaded word … how the world has changed since then …. Isn’t it funny how we seem to relate to incidents or happenings to … BEFORE COVID …. Well …. In this incident, it was prior to Covid and the dreaded LOCKDOWN in early 2020.

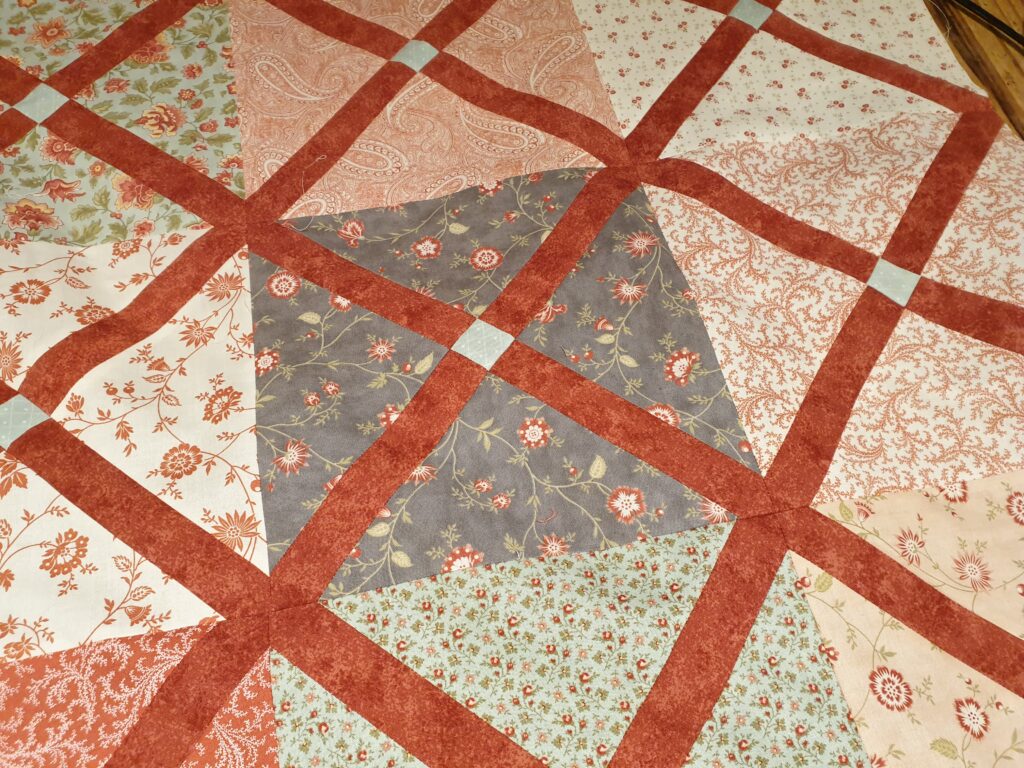
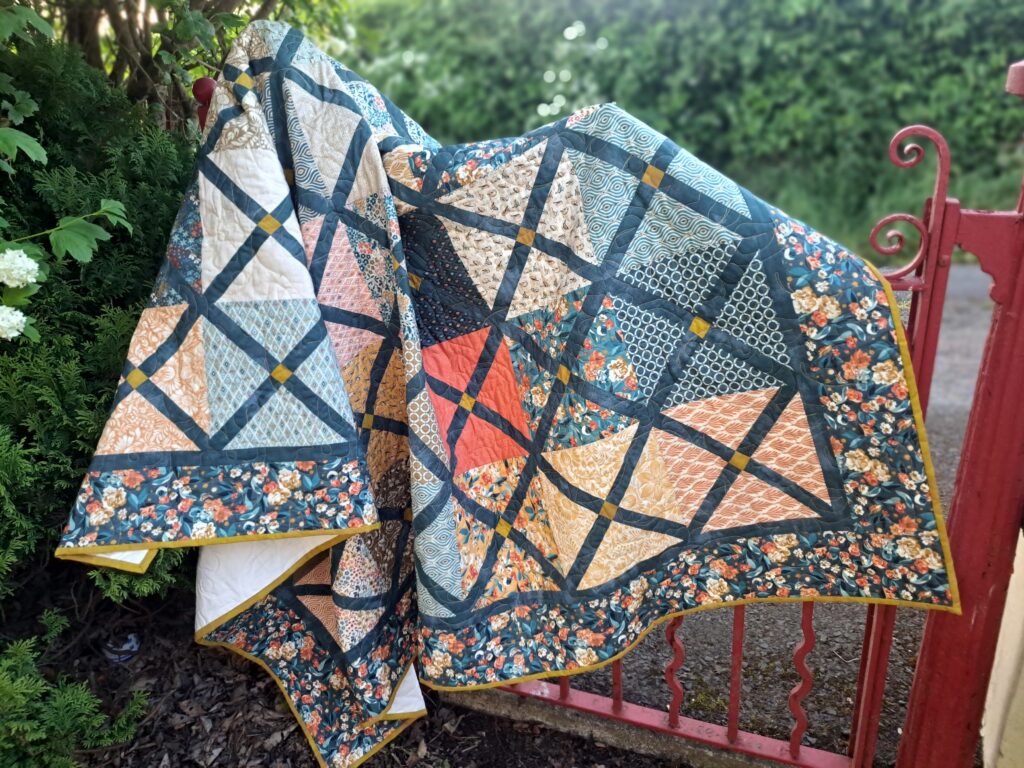
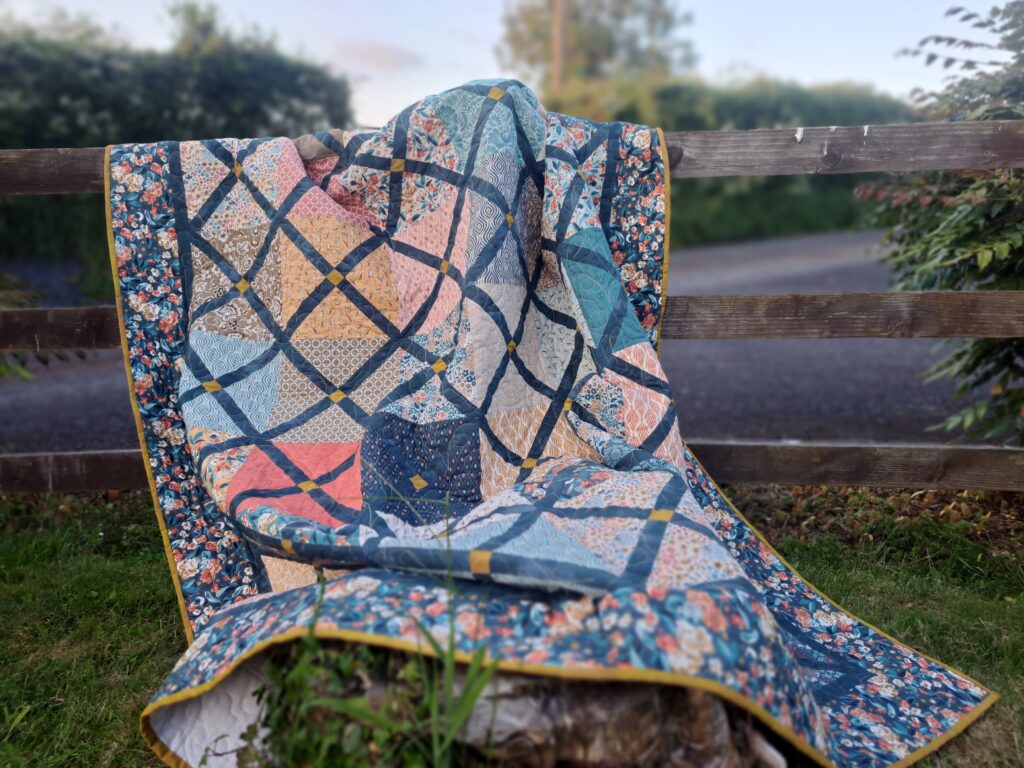
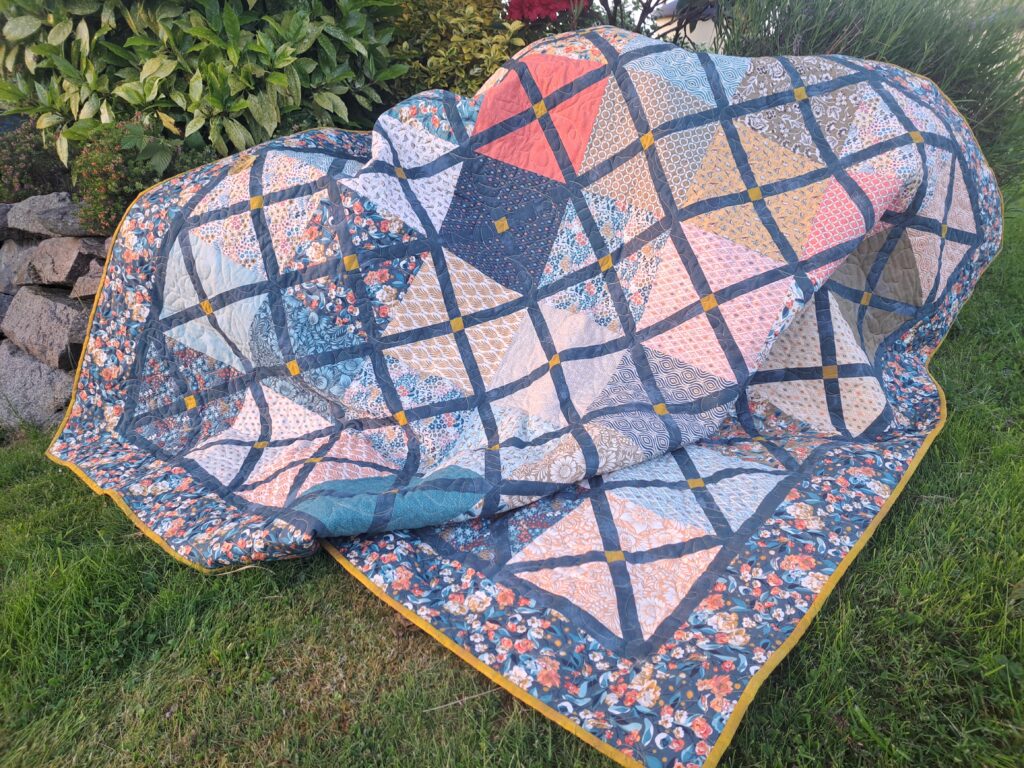
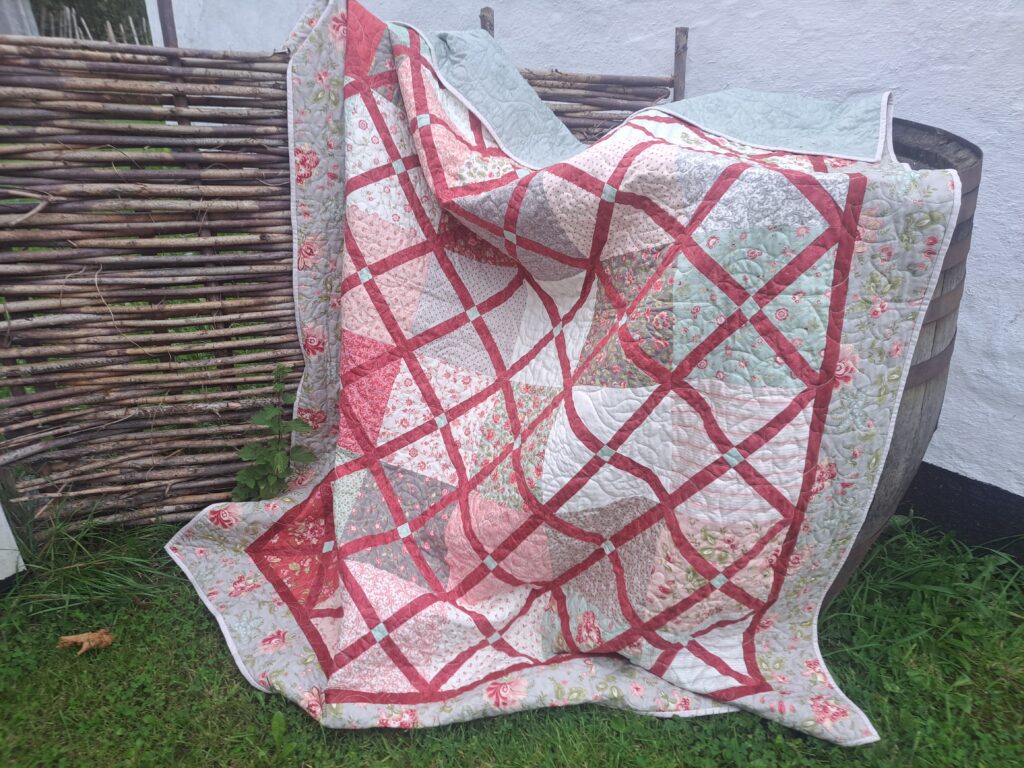
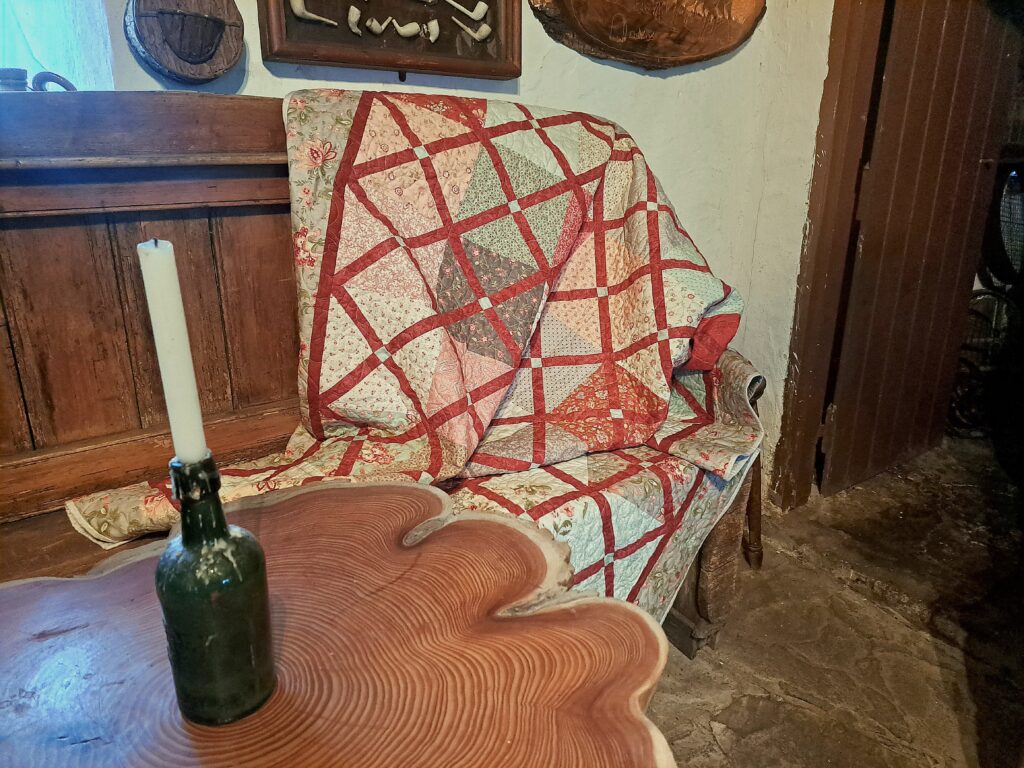
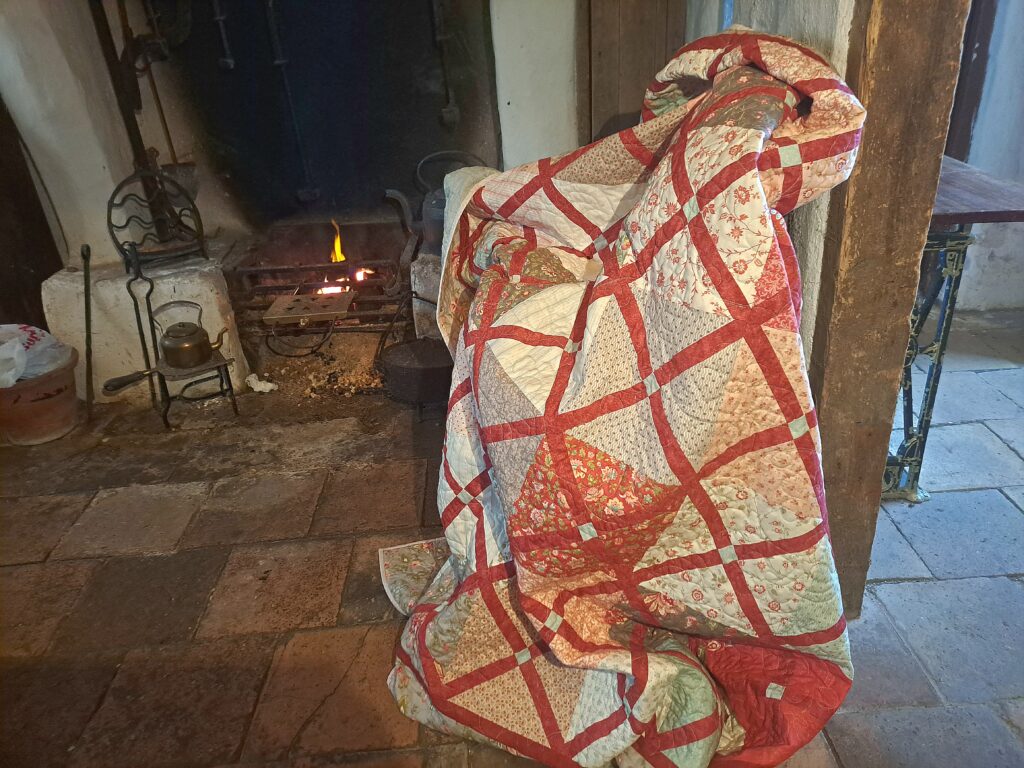
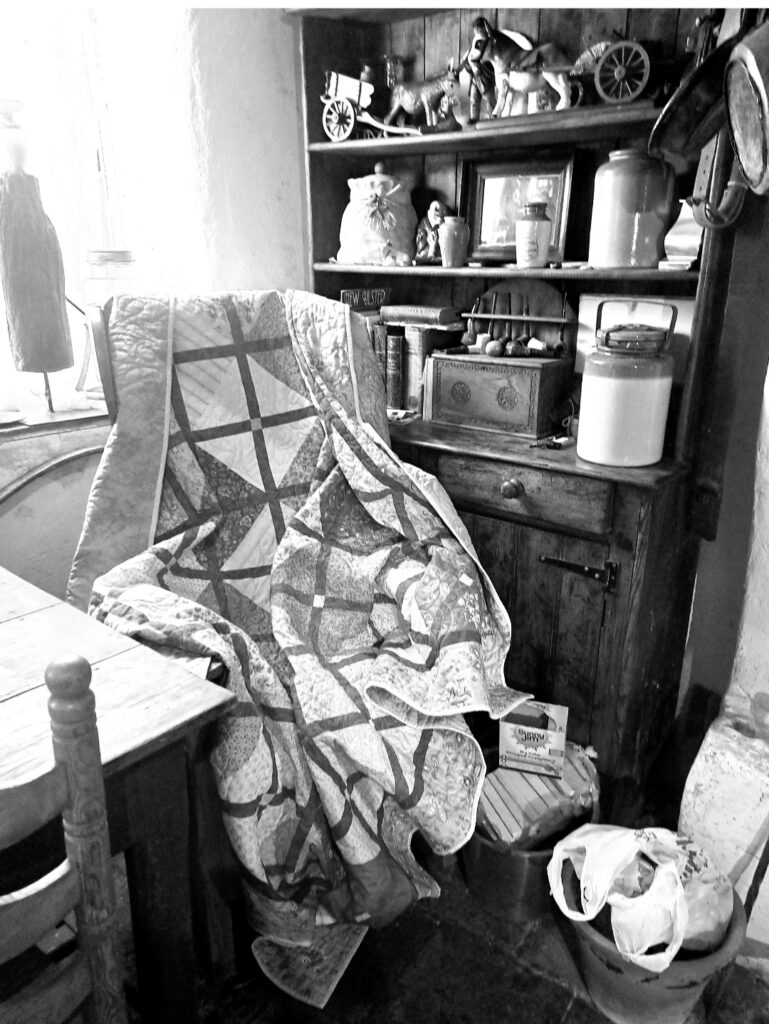
However, this quilt design started prior to then. In fact it was late 2019. I had a design for a quilt in my head and I started to work on it. I had the rough sketches and notes for the quilt using a Layer Cake and some fabric lengths. It was an easy quilt to put together. I had done up the notes for creating the blocks and sashing strips – all constructed using a simple construction technique. I had put the notes into a folder and set about making up my quilt sample. The quilt blocks came together well, and I was thrilled with the overall effect once the blocks were sewn together and created like a ‘trellis’ effect with the sashing strips meeting in the corners of each block.

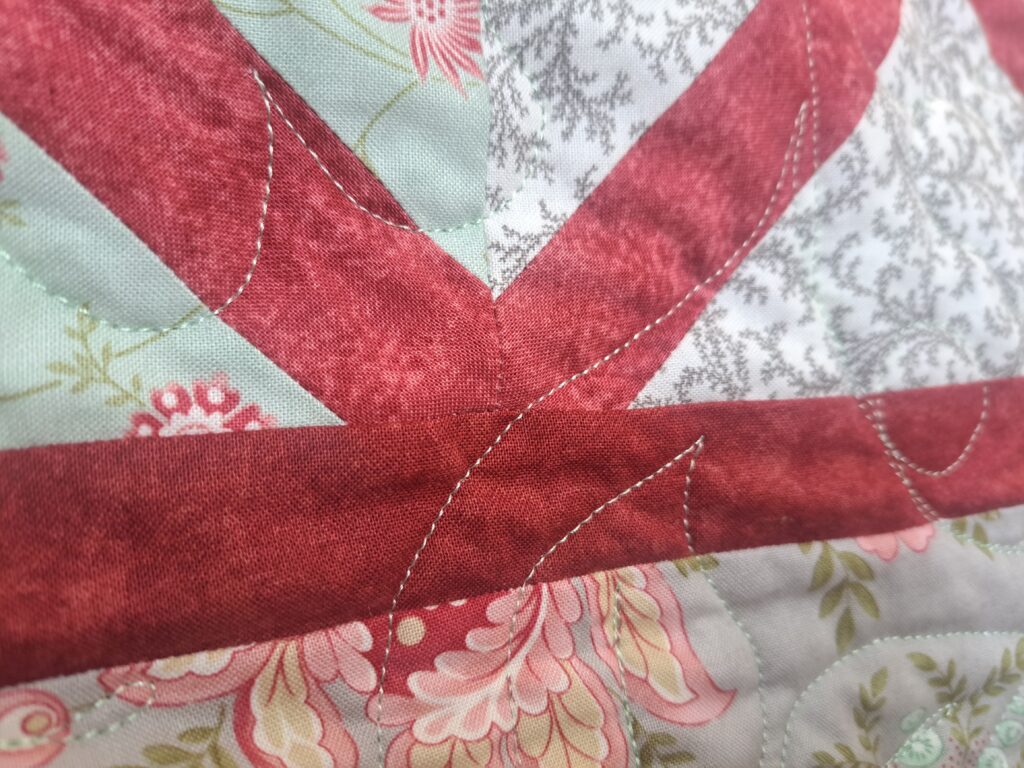
Then came to cutting and attaching the inner border…. That was when the FIRST MISHAP happened! I didn’t have enough of the red fabric to do the inner border. Remember, I was using my stash fabric …. But I didn’t worry too much as I knew it was a fabric line that was continuous due to it being a great staple in blender fabrics. I searched online for the fabric line and the needed colour – Red. Shouldn’t be too hard – Red is RED – right??? Actually … it’s not that simple. I should have known that not every Red is the same. I found 3 reds in the fabric range, I ordered them, and they arrived …. Only to find that …. NOT ONE of the reds were remotely the RED I needed. So I phoned up the fabric store and discussed my problem. I was told that it probably a RED that the fabric company had discontinued. Their suggestion was to post them over a snippet of the Red fabric, and they would try to match it up as best as they could…. And then LOCKDOWN happened, and I never heard back from them about a suitable Red fabric replacement! To add to it all, there were no other shops – everyone was in lockdown!

So my search for Red fabric was on hold. I put the quilt top away in a box. I still kept an eye out for any suitable red fabric and even rethought my quilt design. Fast forward many, many months (after purchasing any suitable red fabric that I saw online) and I came across someone on a Facebook De-stash group that was selling some red fabric. I purchased it and it arrived. Low and behold, the red fabric was NOT a direct match to the red fabric already in the quilt … BUT it was SO close that it was hard to tell there was a difference. I was now able to finish the quilt top by adding on the inner and outer borders.

Once the quilt top was complete, I thought that I should now start on finished typing up the final draft. Usually I do this BEFORE I sew up my design samples. So, since I couldn’t find a paper copy of the draft pattern, I knew it would be on the computer. To my dismay, there was NO draft pattern on the computer!! Who knew what had happened! I couldn’t even find any of my hand written notes. I guess after a few years of trying to find suitable fabric and a couple of lockdowns, I had forgotten the ‘safe’ place I had put it! (we ALL have that safe place …. right????)

So, this was now the SECOND mishap for this quilt! Are you starting to see a pattern arising here? I got back onto the computer and started to type up another first draft of the quilt, complete with NEW diagrams and instructions. I guess the positive outcome of this is that I now had better skills in doing up diagrams for the pattern instructions. Far more clearer than my first pattern. There is always a reason as to why things happen…. This second pattern version was far better than the first one. I was even able to do a mock layout on EQ software to see how the quilt would look once it was complete and to use the diagrams that I had created in EQ, in the pattern.

So, now that the second version of the pattern was in its final draft, I was able to send it off to the testers to test out the pattern. You have to agree that the quilt from one of the testers was simply stunning. Since she was local, we were able to load it onto the longarm as quilt it and I was fortunate enough to be able to take some lovely photos which really showcased it.
At this stage, my actual quilt sample was still lying in a box waiting on being quilted. But I was never able to get to that stage as my longarm was always busy with other quilts and it seemed to get pushed back all the time. I promised that I would finally get to it this summer (2023). It shouldn’t surprise me that it took over 3 years to get it to this stage … but it was great when it finally made it onto the longarm.

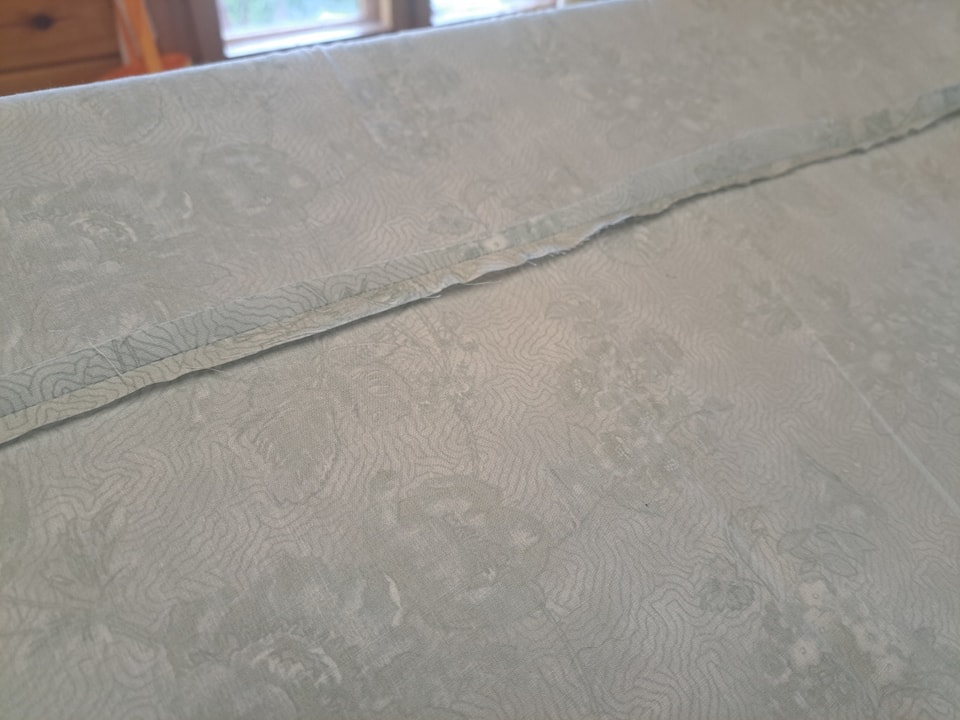
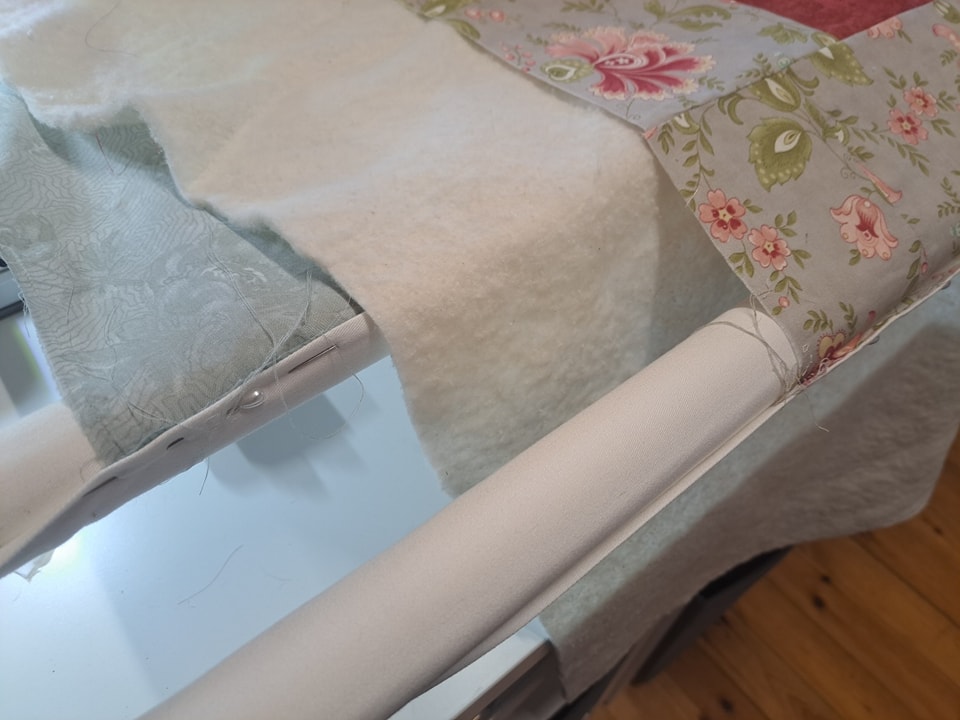
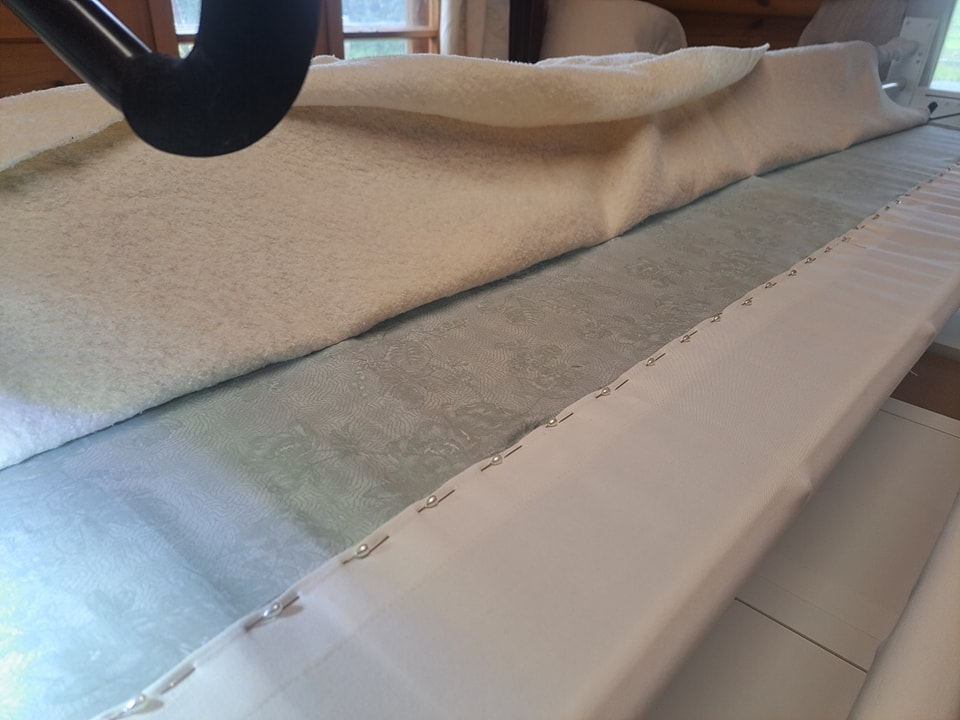
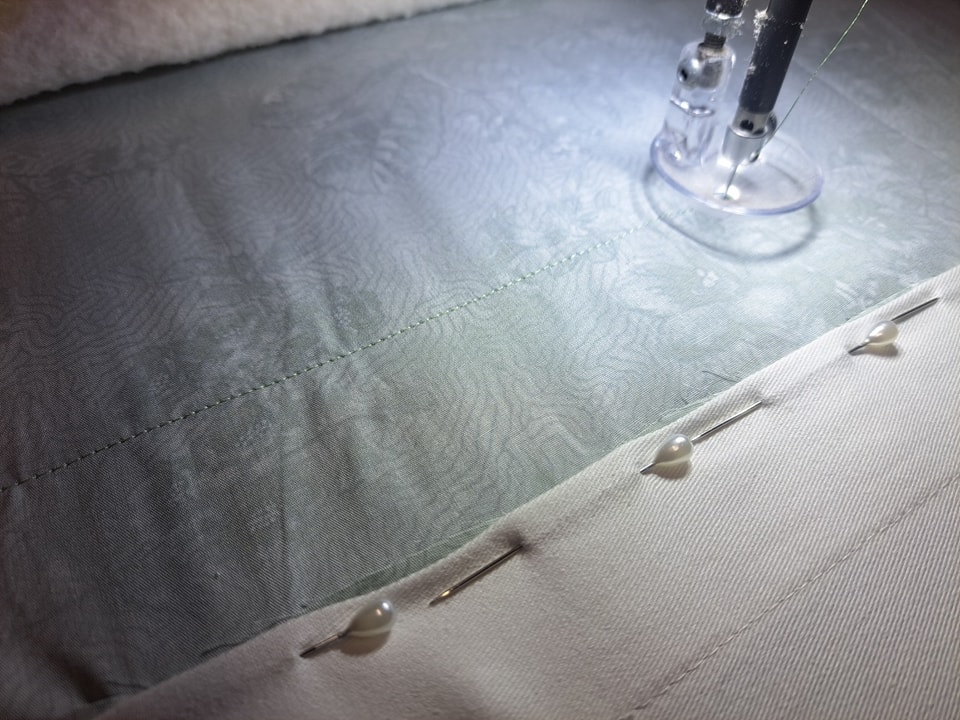
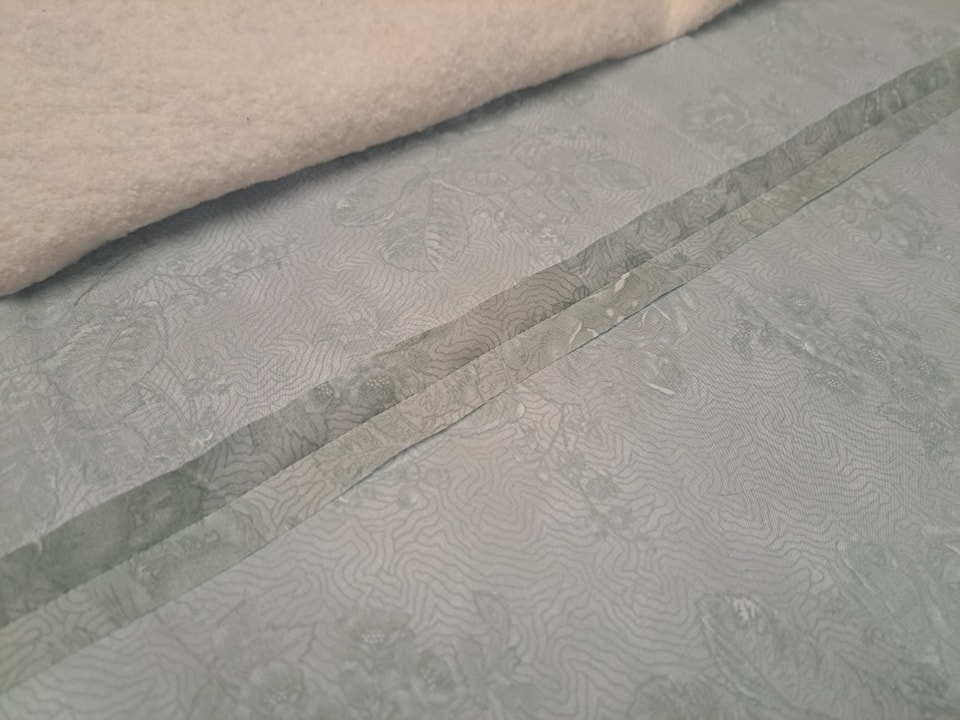
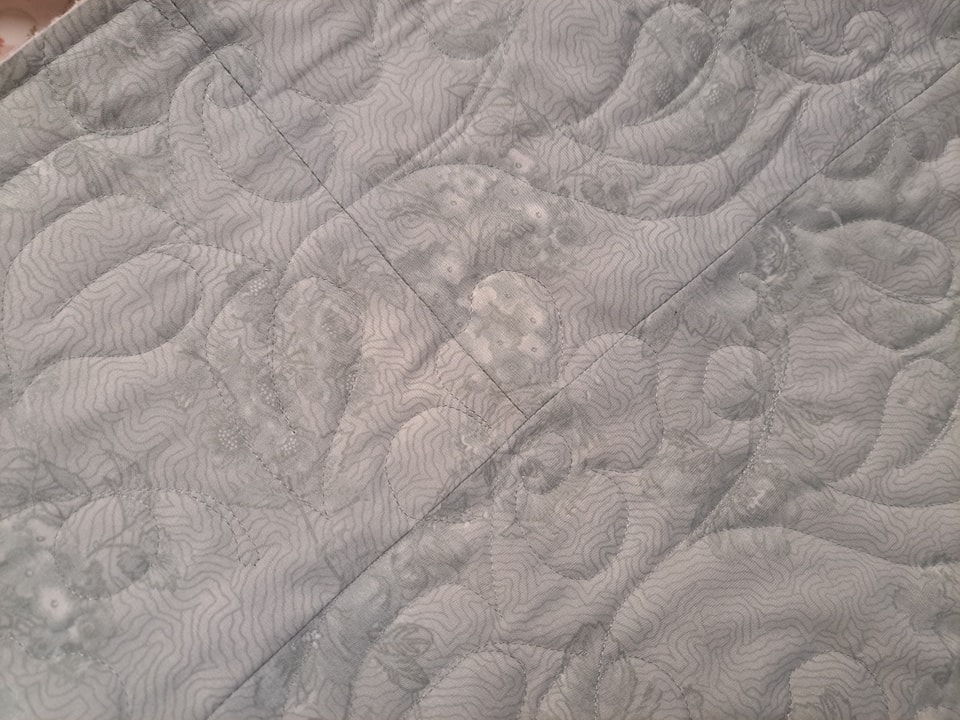
I guess you all know the saga of that incident – the THIRD mishap!! Even before it made it on the longarm, I mucked up the extra wide backing fabric!!! I don’t think there is many that have a seam in their extra wide backing fabric …. I meant the reason you purchase extra wide backing fabric … is so you don’t need to have seams! Well, trust me … this quilt decided that it needed to have a seam running in the middle of the quilt back! Not a disaster but hey … defeated purchasing extra wide fabric. So now that, THAT problem was solved, it was all about loading it onto the longarm frame.

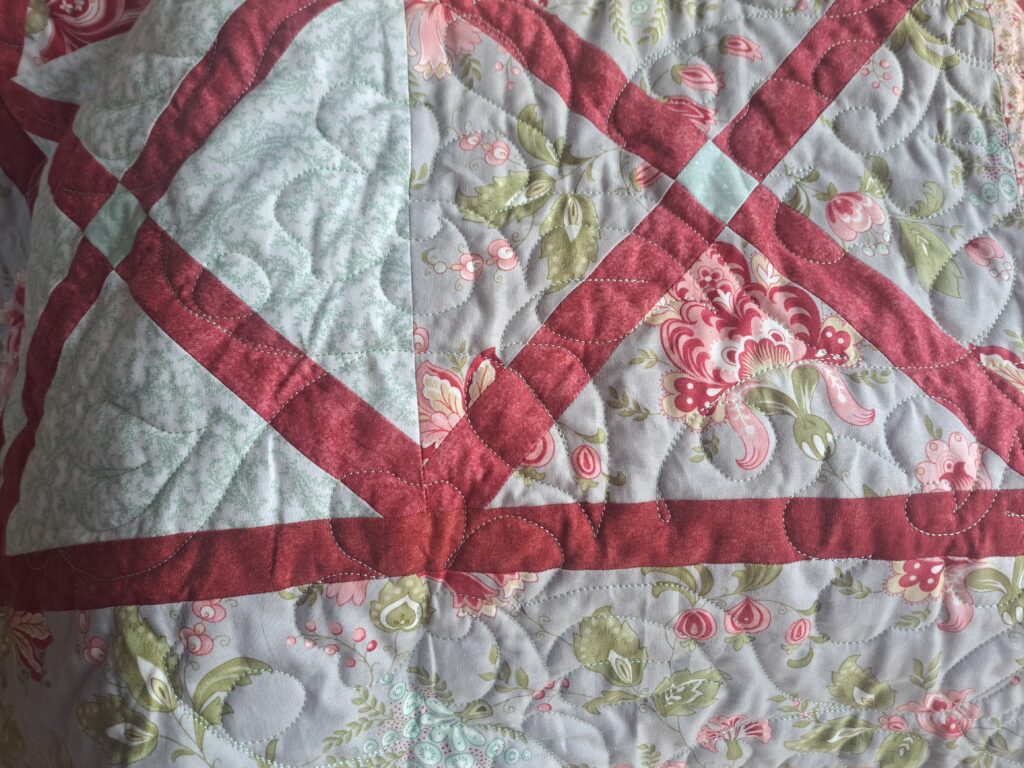
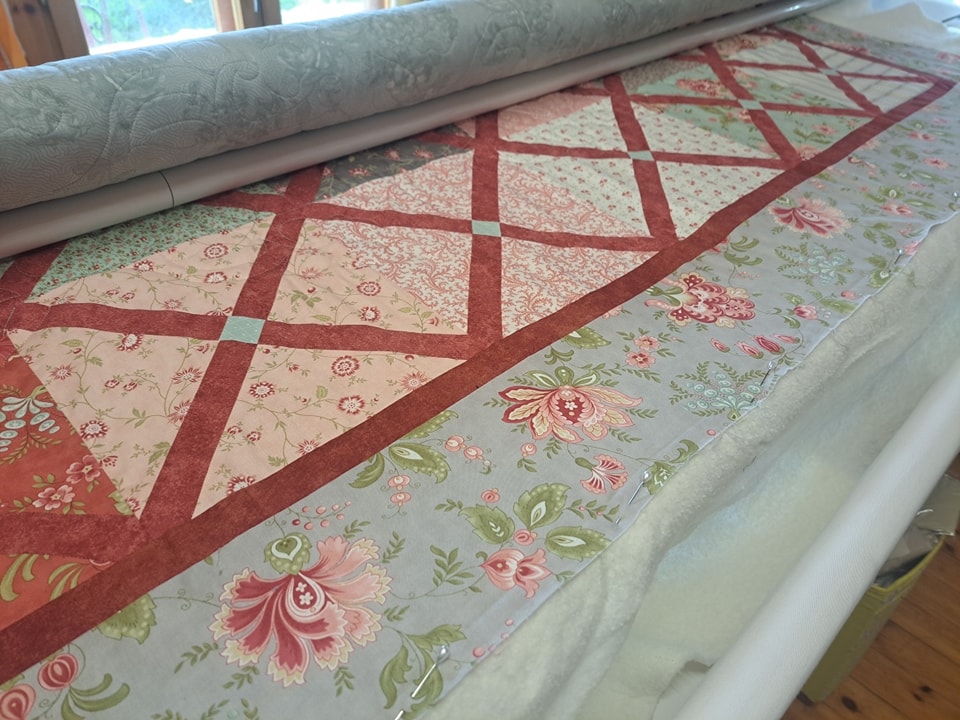
Once on the frame, the quilting design and stitching went great. NO problems at all!! Until it was near the end of the quilt – I only had two more quilting passes to go and the quilt was all finished!! You guessed it – FOURTH mishap!! The backing fabric was far too short for the quilt top!! I think this was about when I had my meltdown!!! It certainly had turned into the CURSED quilt!

I can honestly say … a few ‘choice’ words were said … a few tears were shared …. And then I remembered, that once, when I first got the longarm, I had watched as many HandiQuilter videos as possible, and I vaguely remembered about one which explained and SHOWED how to attach EXTRA backing fabric WITHOUT removing the quilt from the frame!!!

I suddenly realised that it was not the end of the world and there is ALWAYS a reason (& lesson to be learnt) for mishaps. I searched the video and watched it, several times over. Turned up the music, took a few deep breathes and taught myself … HOW to attach extra backing onto the longarm frame! I can NOW quite proudly say that I tackled something that seemed impossible at the start …. Mastered it … and can NOW do it again … IF EVER this happens again. Let’s hope it doesn’t (or at least for a very long time) but it is always good to know that all things can be fixed (within reason). Nothing is truly LOST!!

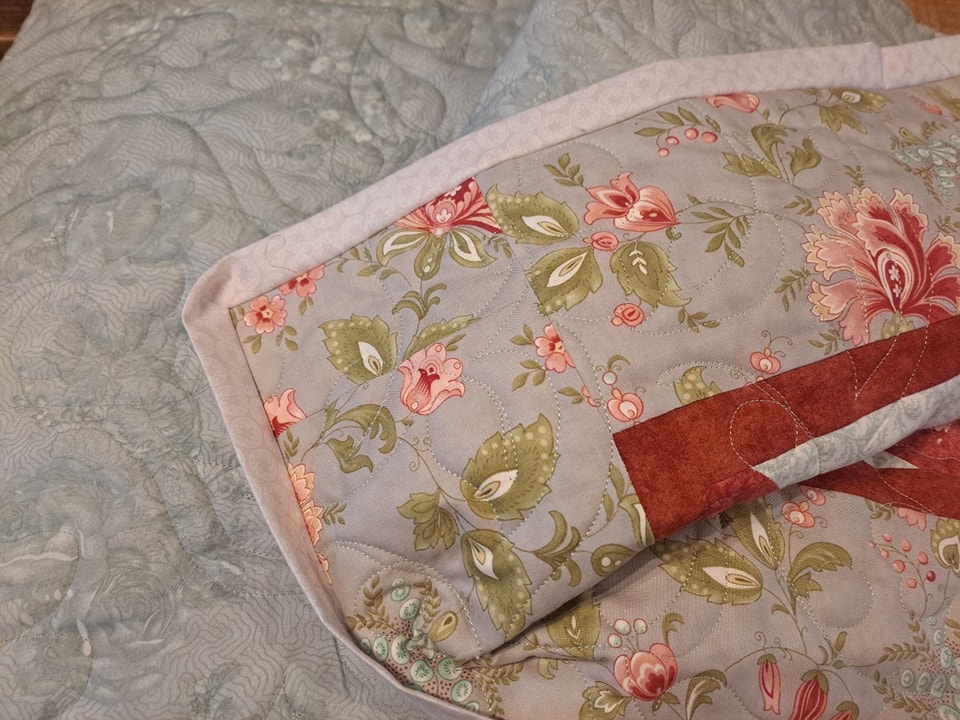
So with the backing fabric fixed (OK, instead of one seam, there is now THREE seams) … I was able to complete the quilting of the quilt and take it off the longarm. I could then attach the binding and hand stitch it. Finally, my quilt could be finished … even if was started 4 years ago!! But hey, the FIFTH mishap was about to happen …. The binding fabric that I had put away safe was NOT where it should have been! I searched my room for over an hour … I found LOTS of fabric I had forgotten about … But NOT the binding fabric.

I can tell you, that at this stage I was beyond caring …. I needed the quilt finished …. So I grabbed some suitable fabric that blended in and did a binding and got it handstitched.

The saga of the CURSED quilt! So, is the pattern in any way CURSED ??? DEFINITELY NOT!!!

The actual quilt design, may look complicated…. BUT it is actually a simple design. It is just the journey I had in getting the quilt finished. I really enjoyed constructing the blocks and by following the simple instructions and techniques I have included in the pattern; you will also find that it is a relatively simple quilt design.

Though one word of advice – ENSURE that your Layer Cake fabrics are EXACTLY 10” square to begin with. If they aren’t, then you will struggle to get the essential finished block construction. You may think that ALL Layer Cakes are 10” square …. I mean that is what a Layer Cake is …. 10” fabric squares. This is what one of my testers found out. And in doing so, we all learnt that NOT everything is what it says it should be on the box! Measure beforehand. What is the saying – Measure twice, Cut once!!

This was such a learning curve, that I had to include this in the pattern.

So please, do not be put off by my cursed story of the quilt. I truly loved making the quilt and found it such a relatively easy make (& quick) especially if you follow through step by step in the cutting and preparation of the blocks. I am keen to make this quilt again …. And see if I can cancel out all the ‘cursed’ incidents.

The pattern is now available on my website …

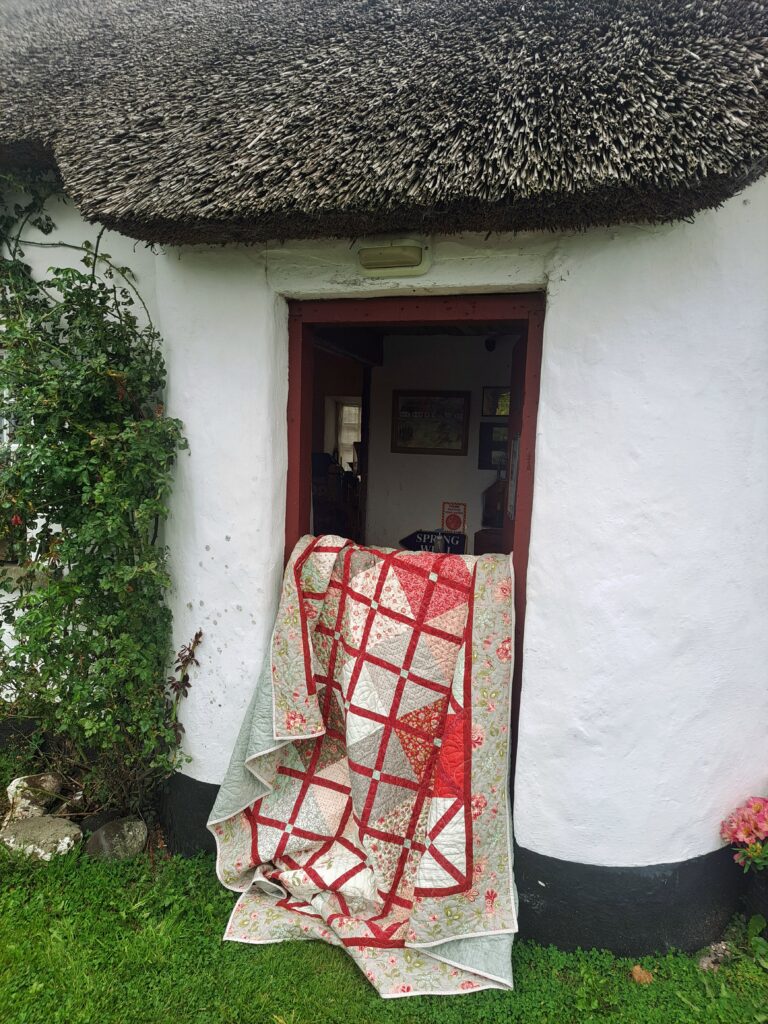
p.s. I couldnt resist taking the opportunity and doing a photo shoot of my quilt at the charming historic 300+ yr old Dan Winter’s cottage just outside Portadown, Northern Ireland…..

Christmas Tree Surprise

Featured

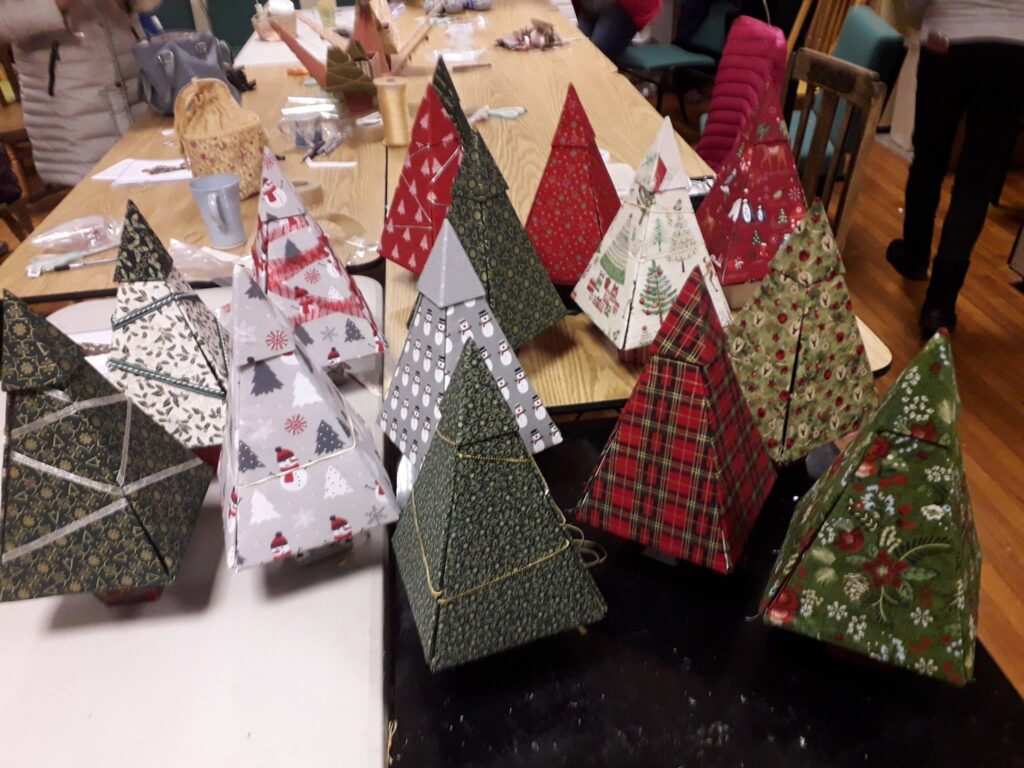
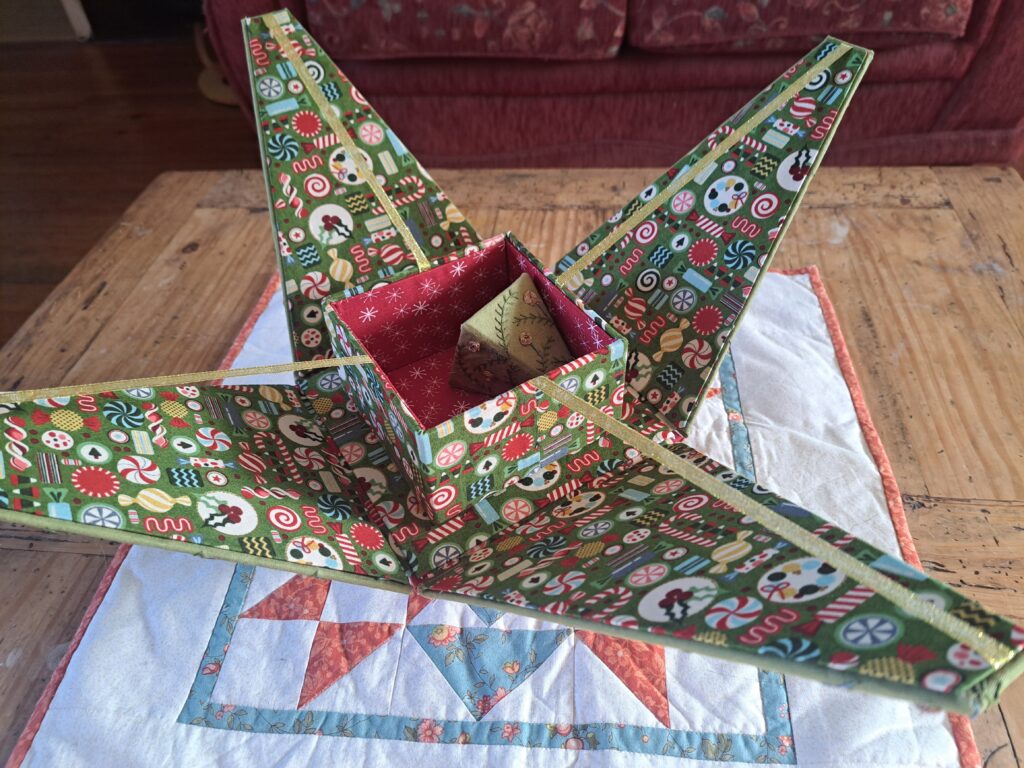
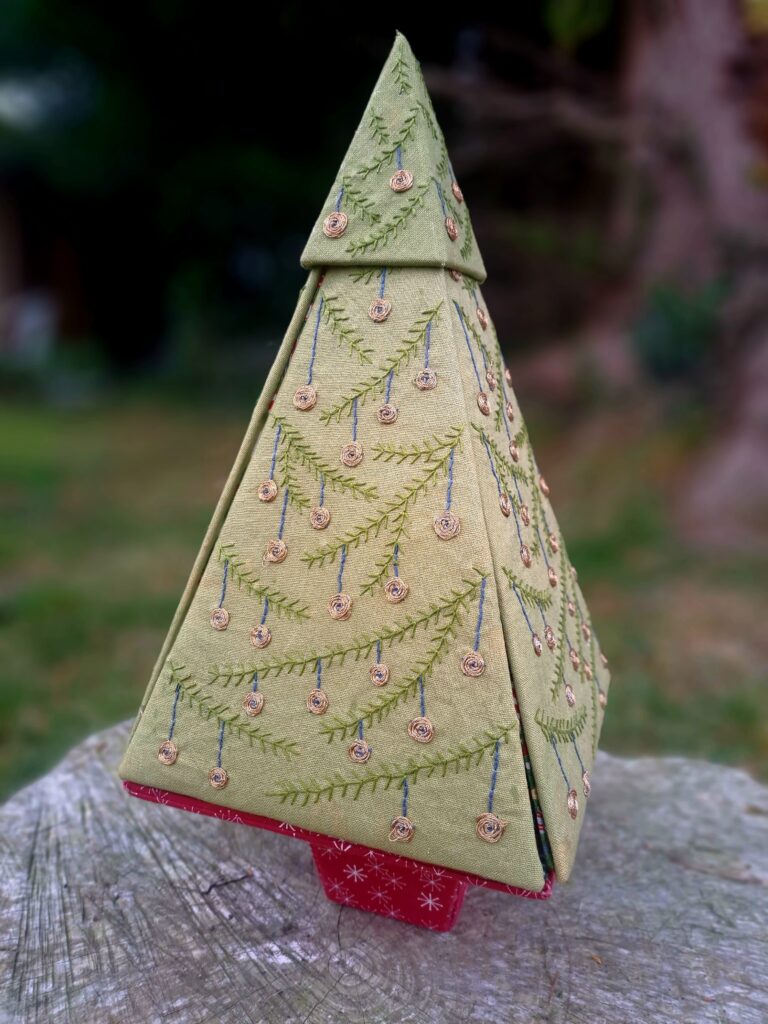
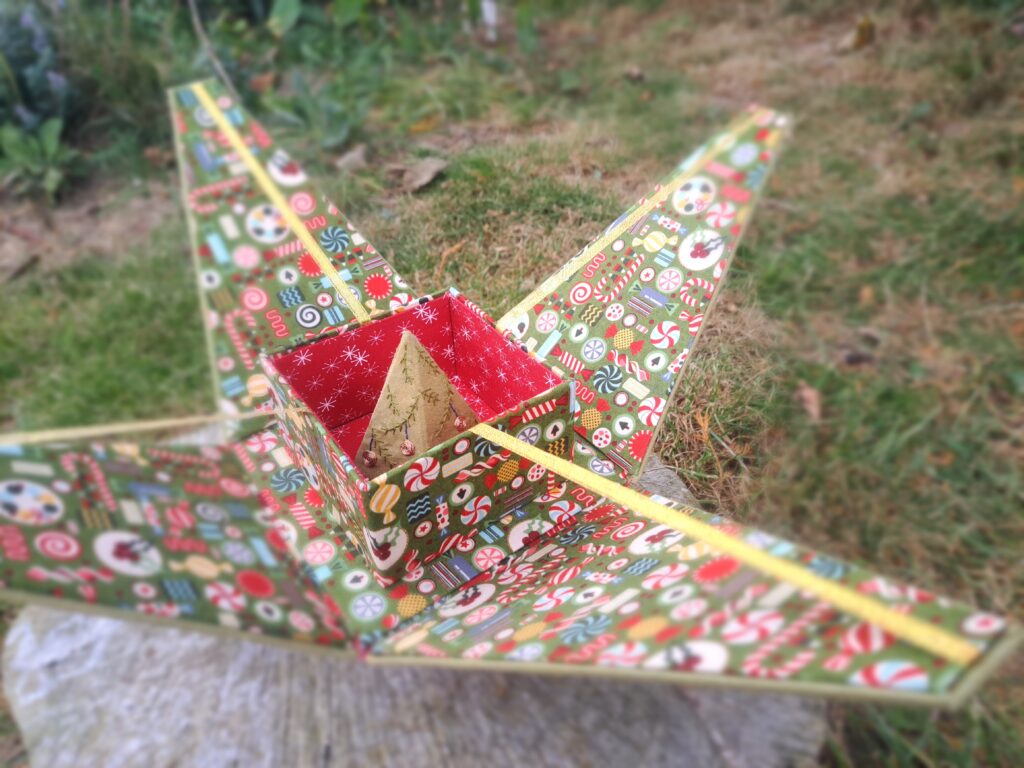
Back last year …. A few months before Christmas … I had this idea of an embroidered Opening Christmas Tree decoration. I had made a fabric version of it years before and even ran a workshop on it. The original kit came from Pinflair, and I spoke to them about my idea of doing an embroidered version of the tree. The fabric trees were lovely to make and really did make a stunning centrepiece on the table over the Christmas period.

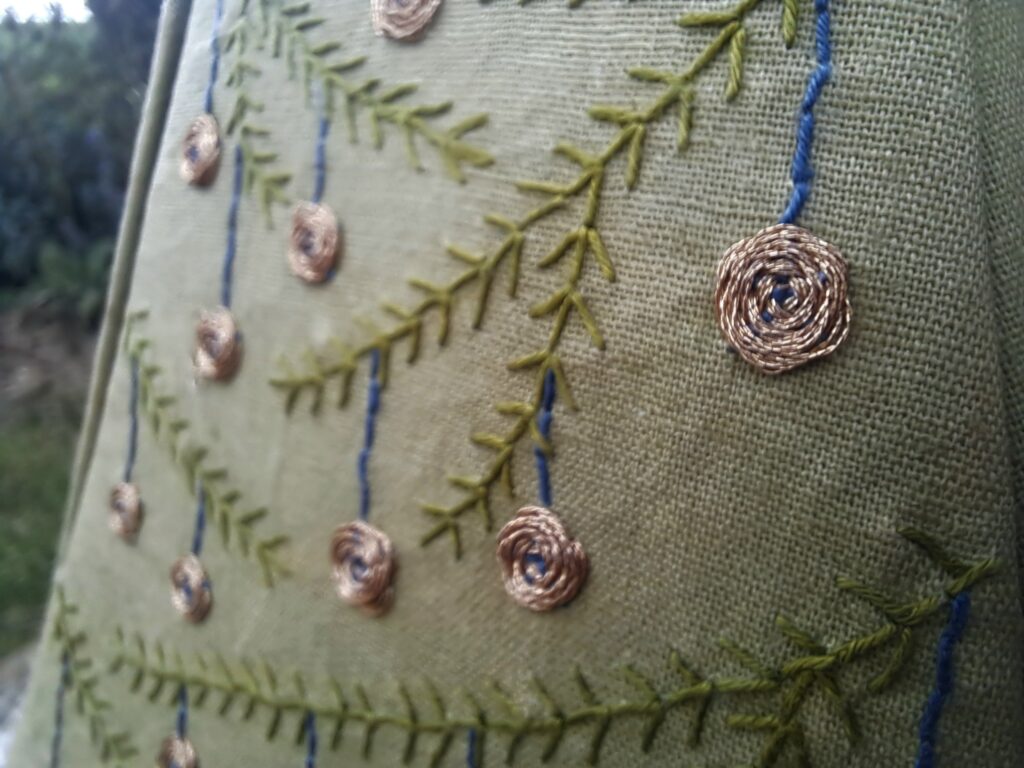
So … I put pencil to paper and came up with a few sketches …. Simple fir branches and baubles using simple embroidery stitches and metallic embroidery thread on a lovely linen to create something special.

I finished the embroidery, made up the tree sample while taking photos of each step. I then wrote the pattern, got it proof read and tested to see how easy it was to follow. I then shared the photos on Facebook to gauge on how much interest there would be in making the tree and having kits available to purchase. The next step was to get in touch with the fabric wholesaler to see about getting in the linen fabric. With 6 weeks to go till Christmas, I thought there would be time enough. I had ordered (& received) all the precut board templates to make the tree. However, the colour that I wanted for the tree was not in stock in the UK warehouse and needed to be ordered from the States which meant a delay. It finally arrived 2 days before Christmas, which was seriously too late for last Christmas. Lesson learnt. I guess it really is important to plan Christmas makes well in advance.

So, the templates and other pieces for the kit were put on hold. Christmas 2022 came and went, and no one really wanted to start making up Christmas trees in the spring. I decided to put the kits, etc aside until the autumn and launch them at the Quilt Fayre last week. It seemed the ideal time to launch the kit as I was also launching the Santa Sacks and my other Inktense Christmas designs then as well.
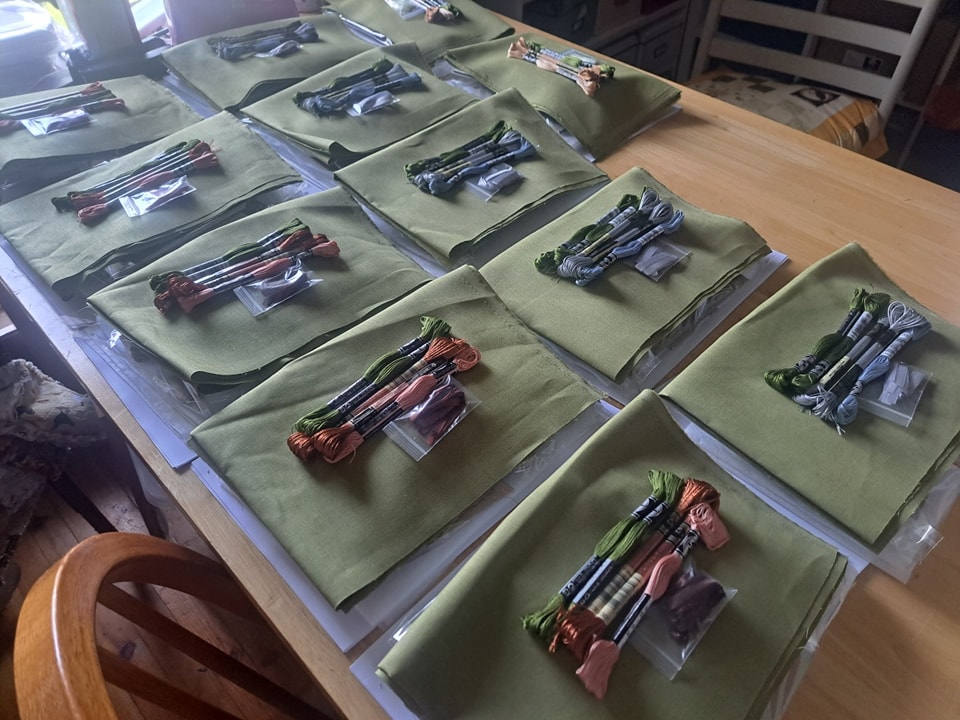
I made up the kits with four different colourways. The colourways refer to the colour of the baubles on the tree branches – 4 different colours of metallic thread. There is Red Copper, Bronze, Silver and Gold. My sample was made using the Bronze metallic thread.

The kits include 19 page tutorial with step by step instructions and colour photos to make creating your tree easy,  the precut board templates to make the tree, shirting and gummed paper tape for assembling the tree, wadding, washable stabiliser for the front of the linen to show the embroidery lines, linen fabric, ribbon hinges and the embroidery threads for the embroidery. All you need to provide is the bookbinding glue and fabric for the internal/trunk of the tree.

This tree really is such a special and stunning addition for your Christmas décor and will be lovely to bring out each year and fill with chocolates or sweets.

I guess the hardest choice is …. What colour baubles will you choose for your tree …. Or what fabric will you choose for the interior of your tree ….

So, with Christmas being only about 100 days away …. Now would be a good time to purchase your kit and you will have enough time to make your very own opening Christmas Tree to adorn your table this year….. These kits are limited ….

New Embroidery Designs

Featured

When I am asked to tutor workshops at various groups or organisations, I usually come up with a design following the request from the group facilitator. It can be fun to come up with a design once I have been given a theme or guidelines.

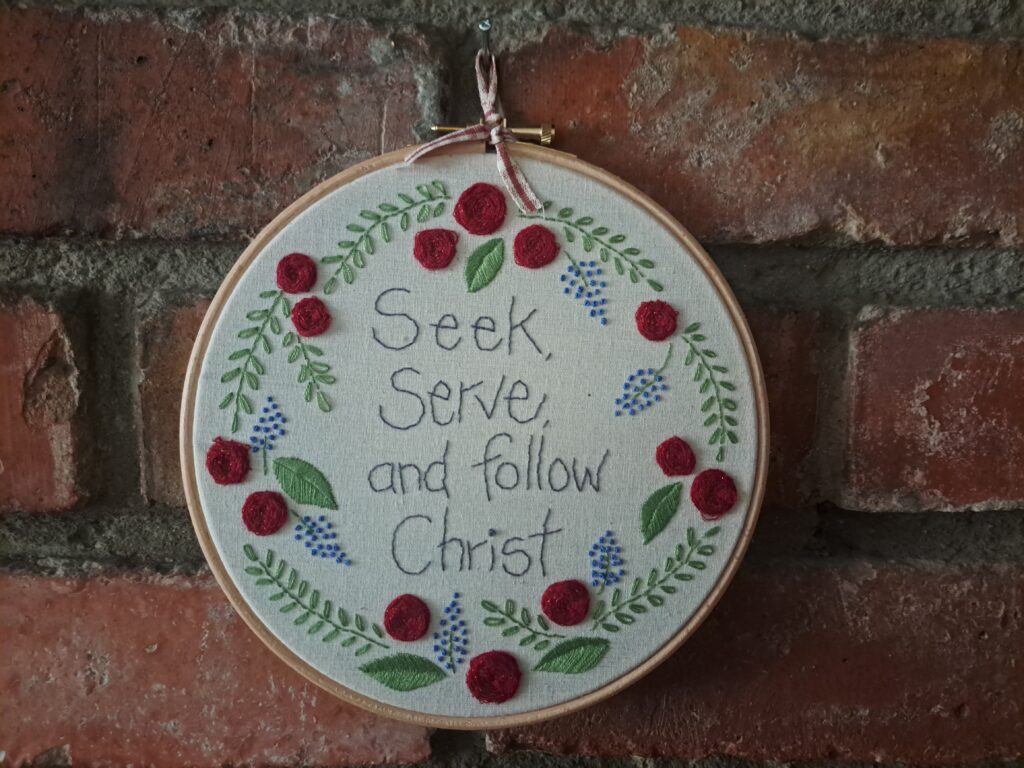
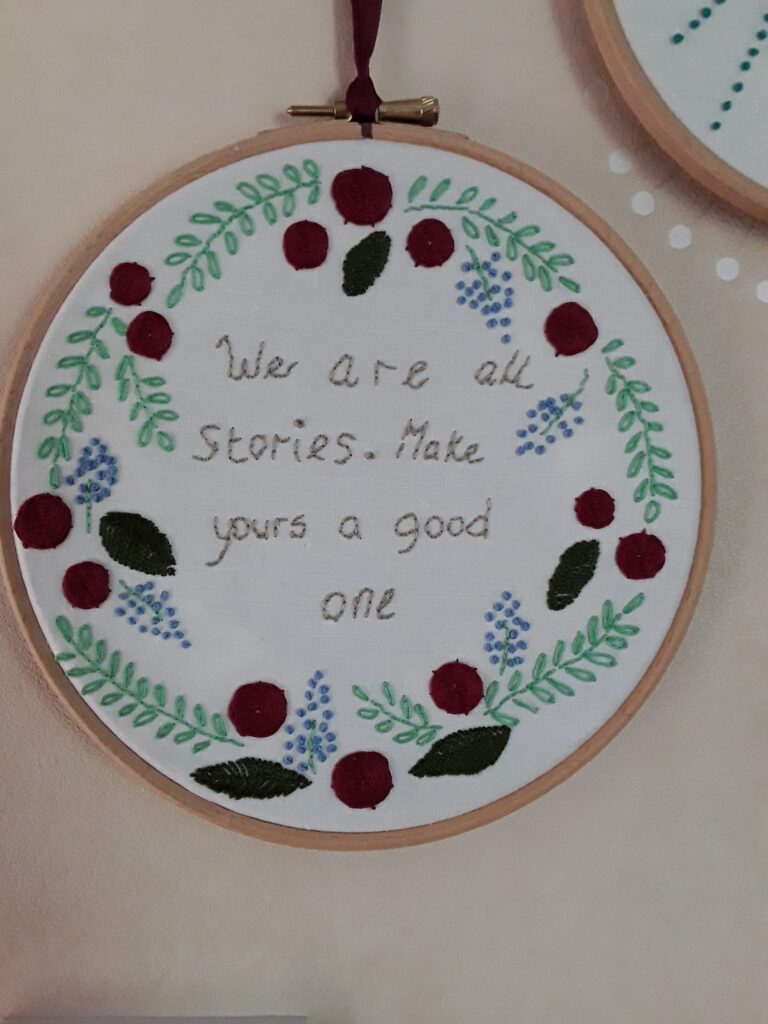
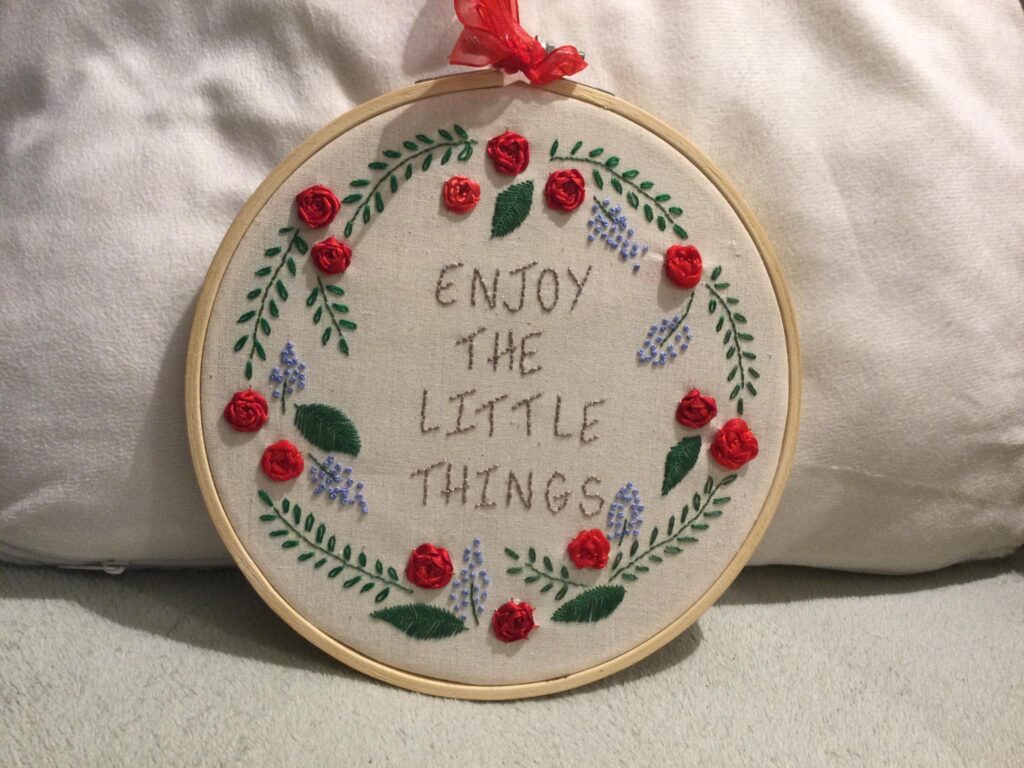
Back last year, I was approached by the local branch for Girl’s Brigade to teach needlework to a group of girls ranging from 13-18 years. The request was for a simple embroidery design that can be displayed in an embroidery hoop featuring the Brigade’s motto. It was quite daunting coming up with something simple enough and yet challenging enough for the group of girls. I came up with the simple round design featuring leaves, roses and bluebells, with their motto in the centre of the wreath.

It was a fun (and challenging) 3 classes to share the skill of needlework to the class of girls, many had never threaded a needle, and none had done needlework before. Many enjoyed the process and really immersed themselves into the needlework.

When I shared photos of the design on Facebook, I had many messages from parents of other Girl Brigadiers that were interested in purchasing the kit for their daughters. I emailed the Head Office to seek guidance in selling the kits to other parents, but it was not forth coming. I could not offer this kit on my website. So in order to make the embroidery design available to the general public, my original design needed to be adjusted. I needed to put on my thinking cap.
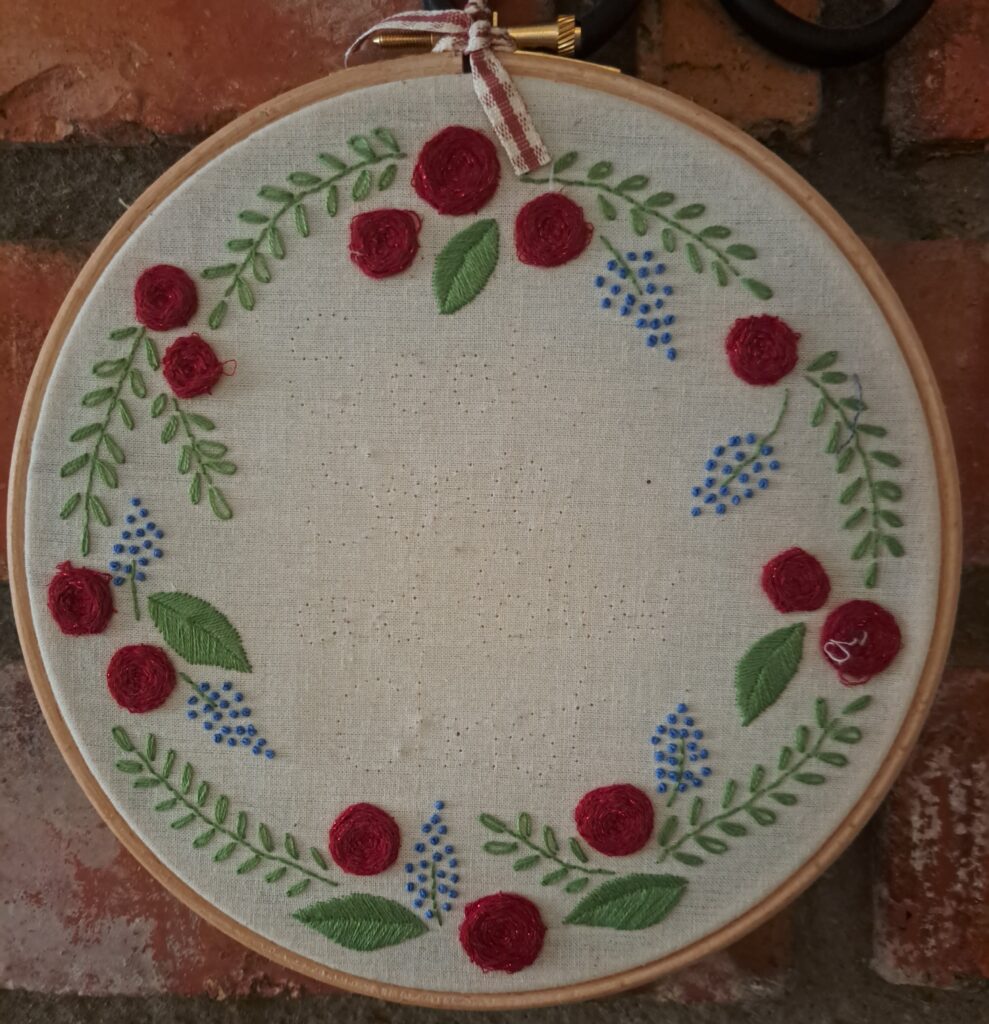
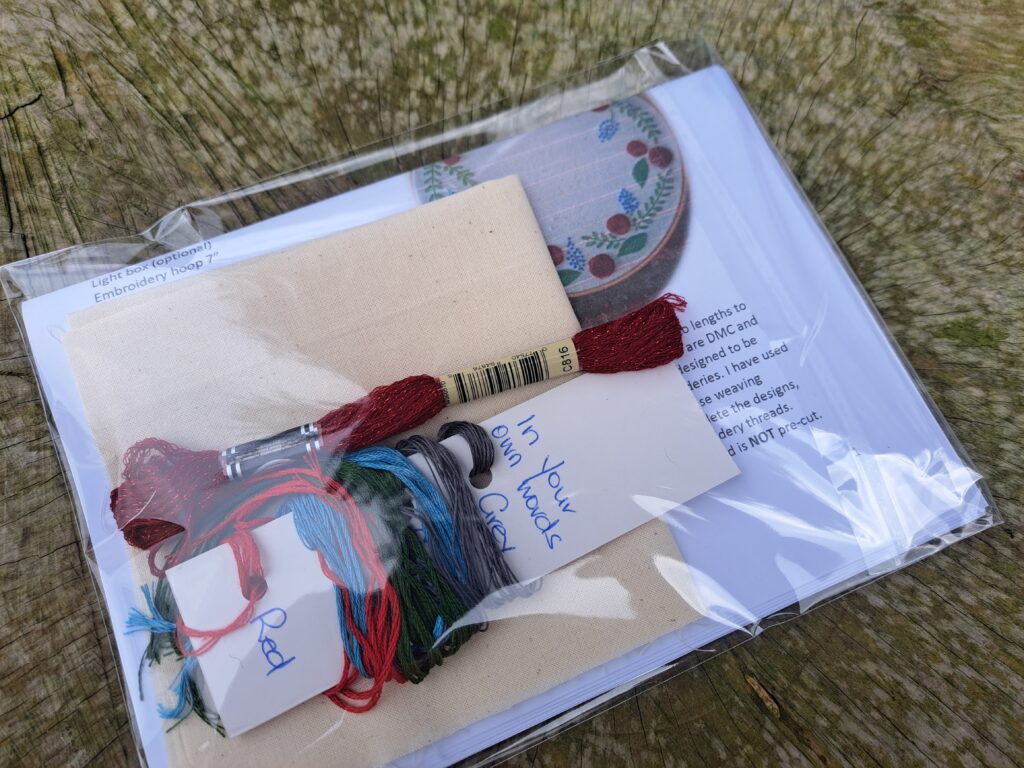
It was a lovely embroidery design, and it seemed a shame to see it put away and never to be seen on the website as a kit or pattern. This is when the concept of ‘In Your own Words’ came about. Why not create the pattern/kit of the embroidered floral wreath and let YOU add in your OWN words! This would then allow you to really personalise the embroidery design.

‘In your own words’ – Blank Canvas to personalise with your own saying/quote

In recreating the design in this way, really opened up so many possibilities. My testers had fun writing in their own favourite sayings or even using one of the sayings that were suggested in the pattern. What would you put into your design?

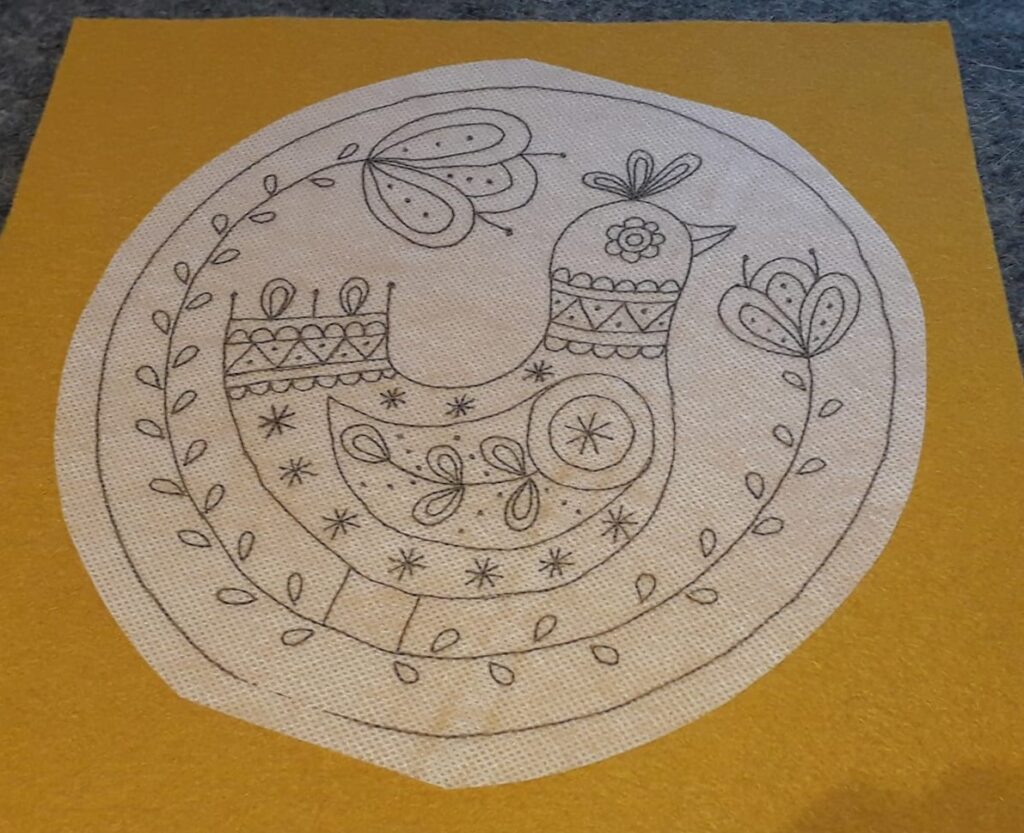
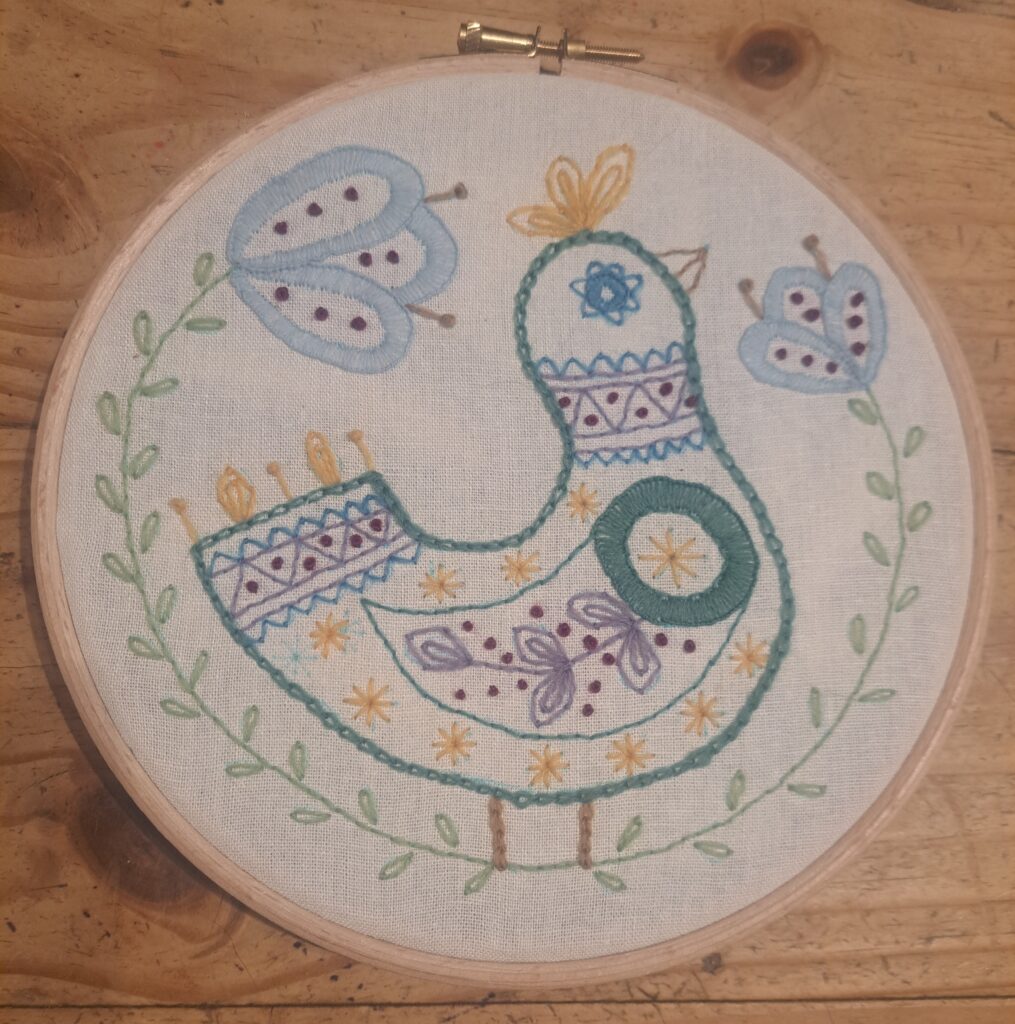
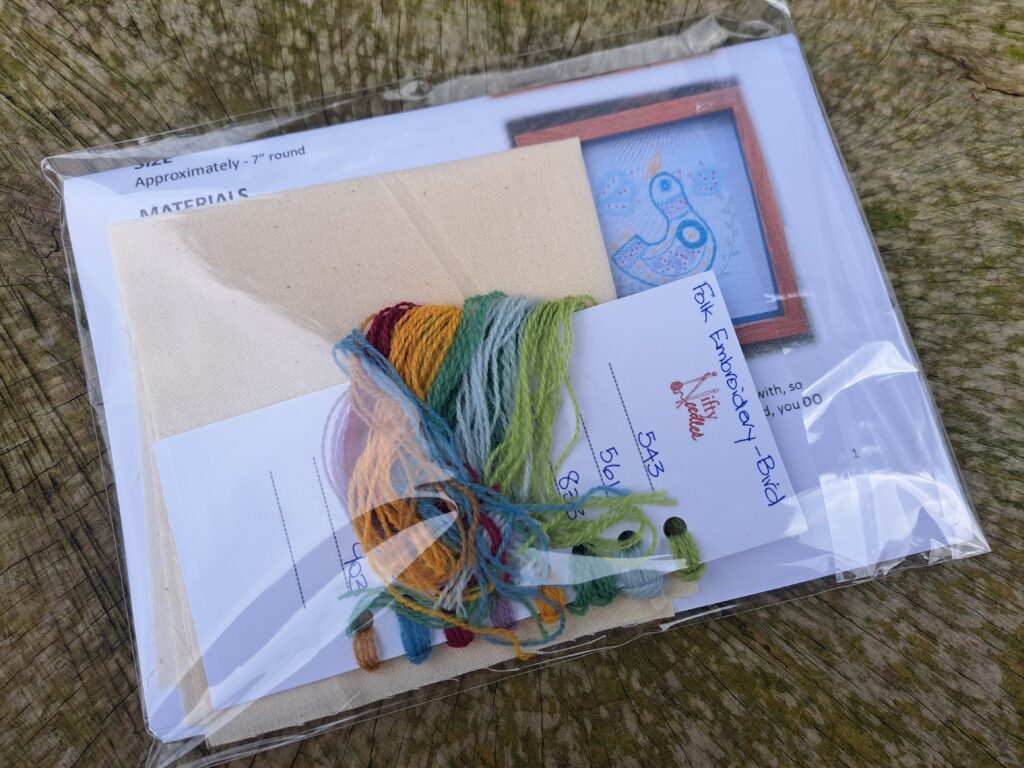
The second embroidery design to be created for an upcoming workshop was Folk Embroidery. I was approached by the organisation that they had had enquiries about Folk Embroidery and would I be interested in designing something and taking the workshop. I love a challenge, and this definitely was one. I had never really thought of Folk Embroidery, so I did some research online to get some guide lines. I then sat down one afternoon and did up some rough sketches and came up with the bird. At first it was slightly out of my comfort zone, as I had never really drawn up anything whimsical before. I have to admit it was fun to do, once I realised that the bird was NOT meant to be realistic, and I could play with colours and embroidery stitches.

Design template

This definitely was a FUN design to embroider, and I loved using the Appleton’s Wool Embroidery threads for my design. These threads are finer than wool tapestry threads and the colours are just amazing. The wool thread is what is normally used in creating Crewel Embroidery, but they were also perfect for creating this Folk Embroidery. They are the threads that are included in the kits.
Folk Embroidery – Bird – using wool embroidery thread

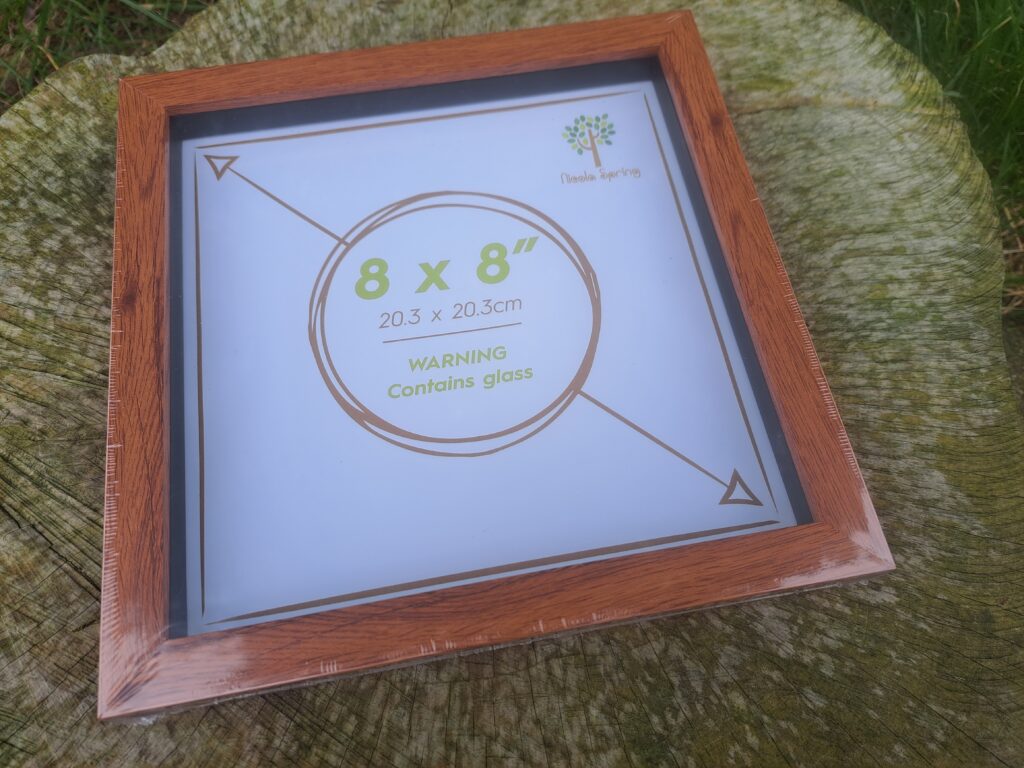
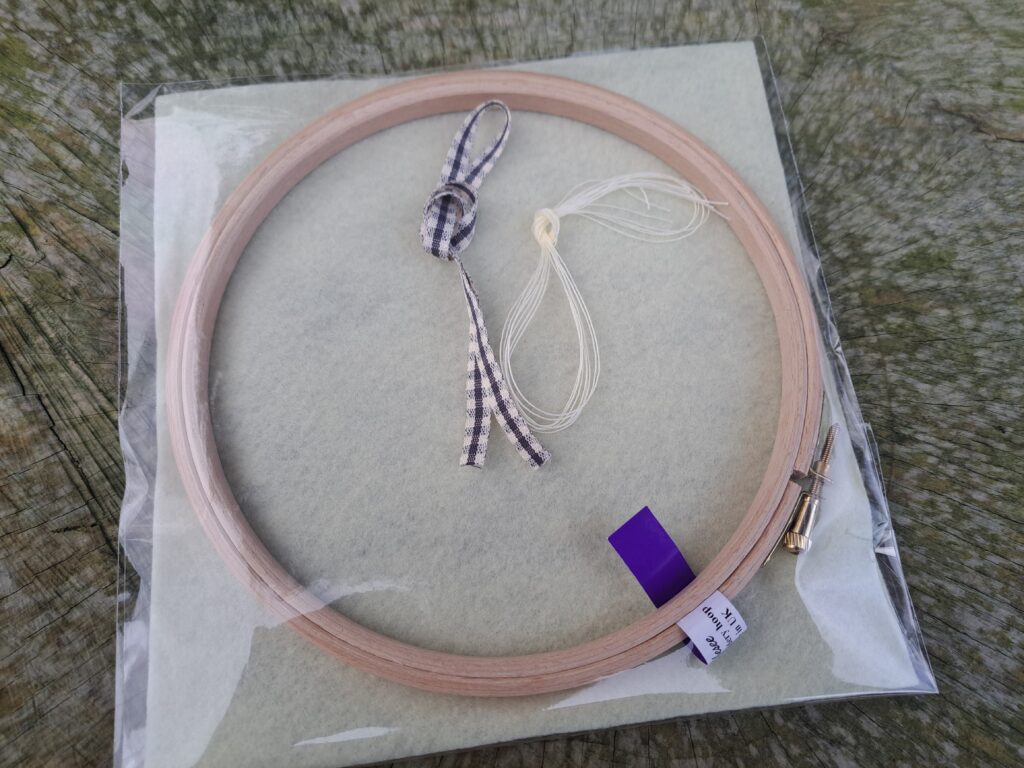
In coming to display my design samples, I was of two minds. The original designs for the workshops were designed to be displayed in the embroidery hoop that is used to stitch the design. The hoops make for a quick, practical and even cost effective way of displaying your finished embroidery. But sometimes it is even nicer to have your work framed to give it that touch of elegance (& also protect it behind glass).

So, I decided that in making up the kits, I would have several kit options available. The fabric, threads and patterns for the designs are in one kit and sold as is. There would also be options to purchase the Hoop/Backing kit or a frame. This allows the purchaser to choose what they need or want. Many have hoops at home or wish to finish it in other ways. So why purchase a kit which includes the hoop and backing felt if you are not going to use it to complete your design? Just trying to give everyone as many options as possible….

I am hoping this new way to offer kits for sale will work and open up the options for everyone. It was hard for me to decide if I wanted to create different designs that were to be displayed/framed on hoops or to have them in frames. Personally I prefer frames, so my work is protected behind glass, but then again, a hoop finish is easily done, and a collection of designs grouped on a wall make for a lovely display.  

I have also released the patterns (in both PDF and printed format) for both the Folk Embroidery and ‘In your own words’ in case you want to use your own materials to create these lovely designs.

So, I hope you like my latest embroidery designs and maybe they will start you onto your own needlework journey…..

New Designs – Star Flower Collection

Featured

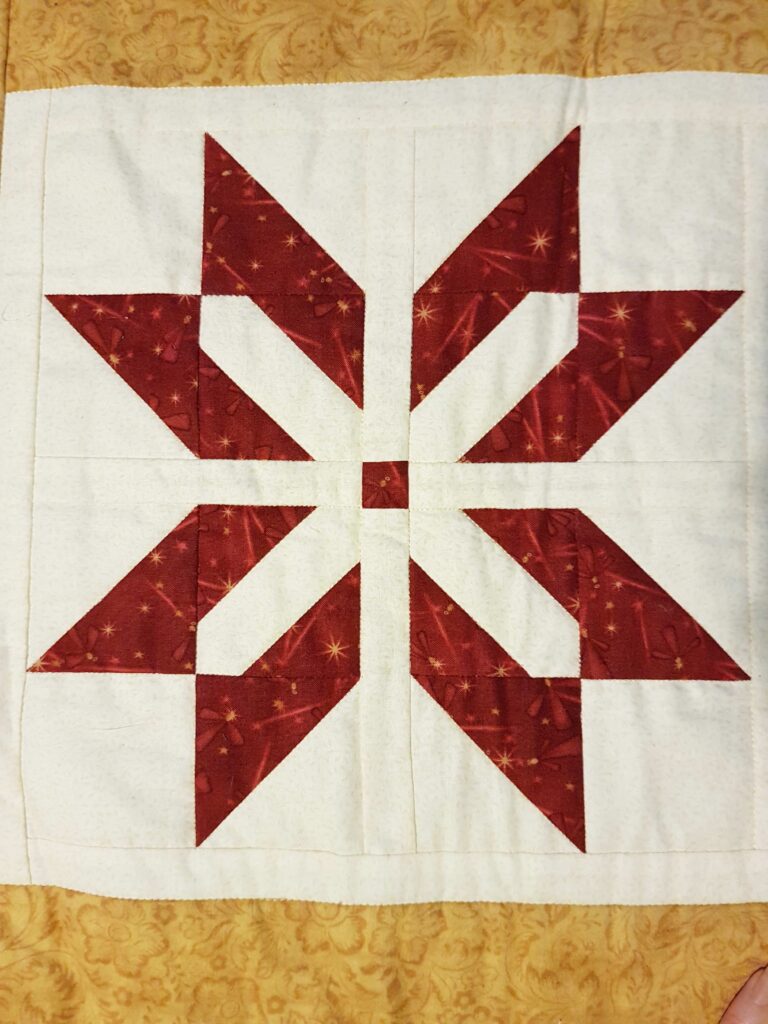
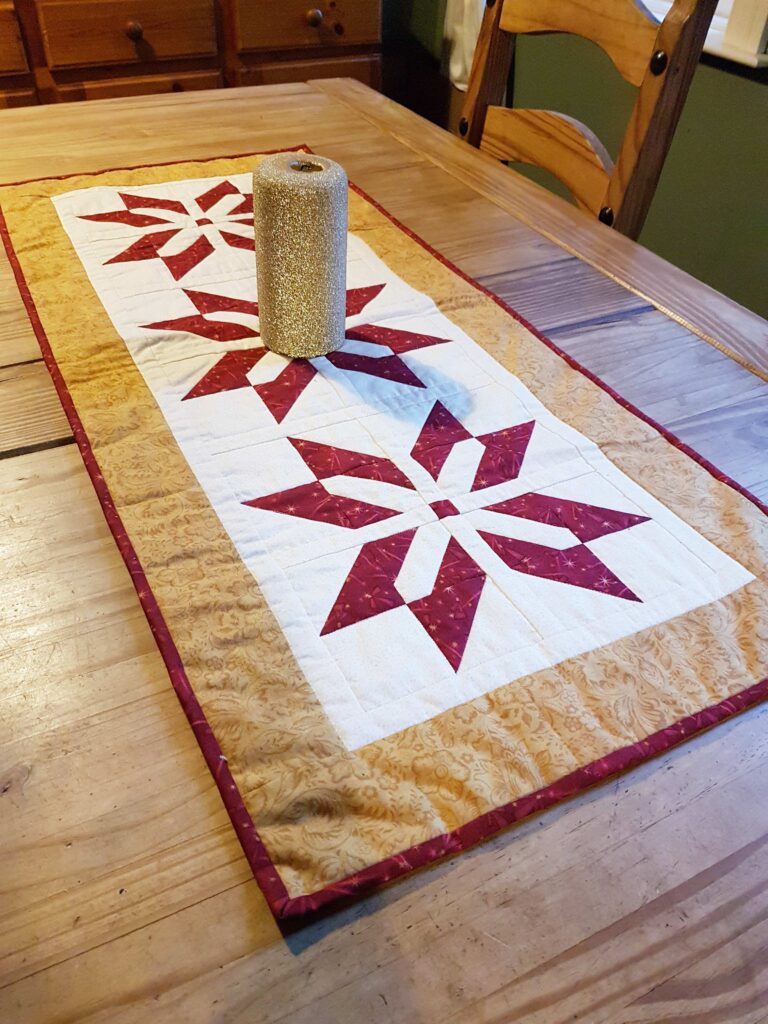
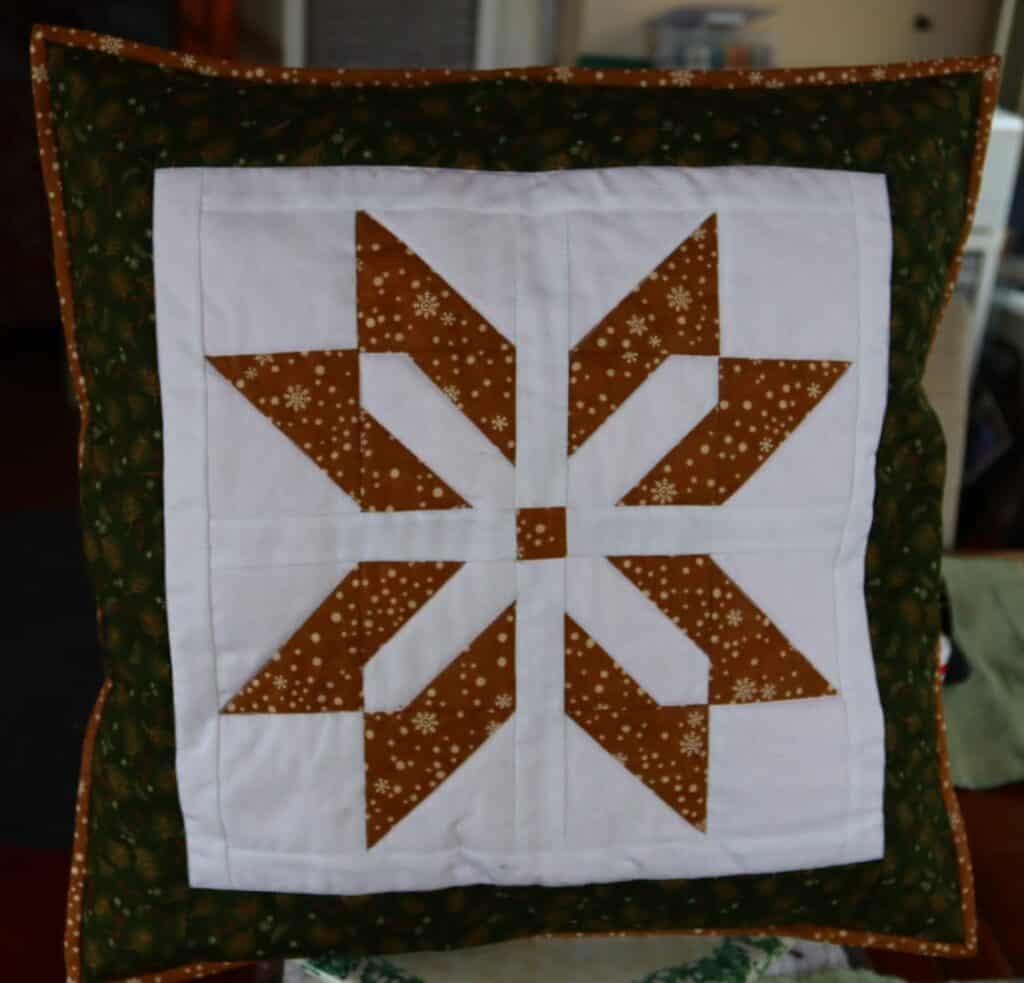
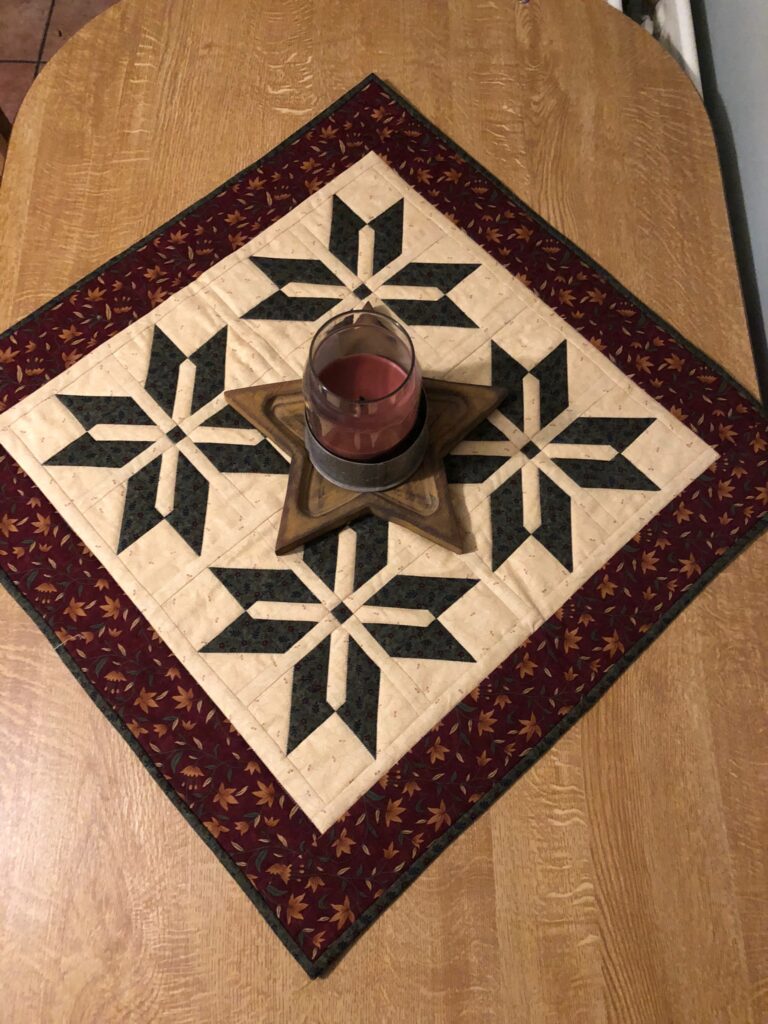
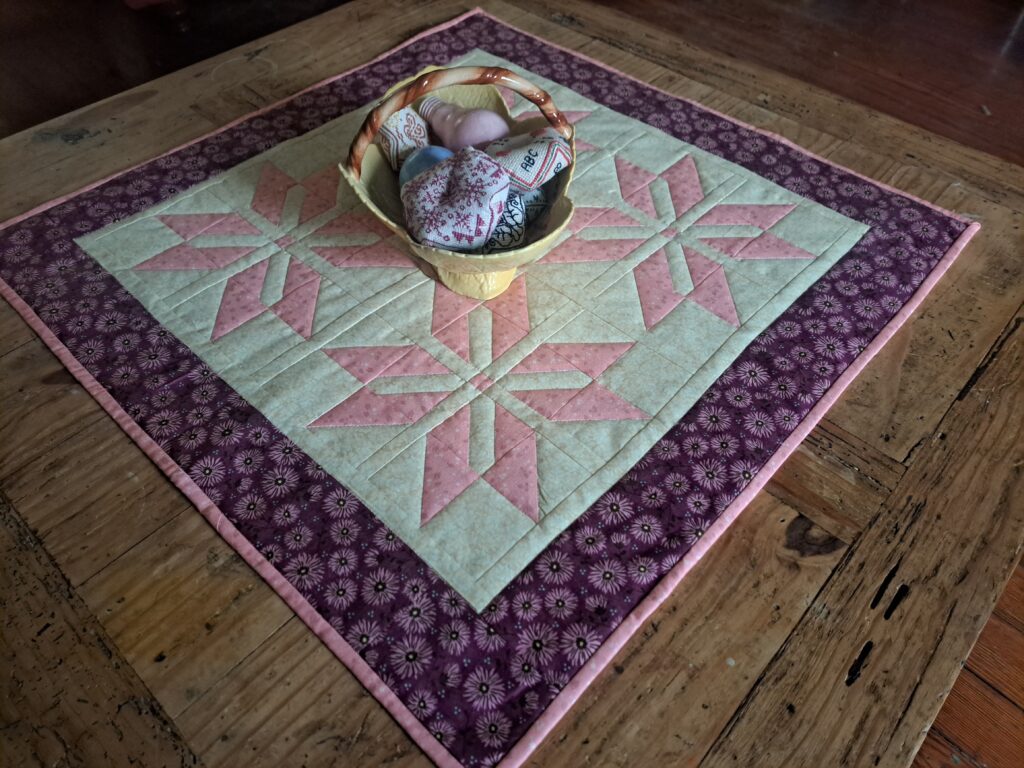
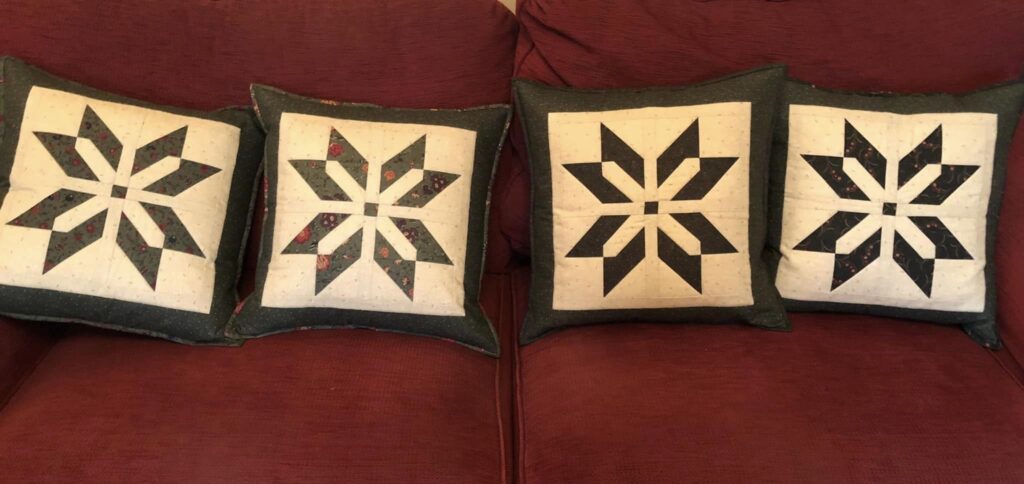
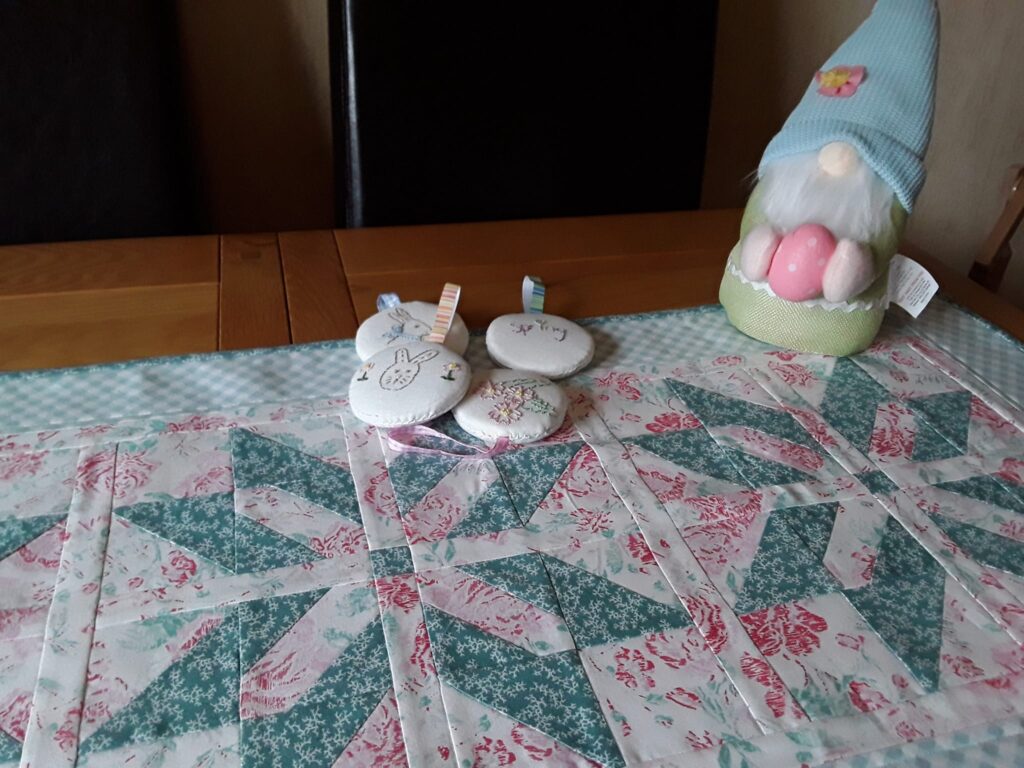
Going back several years, a table runner was designed, pattern written up for a workshop on furthering your sewing techniques…. A table runner that featured several small blocks …. Blocks that were named …. Half square triangles …. Hatchet blocks …. And put together to form a lovely eight pointed star….

Star Flower Block

It was a lovely block and made an even prettier table runner when several blocks were joined together.

Fast forward to a few months before Christmas 2022 …. And one of the ladies at our weekly sewing class mentioned the table runner that she had made at the workshop all those years ago…. How it was one of her favourite table runner patterns to do … and how much she had learnt from that workshop and the new techniques learnt. It was her ‘Go to’ table runner to make when she wanted to make a present for someone.

I had actually forgotten about the table runner … and had to be reminded of it …. Once I saw the pattern, I realised that it was still lying in the depths of my computer hard drive …. I had never actually gotten round to publishing the pattern!

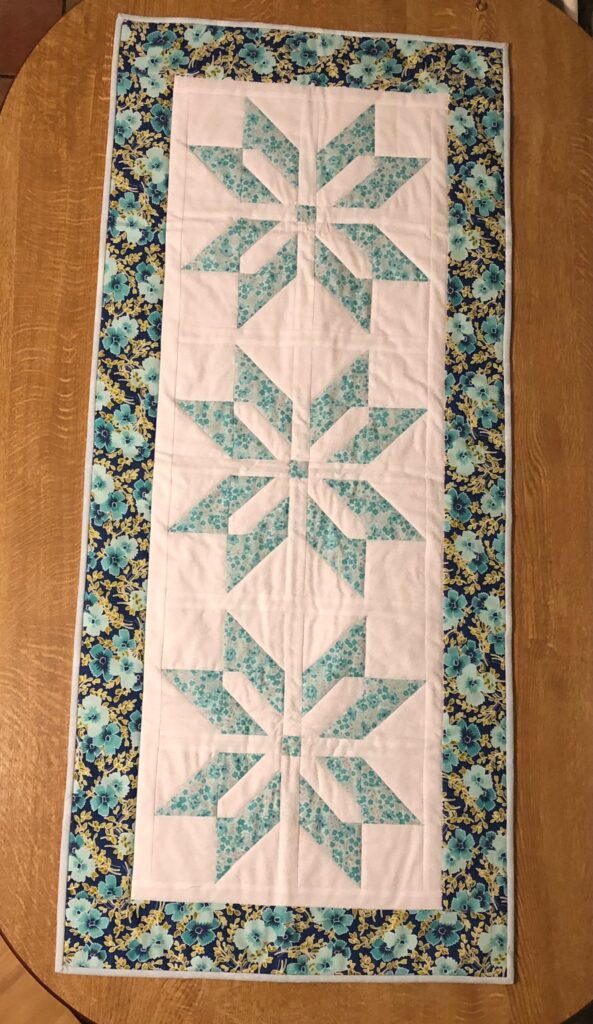
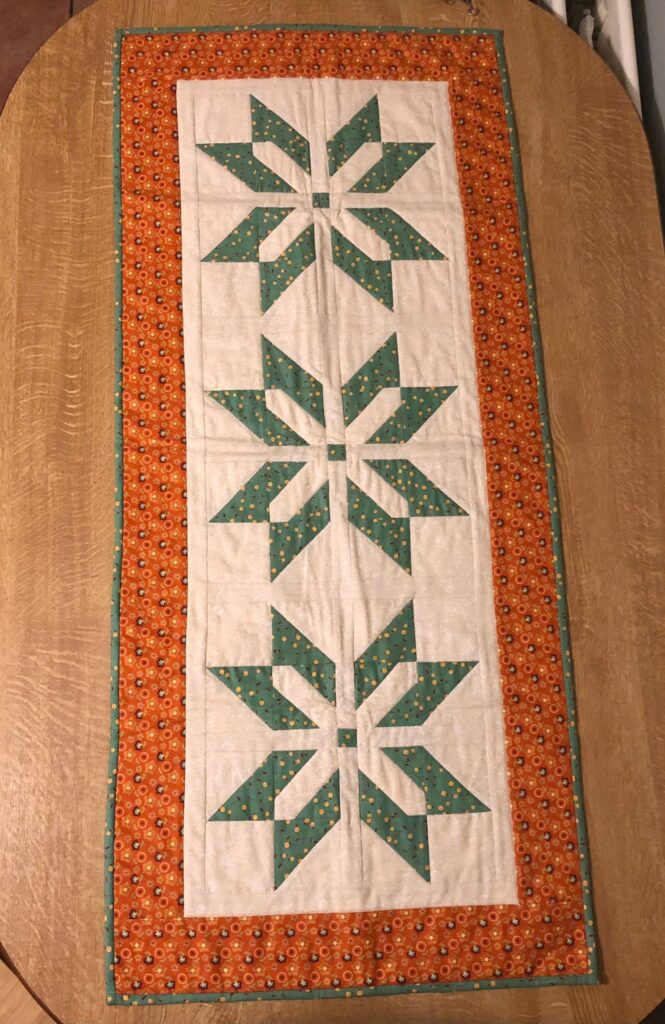
I decided to print out the pattern and update it, so it was more in keeping with my current pattern formats. That was a task in itself …. It is amazing how much one’s pattern writing have come since it then! At another weekly sewing class, another student mentioned how the design was lovely but was definitely advanced for her skills! I challenged her and said that I would give her the pattern once I had updated it and she could sew it up …. (actually meant that she could test it for me) … Well, she accepted the challenge and found the instructions easy to follow and the cutting instructions/diagrams made it so less daunting! In fact she loved the design/table runner so much, she made two of them for Christmas presents! Think it is safe to say that the pattern was rewritten clearly and with simple to follow instructions.

The table runner pattern is available in both PDF and printed format.

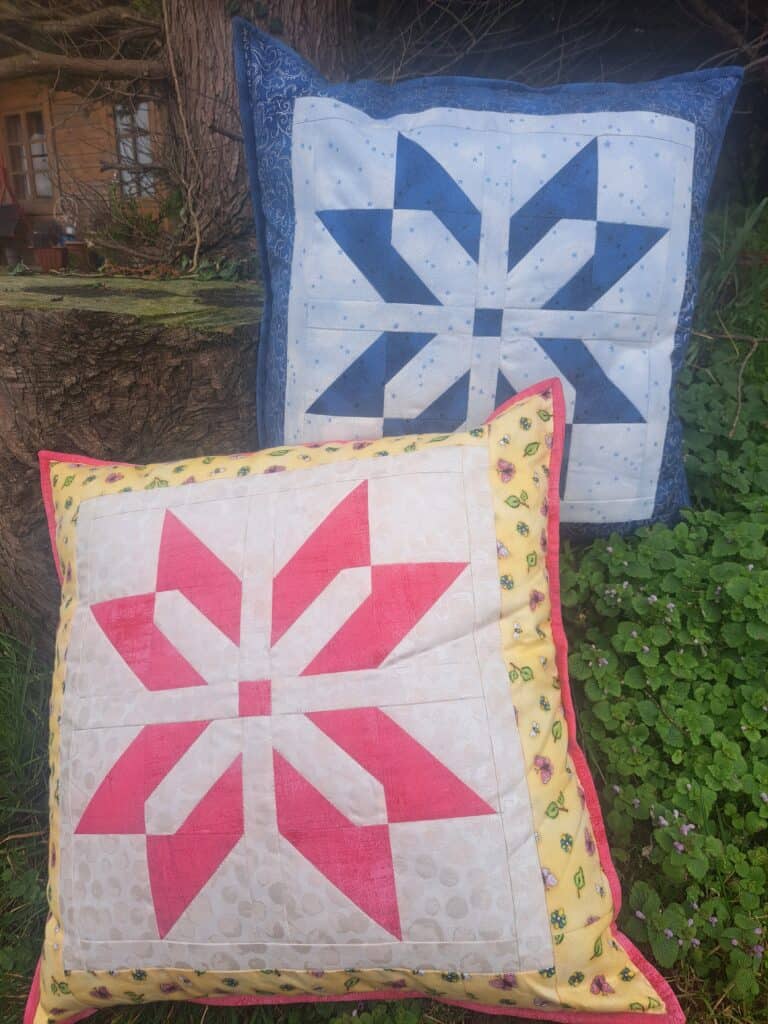
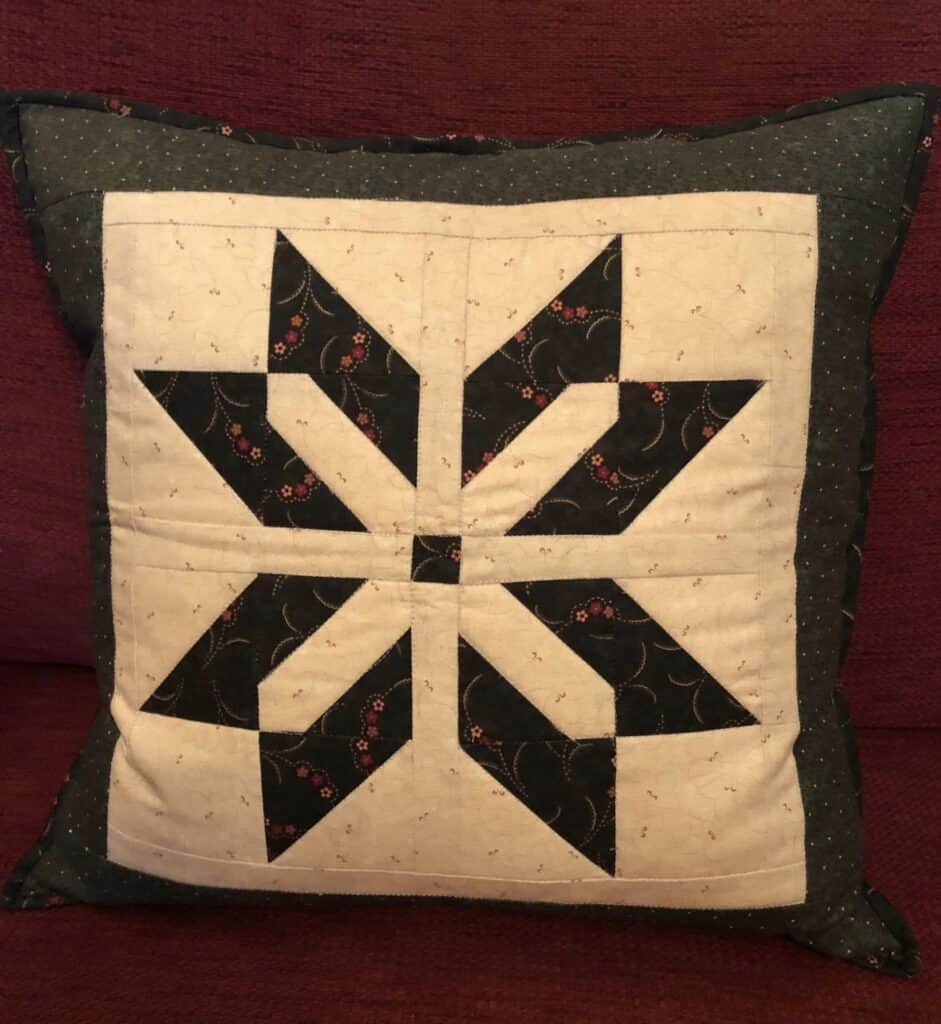
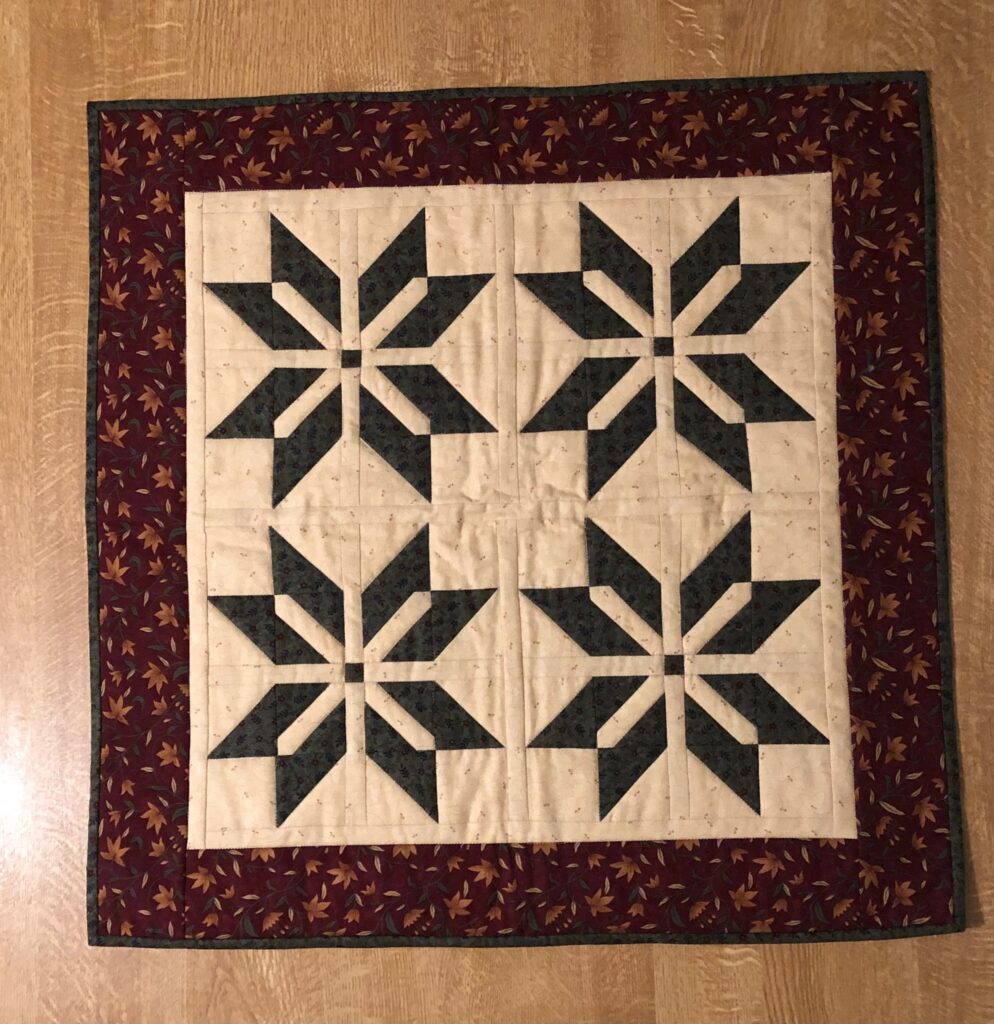
So after completing the two table runners, my ‘tester’ came back to say how much she thoroughly enjoyed the design, and it would be lovely as a square table topper (would suit her Mother’s round dining table) …. ‘it would also make lovely cushion covers’ …. Oh and wouldn’t the block make a gorgeous quilt?!

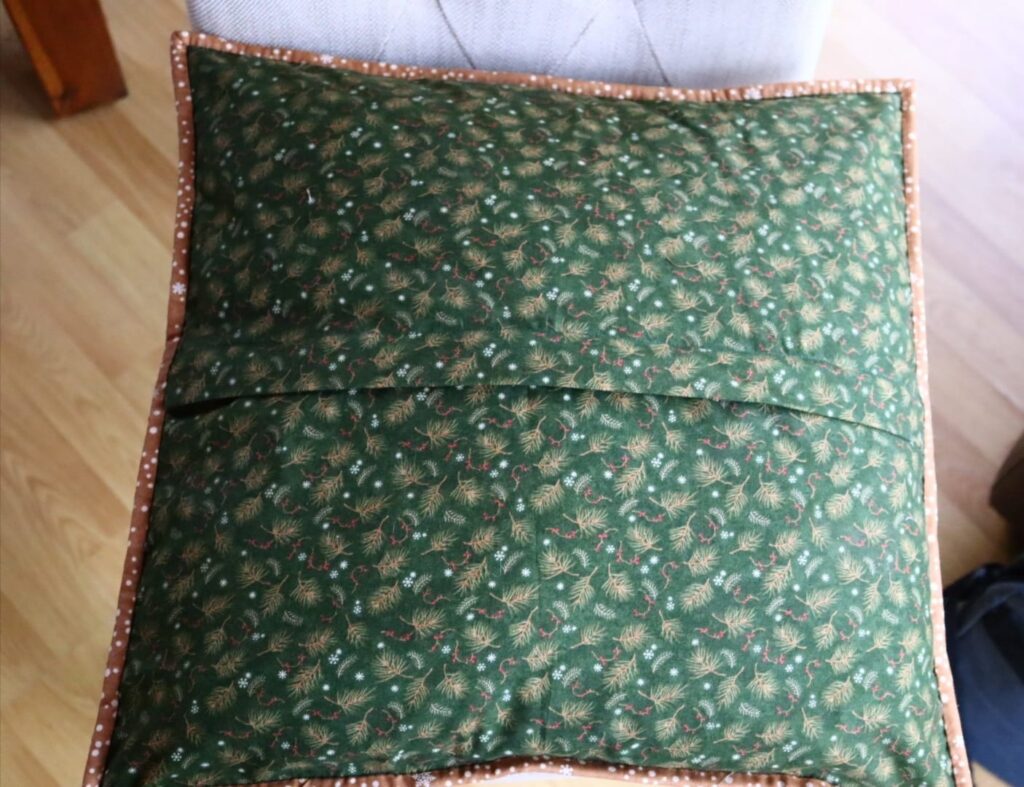
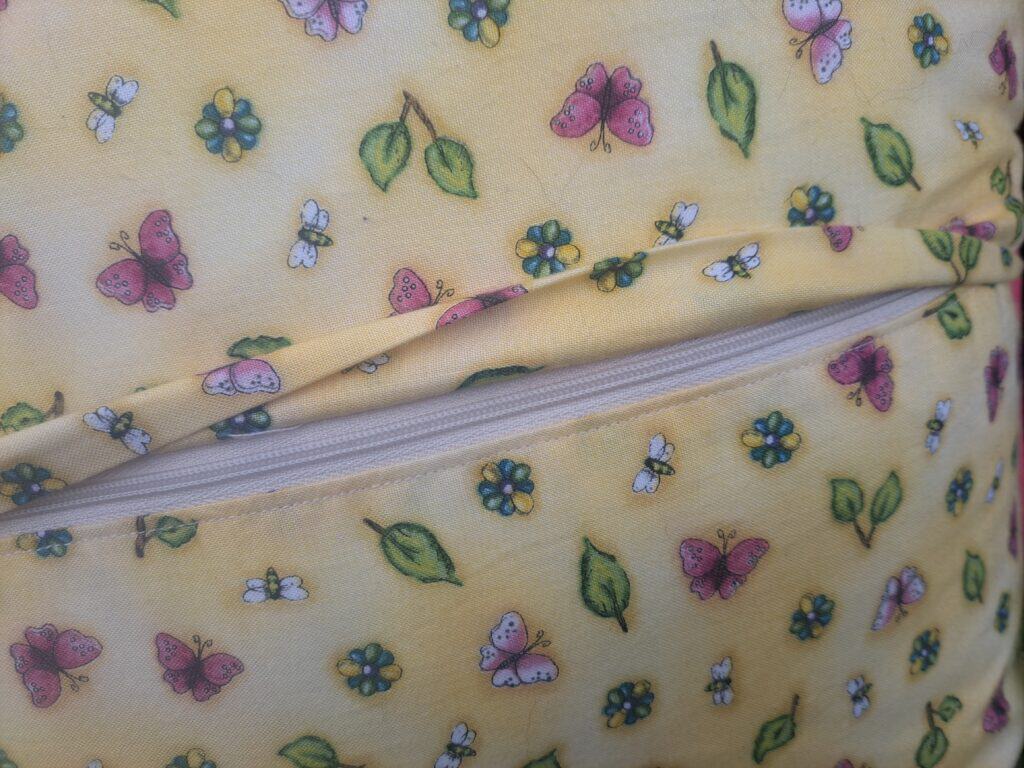
I guess it is safe to say that a challenge was made to me, and I couldn’t refuse! …. I wrote up a pattern for a cushion cover. However, I didn’t want to finish this cushion cover with my usual button closure on the back. I wanted to have a zip in it!  But not a zip placed in the seam … also wanted binded edges …. So … if the zip was not to go into the seam … and with binding around the cushion …. The zip would need to be placed in the back of the cushion cover. I didn’t want the zip to be seen …. I really do dislike a zip showing on a cushion cover. So …. The idea of having a flap covering the zip was born … a zip discreetly hidden under a flap of fabric on the cushion back.

The Cushion cover pattern is available in both PDF and printed format.

The best thing about putting zips in … and NOT using pins …. Is to use washable basting tape! This really is a game changer! No more scary ‘putting in zips!’ trauma!

Even my testers were like ‘NO, I cant put a zip in!’, ‘My zips never turn out right’!! Well, the feedback from the ladies was brilliant. I think it is safe to say that sewing in zips is so easy! Especially when you use the basting tape. If you have never used basting tape before to sew in your zips …. OR … if you have never sewn in a zip because it is too scary … then do not be afraid … to do be put off with this pattern …. The instructions and diagrams, guide you through step by step in sewing in the perfect discreetly hidden zip into the back of a cushion cover!

Zip Flap closure

The next challenge was the table topper for mother’s dining table … This design was a bit more complex. I could have just used four blocks from the cushion cover and have a square table topper. But the blocks from the cushion cover and the table runner were quite large. If I used that sized block, it would have made my table topper come out quite large. I wanted it to be a reasonable size – around 22-24” square. So I had to go back and work on my figures and have a play with sizing and measurements – this is where maths comes in handy – not my most favourite/easiest subject at school. The blocks needed to be smaller, the hatchet block needed to have a smaller section of fabric showing in the centre. It was all trial and error and making up a few hatchets until I came up with just the right distance in the block.

The table topper pattern is available in both PDF and printed format.

Then Christmas comes along and other work commitments that needed priority over the design samples. I had them sewn … just had to hand sew all the bindings. So, I quietly worked away on the hand stitching when I had a spare moment. I rewrote the pattern drafts, got them proof read and finalised on the computer.

I did had to take photos of the finished items for the pattern covers and website. It really is quite hard to get the time for a photo shoot and just the right weather to take some outdoor photos. But in the end I managed to get all that sorted.

So since Christmas I have been finalising the patterns on the computer and I am happy to say that these patterns are now ready for the website.

The block really is quite stunning and is far easier than it looks. It would not be a beginner’s patchwork pattern but great if you are wanting to further your techniques. The pattern instructions and diagrams are clear and easy to follow.

These designs would look great for Christmas or anytime of the year. Just change your fabric choices. All three designs have been made in a variety of fabrics to really show off just how versatile this block is. I think the hardest part of making this pattern is deciding if you want to make it up with Christmas fabric, in autumn tones or spring colours ….. So why not make up several of each and then you can enjoy the designs all year round!

Needlework Counting Pins

Featured

Over the past few months, I have had so much pleasure to be able to make and offer some truly unique needlework notions to you all. I have loved the part of spending time making them and ensuring that they are all different. It really is lovely to be able to work with beautiful needlework notions while we do our needlework and it is even more special knowing that they are handmade, not mass produced in a factory somewhere.

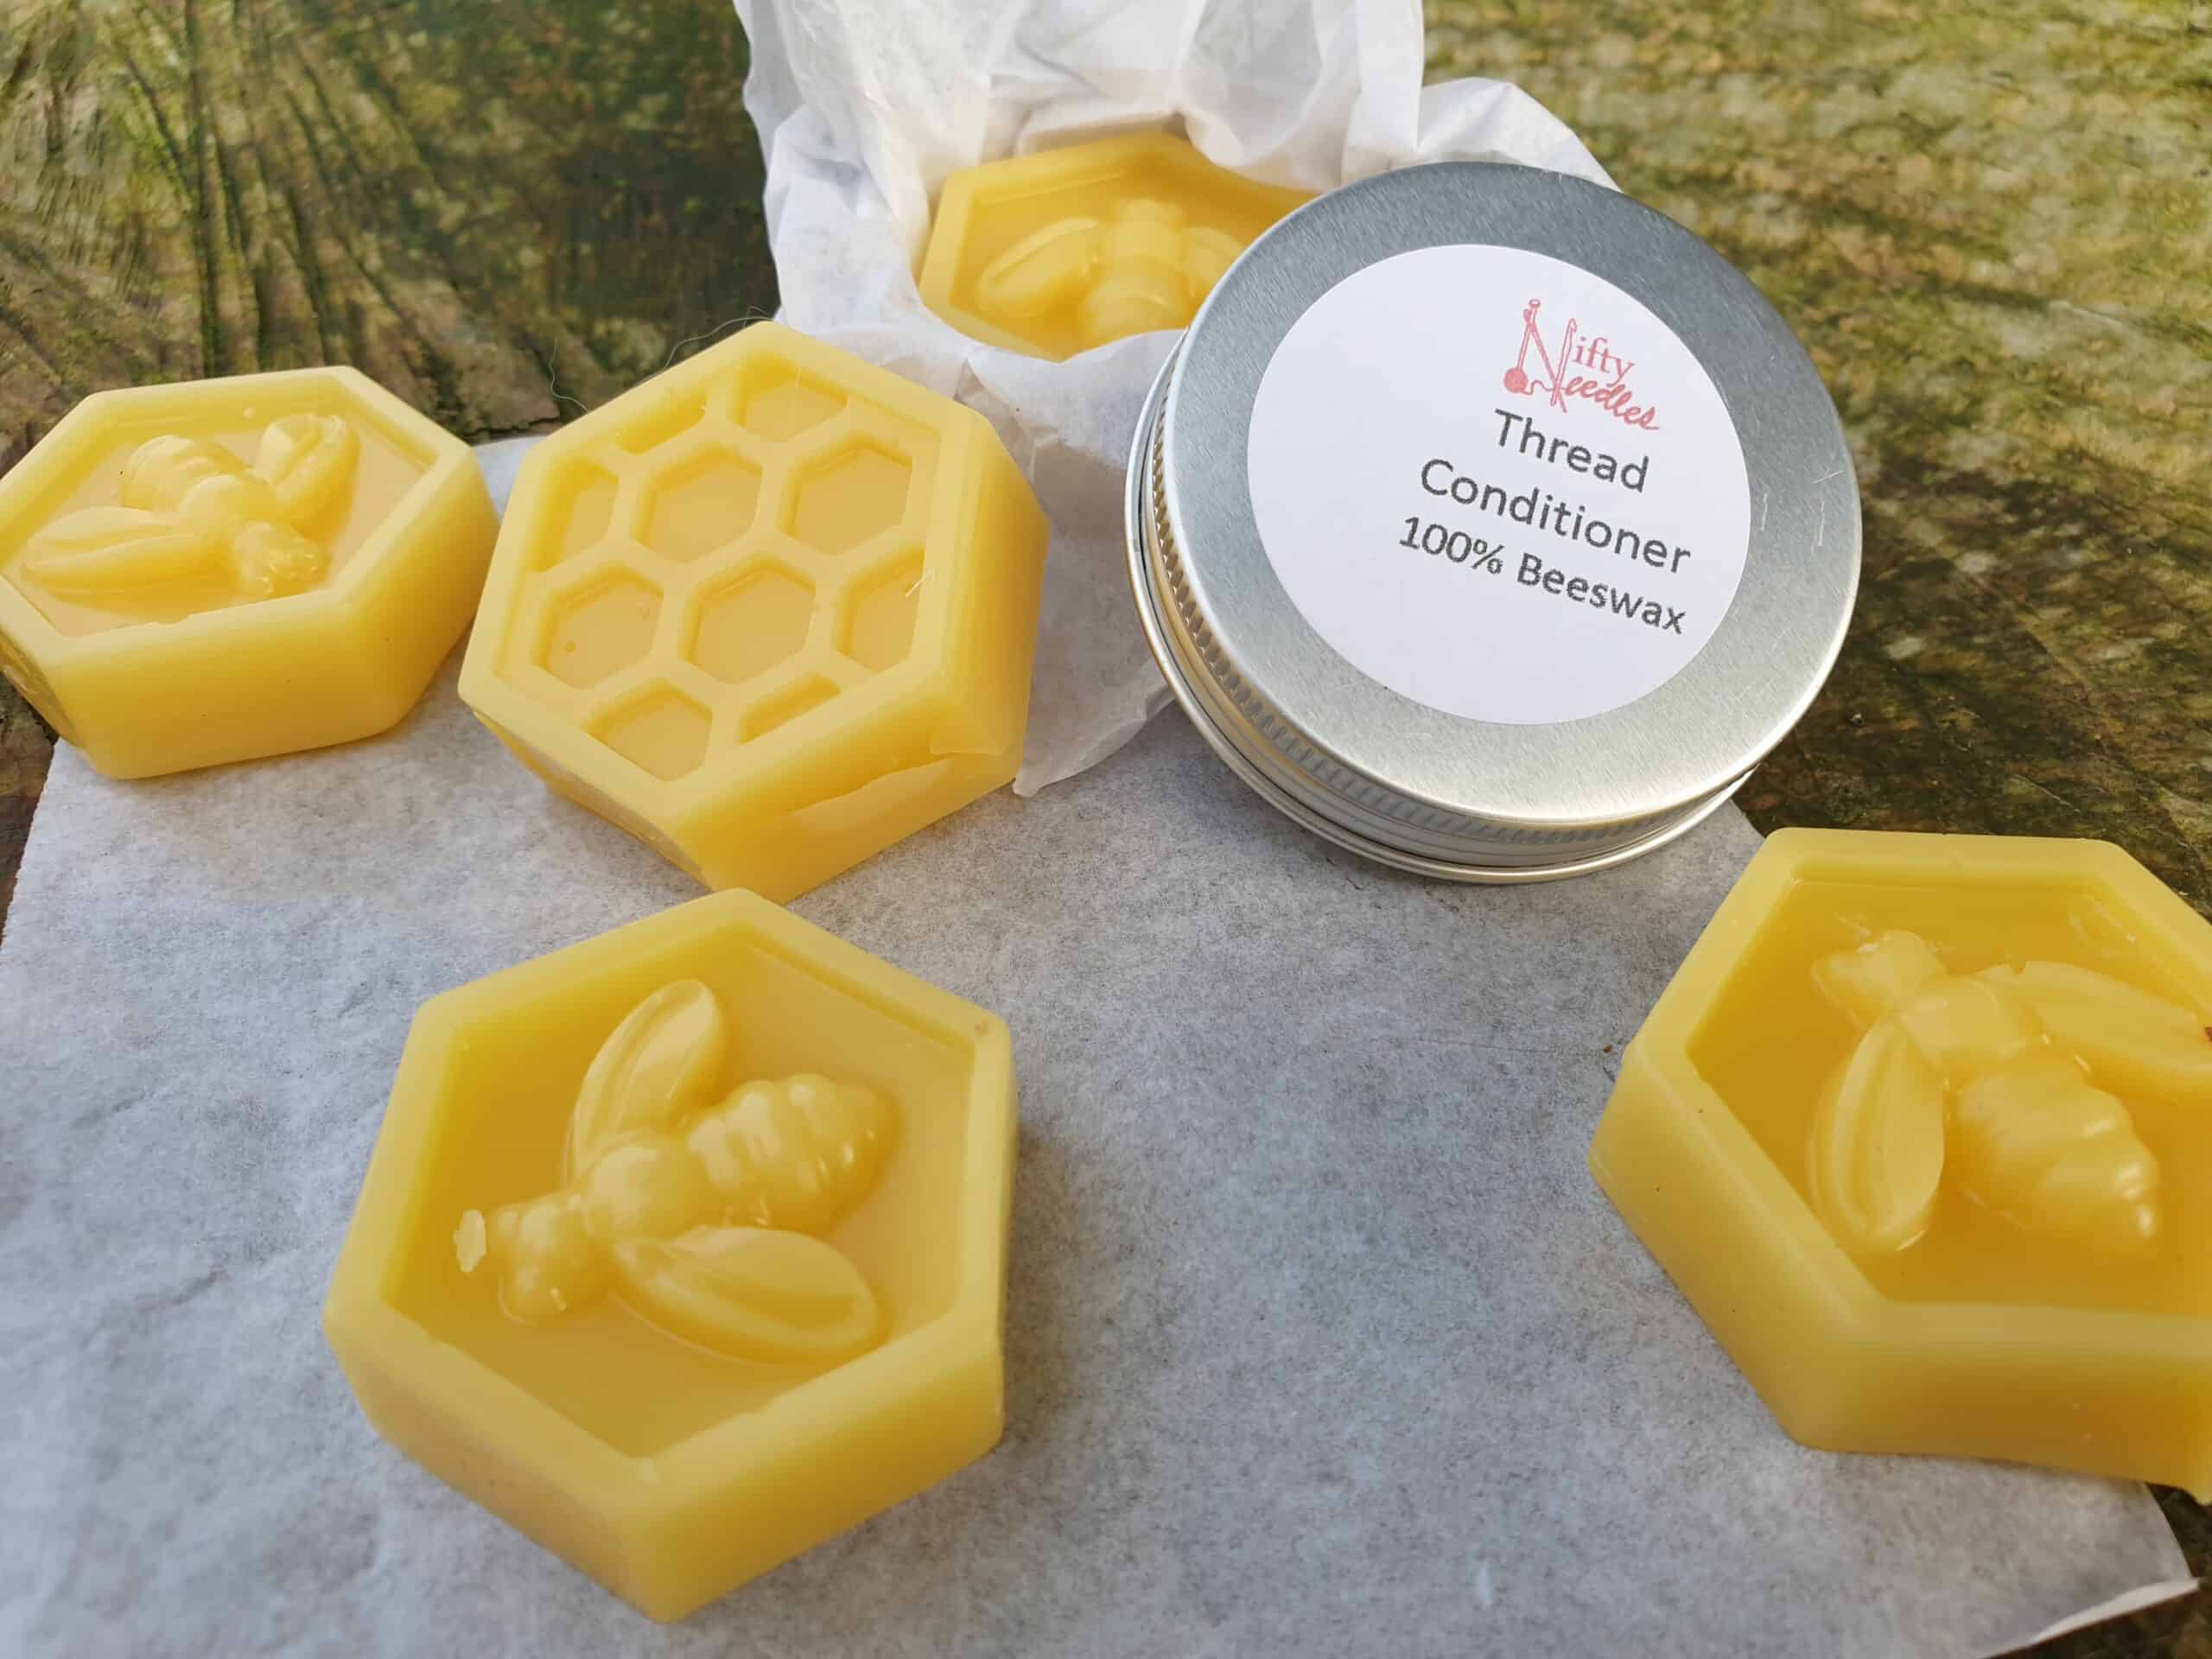
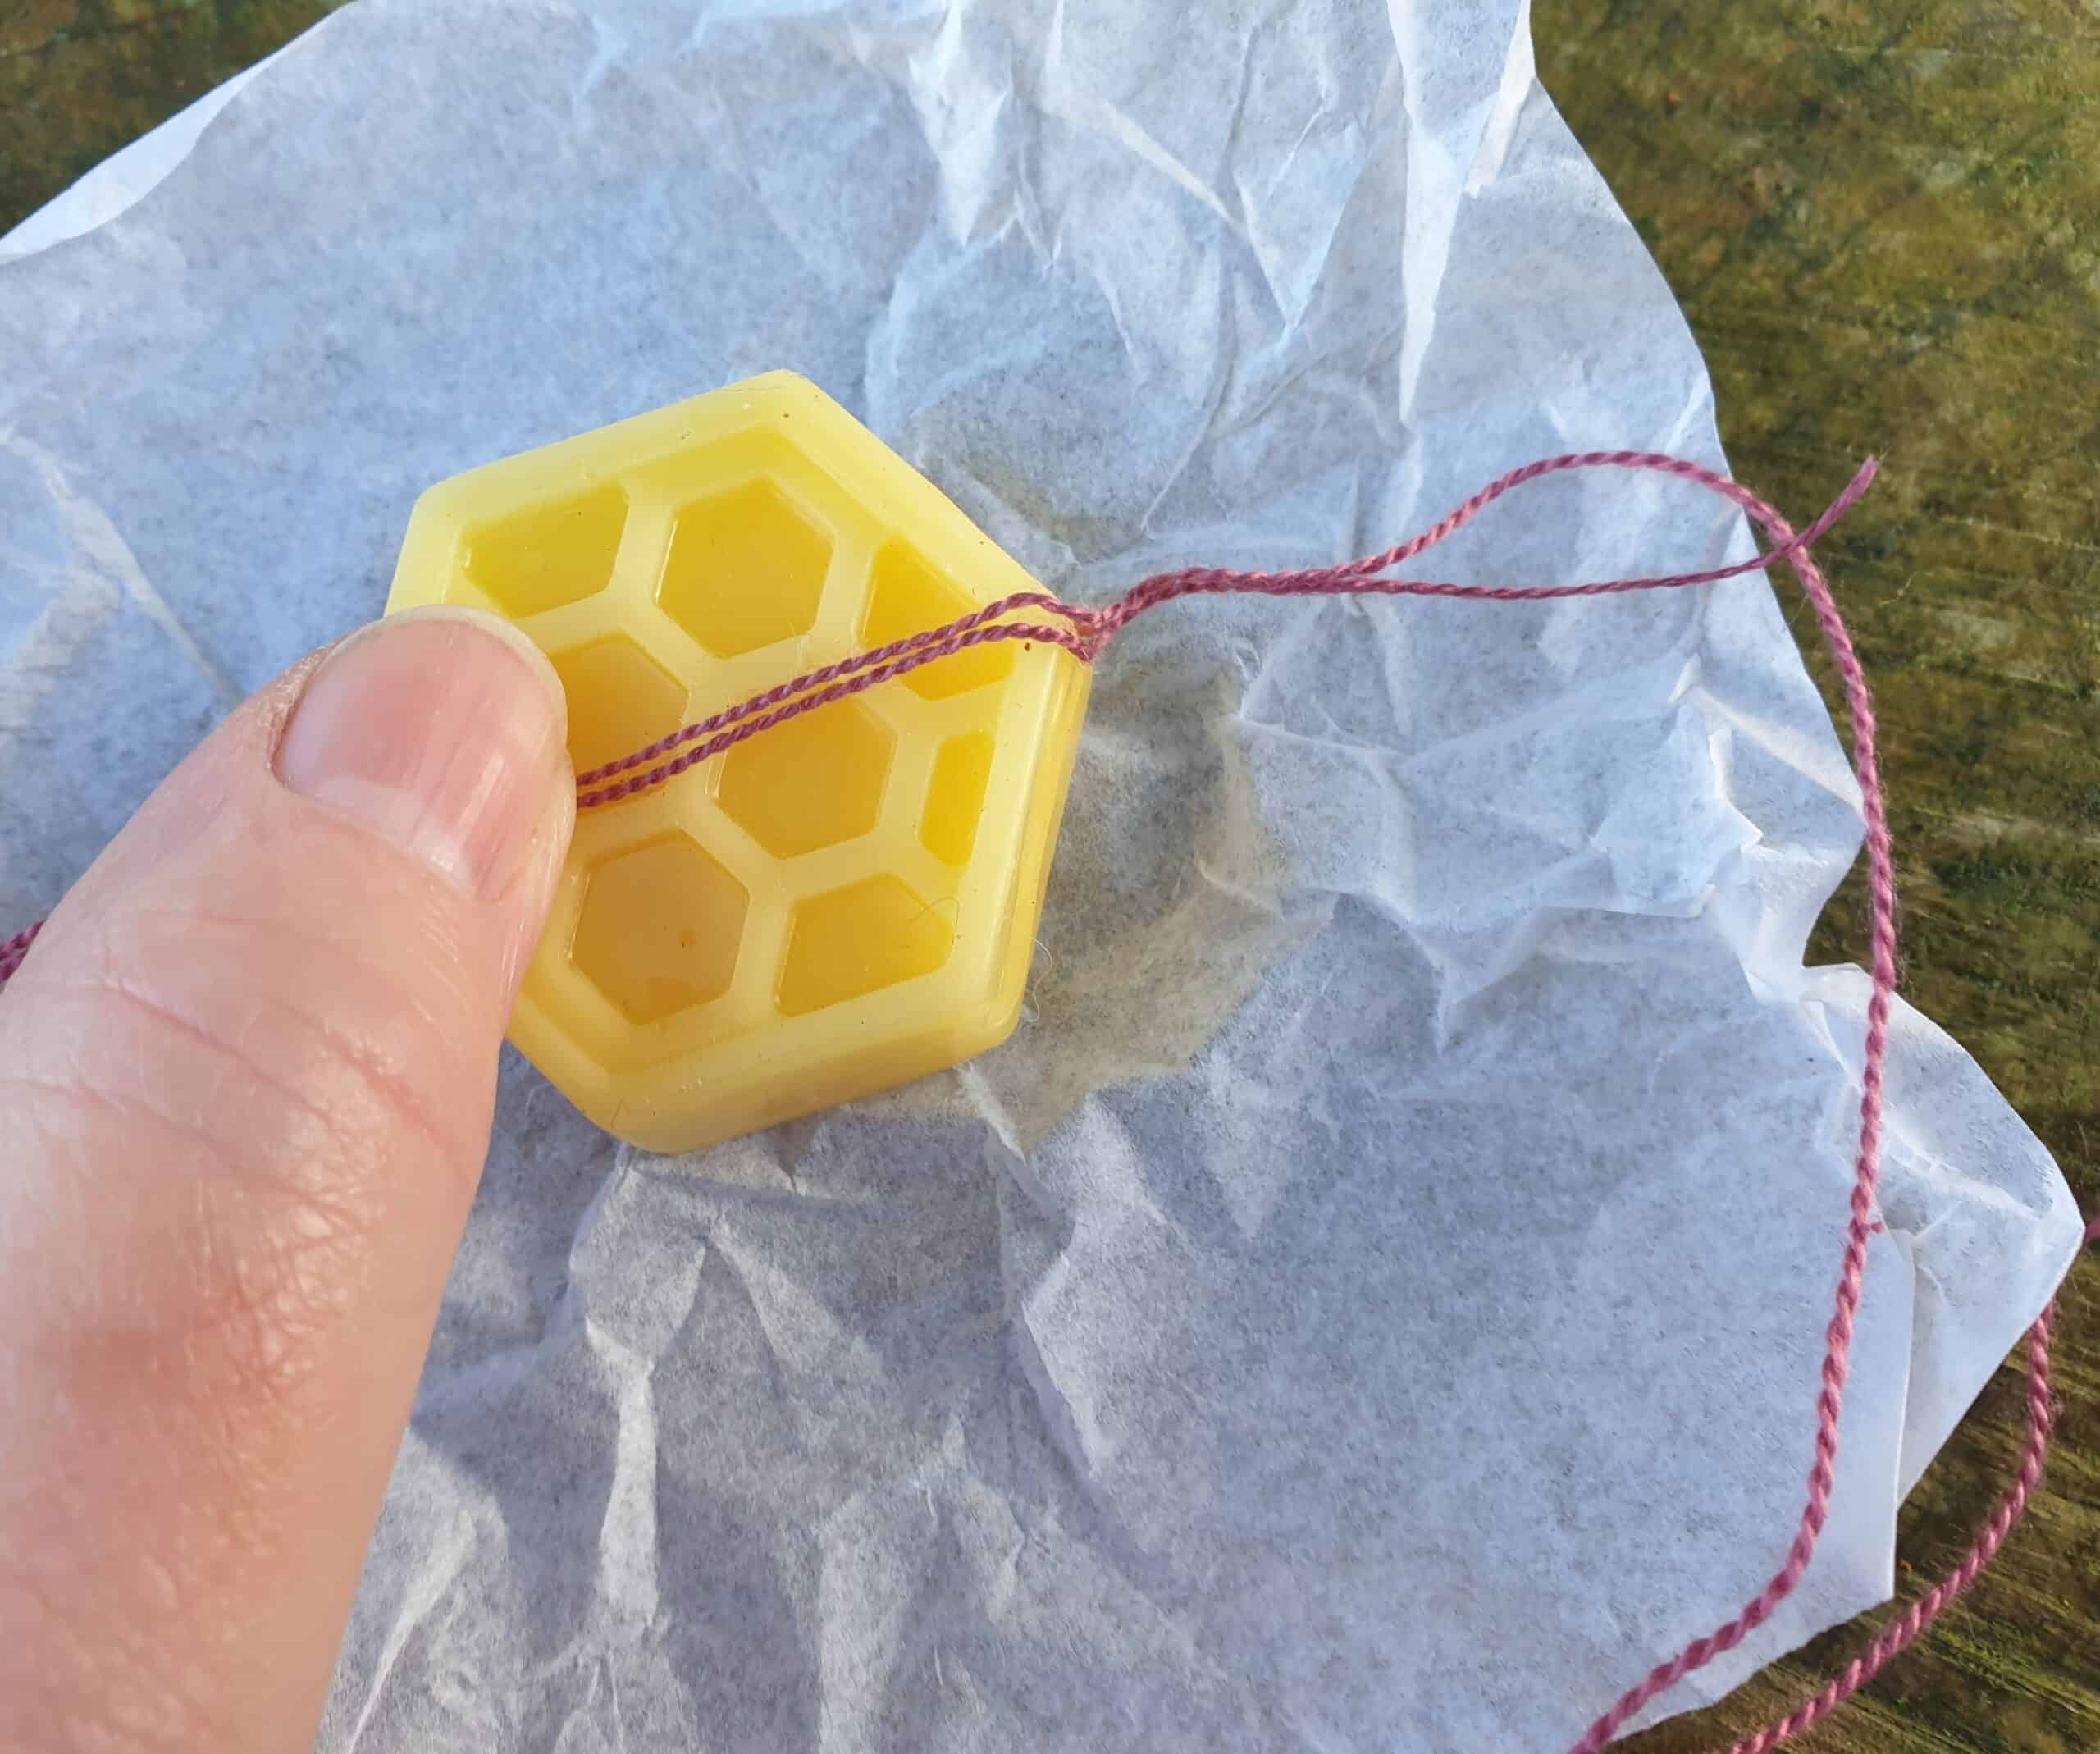
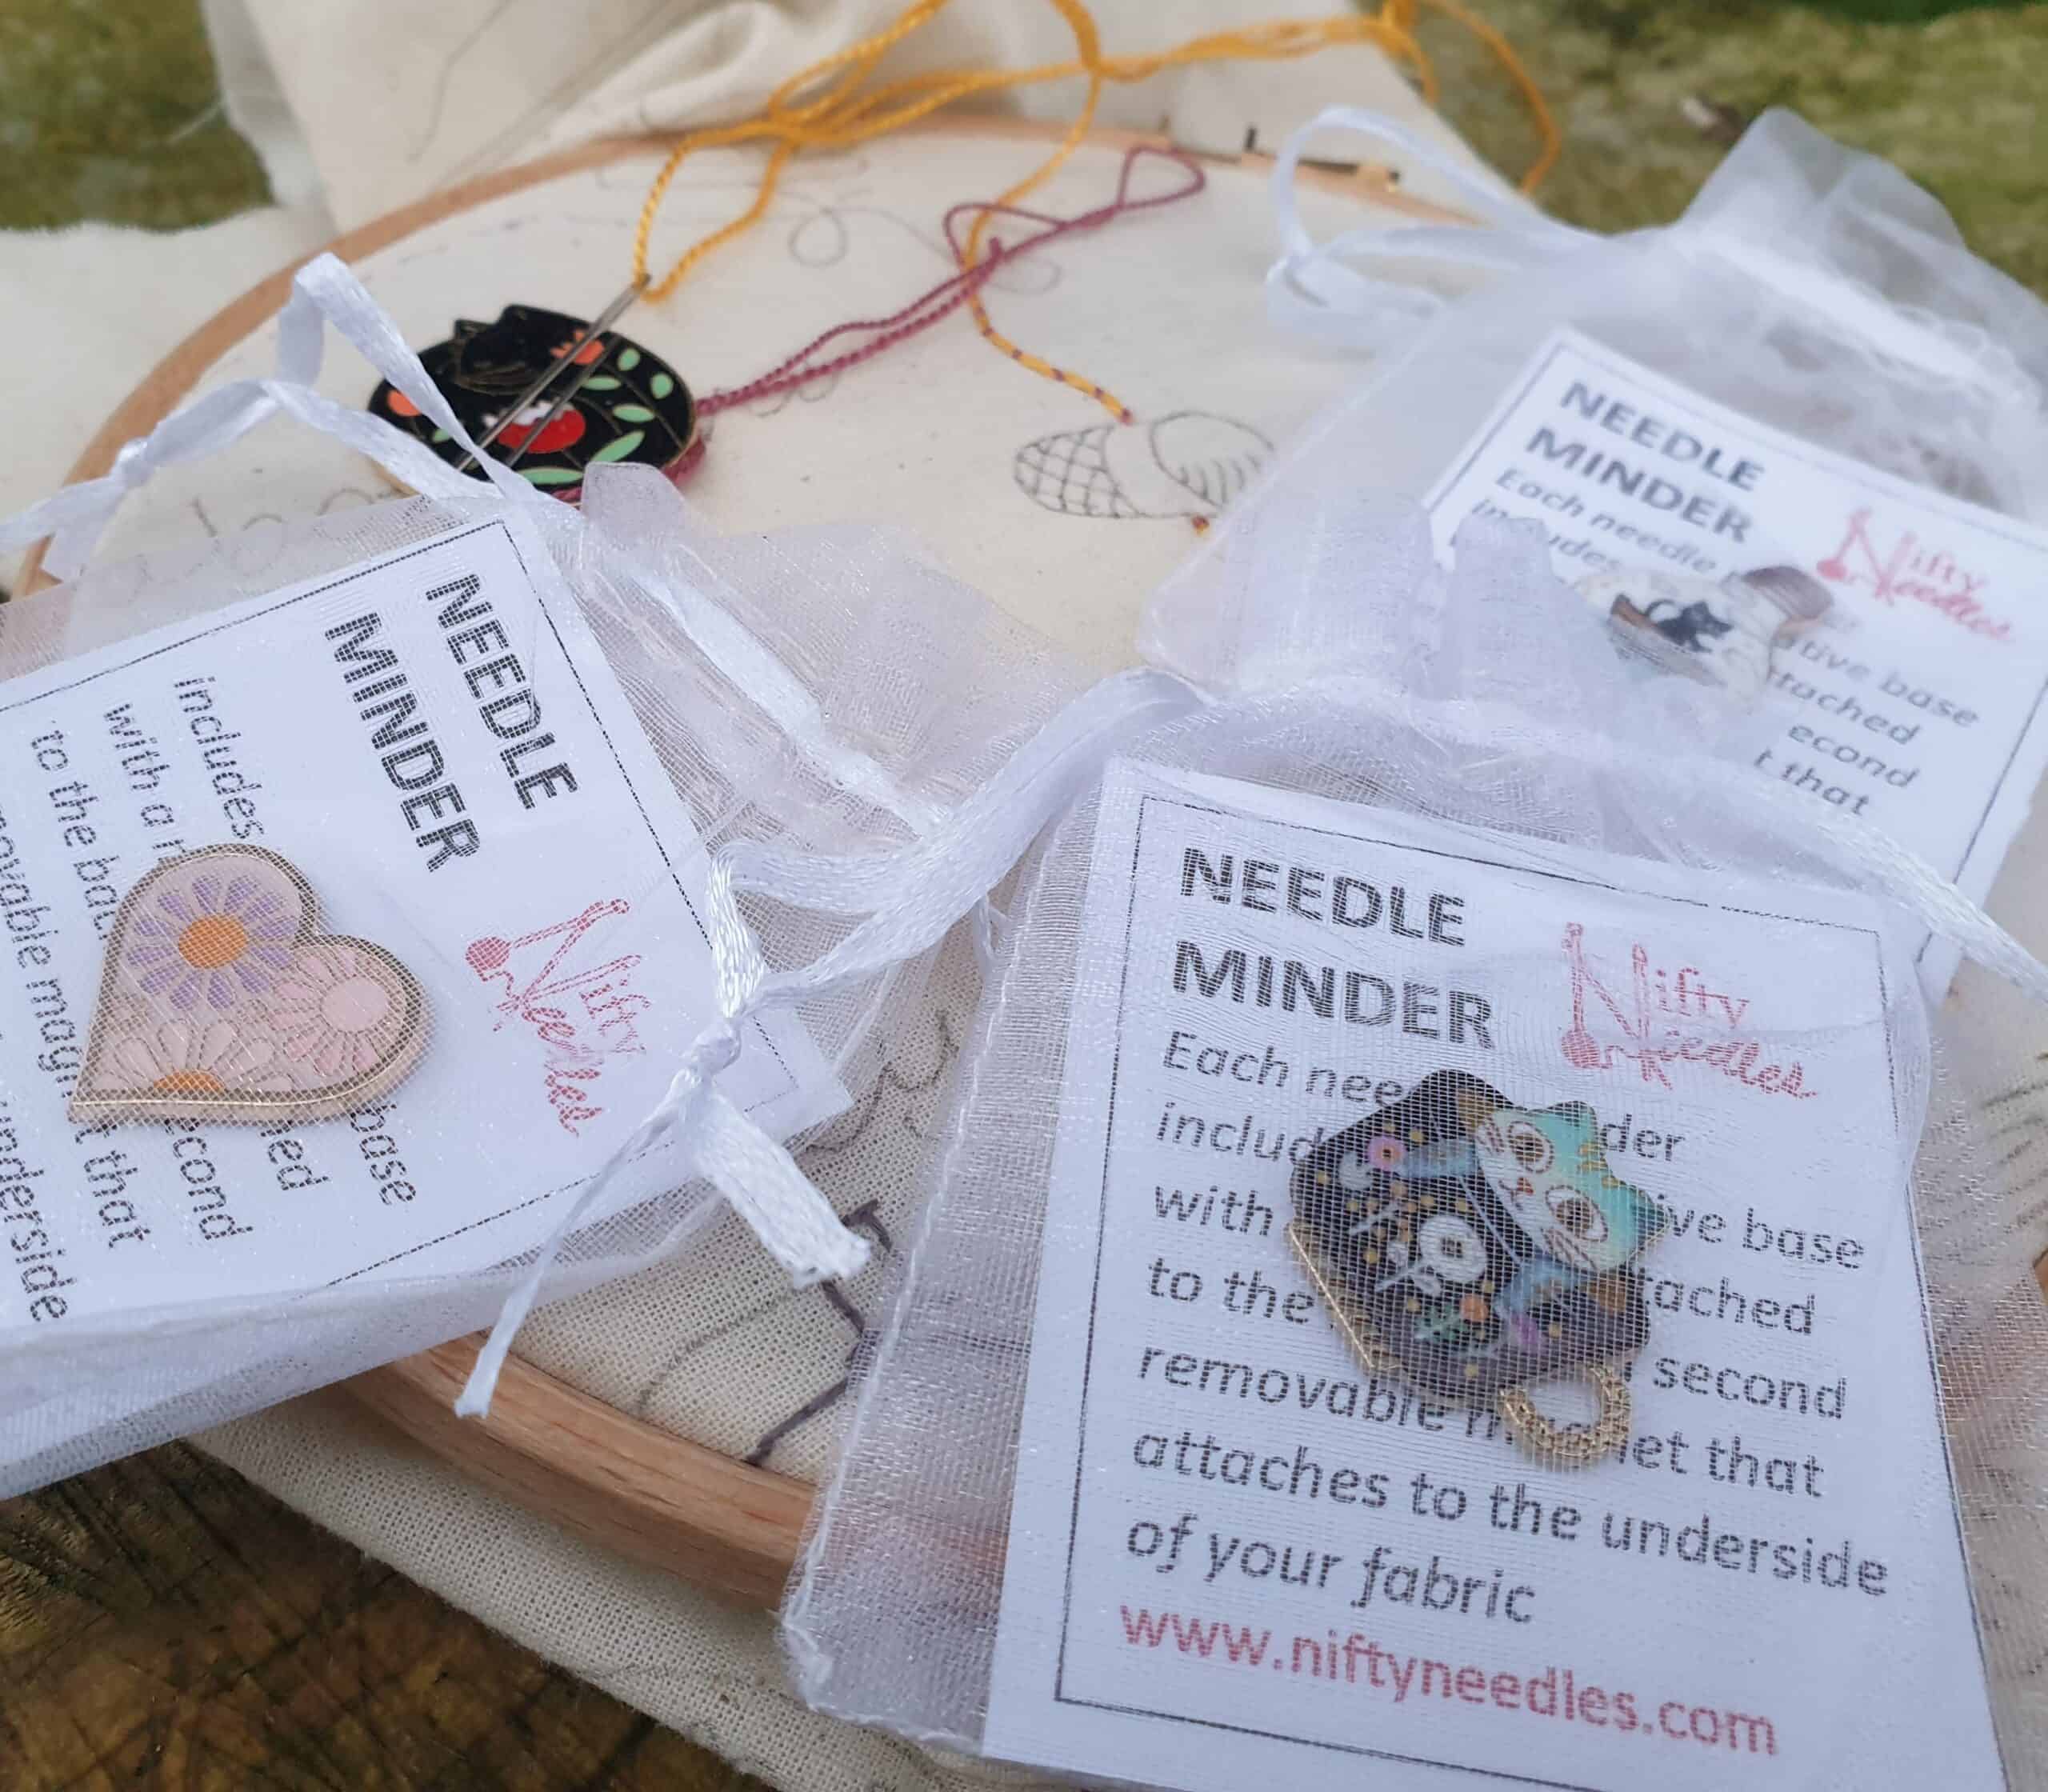
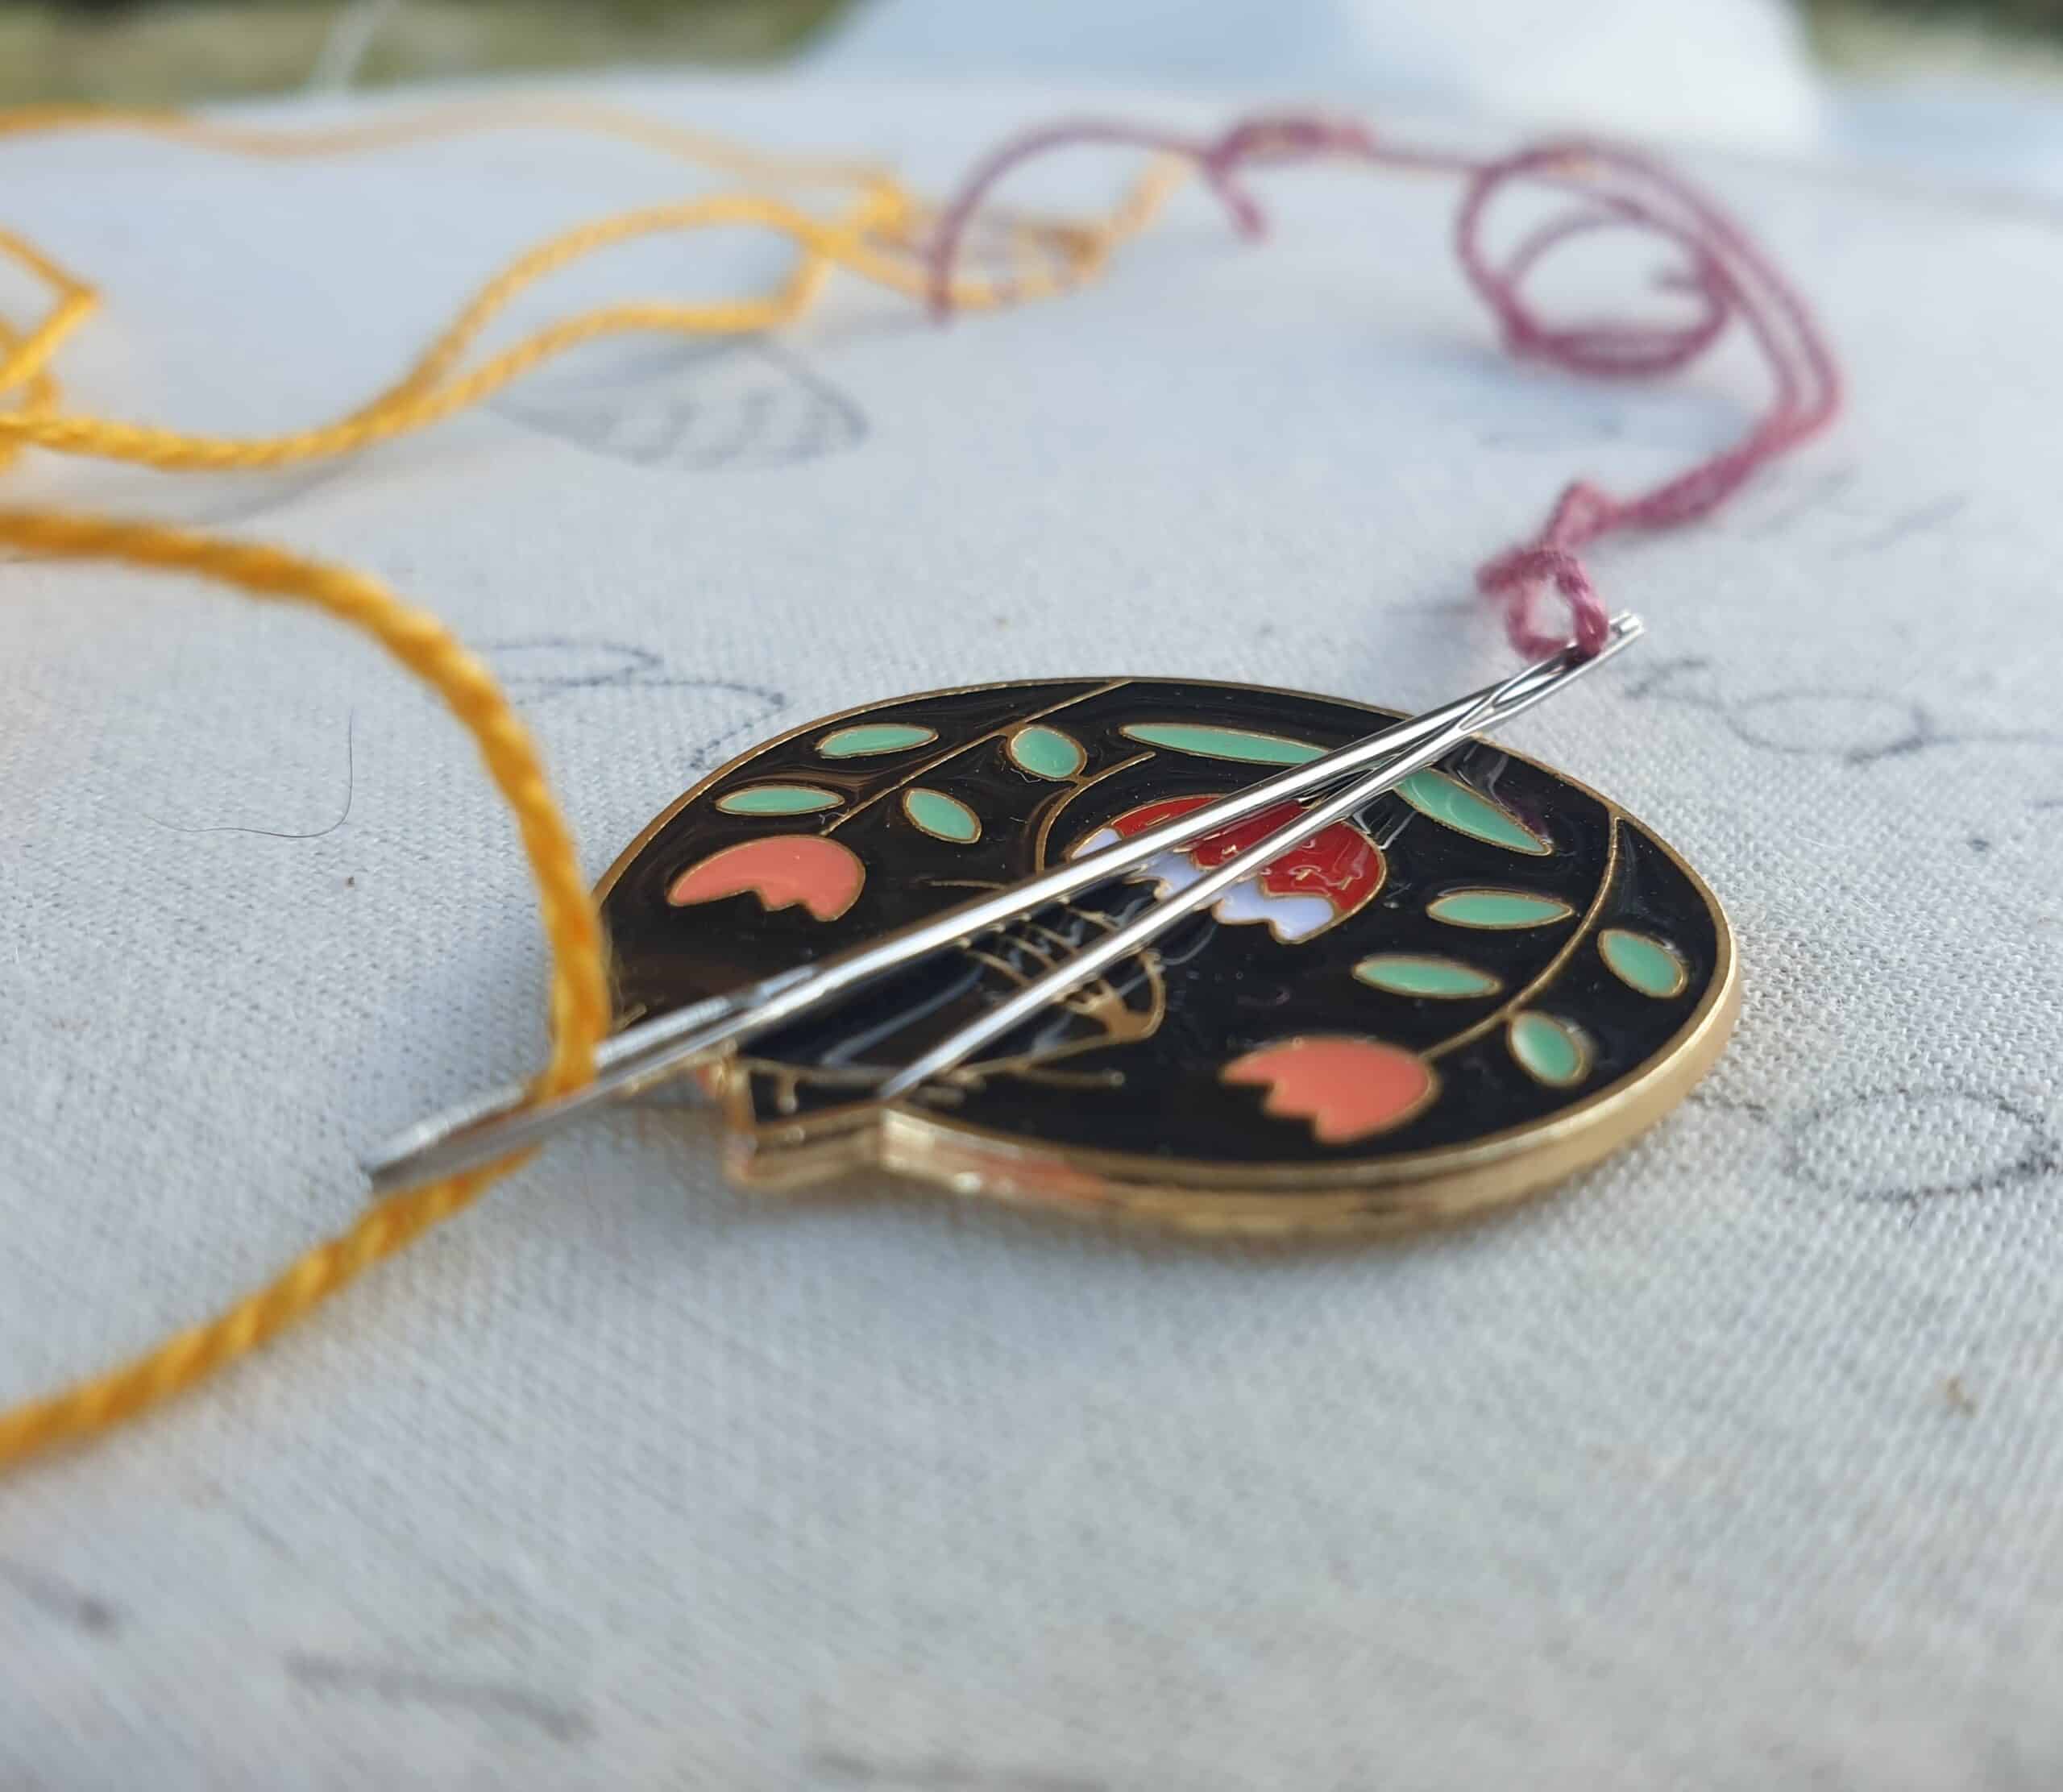
So far, I have added Thread conditioner made from 100% Beeswax to help keep your metallic thread from getting tangled or knotted. I have also made needle minders and scissor fobs.

Our latest range of needlework notions have just been released on our website –

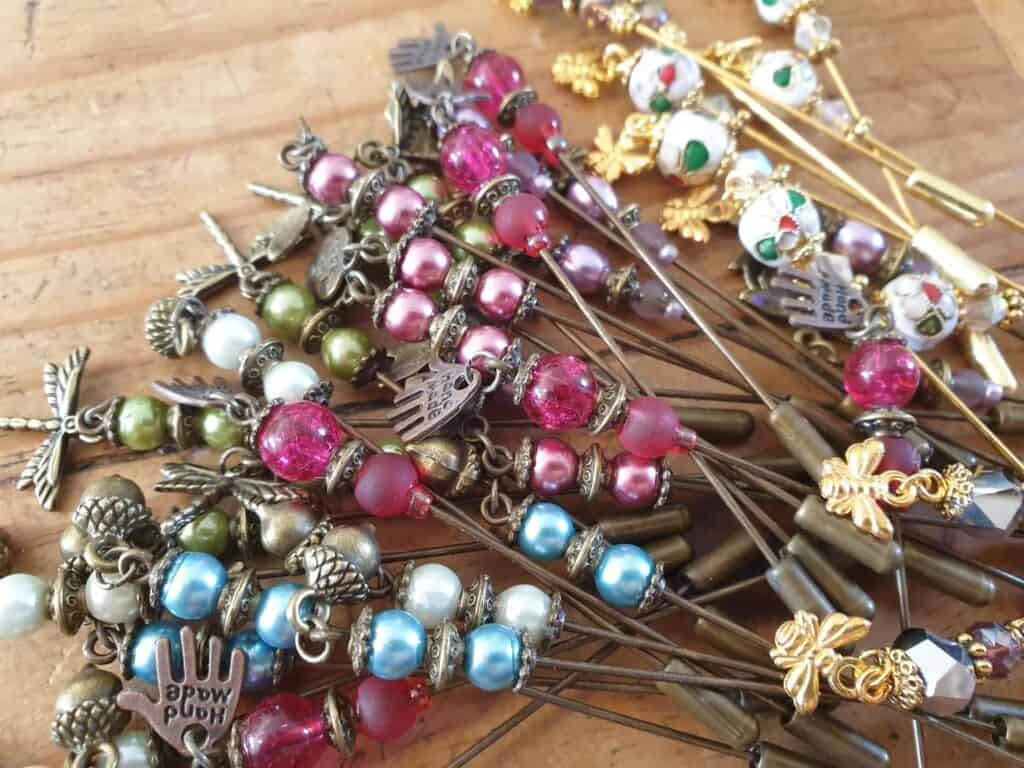
Needlework Counting Pins.

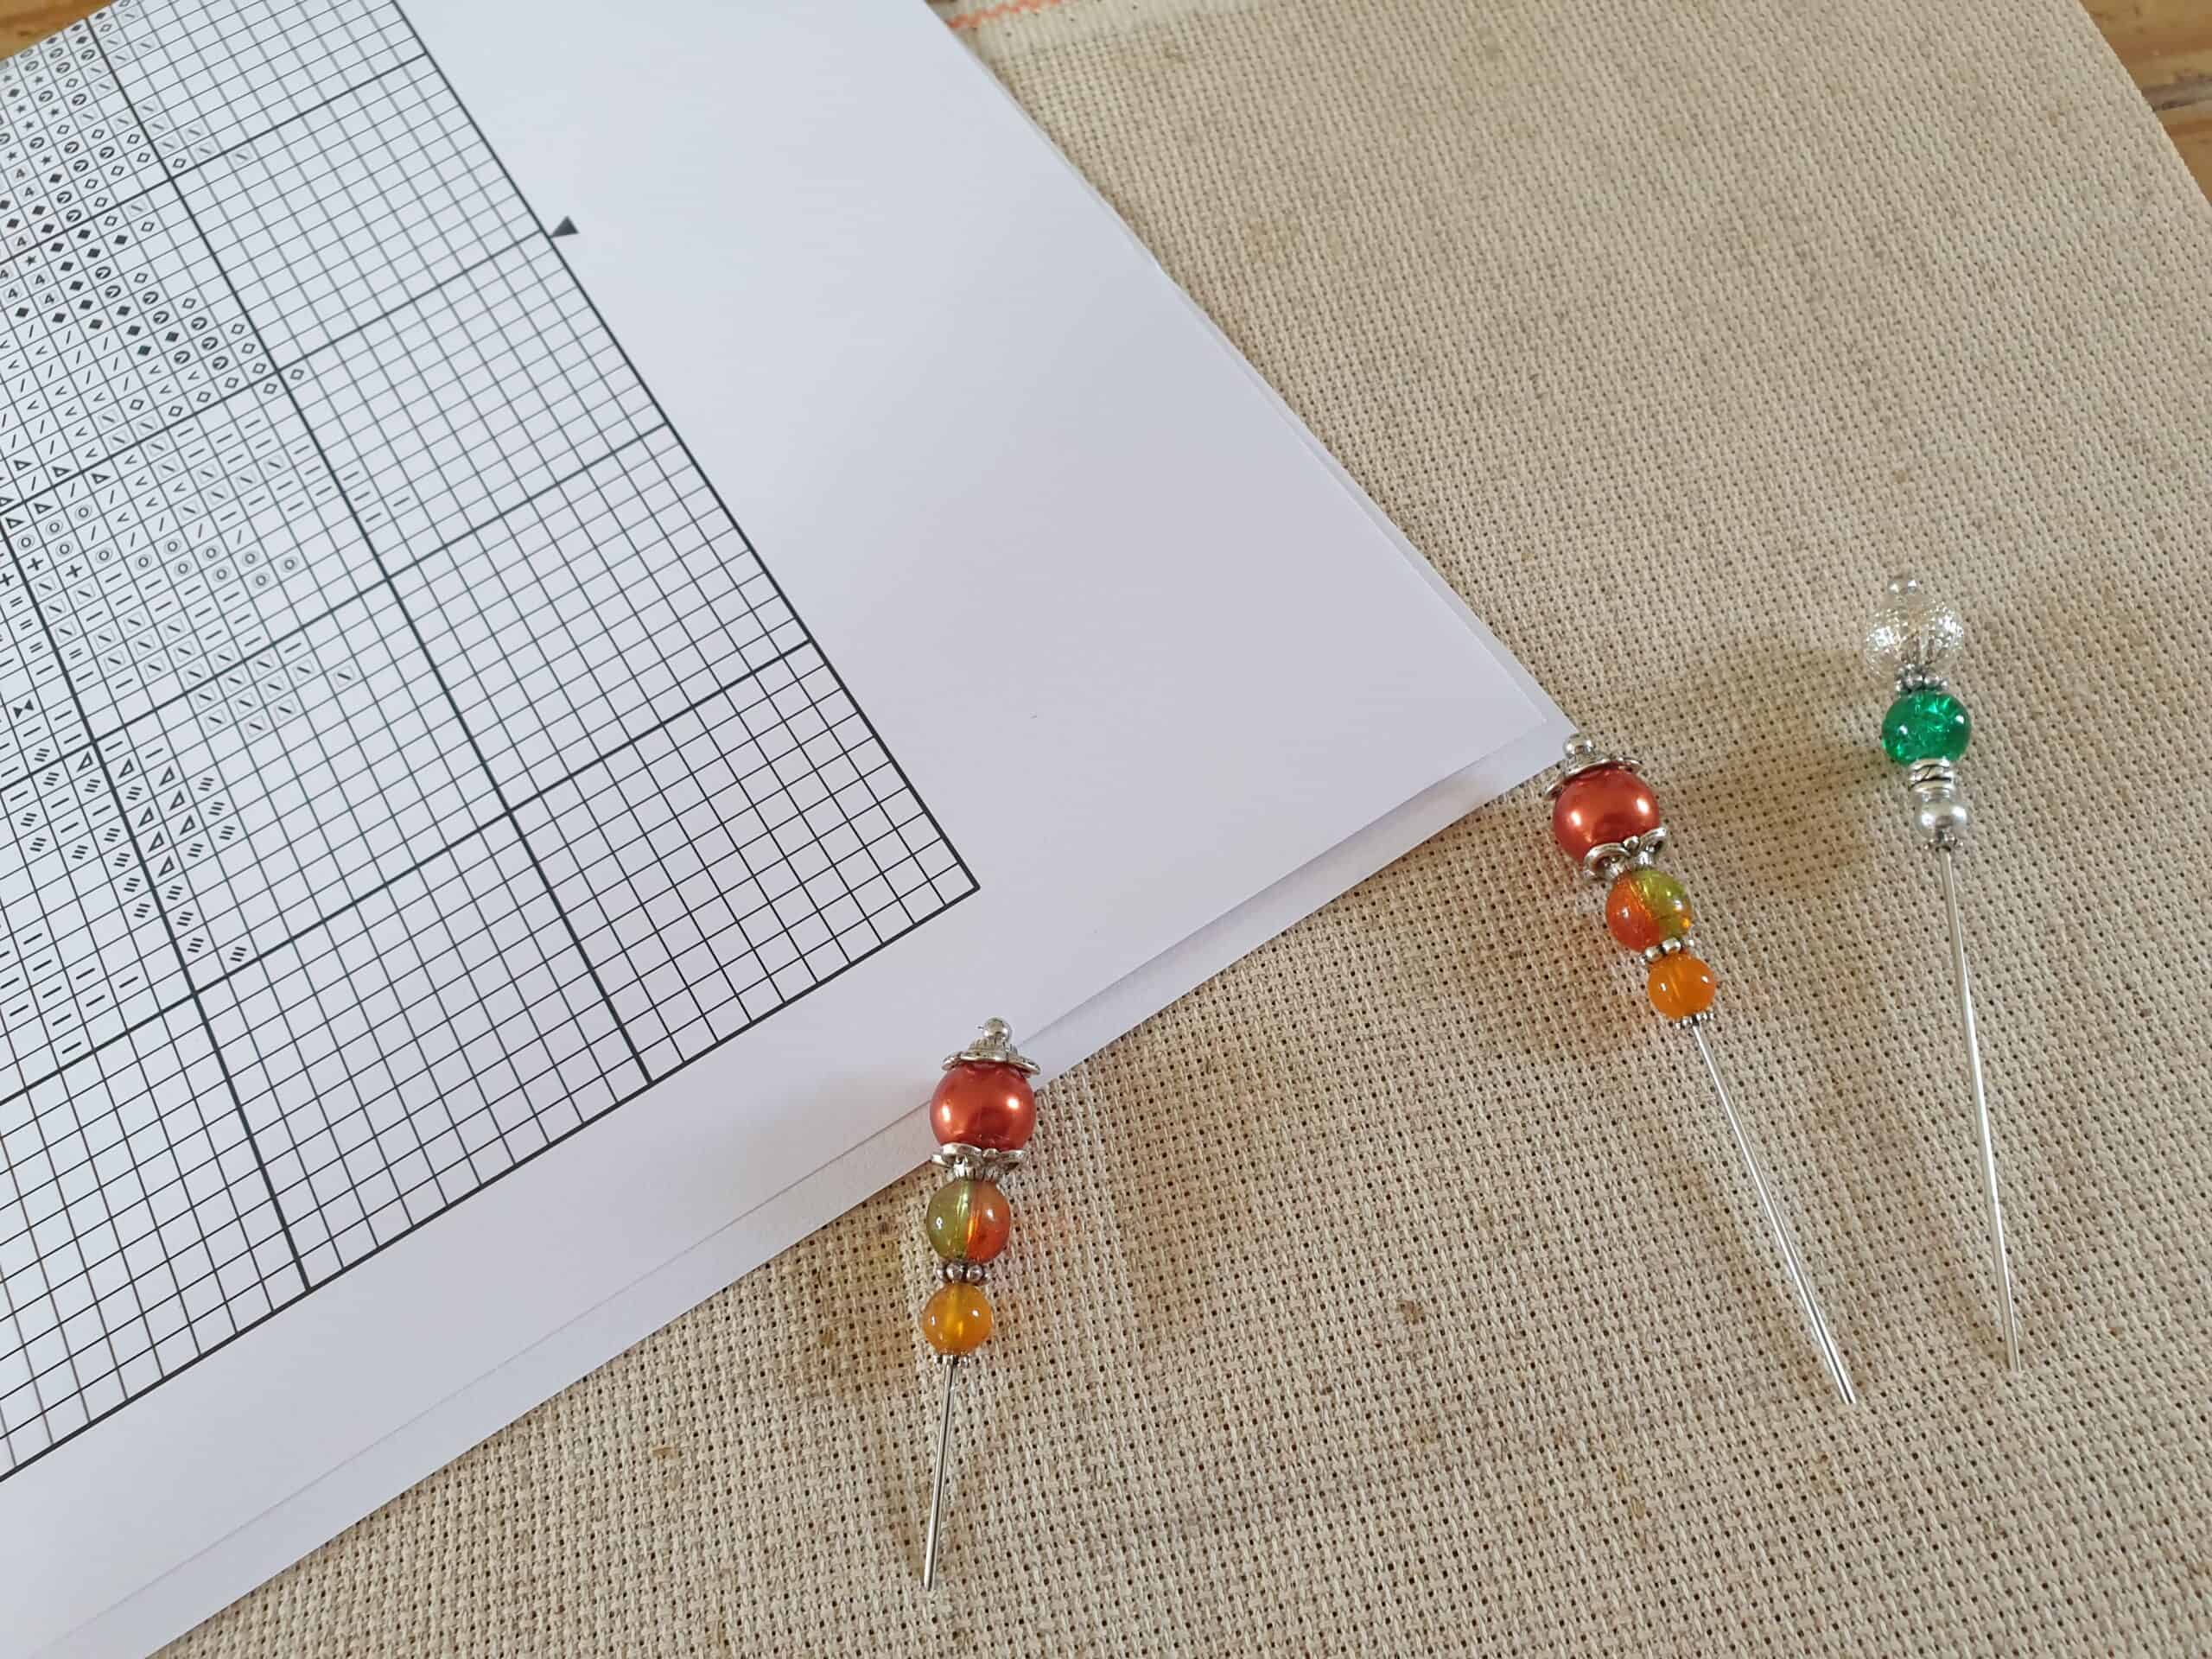
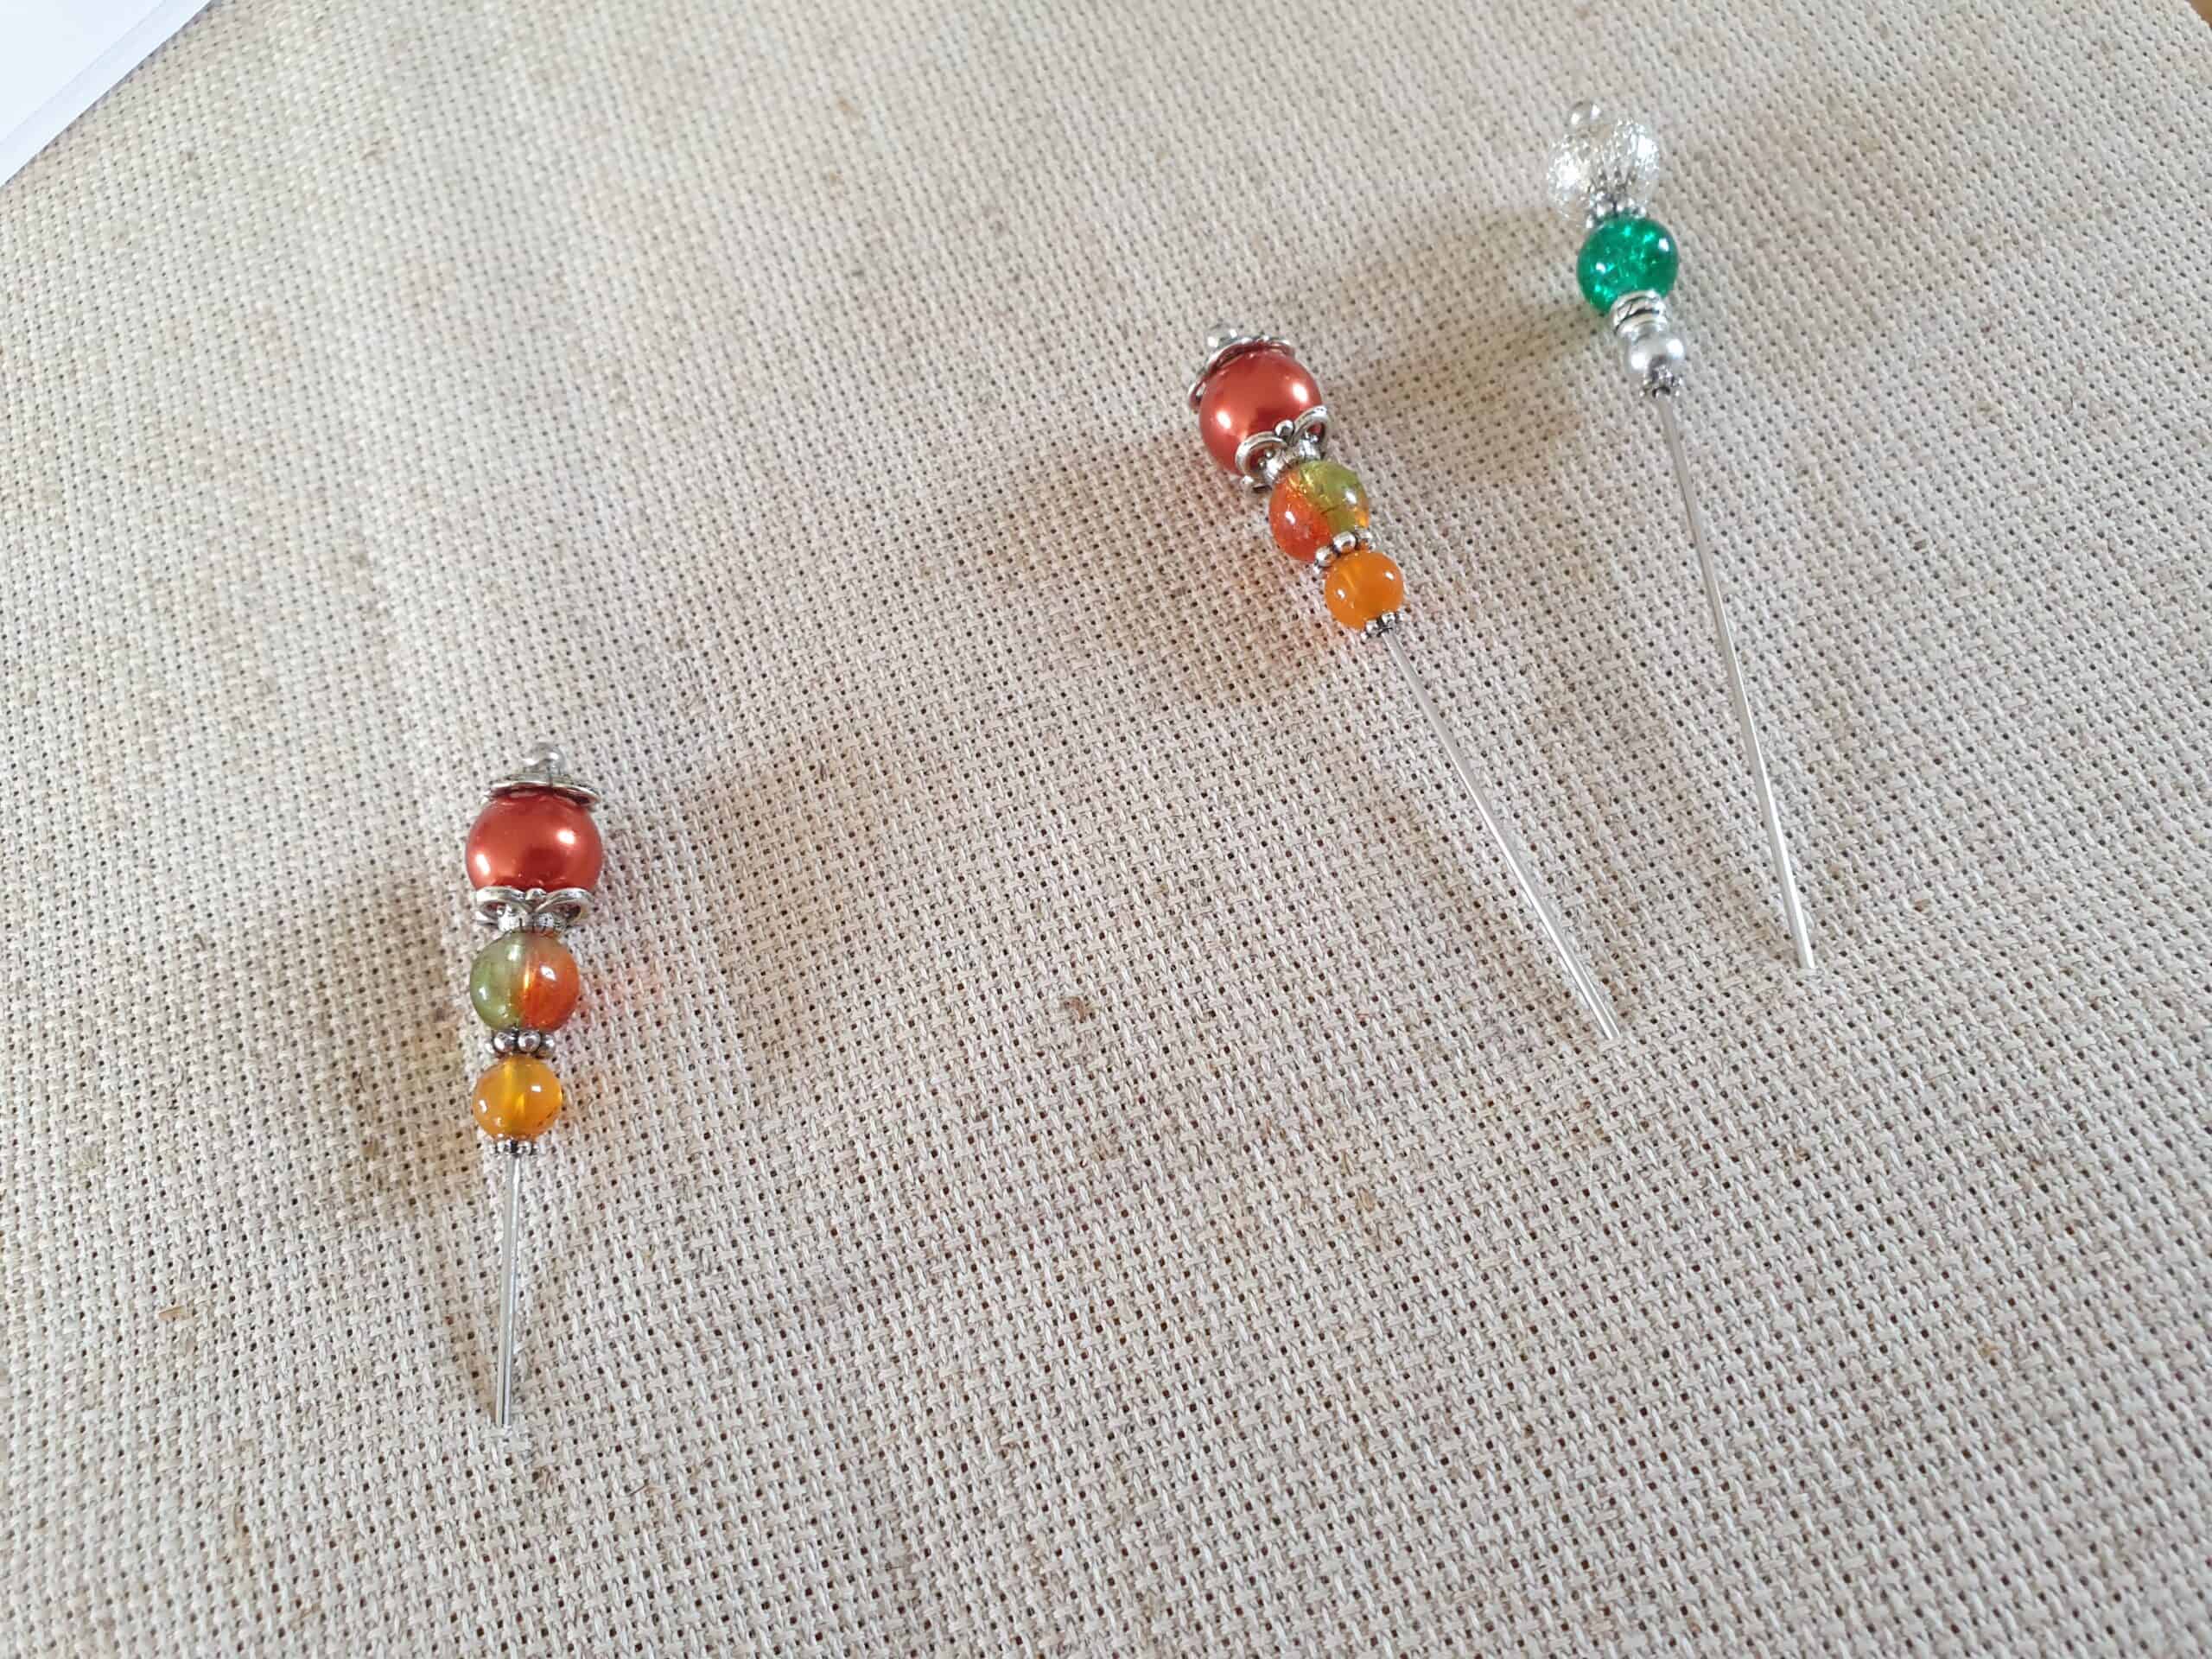
Counting Pins

These are such truly stunning pieces and look too decorative to be practical. Yet, I assure you, they are totally practical – they just have the bonus to look extremely decorative.

So what are counting pins? And what are they used for?

Well …. If you do Cross Stitch or Blackwork, then these are the tools that you will be looking for in your needlework work basket, especially when you need to start counting squares. Basically these tools are needed when you need to count out stitches on your AIDA or evenweave linen fabric.

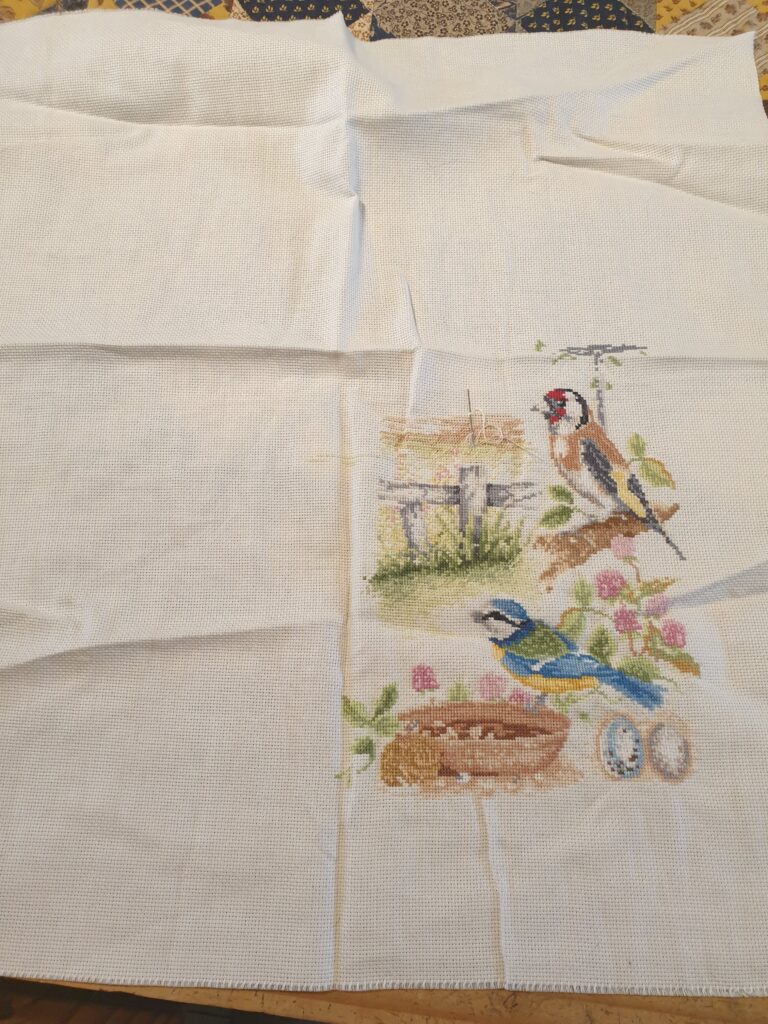
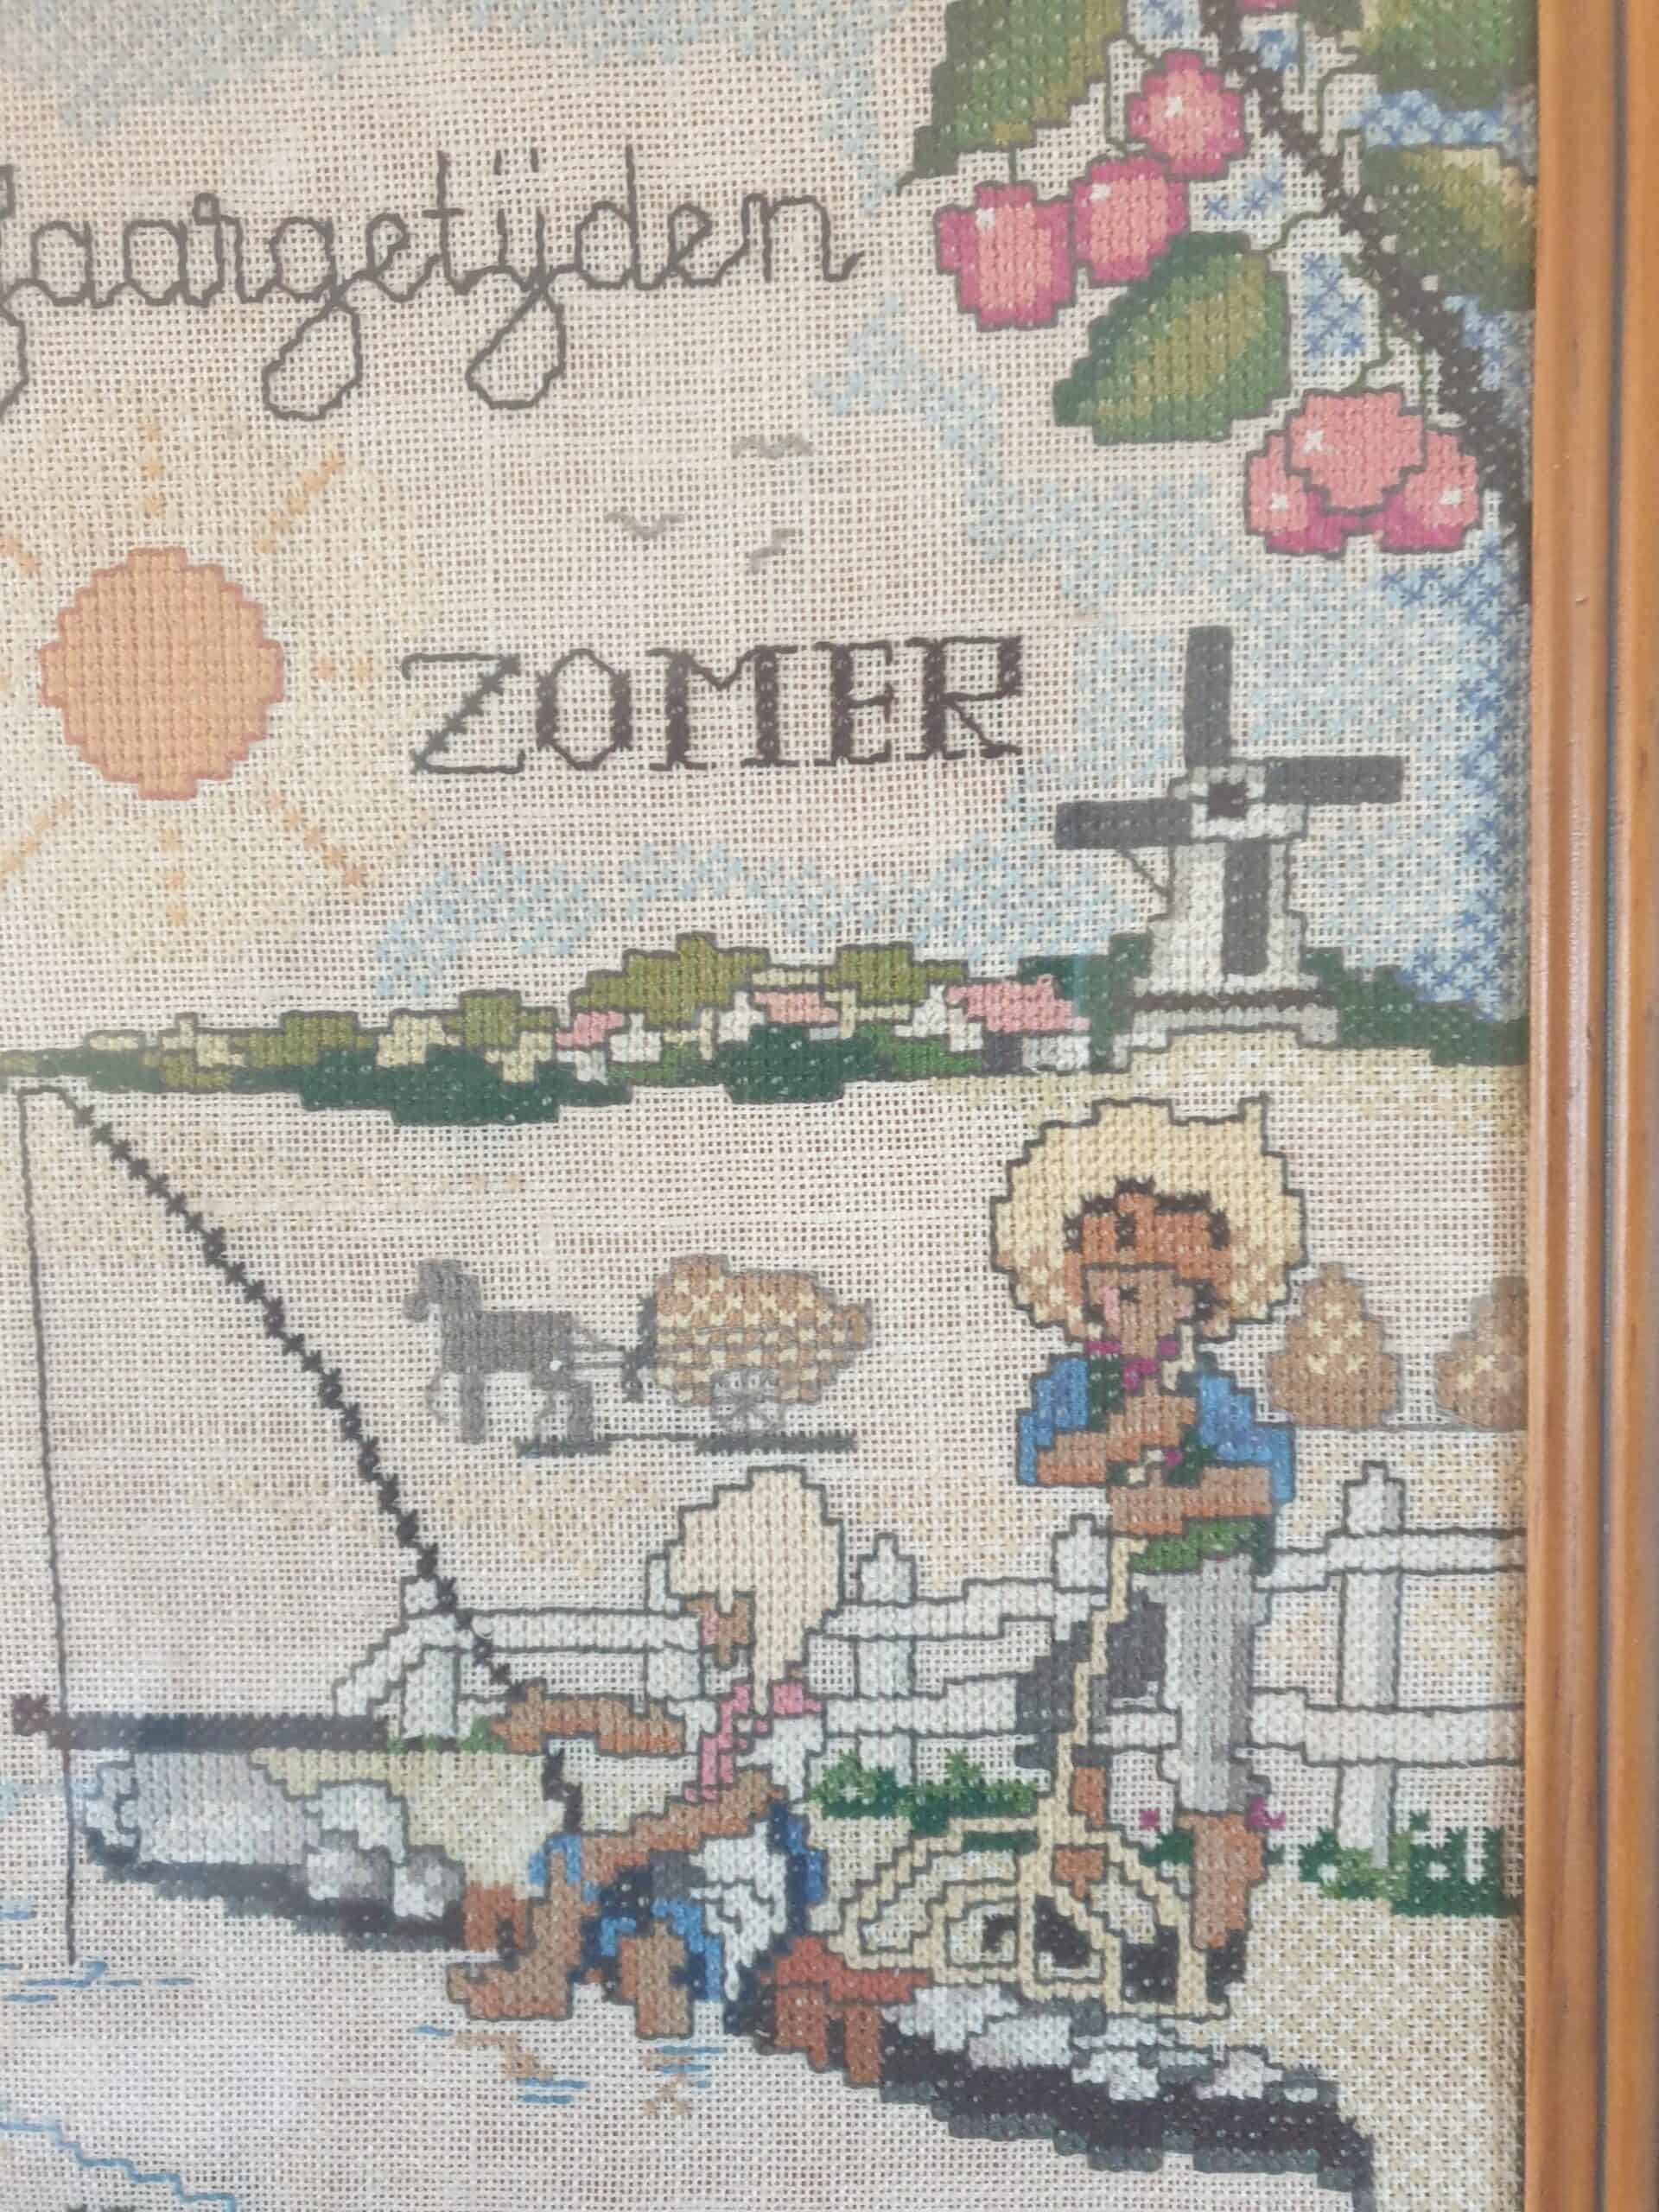
Really old cross stitch stitched by my grandmother for when I was born

I have been doing cross stitch since I was 7 years old (that’s too long ago) and I was taught to do cross stitch by my mother who had grown up doing it. I remember she taught me how to follow the chart, find the middle point, count how many squares to the bottom of the chart along the vertical midline and then count out to the right to find the starting point of where I needed to start stitching with my needle and thread.

I then had to count exactly the same squares/stitches on my fabric. At times it could be trial and error, finding the correct starting point and lots of recounting. There were no such things as counting pins to help you keep track. I usually used my needle that was threaded up, ready to start and just hope that I didn’t use count mid-way while counting down from the midpoint of the fabric and then out to the right to find where my first stitch needed to be.

I can remember that over the years, I had miscounted and a few of my pieces were really close to the left hand side as I had miscounted.

If you are cross stitchers, you are probably lost as to the way I am counting to get my starting point at the bottom right side of the piece. It was the way I was shown by my mother, and she was Dutch. She had been shown how to do cross stitch from her mother, my grandmother and I guess it was the way that they did cross stitch. Basically you started from the bottom right hand side of the design, working your way upwards and across to the left until you had completed the design. It seemed a logical process to me (I guess it being the only way I was taught). The stitches were also worked in columns going from right to left. You went up the column working the right slanting stitch and then coming back down the column to complete the cross stitches. It meant the needle was always facing the same way and it was easy to start the next column to the left of the column just completed. It was when I moved here and brought the English Cross Stitch magazines that I discovered that cross stitch was worked completely differently.

Starting to stitch at the bottom right hand corner and working top and across to the left to complete the design

I did so many cross stitches as I was growing up, working from the Dutch cross stitch charts that my mother had sent over from Holland by her family. Cross stitch was still relatively new in New Zealand, and I cannot recall seeing kits, patterns promoted while I was growing up in the 70’s.

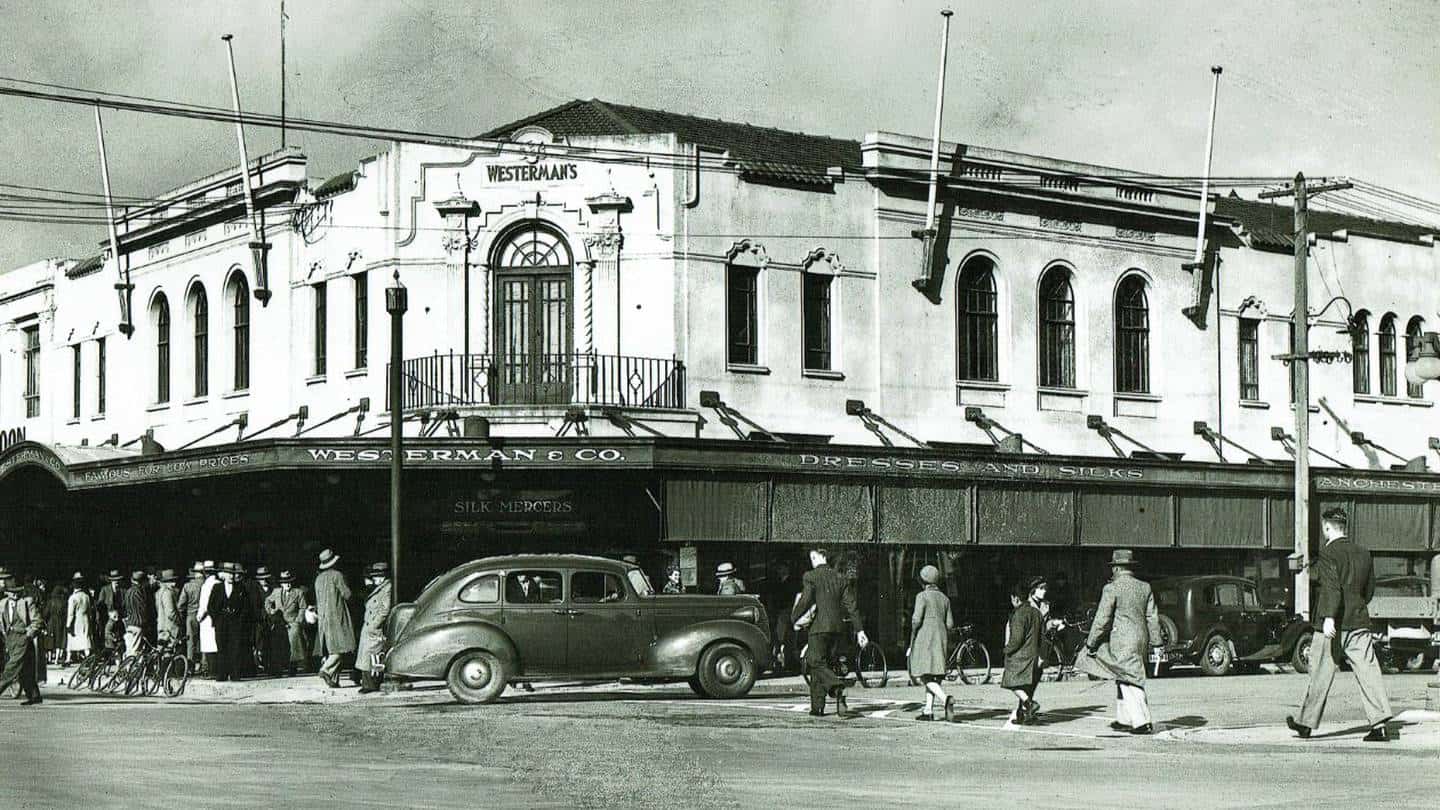
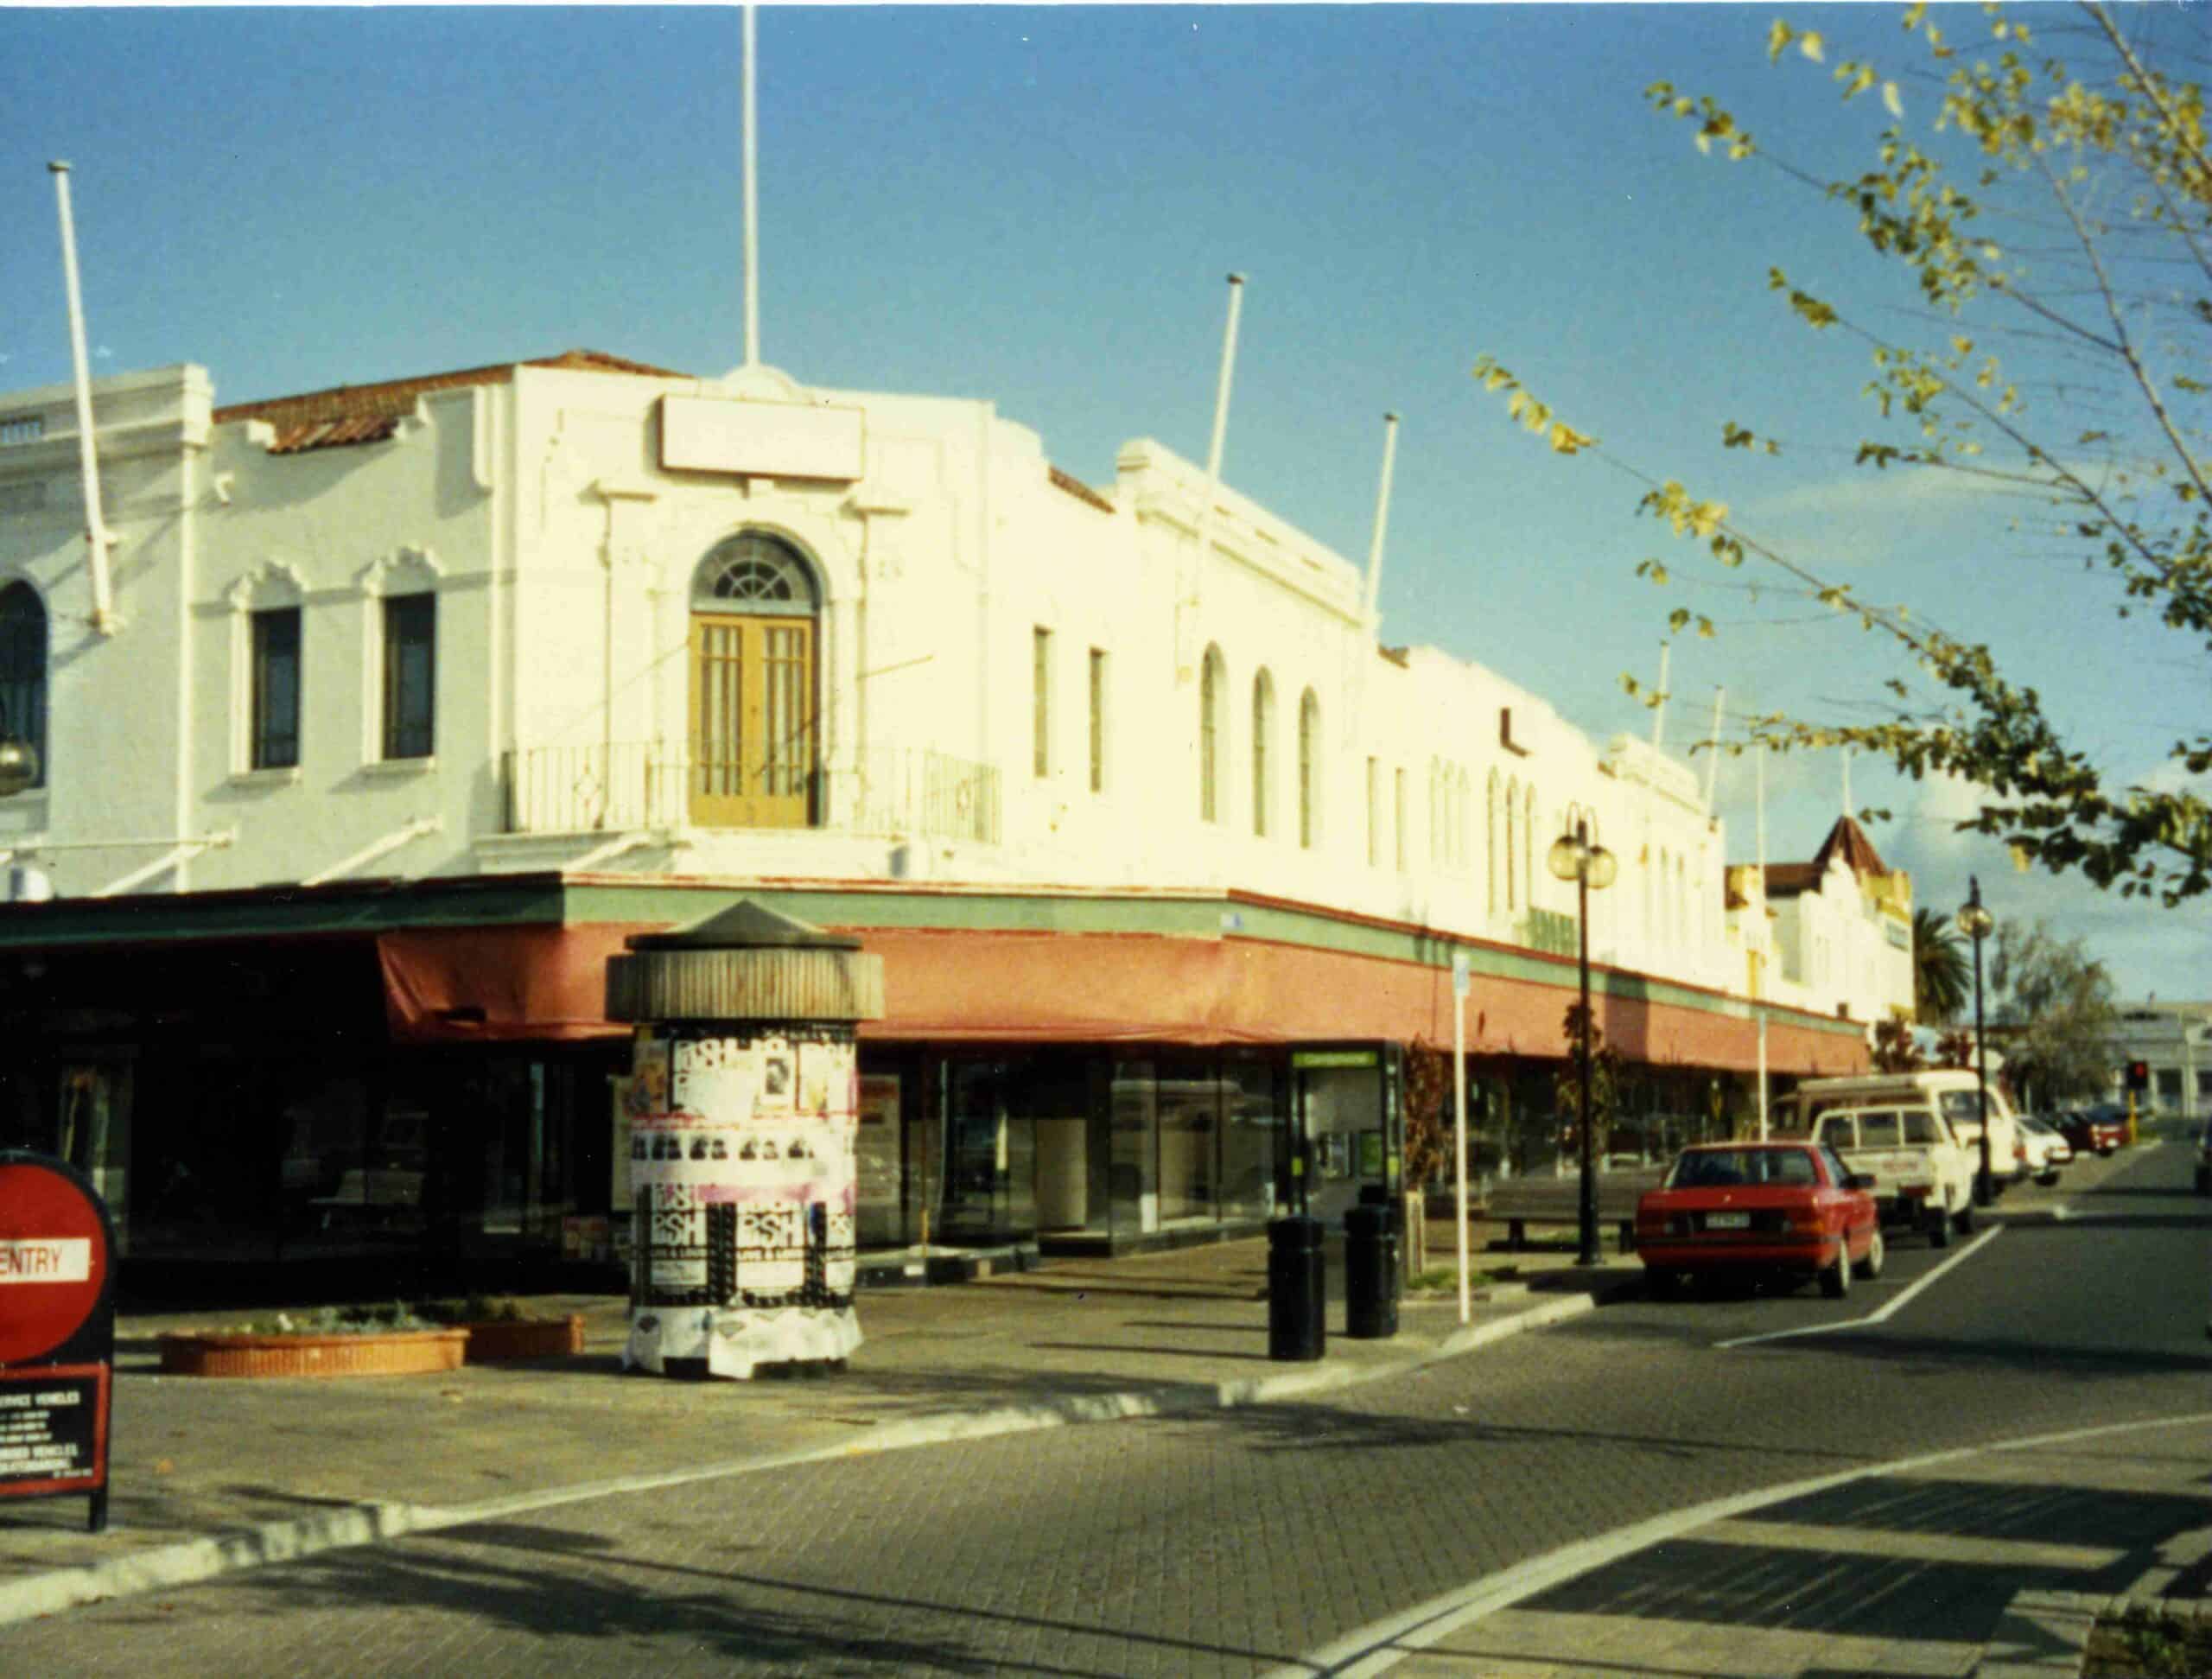
I remember my first job after I left school. It has an old department store, elegant but showing the wears of age, neglect and of times gone by. It had started as a family store back in the early 1900’s – grand wooden staircase going up to the first floor which was for Women’s wear – outerwear and underwear. Ground floor was for the menswear, haberdashery, and fabric dept (where I worked). There was a huge cellar that went underneath the entire store, I hated having to go down there to get extra stock, it really gave me the creeps! Who knew what lay in the depths of that cellar? Actually one year, staff found some forgotten stock which they used for an annual fashion show. It was a box of ‘fashionable’ swimwear (male and female) from the 1920’s.

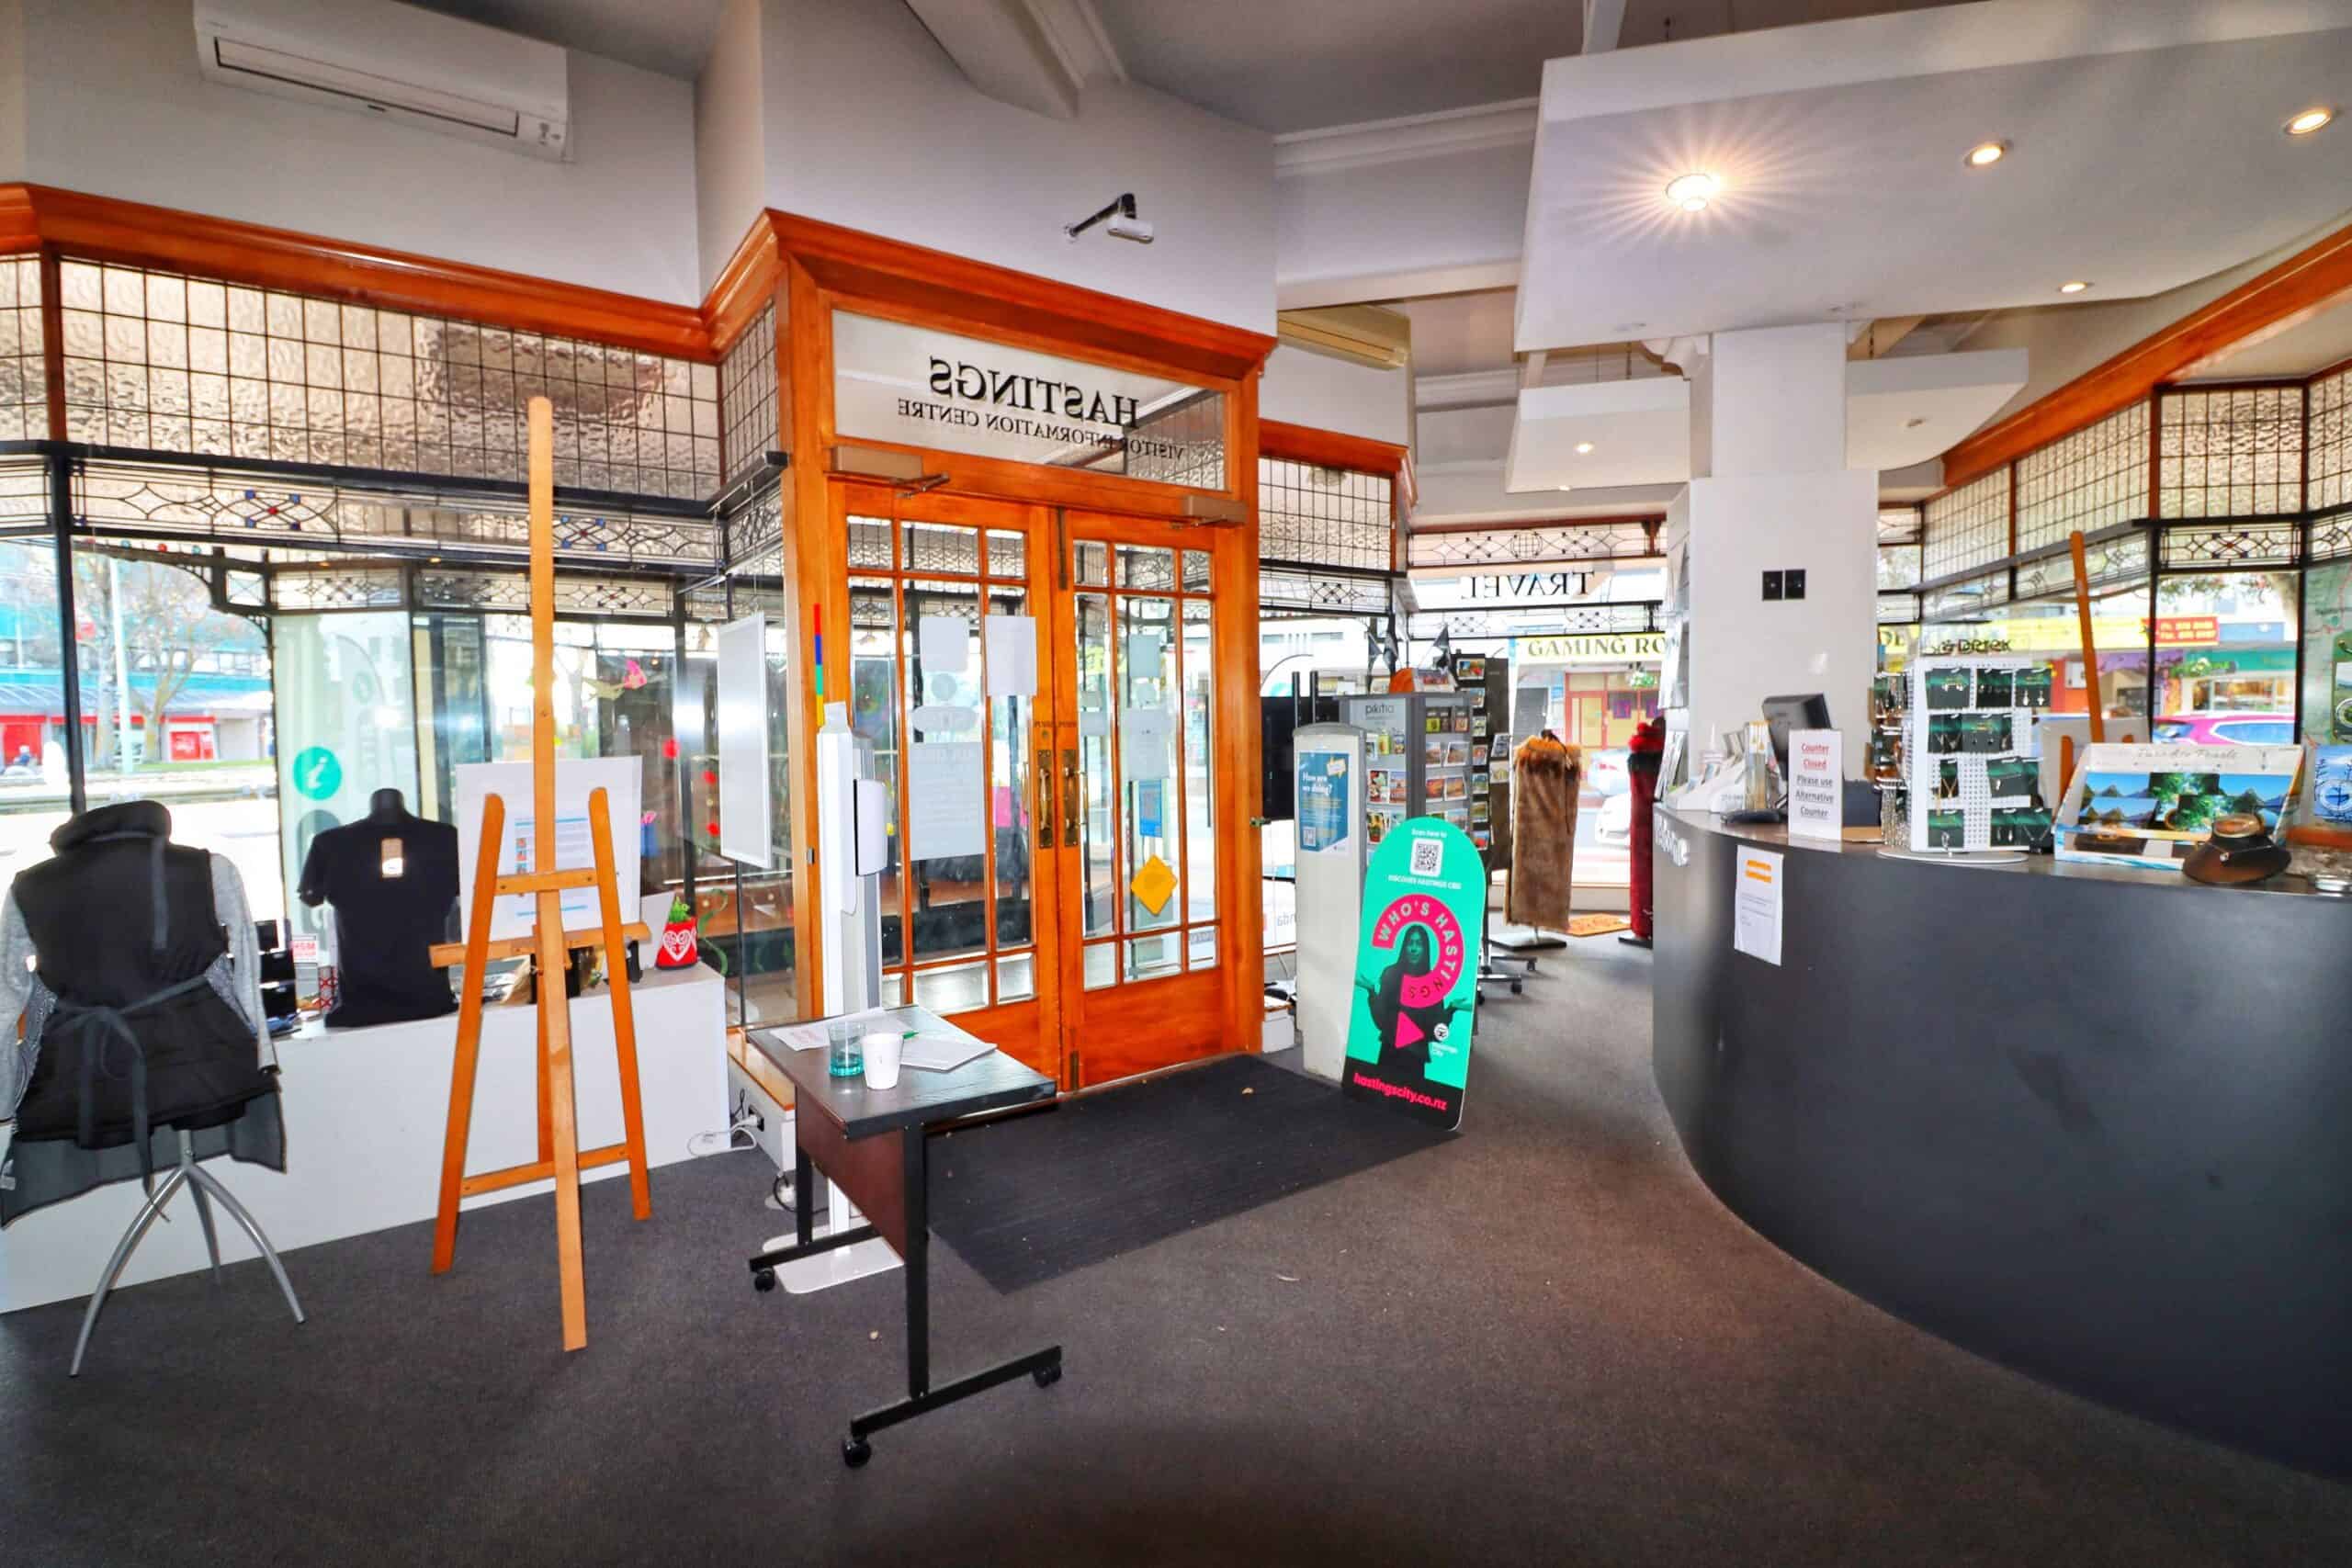
The family had gone since sold it on to a local farming corporate business when I started there in the late 70’s after leaving school, but the old elegance was since visible, even though it was abit shabby. However, the wood panels and stained glass windows were still very visible and played an important role in the character of the building. My dept manager was a lovely elderly gentleman (past retirement when I started there in my teens) who had worked there from the early 30’s after leaving school when the family still owned it and could still remember the day of the Great Earthquake in 1931 and destroyed both neighbouring towns (Napier and Hastings). His stories of that day and how the store shook on its very foundations were fascinating. He had many other stories of the changes he had seen over the years. But more importantly, his knowledge of fabric and sewing will always stay with me, his words of wisdom still sound in my head at times. He was one of life’s true gentlemen and when I left the store to do other work, he wrote a glowing reference, which I still have today.

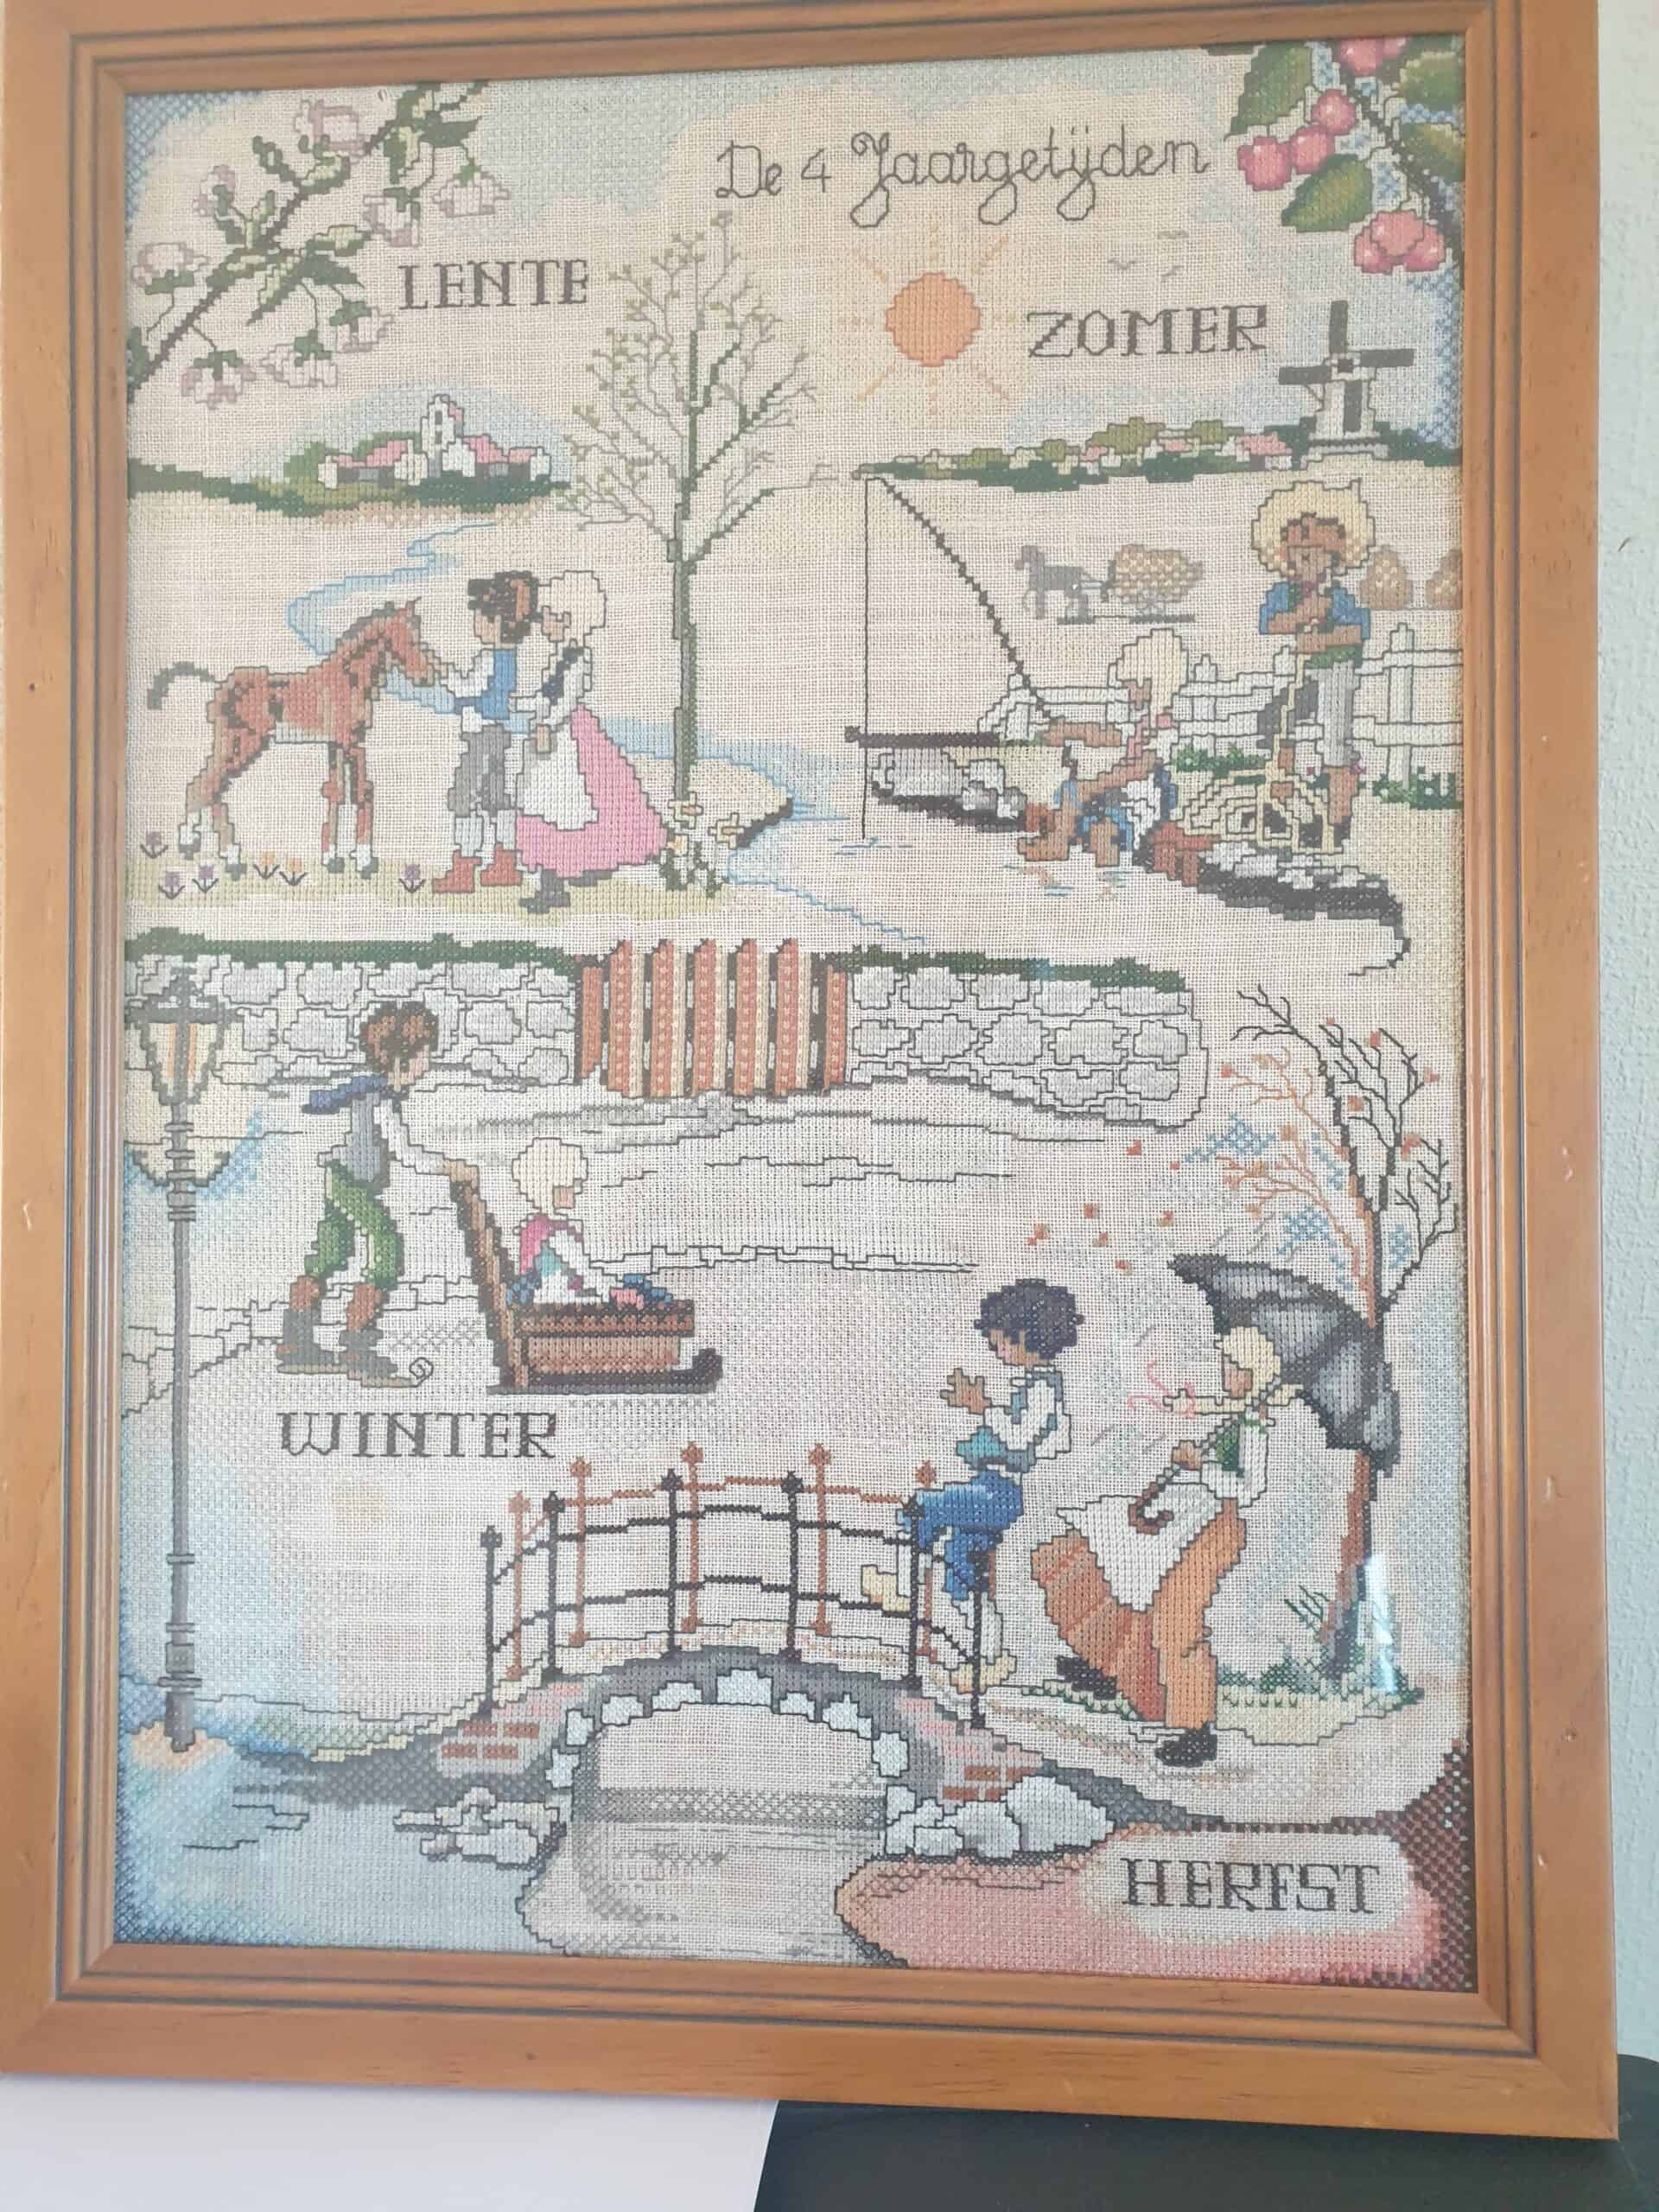
I have really got side-tracked writing about the department store when I was really discussing cross stitch patterns. I was saying that there was not a lot of interest in cross stitch in New Zealand…. Well the department store does play a part in it. I remember we had a sales rep come round and he was showing us some of the latest products to arrive in New Zealand …. All the way from Holland. They were cross stitch kits … a new arrival into the country. I remember my dept manager saying that he really didn’t think they would take off and he didn’t order any for the store …. But my eyes grew wide … I fell in love with one of the designs …. And it was in Dutch! The rep and my dept manager offered it to me at wholesale! I jumped at the offer … it was the first ever cross stitch I had brought and a kit with all the threads and fabric included! I felt so special! Still a huge expense and took over half of my weekly wage! My mother, however, gave me a stern talking too when I got home about spending so much money on needlework.

I worked on that cross stitch and loved creating each and every stitch. It was the largest piece I have even worked on, and it was my pride and joy. Would you believe that I still have that piece? It is framed and hangs on my landing and every time I look at it, I have so many memories …. How I came to get it, my first job after leaving school, the many, many months I worked on it and marvel on how it has survived all these years and travelled halfway round the world from New Zealand to Northern Ireland.

From that Dutch kit, I have completed numerous cross stitches since then and they have graced the walls of my home. Some have long gone, given away or never came with me from New Zealand. Even with the countless designs I have stitched over many, many decades, I can honestly say that I have never come across the latest notion that I have launched on the website. When I discovered and read up about them, I knew that I just had to have these handy wee tools. They are a complete game changer and makes it so easy to count and start your work in the correct place. Over the years I have used pins or needles to help me count, but I have found that they can slip out or you need to secure them over a couple of holes which can be confusing. Pins/needles can also be quite small and awkward to hold with your fingers while counting out squares on fabric.

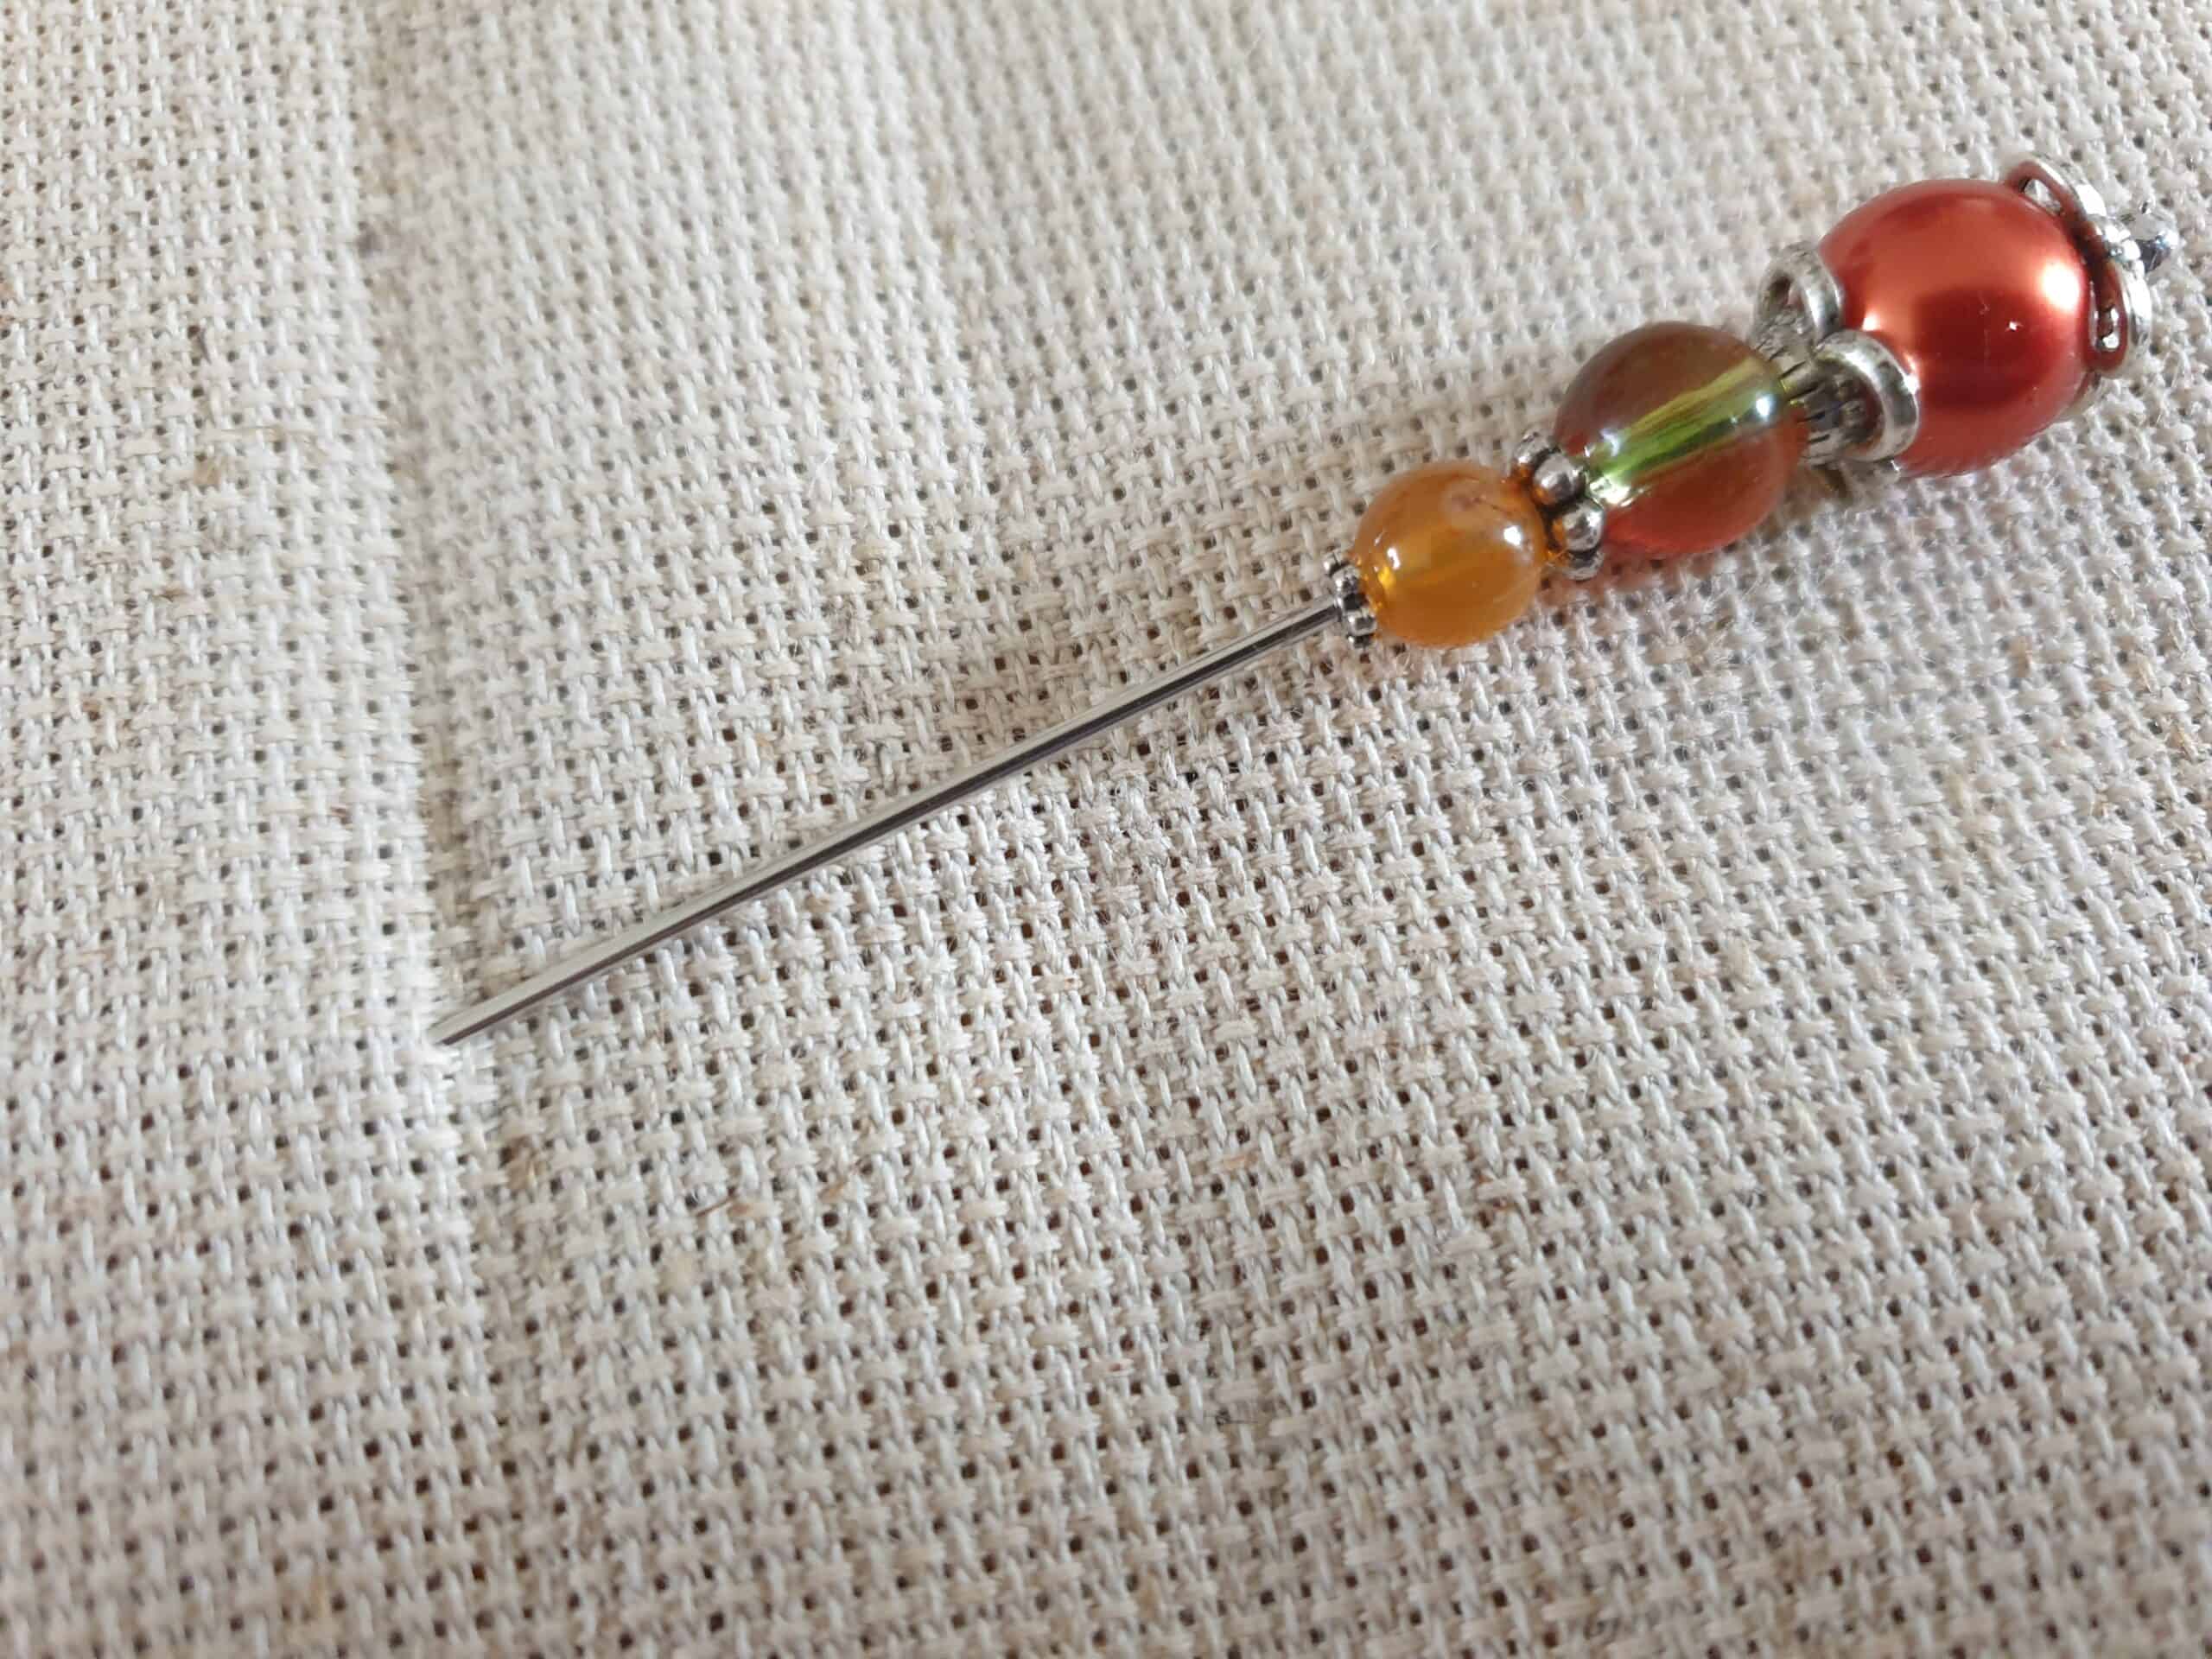
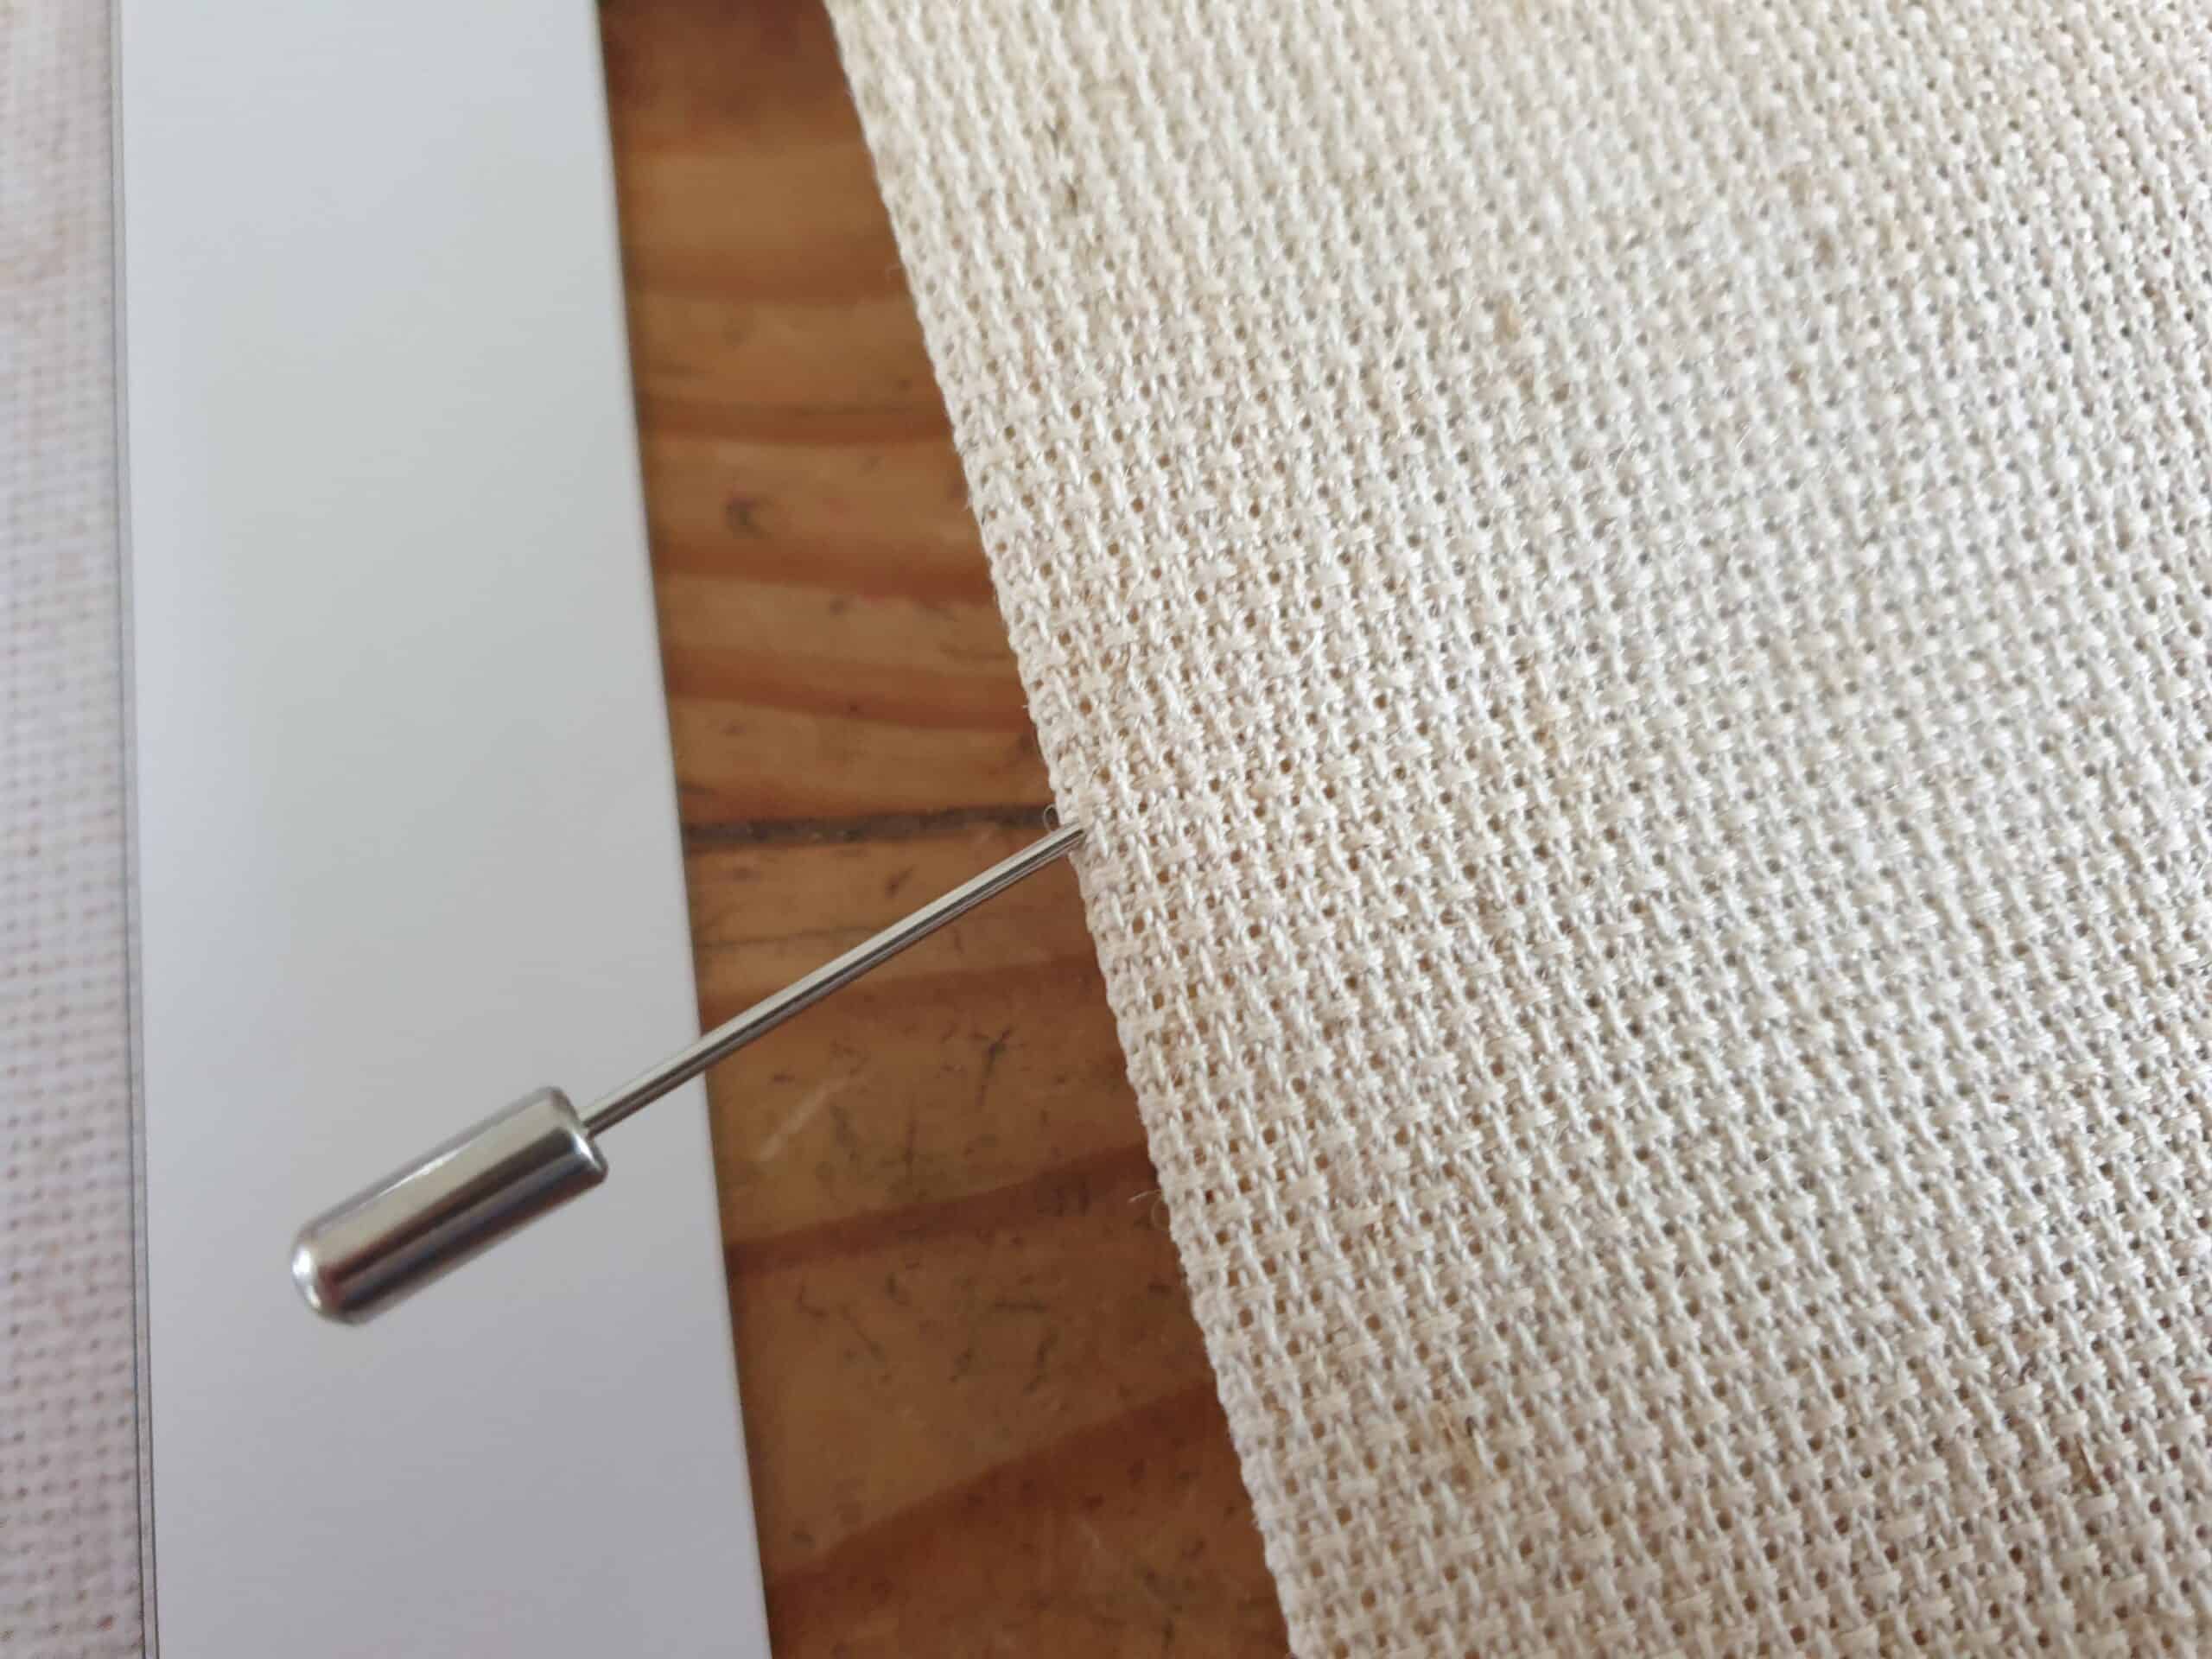
These counting pins are larger, have an extremely sharp point, but also have a cap to place on the end to secure into the fabric so they don’t fall out and also to protect your fingers from the sharp points. With having beads etc at the top of the pin, it makes it easy to hold them while you are counting out the squares on the fabric.

So how do you use the counting pins?

I mentioned above that I had been taught to start stitching in the bottom right corner and work my way across to the left to complete the design. Many others start in the middle of the design and work their way out and away from the centre until the design is complete. Whatever way you start your cross stitch, you still need to do some counting, and this is where the pins come in handy.

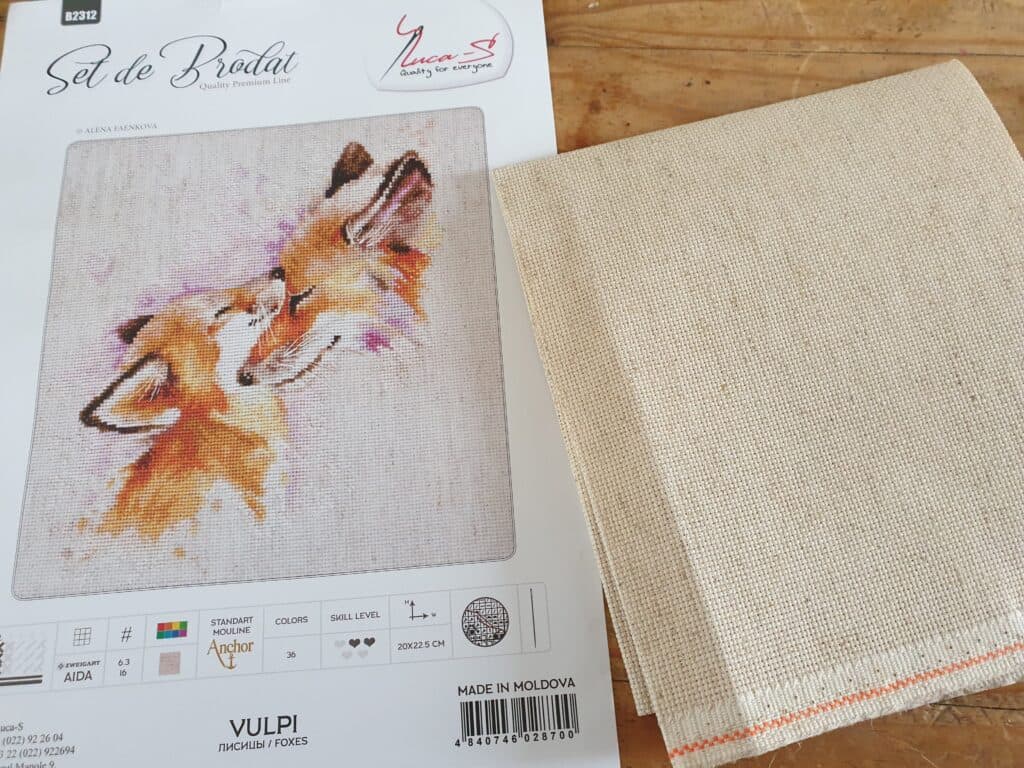
Cross stitch design to be started

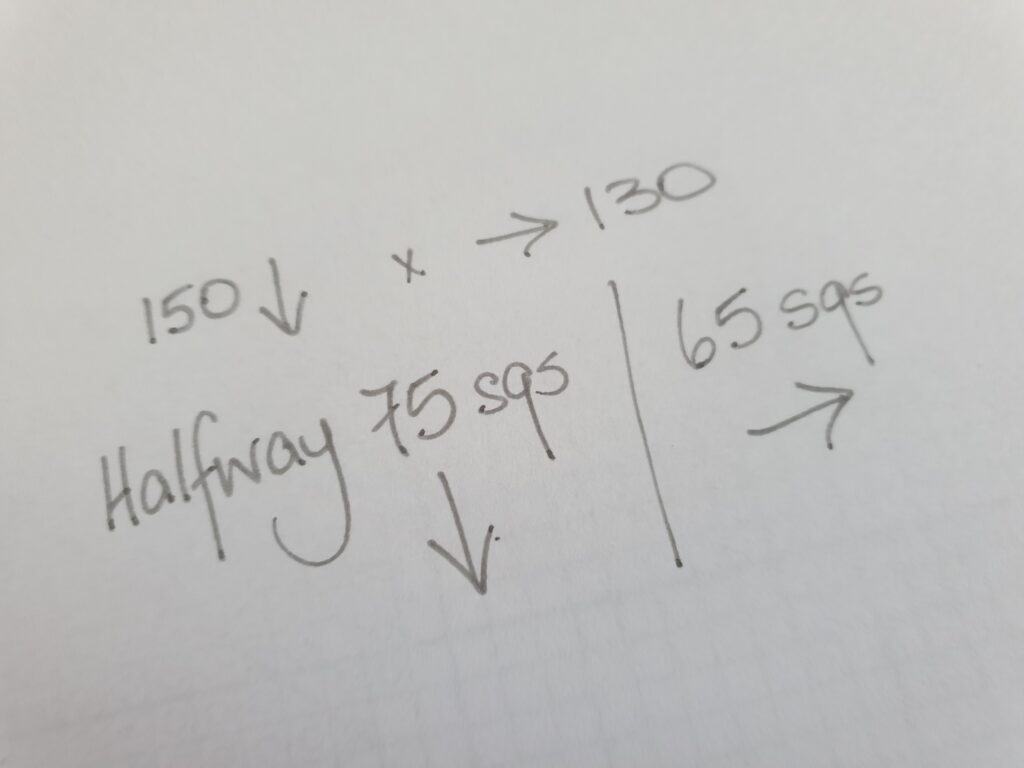
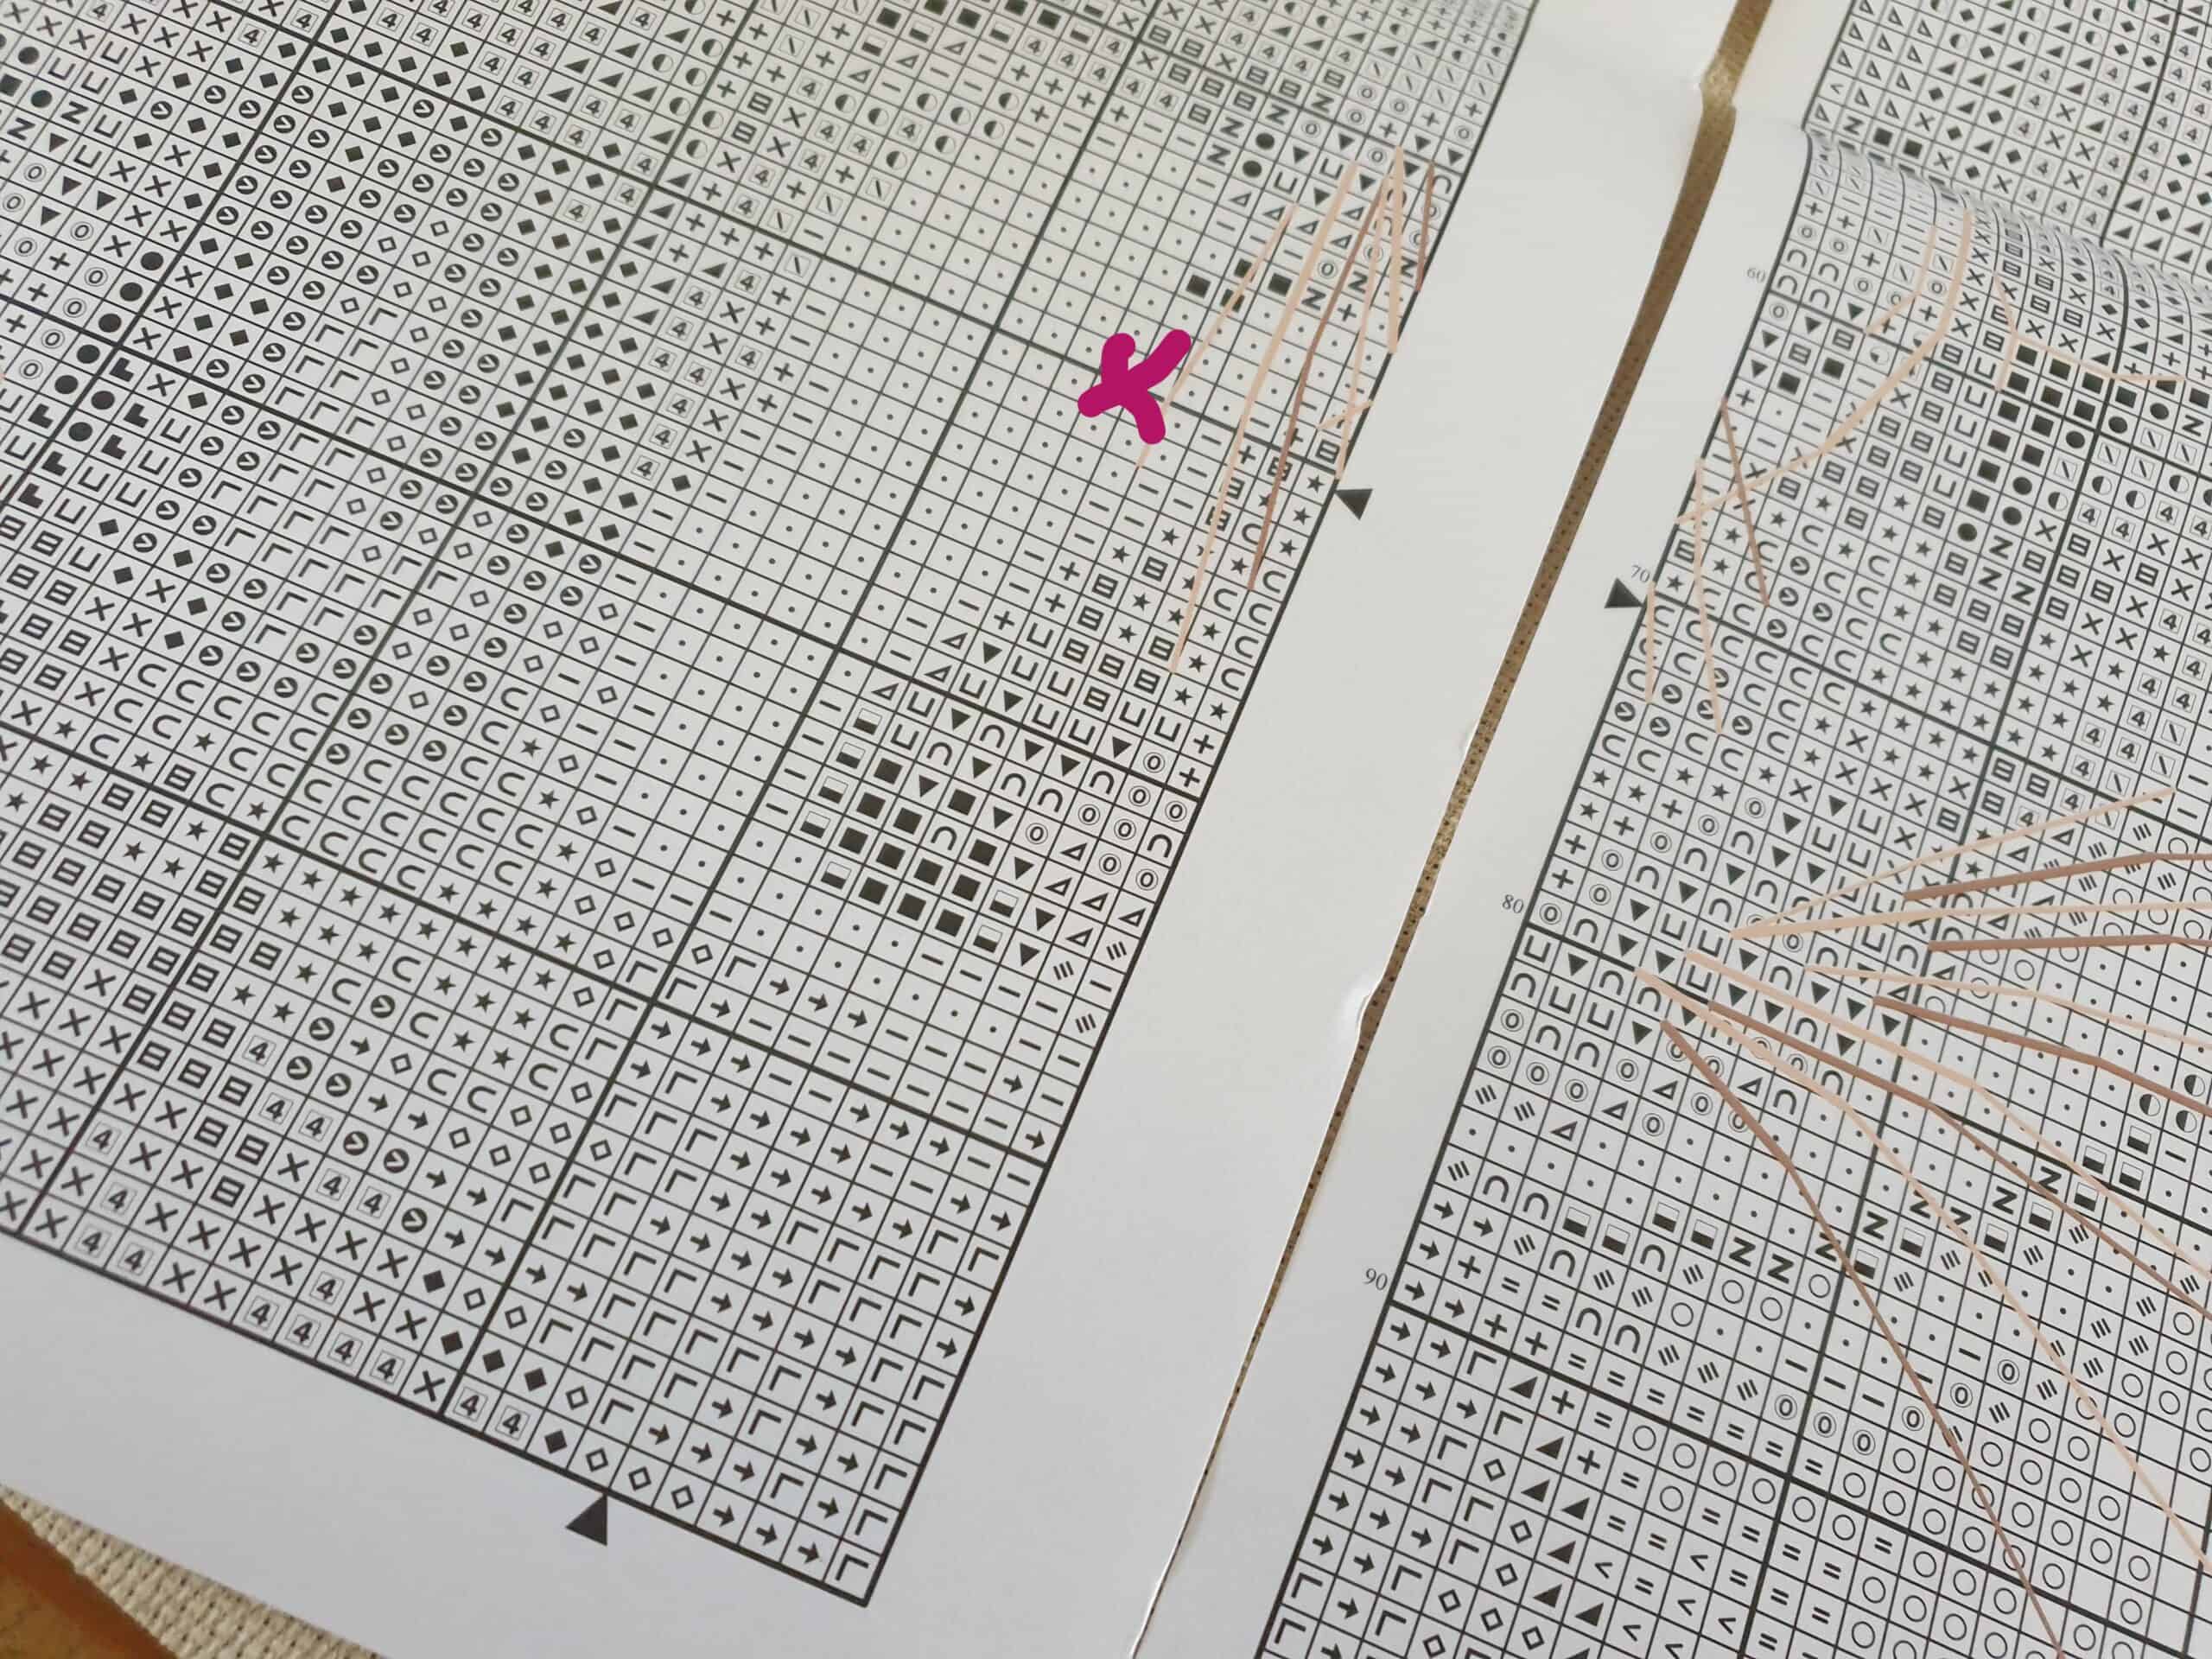
I started off a cross stitch design for Alyssa the other day. I am trying to encourage her to get into cross stitch and she chose this design of two foxes. I folded the AIDA fabric in half twice to find the mid-point on the fabric, so I knew where to start counting from. I found the middle point of the chart, well actually I looked to see how many squares there was in the design going down and across the chart. I halved those figures to get my counting figures for going down and to the right from the mid-point.

calculating the squares on the chart

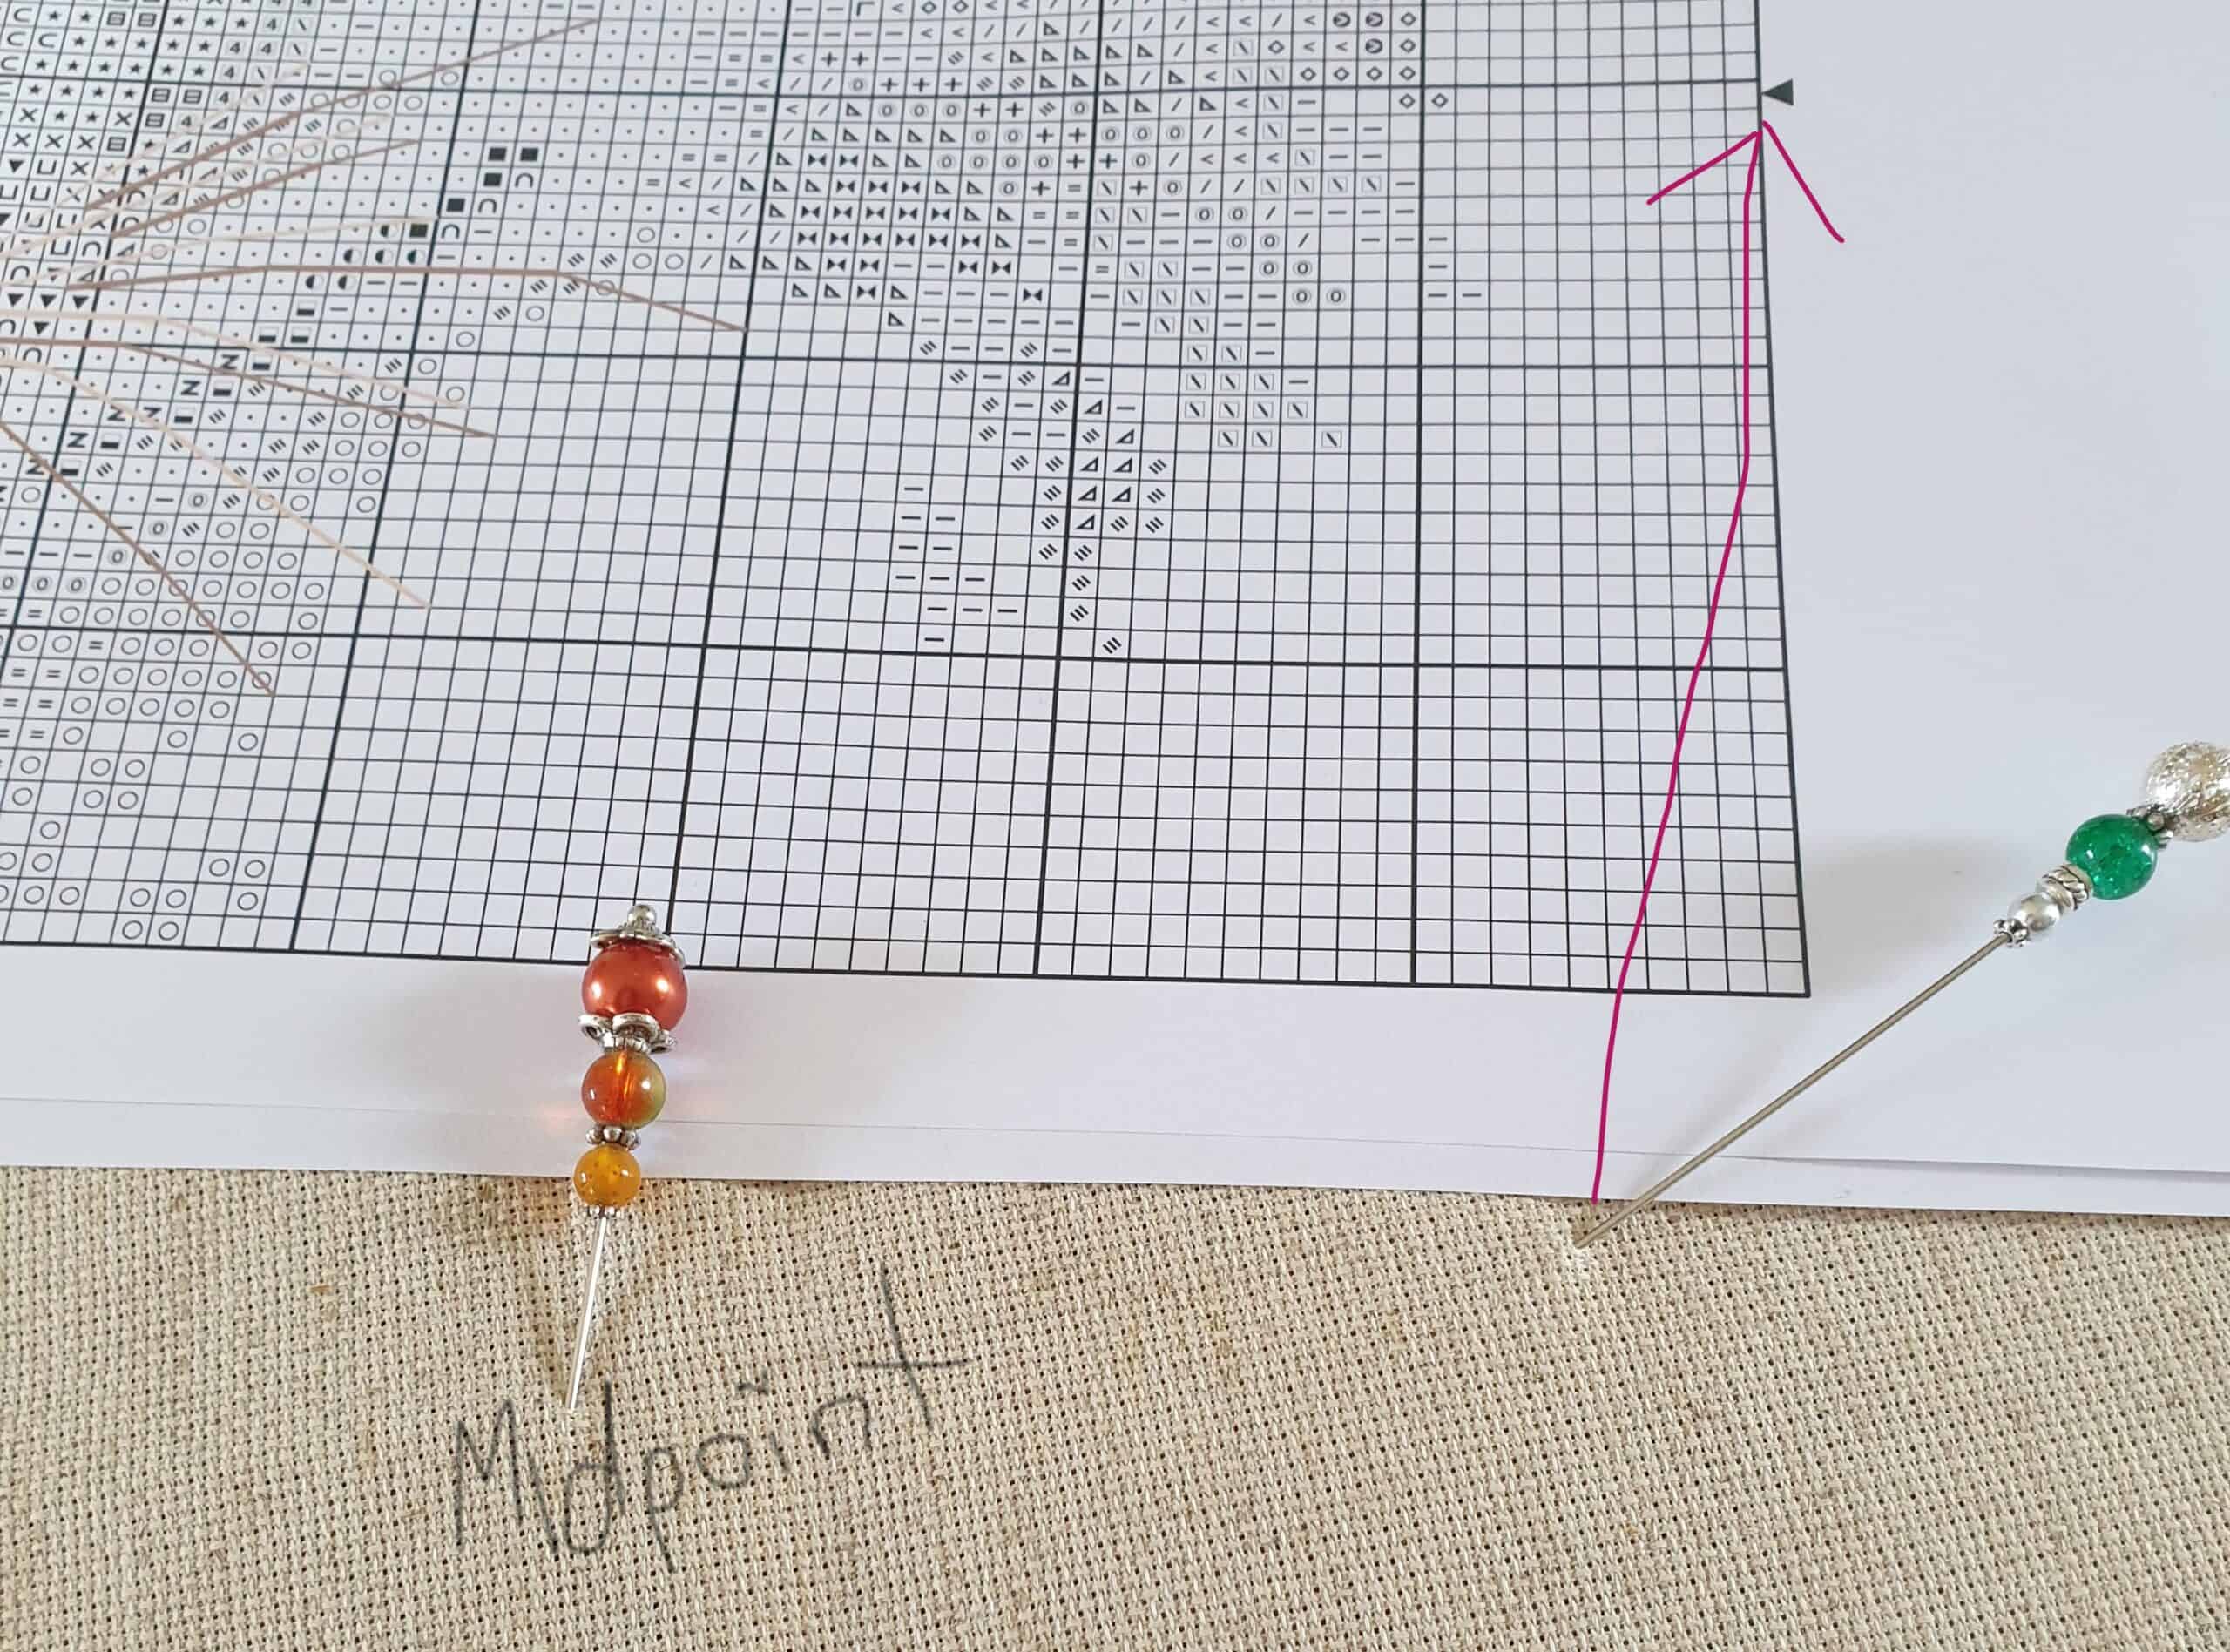
I placed my first pin into the fabric which was the middle, taking the sharp point of the pin through to the back of the fabric and placed the cap onto the end of the pin so it was secure and would not fall out of the fabric.

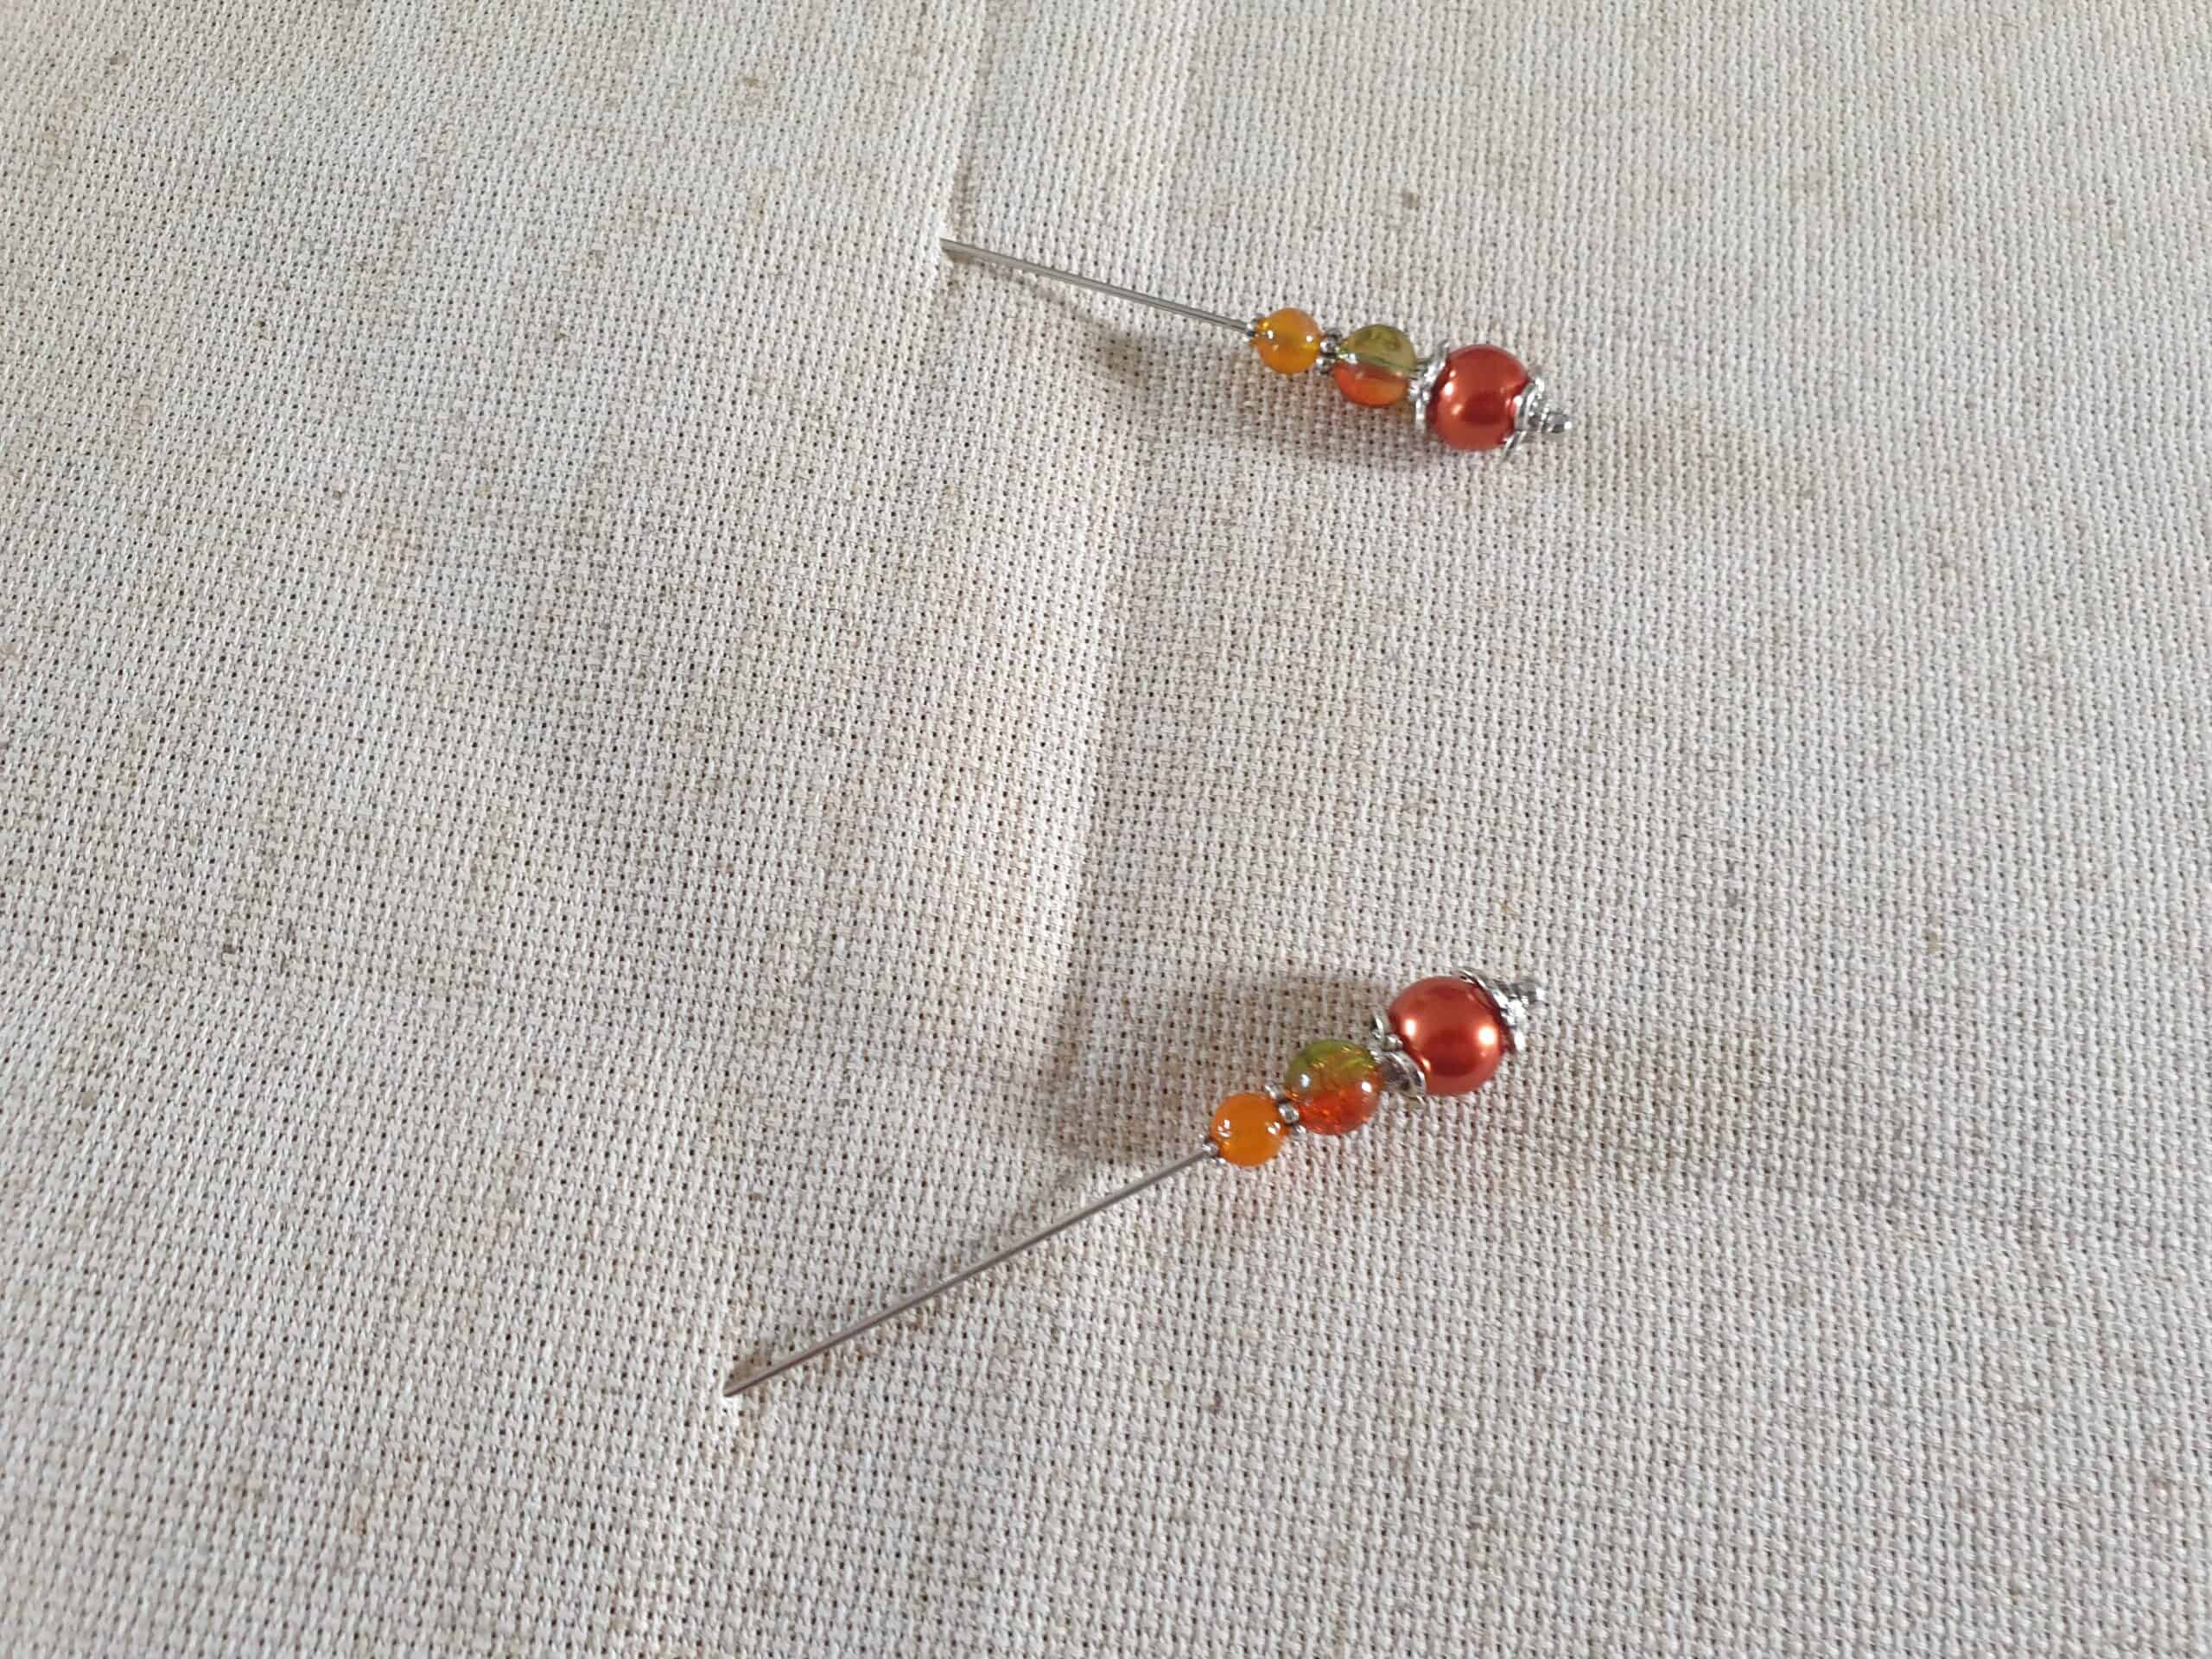
So going from the mid-point on the fabric, I counted down 75 squares and placed a second pin into the fabric and secured it like the first pin. I now knew where the bottom of my design would finish.

Now counting to the right from the pin, I counted 65 squares and placed my third pin (green counting pin) into the fabric. I now had the far right bottom corner square placed on the fabric.

As I mentioned before, I had always been taught to start there (but there are always times when rules need to be adjusted) and I looked to see where the first actual stitch was on the chart to begin stitching. On checking the chart, I came to the decision that it was not practical to start at the bottom corner as there really were NO stitches to be made there. They started more in the middle of the chart to the right. That was no problem. I still had my middle pin secure in the fabric. So I started counting my 65 squares from the middle pin going to the right as I had done at the bottom. The green beaded pin is the outer right side of the design.

So now I had that marked, I was able to find the stitch that was the best starting point on the chart. This starting point is shown by the amber beaded pin just to the left of the green pin – 9 squares to the left of the outer right side and 1 square below the midway point. Since the counting pin is secure in the fabric, there was no fear that I would lose my starting point.

I remember in the past; I would find my starting point with my needle (as that is usually what I would have on hand as I was about to start stitching) and then had to remove my needle so I could thread it up with the correct thread colour. With no marker in the fabric it was so easy to lose the starting point, so I would sometimes wriggle my needle before removing it so it would make the hole larger, and it would be easy to spot (usually). Not good habits to have.

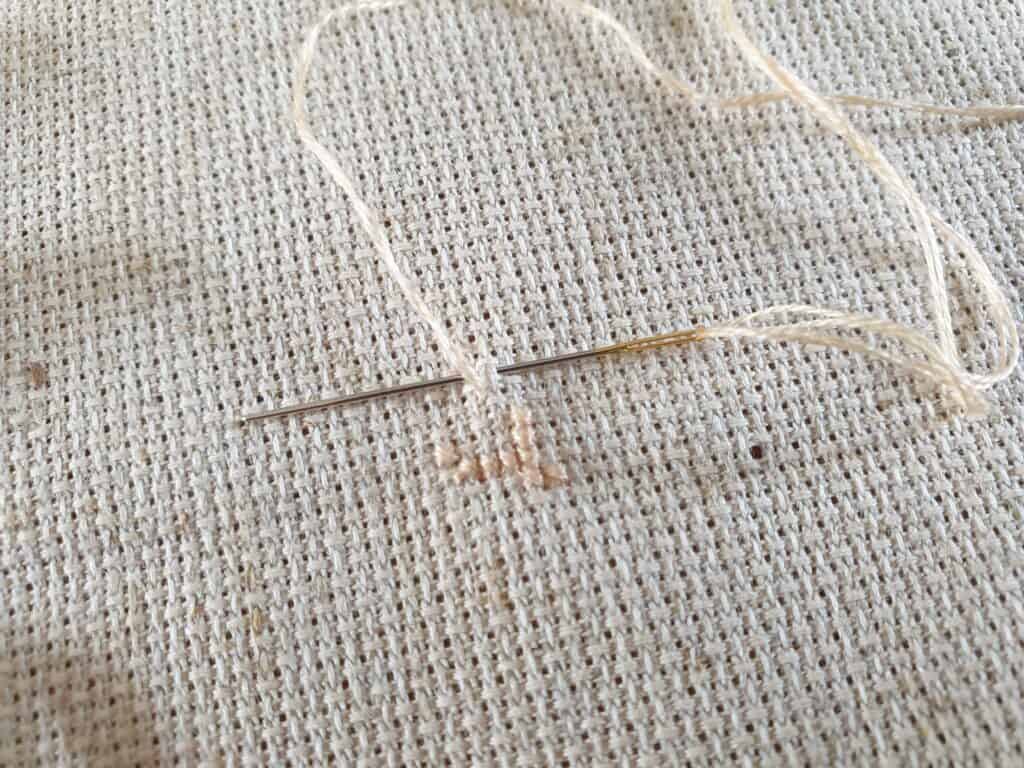
Starting to stitch

These counting pins are a game changer! I really don’t know how I managed without them for so long. I was actually wanting to start a new cross stitch just so I could use them! Rest assured, they are just not for starting a new project. Even while you are working on your cross stitch project, they are still very useful for counting. Remember the times you had to count out squares to go from one area that has been worked to a new area? There may be a big gap in the stitching as the fabric may be unstitched in the final design. I remember I have miscounted the squares to work a new area of stitches, only to discover further into the design, that I have miscounted by a square or so. It can be so frustrating! But these pins are handy for this, counting the squares and leaving them in the fabric until they are no longer needed. They even work great if you need to work a long line of stitches, just place the pin in where you need to finish up. You only need to count once and not worry about constantly having to count your stitches.

The pins are equally great for working on Blackwork designs. Basically, any needlework where you use either AIDA or evenweave fabric.

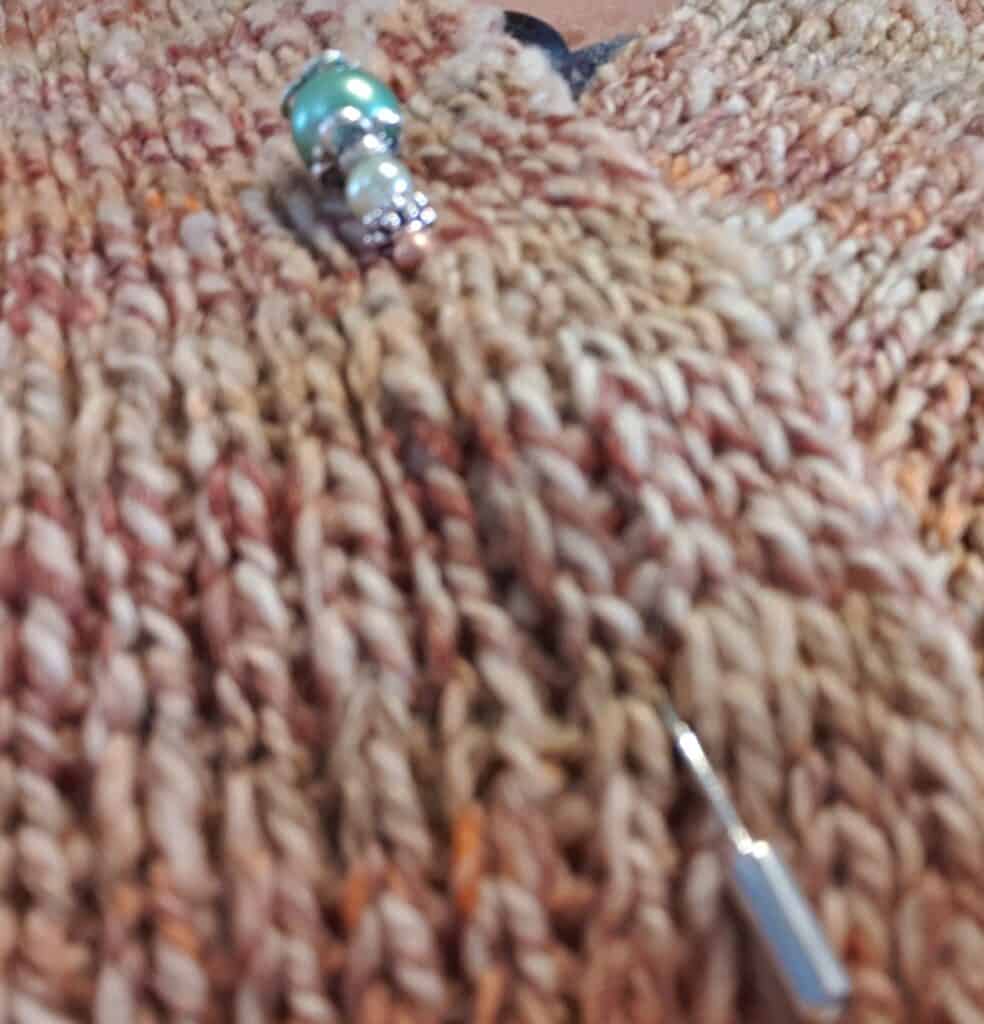
The hidden bonus of these notions? Well, they are decorative so make for truly stunning tools …. But …. When you aren’t using them for counting out your stitches on fabric …. They make for stunning shawl pins or just as a brooch to set off a jacket. They deserve to be shown off and not lie in your needlework basket. I love using mine to close my cardi which doesn’t have buttons or even to secure a shawl around my shoulders. They are basically dual purpose – handy needlework tools and decorative accessories for our outfits.

Using counting pin to keep cardigan closed

Quilter’s Handbook – Basic Reference Section

Featured

I have written a couple of blog posts about getting my craft snug (and stash/materials) organised in the lead up to my latest release – The Quilter’s Handbook. I have gone over the first two sections in the handbook – Inventory Section and Planner/Journal Section. I hope you found those posts to be interesting and helped to encourage you to get more organised with your quilting area. If you didn’t get a chance to read them, please do.

Have you ever had a tension issue while sewing and completely forgot just how to fix the problem? Or maybe you have been stumped on how to cut the correct measurement of fabric pieces needed? You may feel completely confused when confronted with the names of fabric pre-cuts or quilting terminology or even wondered on just how big to make the quilt which is to go onto a particular sized bed, etc.

Well, the next section in the Quilter’s Handbook deals on just those issues. I have complied the most common issues that we all experience at some stage. Now you just need to refer to your handbook for quick reference, instead of having to try and find the answer online and never knowing exactly where to look. Why waste time searching while you could be spending that time quilting?

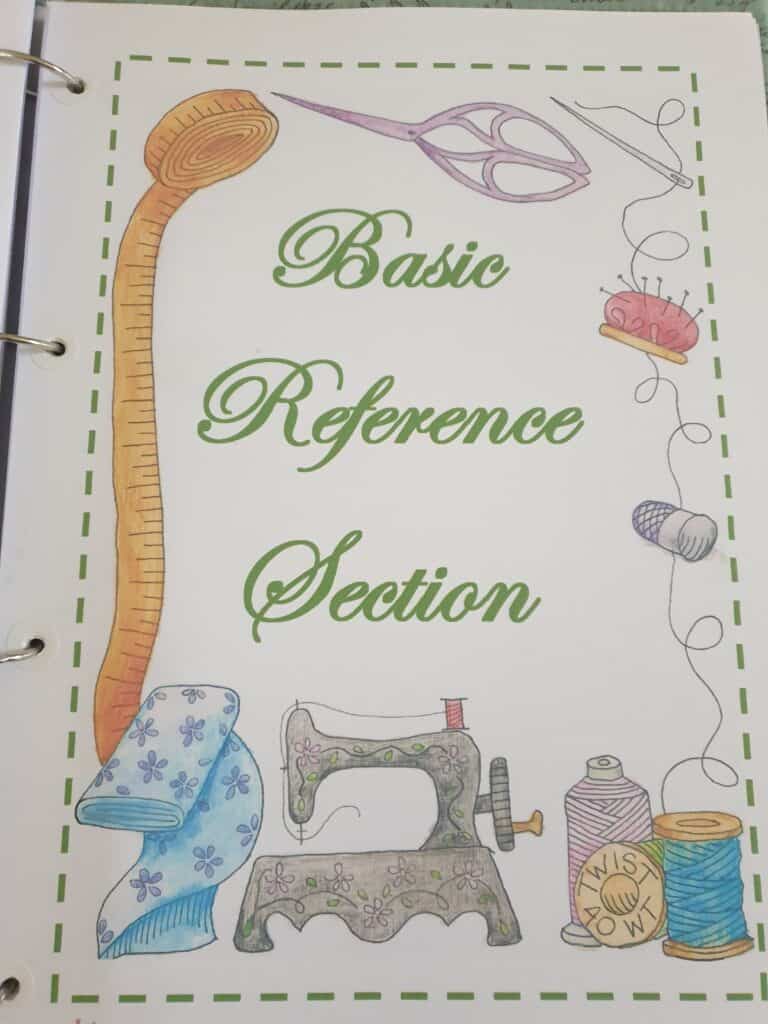
Basic Reference Section

So, just what is in this section?

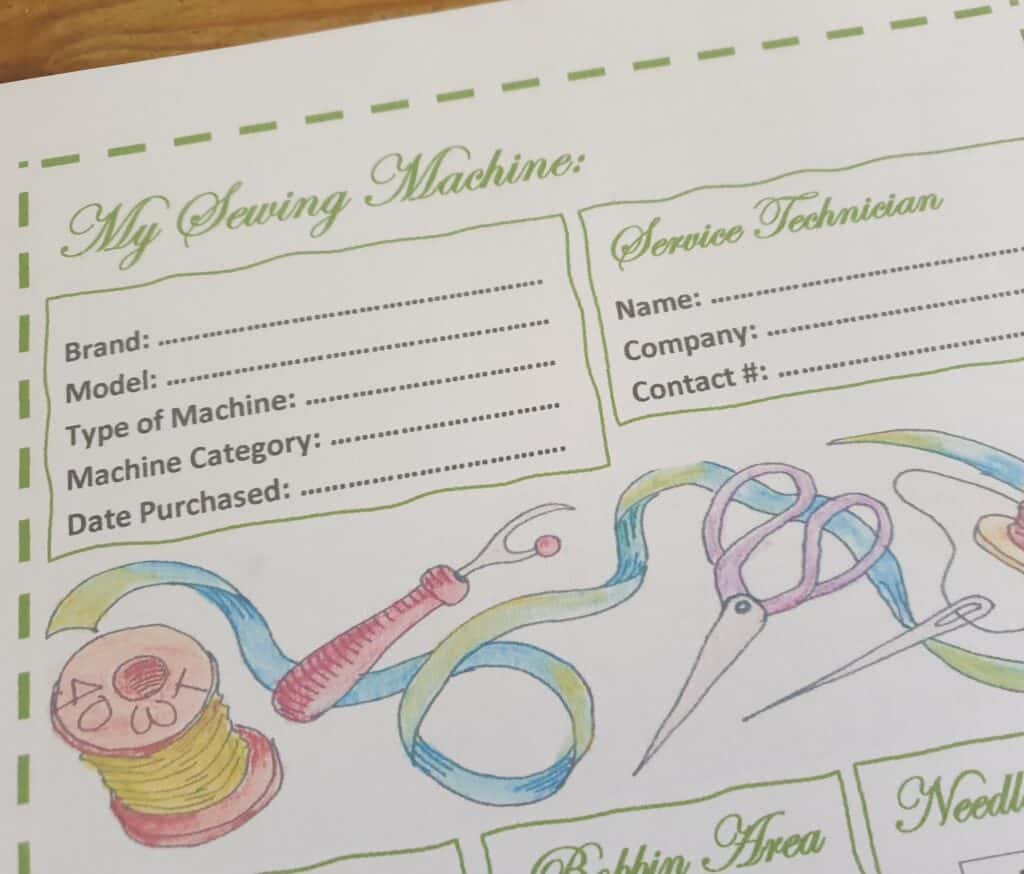
I have designed a template that is all about our sewing machine. It has space to fill in all the details of our sewing machine – Brand, model, and the category group of the machine if applicable, along with any extra feet/tools you may have brought for your machine. I have found this handy as I have quite a selection of extra specialised feet for my machine. My machine is also quite a specialised machine, and it is in a certain category which is important for when I am wanting to order extra bobbins or feet for my machine. Without knowing this category, I could purchase the wrong foot/bobbins for my machine. I can assure you I have done exactly that in the past! With these details recorded in my handbook, I can now quickly double check what category I need to search for when purchasing extra parts for my machine. Not all machines will have this, but it is always handy to have that recorded somewhere that it is quick to double check.

I have included a section where you can write in all the extra tools and feet that you have purchased for your machine. I found this quite useful when I went through my pile of feet that came with the machine and that I have purchased along the way. I was now able to identify and write down what the feet where for. My next step is to sew a handy zipped bag to house the feet separately, along with any instructions sheets that came with them, so I can keep them safe and know exactly what they are used for. This is especially true for the feet that I wouldn’t use as often but still need to use on specialised sewing projects. I am still working on the perfect bag to keep them all where I can also label each compartment with the name of the foot!

There is space to record the contact details for the service technician that you may use for servicing/repairing your machine. You no longer need to search frantically for the contact number that you wrote down on a scrap piece of paper or wonder where you placed their business card …..

I have drawn up sections where you can write down the dates of when your machine was serviced, as well as the date when the bobbin area was last cleaned, and the needle changed.

If you hold more than one sewing machine, it is handy to have one for each of your machines. I have done one up for my Pfaff sewing machine but also plan on doing one up for my longarm machine so I can keep a record of all the extra tools and feet that I have purchased for the machine. It just helps for when I may want to purchase anything in the future and I know straight away what I have for the machines, instead of having to go and search through my box of tools or feet for the machines.

My Sewing Machine

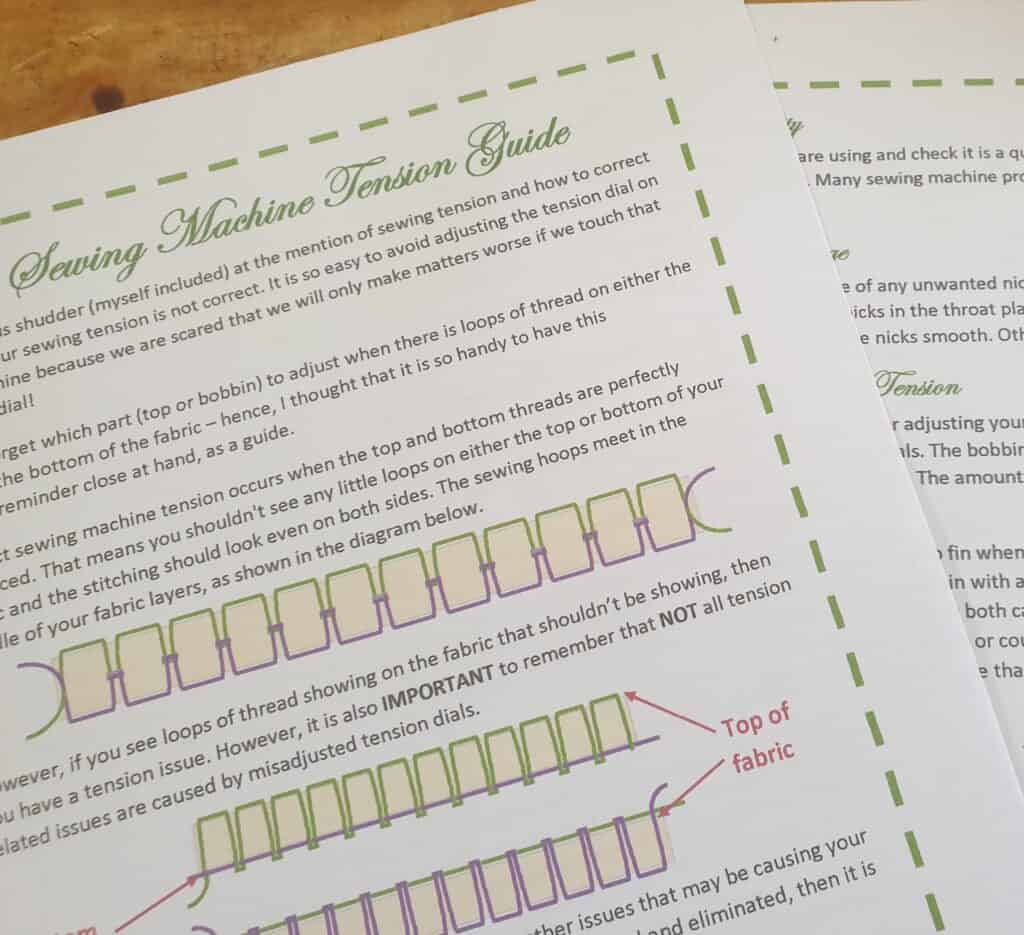
How many of us shudder at the mere thought of having tension issues while we are sewing? We can be sewing quite happily only to discover that our sewing is not right, we either have loops on the top or bottom of our fabric and the stitching is not balanced. One pull of one of the threads and the whole stitching comes undone!

I know I really do run scared if the machine has any tension issues and I dread having to touch my tension dial! I seem to inwardly hope that I never have to fix any major tension issues. However, having issues with our stitching where the loops do not meet in the middle of the fabric layers does not instantly mean that we should fiddle with our dials! Before we go anywhere near our tension dials, there is so much more that we should check. The dials are what we check last, after we have go through and checked everything else!

This handy reference goes through what to check when our machine is giving us tension problems and once, we have eliminated all of those other possible issues, we can then start to adjust our tension dials.

However, I have always found it hard to know which way to move the dial – is it up or down the number range depending on if our tension is tight or loose? I also tend to forget how to work out from the way the thread shows on the fabric as to whether the tension is too loose or too tight. I need to have something visible in front of me to remind me.

I really do dread tension issues, and my longarm machine is very sensitive to having the correct tension to ensure that the stitching is perfect with no loops on the bottom or the top of the quilt. The stitching loops need to meet in the middle! I knew that I would have to overcome my fear of tackling and correcting tension and I had gotten to be quite good with ensuring the correct bobbin tension. The slightest things would throw it off, even were the tension would be off if the bobbin was not wound on with the correct tension of the thread going through the tension discs.

It seemed that my longarm decided that I needed to face my fears and conquer the fear of tension. Last August I was quilting a wholecloth quilt which required a lot of stitching as the design was the stitching! I was working to a deadline, and would you believe that my quilting had serious loops underneath! Half a day’s quilting took me over a day to unpick! I really needed to conquer and overcome my fear and be able to tackle and solve tension issues. I went through all the steps prior to attacking the tension dials. I kept on saying out loud ‘Loosey lefty / tighty righty’ – it certainly imbedded into my brain, and I learnt which way to tighten or loosen the tension dials. I must say that those couple of days of pure hell – stitching, unpicking, not so nice words, and going through all the tension steps – really helped me to overcome my fear of tension issues. I can not say that I will not shake with fear the next time I have a major tension issue, but I know that I can always refer back to my tension guide, take a deep breathe, grab Jack, and know that I can overcome my tension issues.

Sewing Machine Tension

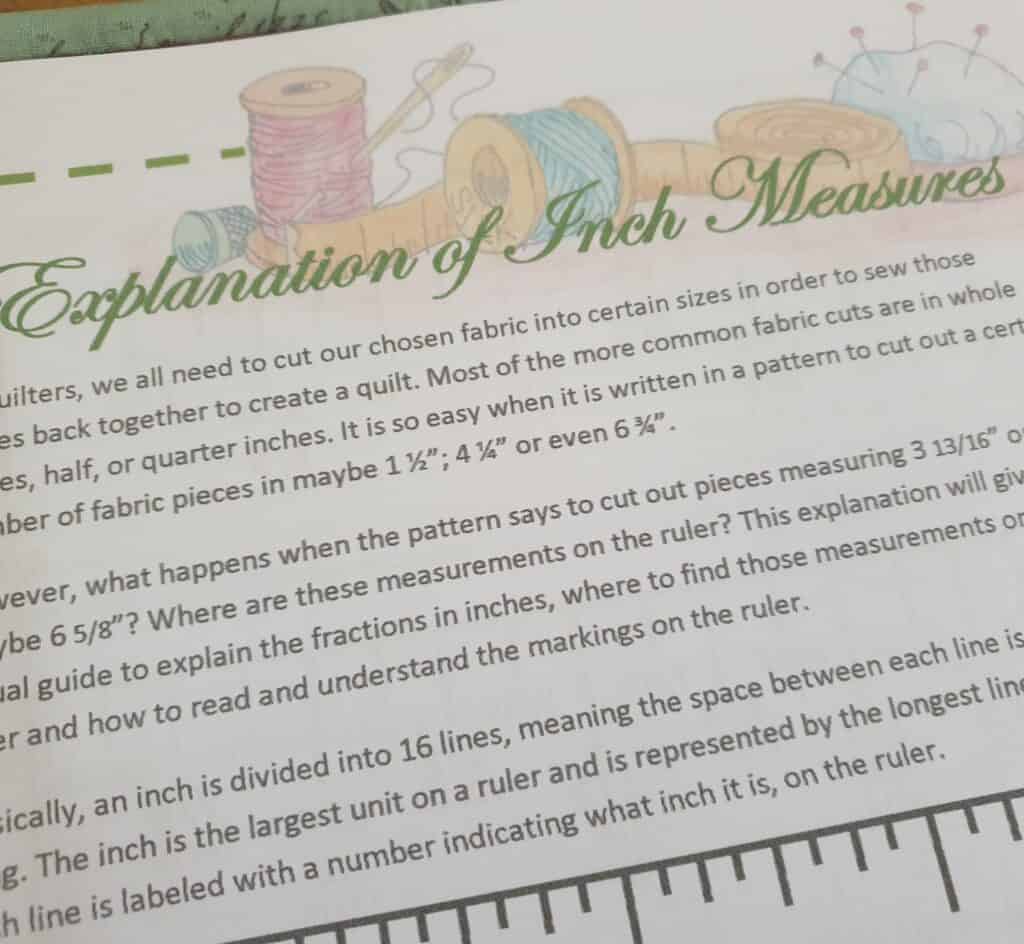
When I am teaching workshops, I have often been met with bewildered looks at times when the pattern calls for cutting fabrics which may not be of the more common inch fraction measurements. We will all be familiar with the ¼”, ½” and ¾” measurements and able to find those with ease on the ruler. But there are times when the pattern calls for the less common fraction measurements – the ones that talk about eights or sixteenths. Where do we find those on the rulers?

This guide gives a visual guide to explain the fractions in inches and where to find those measurements on the ruler. More confusingly, those fractions may have several ways to write them. So this guide explains how to read and understand all those lines on the ruler between each inch.

Explanation of Inch Measures

Why is it that our quilting patterns all work in inches for cutting our fabric and yet the material lists are usually in metres and the fabric shops sell the fabric by the metre? I haven’t worked out the reason yet, and I don’t think I ever will.

Coming from New Zealand where everything is in metric – kilometres, kilos, centimetres, metres, etc it was quite alien to come to the UK and instead of driving in kilometres, I was doing it in miles! Yet I brought my meat/vegetables by the kilo or grams and the fabric was by the metre or half a metre.

It then got stranger when I starting to cut my fabric for making a quilt, my rulers were in inches and the cutting instructions talked about inches or parts of an inch! The seams were ¼”. It really was a mixed up world! Then there were times when we downloaded a pattern from the states and the material list was all in yards! Just how did a yard compare to a metre? I know that there is 100cm in a metre, but just how many inches are in a yard?

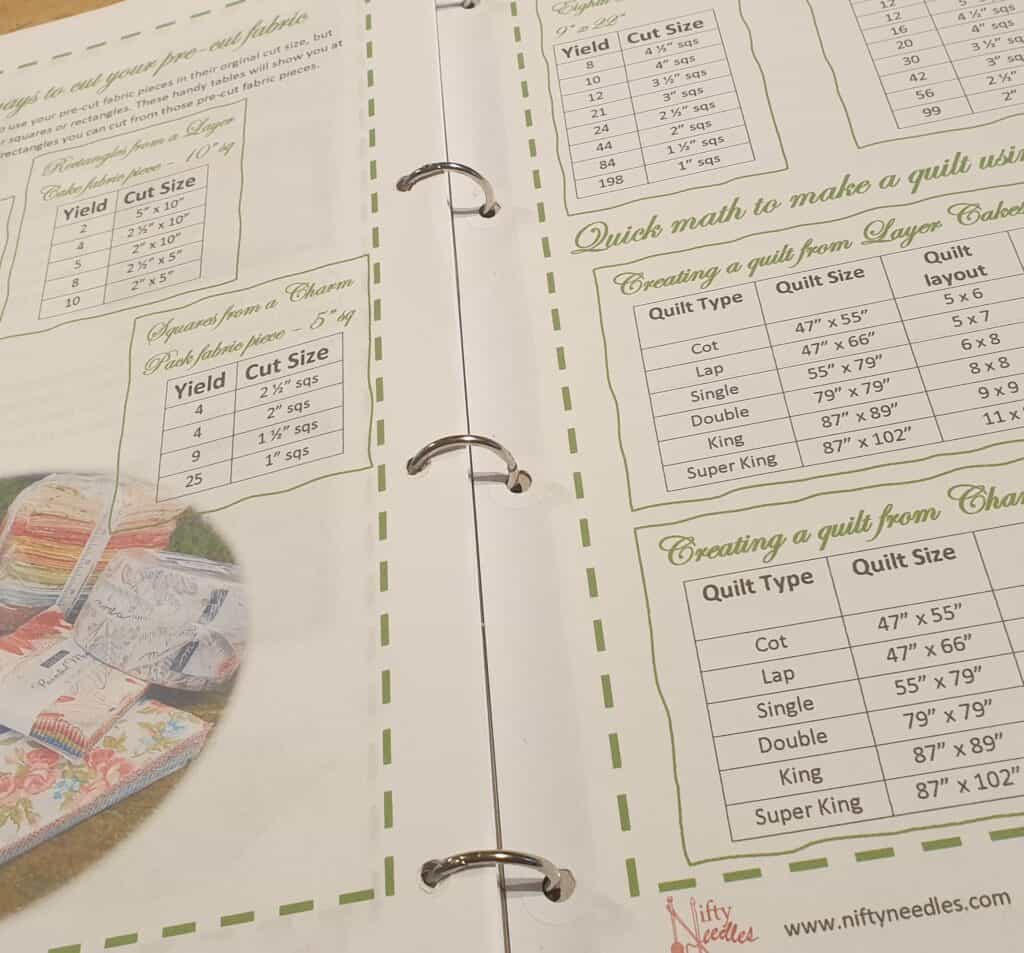
I have drawn up a couple of visual charts, so it is easy to see at a glance on converting yards to metres and inches to centimetres. Now you don’t have to go and google to find out.

In this reference, I have also included the approximate sizes of UK beds to help give you an idea on what size to make that quilt. It is easy to find quilt sizes online for the American beds, but they are different from the UK. Even New Zealand has different bed sizes from the UK, and I found it strange to learn that the UK does not have a Queen, but rather King or Super King!  

This table makes it easy to give you an approximate guideline on what size to make the quilt if it is to fit a certain bed size.

Conversion charts

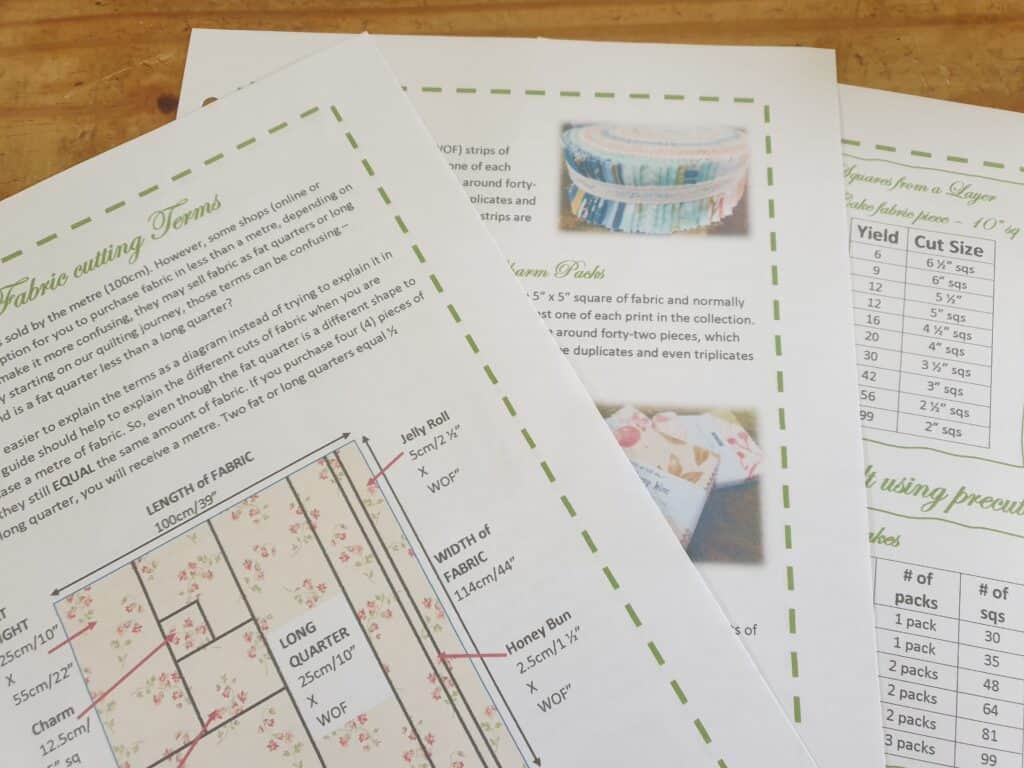
When it comes to purchasing fabric for a certain project, it can also be daunting. You can go into a shop and purchase a metre or part of a metre of fabric, but what if you need to get a Fat quarter, or maybe a long quarter? Even worse, you may need to purchase a Layer cake, Honey bun or a jelly roll …. You would be forgiven if you suddenly thought that fabric purchasing just turned into some kind of cake eating spree. If you are new to quilting, all these lovely or weird sounding fabric terms can be daunting! Is a Fat quarter the same as a long quarter? Just what does it all mean?

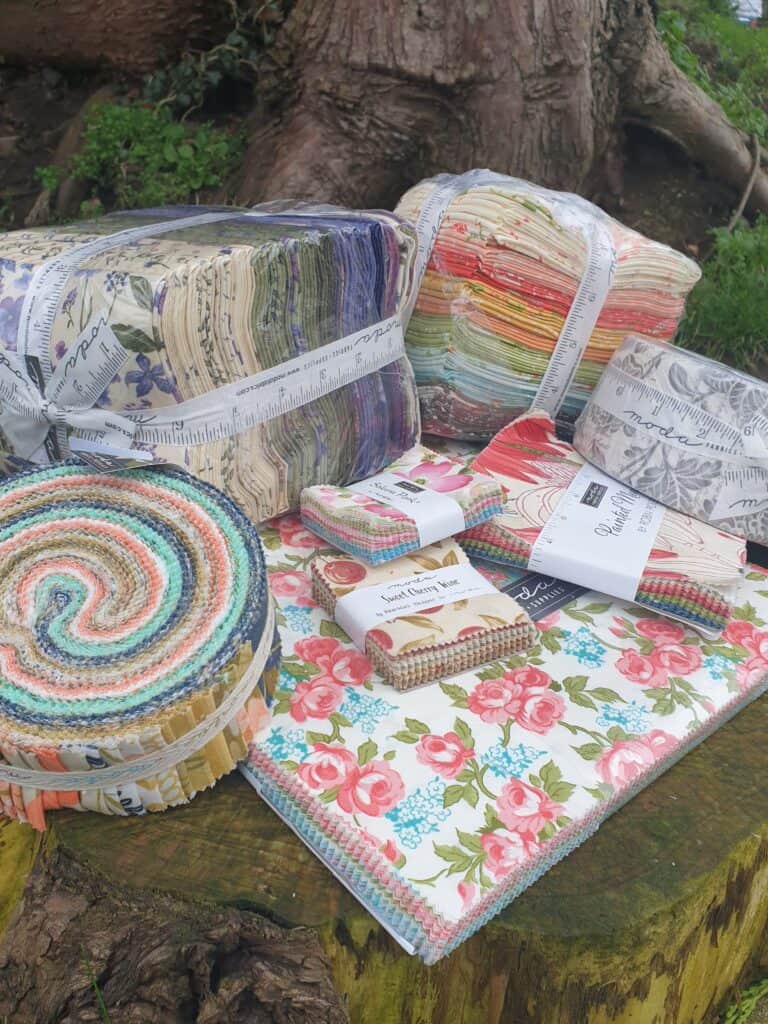
I have drawn up a visual guide showing and explaining what the different fabric cutting terms mean and just how much fabric is involved in each cut. I have also written a guide to all the pre-cuts along with photos for each type. I knew that my personal collection of pre-cuts would come in handy – a photo shoot for the handbook. I am sure they enjoyed being taken out of the boxes that they had been thrown into and having the opportunity to see some daylight for photos. The most attention and handling they have received for quite a while I can assure you.

Pre cut fabric photo shoot

So with having some pre-cut fabrics like a layer cake or charm pack, you may want to create different cuts from the 10” or 5” fabric squares. I have compiled charts so you can see at a quick glance just how many 4”, 2” or how size squares you can get from the different precuts. Maybe you just what to know how many charm packs it takes to make a quilt? These handy charts will give you all the help you need by working the math’s out for you.

Guide to precuts

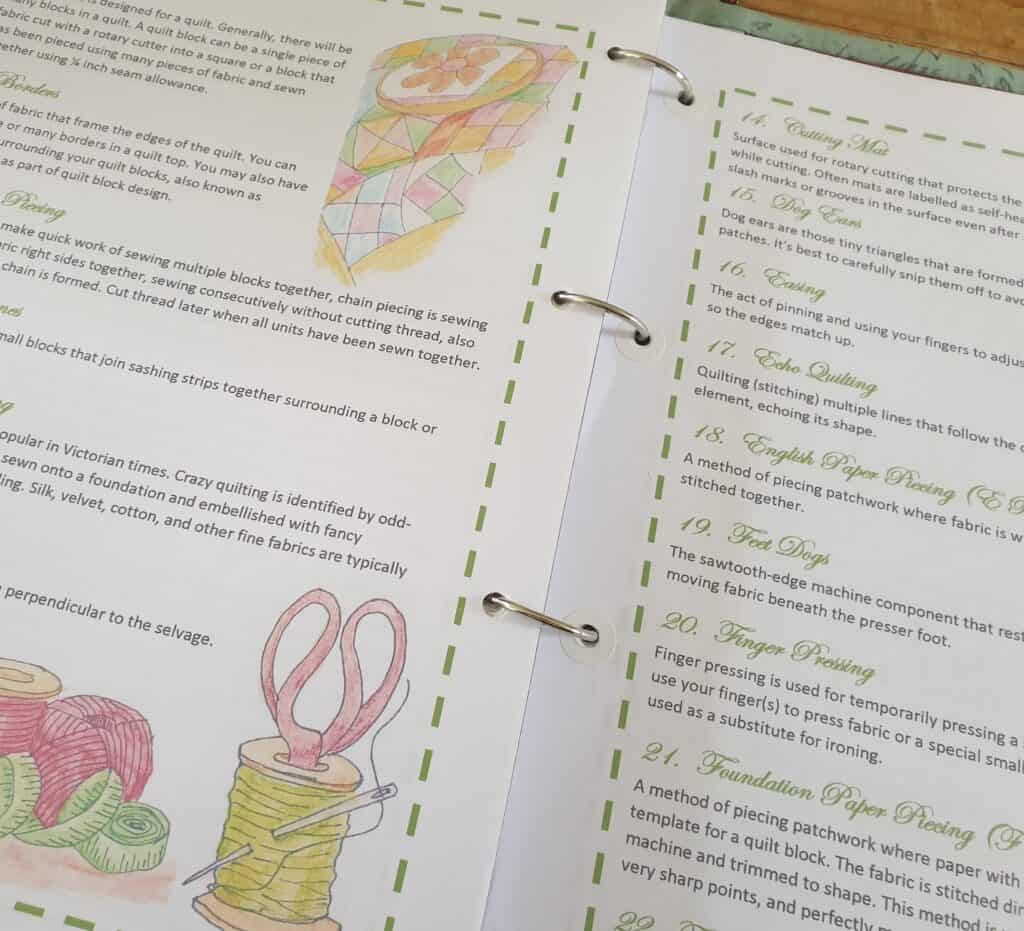
What if you are just at the start of your quilting or sewing journey. Do you find that there is quite a few strange terms and words that are used? It really does seems as though quilters have this secret language that needs to be used.

So to help de-code those strange sounding terms, I have compiled a list explaining the meanings for the more commonly used terms to help you break down that language and just be able to get down to the more important part – sewing and quilting.

Common quilting terms

What I like most with the Handbook is that you only need to purchase the parts that you would find useful, which is so much better than purchasing a prebound one where you have to have parts that you would never use.

For example, you may know what all the terms are and don’t need to have this reference, so there is no need to include it in your handbook. Maybe you are not interested in inch measurements or machine tension.

Basically you can pick and choose what you need in your basic reference section and make your own personalised handbook.

Handbook

Come back next time when I will discuss and look at the final section – Cheat Sheets Section. The section that gives you step by step instructions on how to make the more popular and commonly used units in quilting, along with a maths cutting chart so you can quickly refer to so you know what size fabric to cut for the finished sized unit that you are wanting …..